Pumpkin carving templates
1155 free printable stencils. Download, print, trace, carve.
803 results · Page 19 of 23
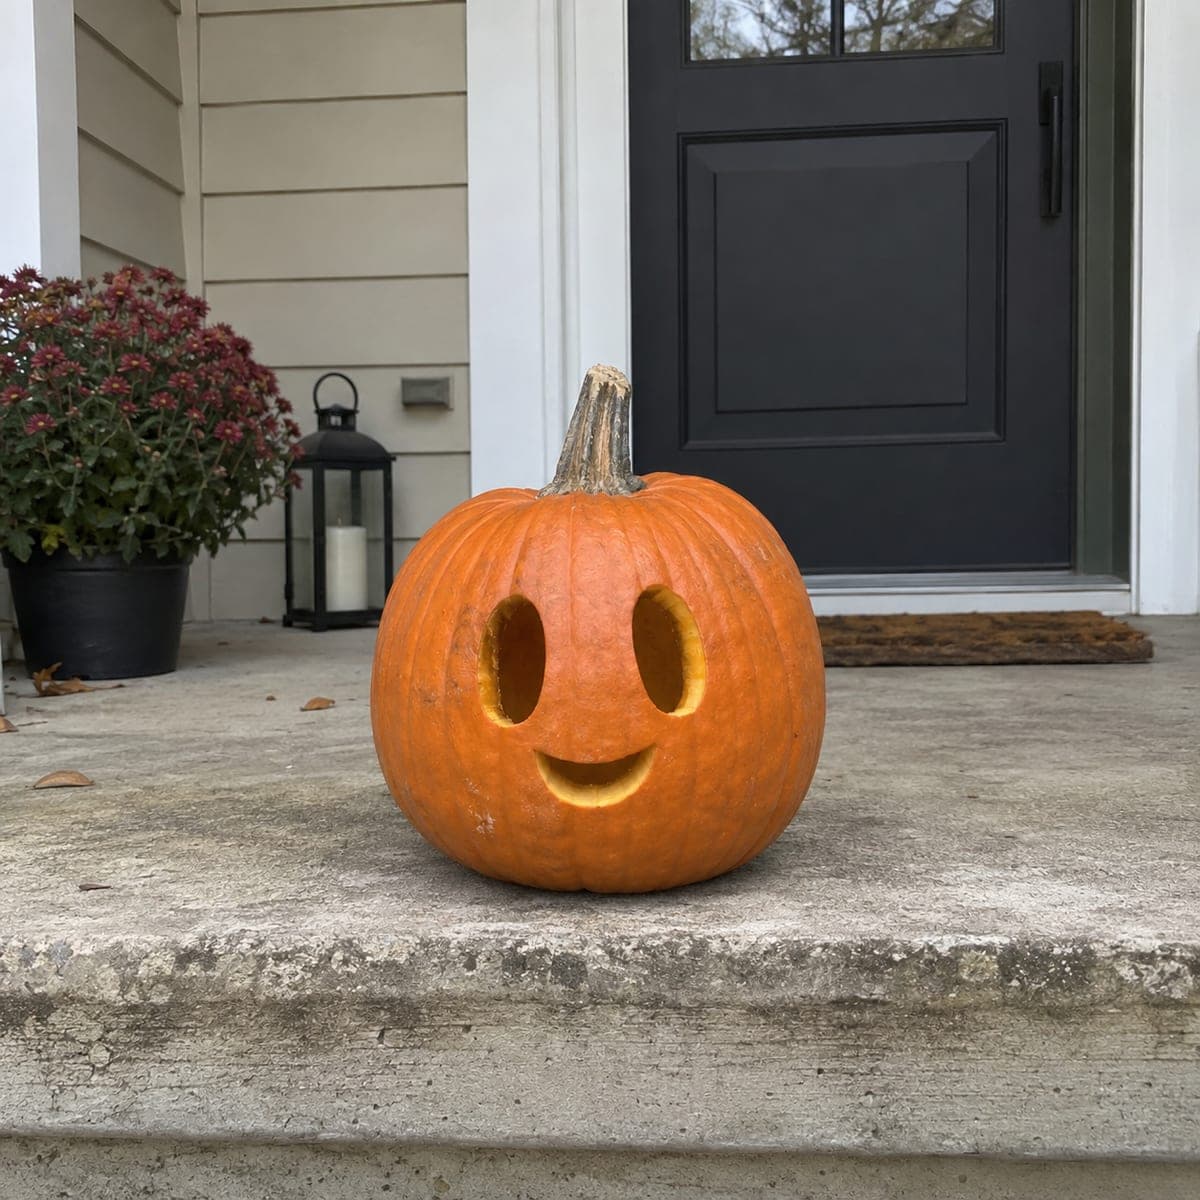
Tall Oval Eyes and Small Smile
Two tall oval eyes and a small curved smile make up this cheerful minimalist face. All three shapes are cut fully through the wall, so the design carves in minutes and beams warm light from every opening. It is an ideal first pumpkin for young carvers with supervision; drill or poke a starter hole inside each eye so the saw can enter without stressing the surrounding rind.

Tall Oval Surprise Face
Two tall oval eyes hover above one big oval mouth, giving a tall pumpkin a startled, ghostlike gasp that reads perfectly from the street. All three shapes are pierced through, and with no corners or fine details it is about as beginner-friendly as carving gets. Rotate the pumpkin instead of your wrist as you saw each oval so the curves stay smooth and symmetrical.

Tall Smile and Six Cheek Dots
A tall pumpkin design with arched happy eyes, an oval nose, three dot freckles on each cheek, and a huge open smile with four little teeth hanging from the top lip. Every shape is cut through, and the six small cheek dots add a sprinkle of glowing freckles around the grin. Punch the freckle dots with an apple corer or drill bit before opening the big mouth.

Tall Star and Three Dots
One big five-pointed star dominates the pumpkin with three small round dots arcing beneath it, like a shooting star leaving a trail. Both the star and the dots are straightforward cut-through openings, making this a perfect first stencil for young helpers with an adult on the knife. Drill or poke the three dots first as warmups, then saw the star point to point, backing out at each corner.
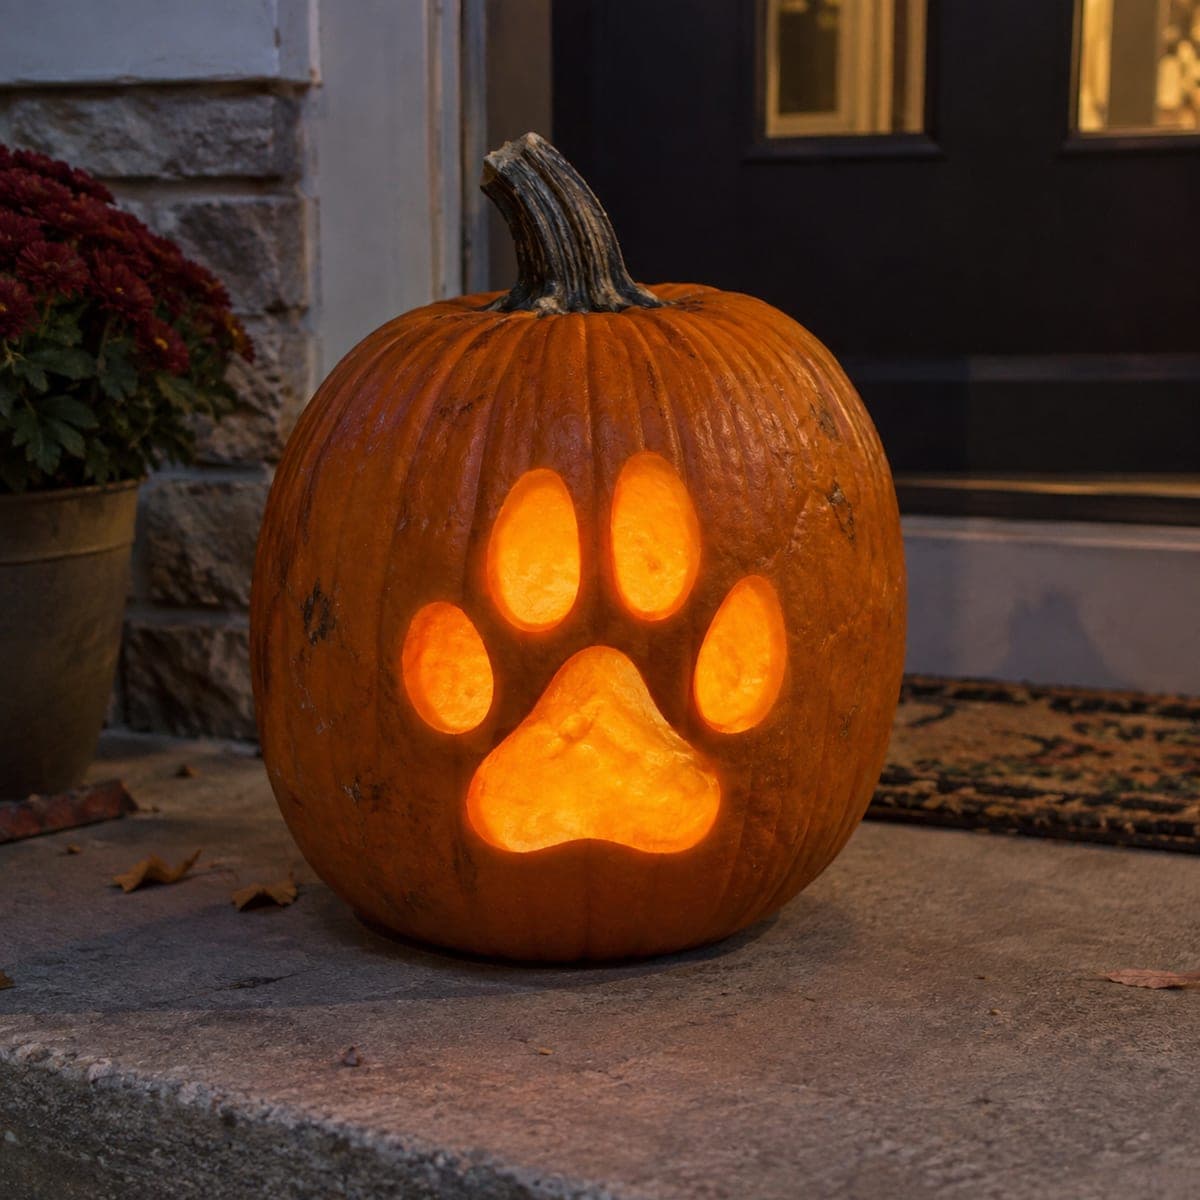
Tall Toes Above a Low Paw Pad
A big glowing paw print built from four oval toe pads arranged above one broad heart-shaped main pad. All five shapes cut cleanly through the wall, and the generous spacing between pads makes the layout very forgiving. Drill a starter hole in the center of each pad and saw outward to the line; the smooth convex curves are ideal practice strokes for young or first-time carvers.

Tall Triangles and Broad Smile
This is the timeless jack-o'-lantern: two tall triangle eyes, a small triangle nose, and a broad crescent smile, all cut straight through the shell. With only four openings and no fragile details, it is an ideal first carve for a new pumpkin carver. Poke pilot holes at each triangle corner before sawing so your straight lines meet exactly where they should.

Tall Triangles and Open Smile
Two tall triangle eyes and a wide open smile with a single pointed upper notch make up this timeless jack-o'-lantern face, shown here glowing warmly from an ivory white pumpkin. Every shape is a straightforward cut-through with no attached pieces to protect. It is as easy as carving gets: make long straight cuts for the triangles and let the knife follow the smile's curve in smooth strokes, and it looks brilliant on white or orange pumpkins alike.

Tall Triangles and Twin Teeth
The timeless jack-o'-lantern: two tall triangle eyes, a smaller triangle nose, and a wide friendly smile interrupted by two blocky teeth, one dropping from the top lip and one rising from the bottom. All four shapes are cut straight through for that classic warm glow. This easy pattern is ideal for a child's first supervised carve; make each triangle in three straight cuts and push the pieces out from inside the pumpkin.

Teardrop Eyes and Broad Frown
Two drooping teardrop eyes slump toward a broad downturned crescent frown, giving this pumpkin the most theatrical pout on the block. All three features are pierced through, and the big simple shapes make it an easy carve with instant comedic payoff. Angle each teardrop eye so both tips point down and outward, and cut the frown from the middle toward each raised corner to keep the curve even.
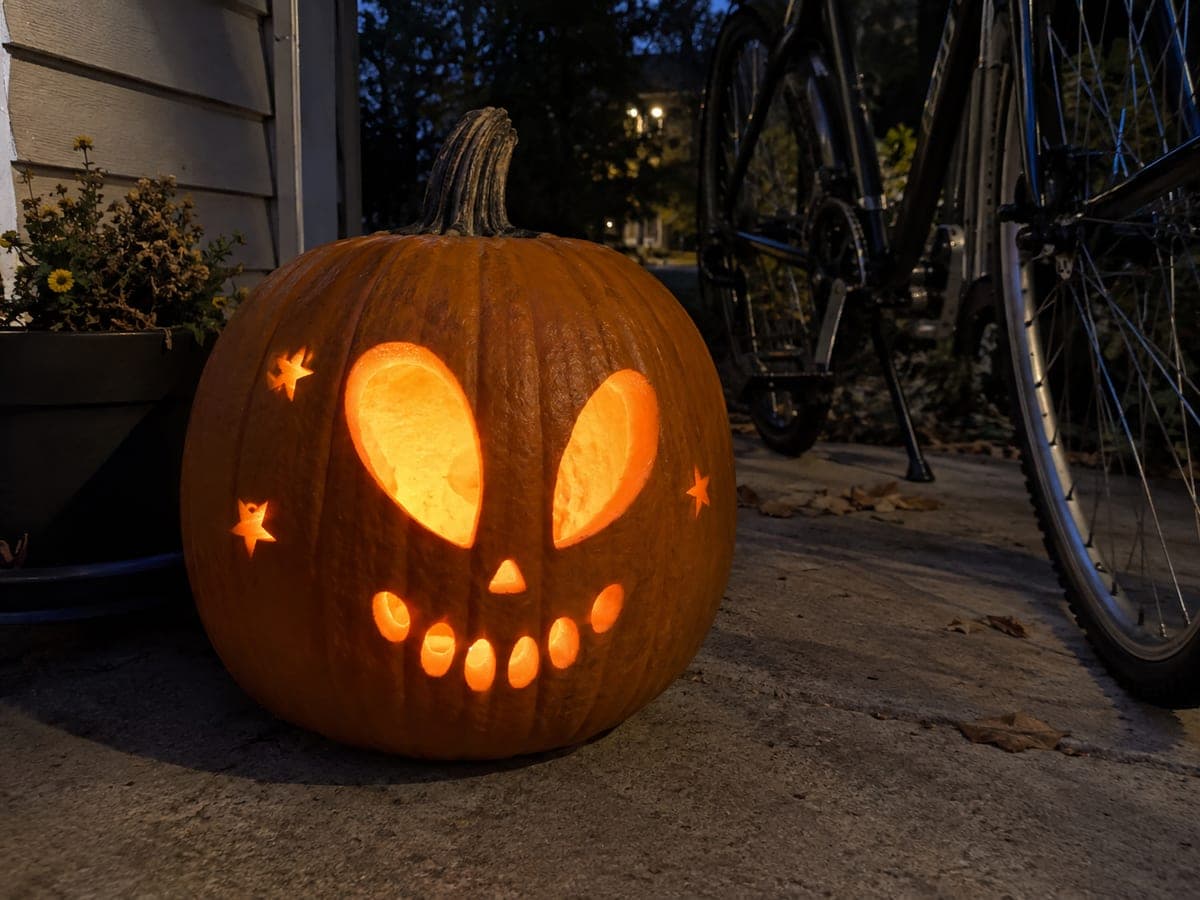
Teardrop Eyes and Three Stars
Two enormous teardrop eyes dominate this quirky alien mug, floating above a tiny triangle nose and a crooked grin made of separate oval mouth slots, with three little stars sprinkled around the face. Every eye, slot, and star is cut through, giving the pumpkin a goofy otherworldly stare. At medium difficulty, carve the huge eyes last since removing that much wall weakens the face, and keep the small oval grin slots evenly spaced.

Teardrop Eyes Stitched Smile
Two droopy teardrop eyes hang over a long curving smile crossed by short stitch marks, giving the face a sweetly sinister rag-doll look. The eyes and the full stitched mouth are pierced through, with each stitch cut as a small notch branching off the main smile line. At medium difficulty, carve the long mouth curve first, then add the stitch notches one at a time so the thin rind between them stays supported.
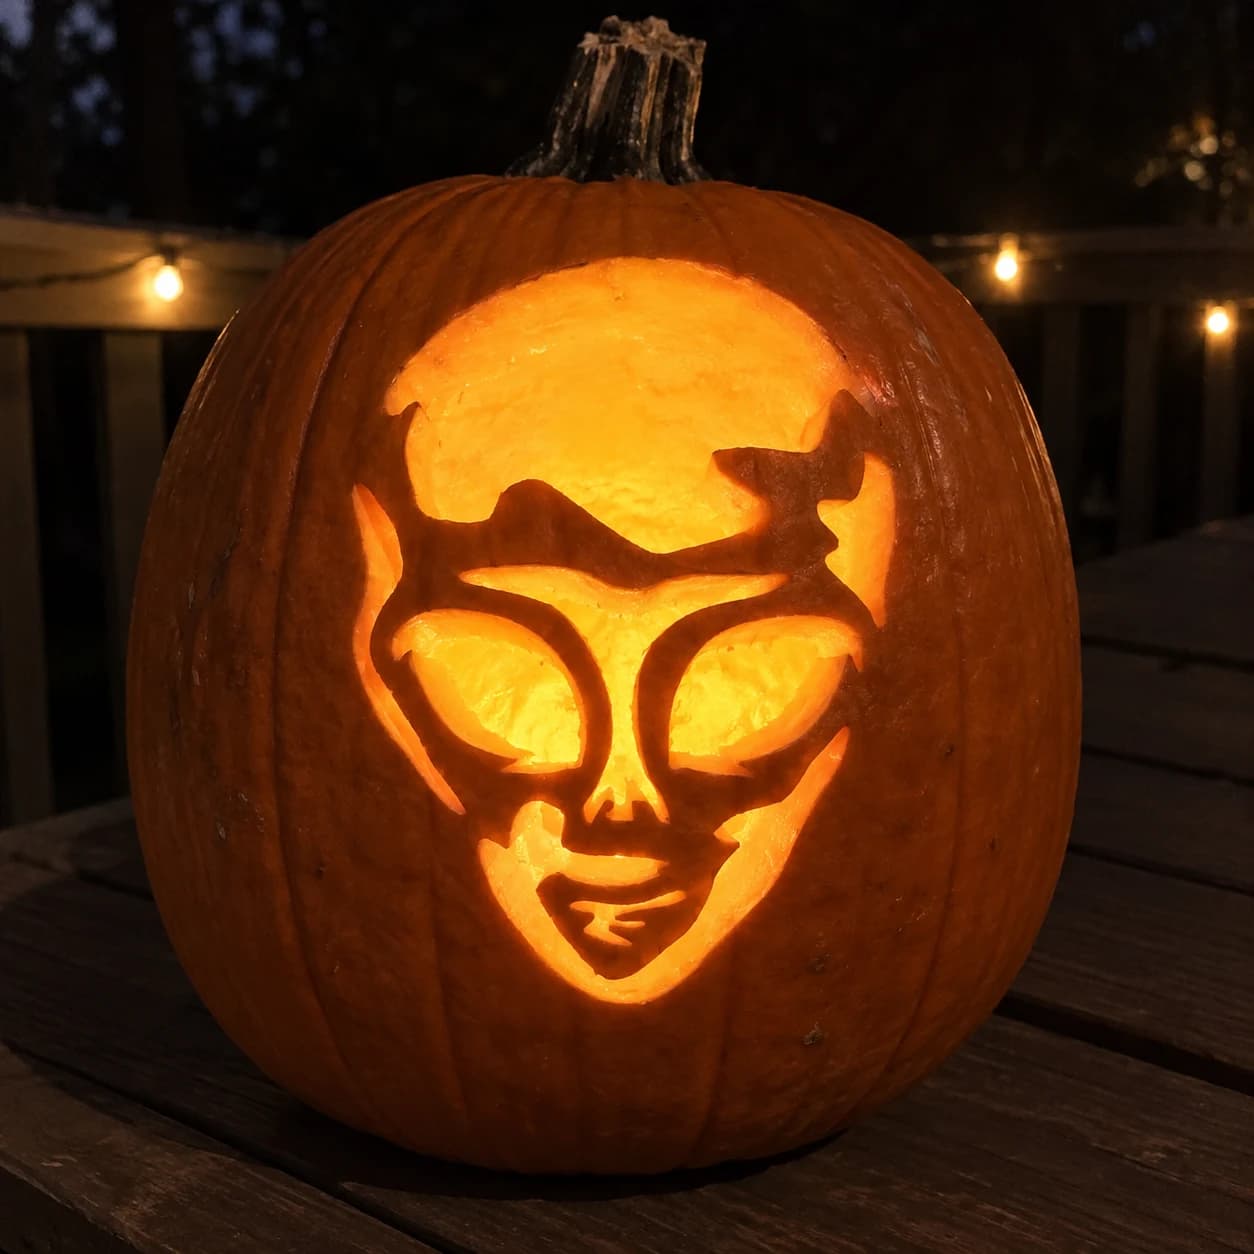
Teardrop-Eyed Alien Pumpkin Stencil
An alien face with oversized teardrop eyes, a broad domed cranium, and subtle nostril and lip details fills this space pumpkin stencil as a single large cut-out with internal skin bridges defining the facial features. The large eyes are open negative spaces separated from the head background by thin arching brow ridges, which are easily the most fragile element. Carve the outer head silhouette first, then remove the large eye areas, keeping the blade tight against the brow-ridge boundary to preserve that thin curved strip of pumpkin skin.
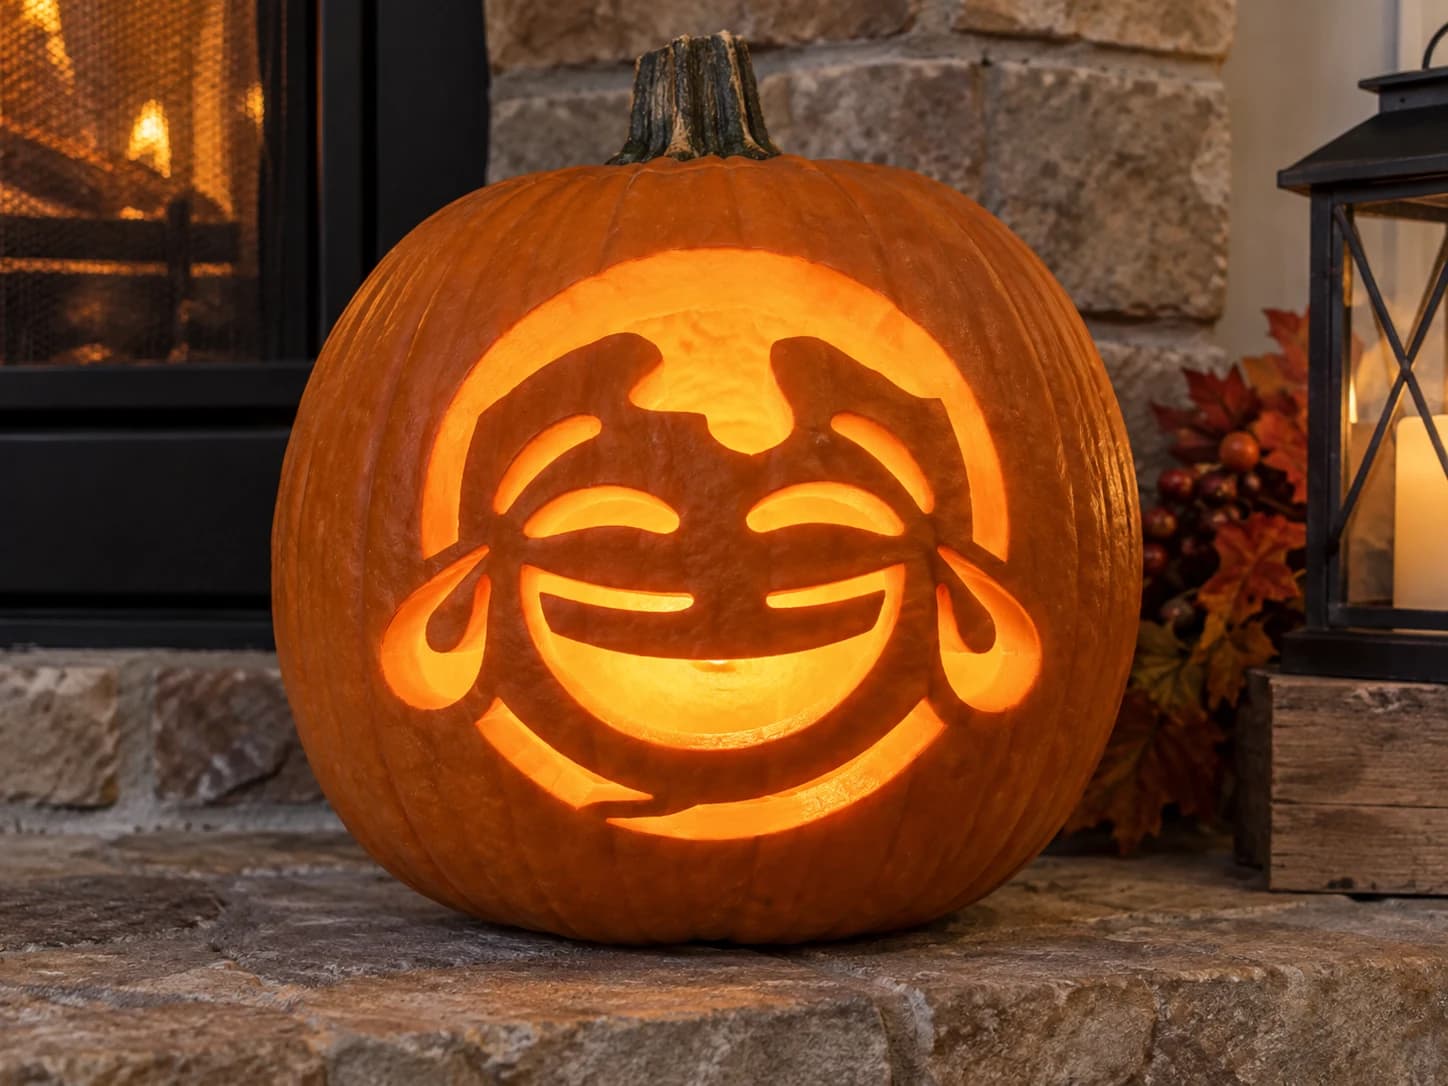
Tears of Joy Emoji Pumpkin Stencil
This emoji pumpkin stencil captures the classic tears-of-joy face: a large circular outline frames squinting crescent eyes, a wide open-mouth smile, and two teardrop shapes streaming from the outer eye corners. Most of the interior is pierced through, leaving thin curved bridges for the eyes, brow shapes, and a tongue strip inside the mouth. When lit, the laughing face reads instantly from across a porch. Keep the two small teardrop cutouts for last, as they are isolated from the main body and can shift if the stencil loosens.
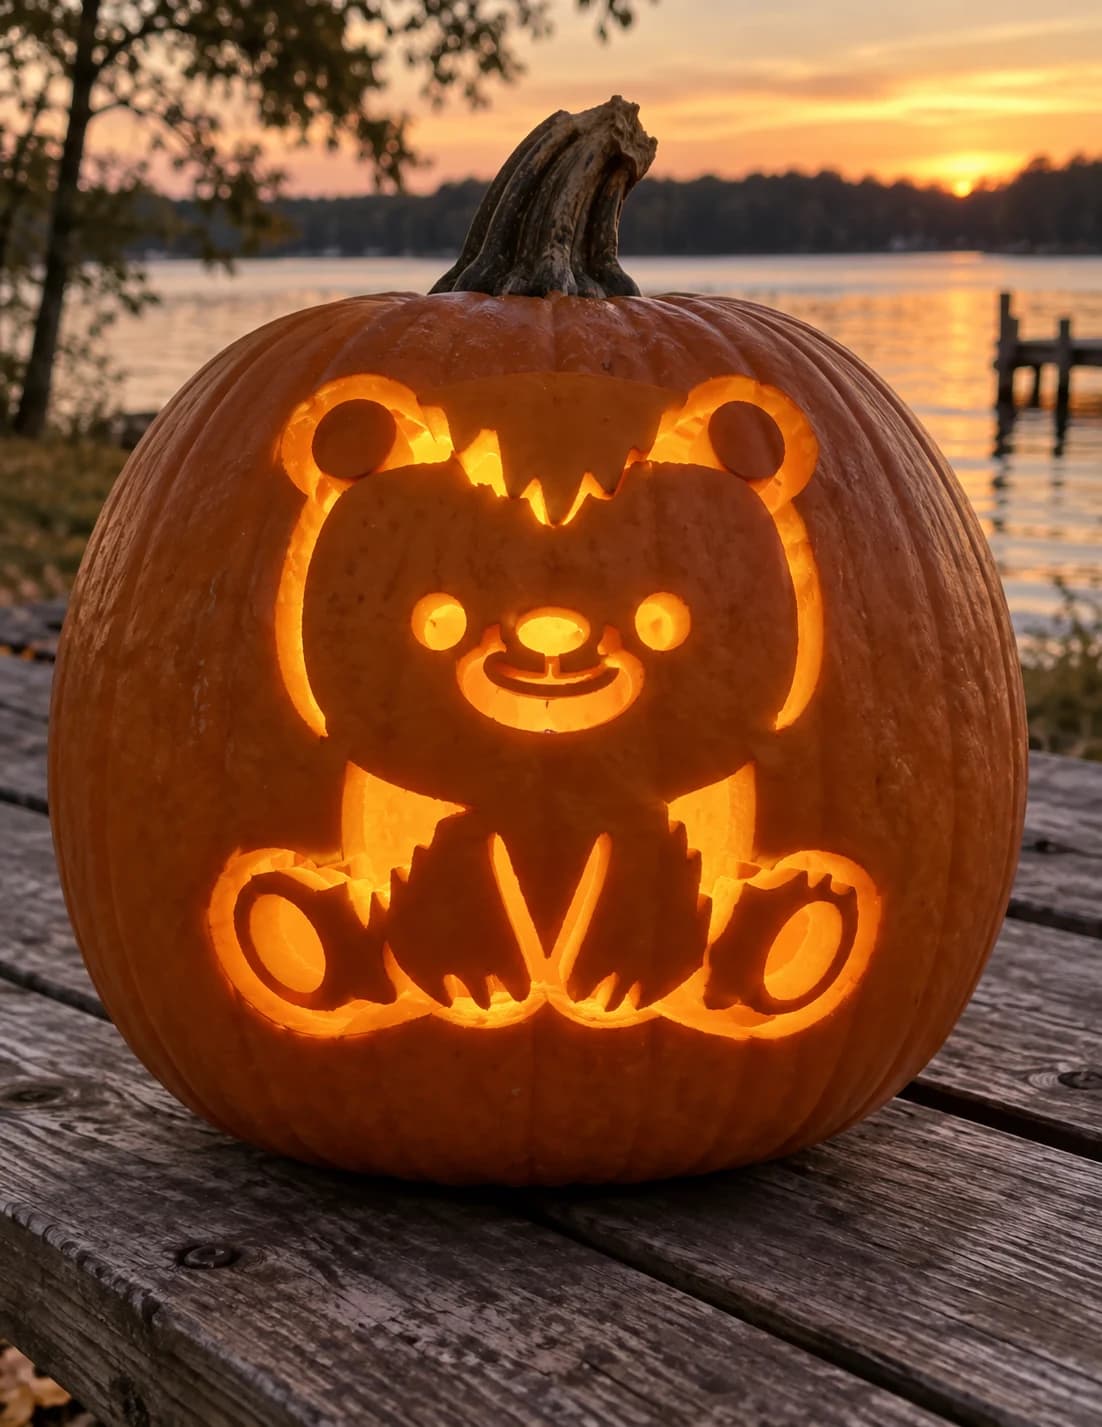
Teddy Bear Pumpkin Stencil
A seated teddy bear with tattered, drip-edged fur fills this hard-level pumpkin stencil: a round head with small round ears, two circular cheek spots, a nose-and-muzzle cutout, and a tummy split into two glowing panels flanked by small round paws. The ragged fur silhouette along the top of the head and across the body creates dozens of short, jagged points that must stay connected. Work from the center facial features outward, and avoid pressing too hard on the bear's narrow fur-tip points so they do not snap before the larger belly sections are removed.
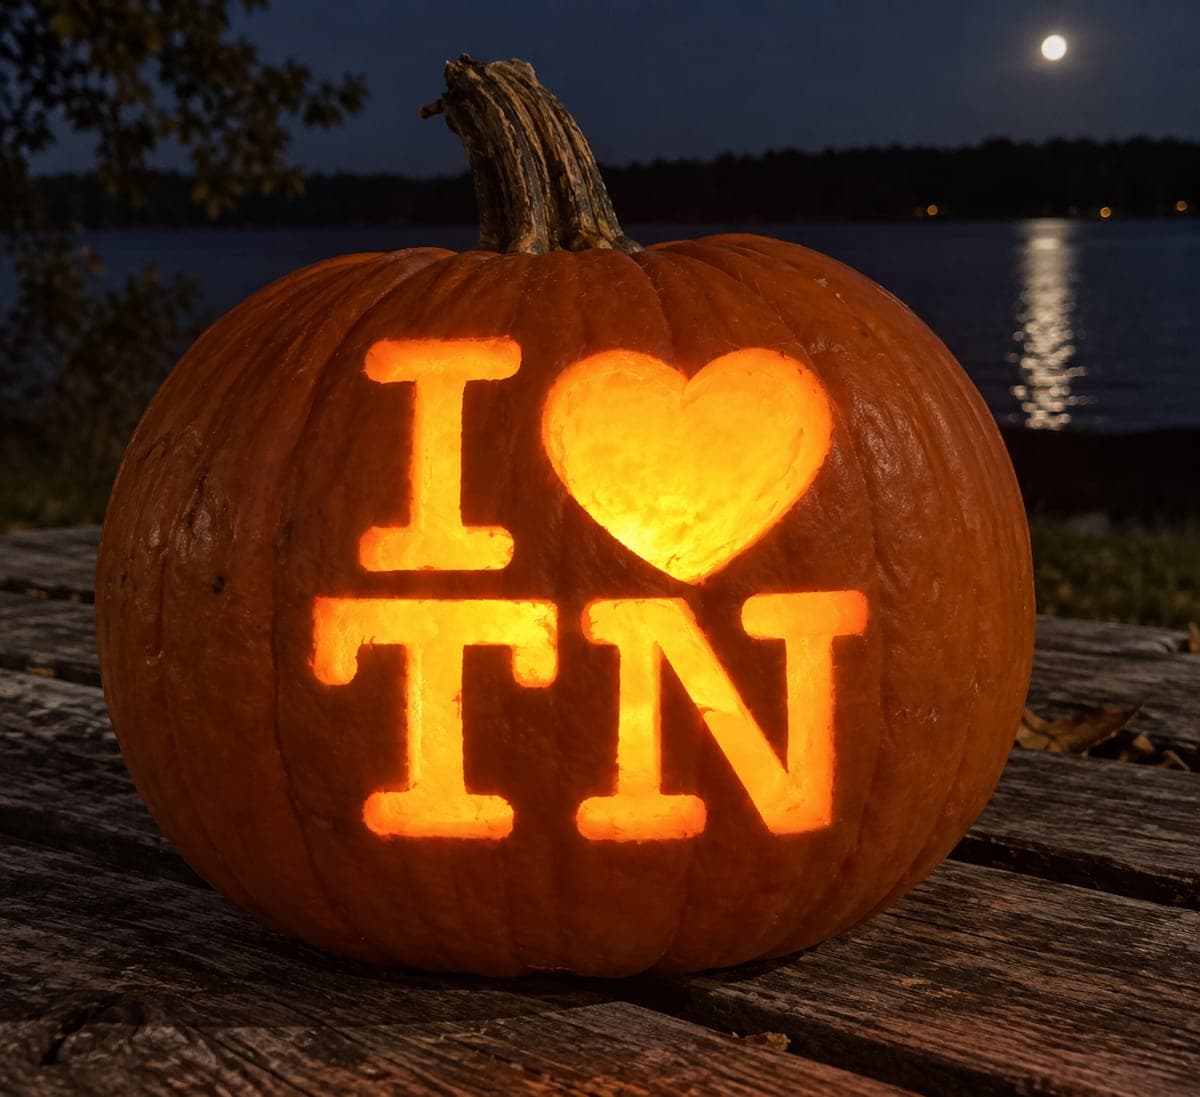
Tennessee Heart Lettering
Bold serif lettering spells out I heart TN in the classic love-declaration layout, with a chunky letter I and heart on the top row and big TN initials below. Every letter and the heart are cut fully through, and the thick strokes make the sawing forgiving for a lettering design. Trace the serifs carefully when transferring the pattern, then cut each letter's inside corners with a fine blade for crisp typography.
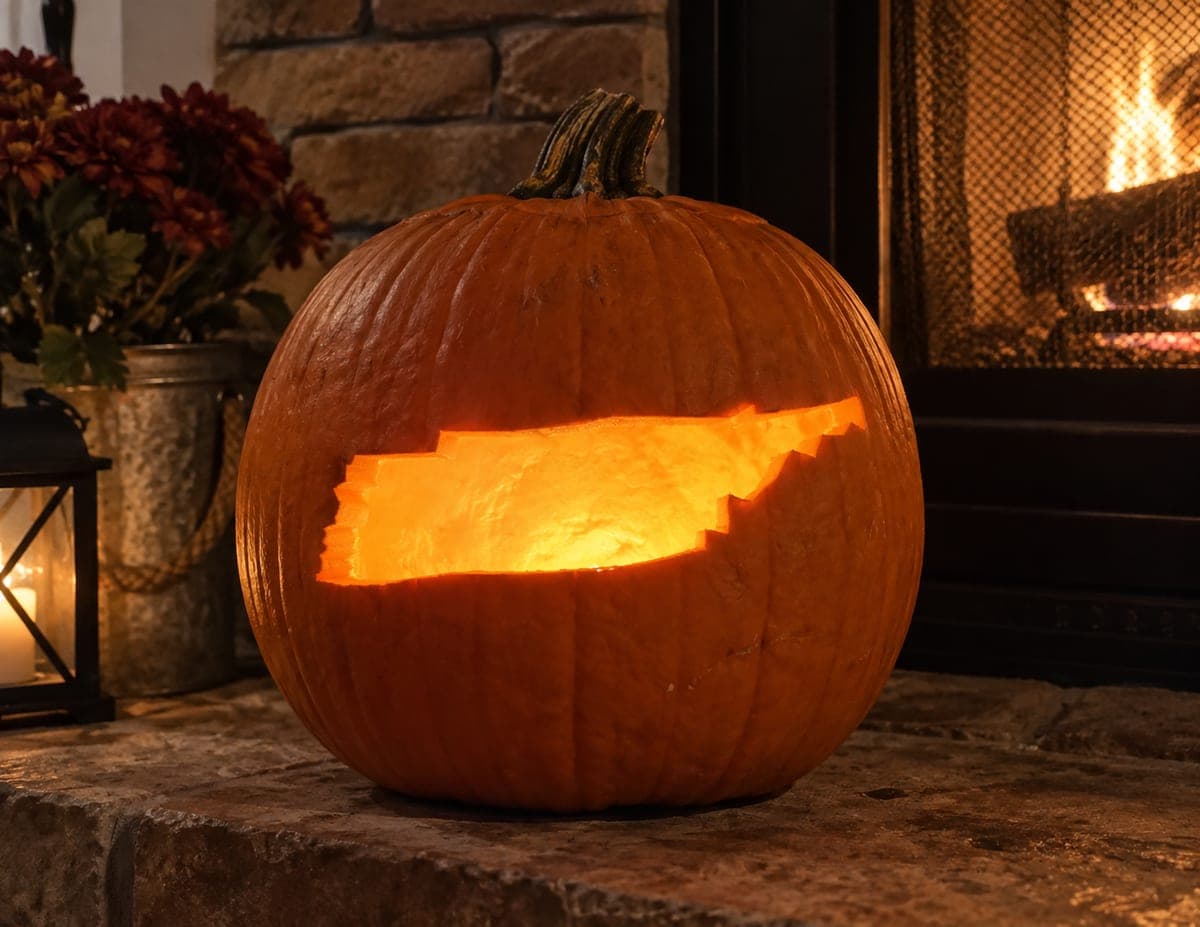
Tennessee State Shape
Tennessee's long parallelogram runs nearly the full width of the pumpkin, flat across the top with the jagged mountain border stepping down the eastern end. The entire state is removed as one wide glowing band. Since the opening is long and shallow, cut the straight top and bottom edges first, then work the stepped eastern corner in small bites to keep every notch sharp.
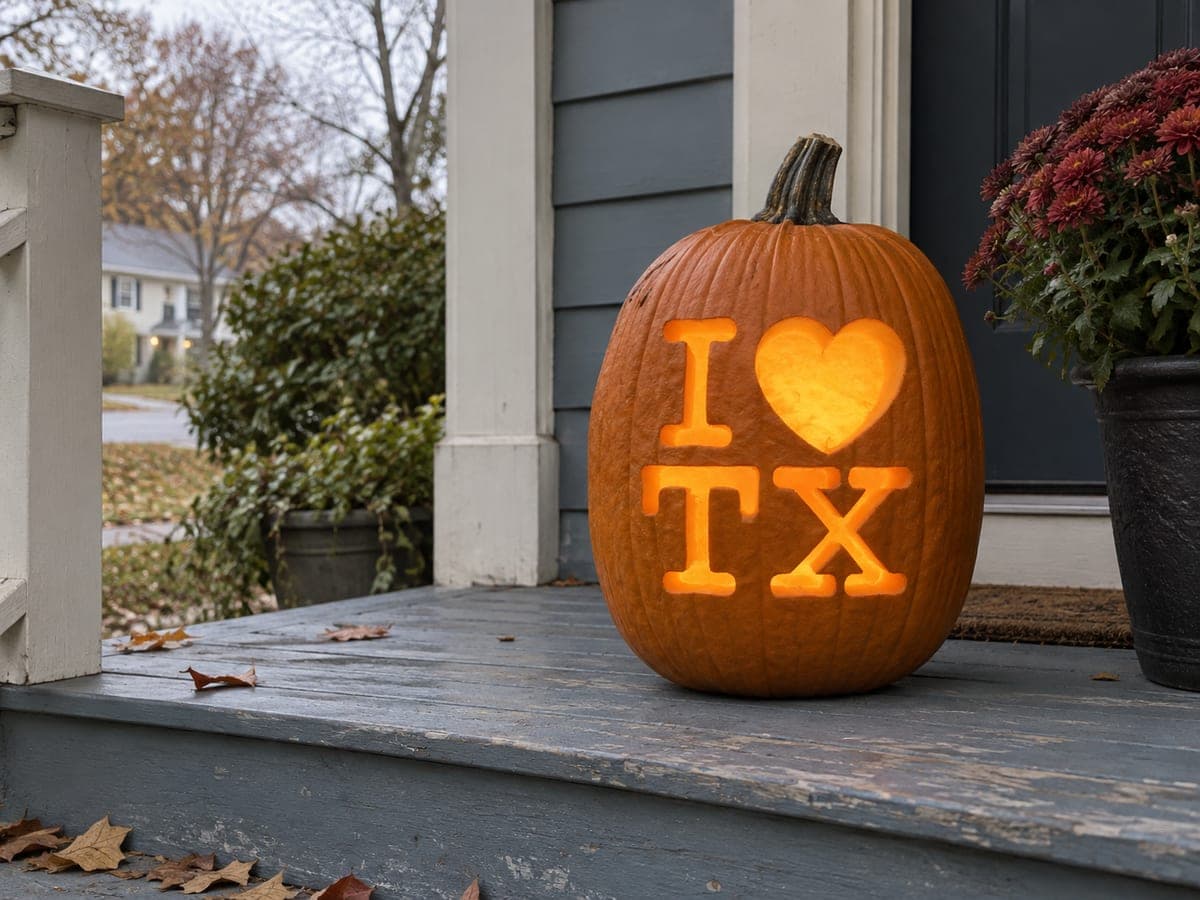
Texas Heart Lettering
Big serif letters read I, heart, T, X, stacked in two rows with a bold heart doing the talking. Each character is its own clean cut-through opening, making a Lone Star porch statement you can finish in one sitting. Keep the letter strokes at least a finger wide as you carve; the thin serifs are the only place this easy pattern can get fussy.
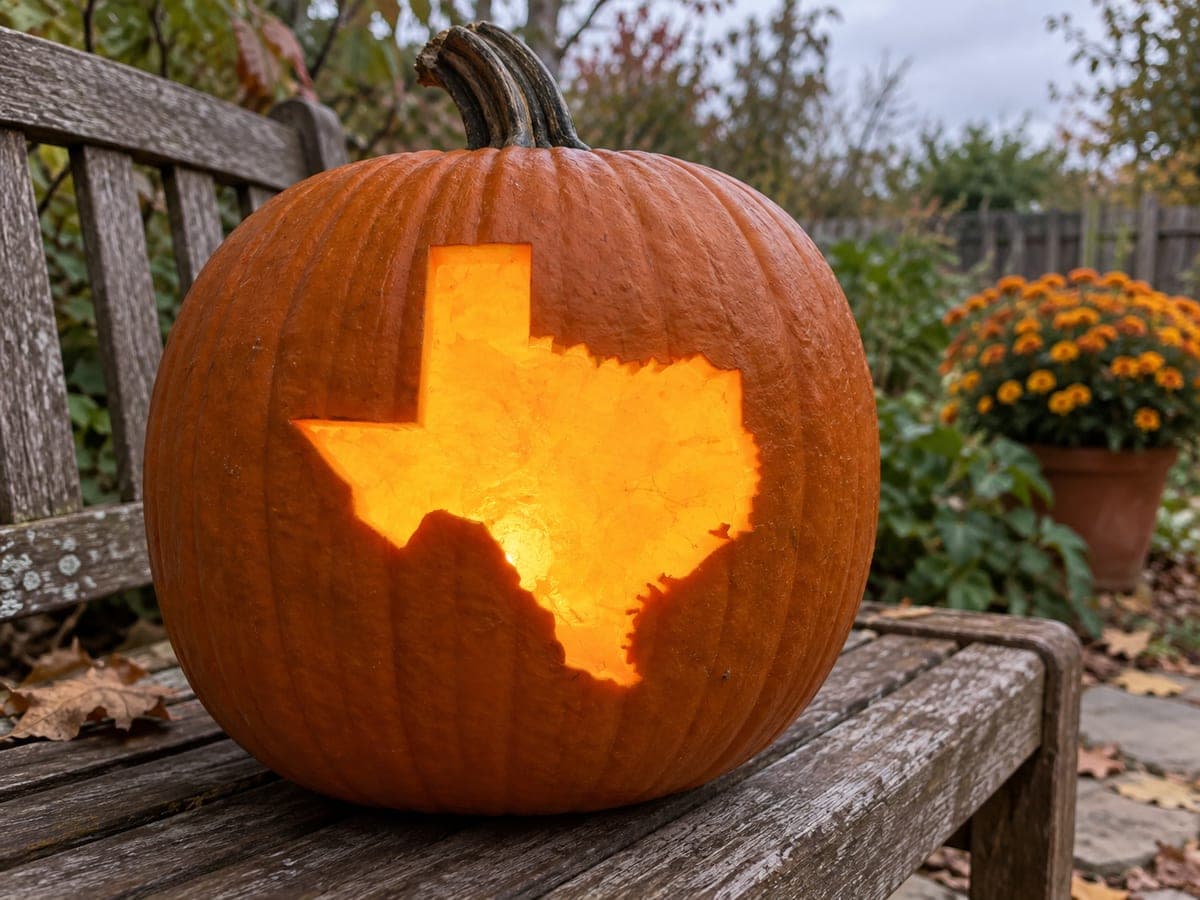
Texas State Shape
The unmistakable outline of Texas, panhandle and all, cut clean through the pumpkin wall so the whole state glows as one bold window of light. Everything inside the border is removed and the surrounding skin is left untouched, making the shape pop from across the yard. At medium difficulty, take the jagged Rio Grande border slowly in short strokes so the wiggly southern edge stays recognizable.
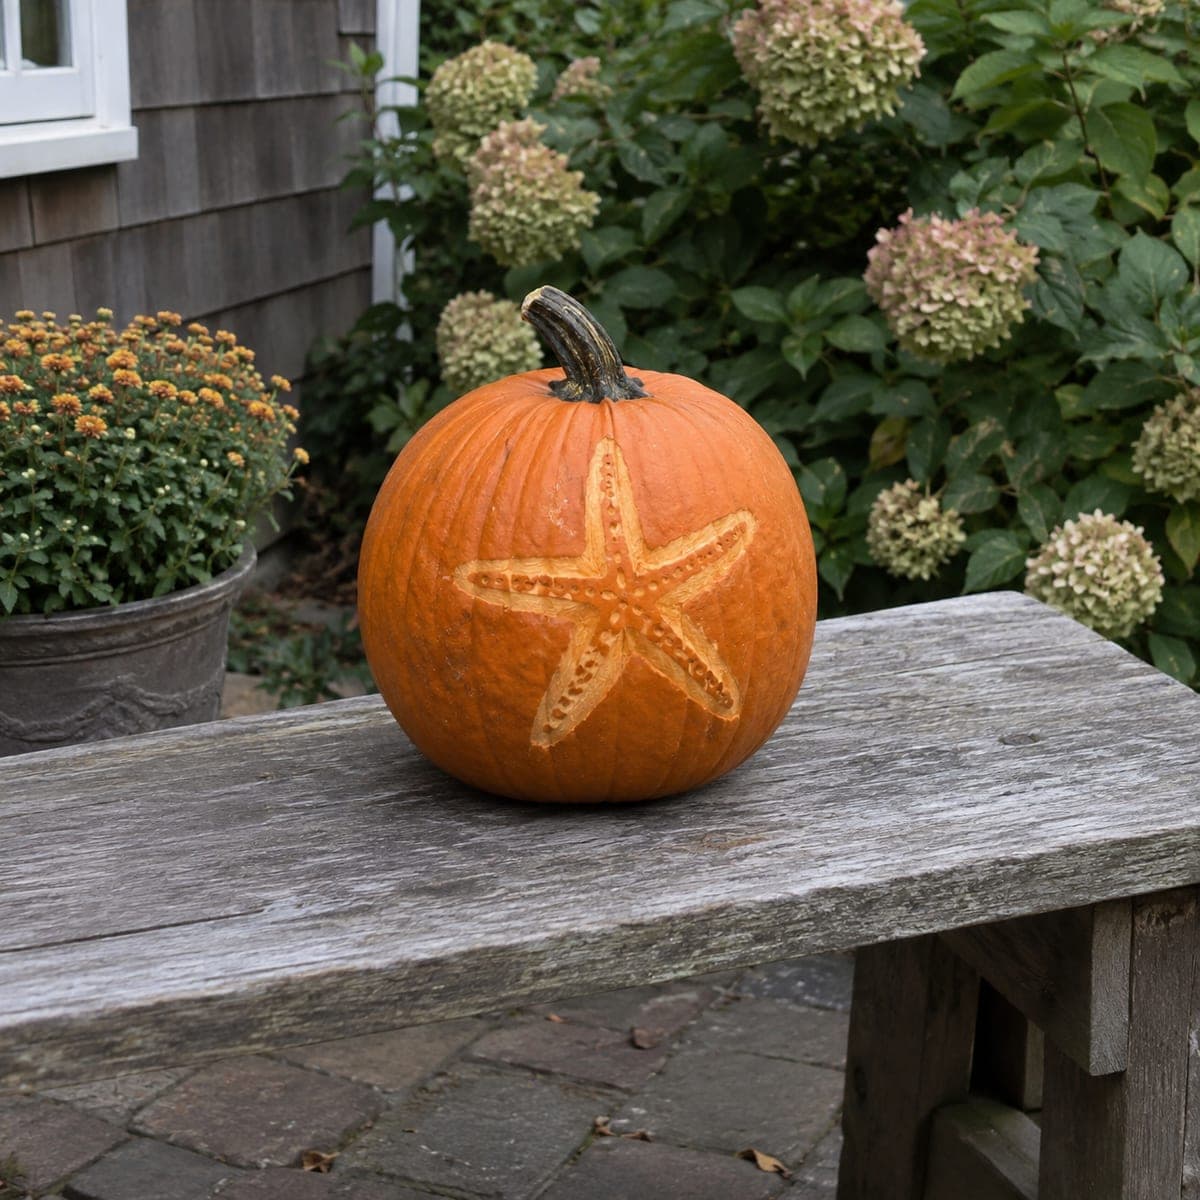
Textured Coastal Starfish
A five-armed starfish rendered entirely in surface shading, with a dotted texture running down each tapered arm for a realistic sea-star look. Nothing is pierced through: you shave away the outer skin inside the outline while the pumpkin wall stays intact, so it reads beautifully in daylight. At medium difficulty, scrape shallow and even first, then deepen the dotted ridges last so the texture stays defined.
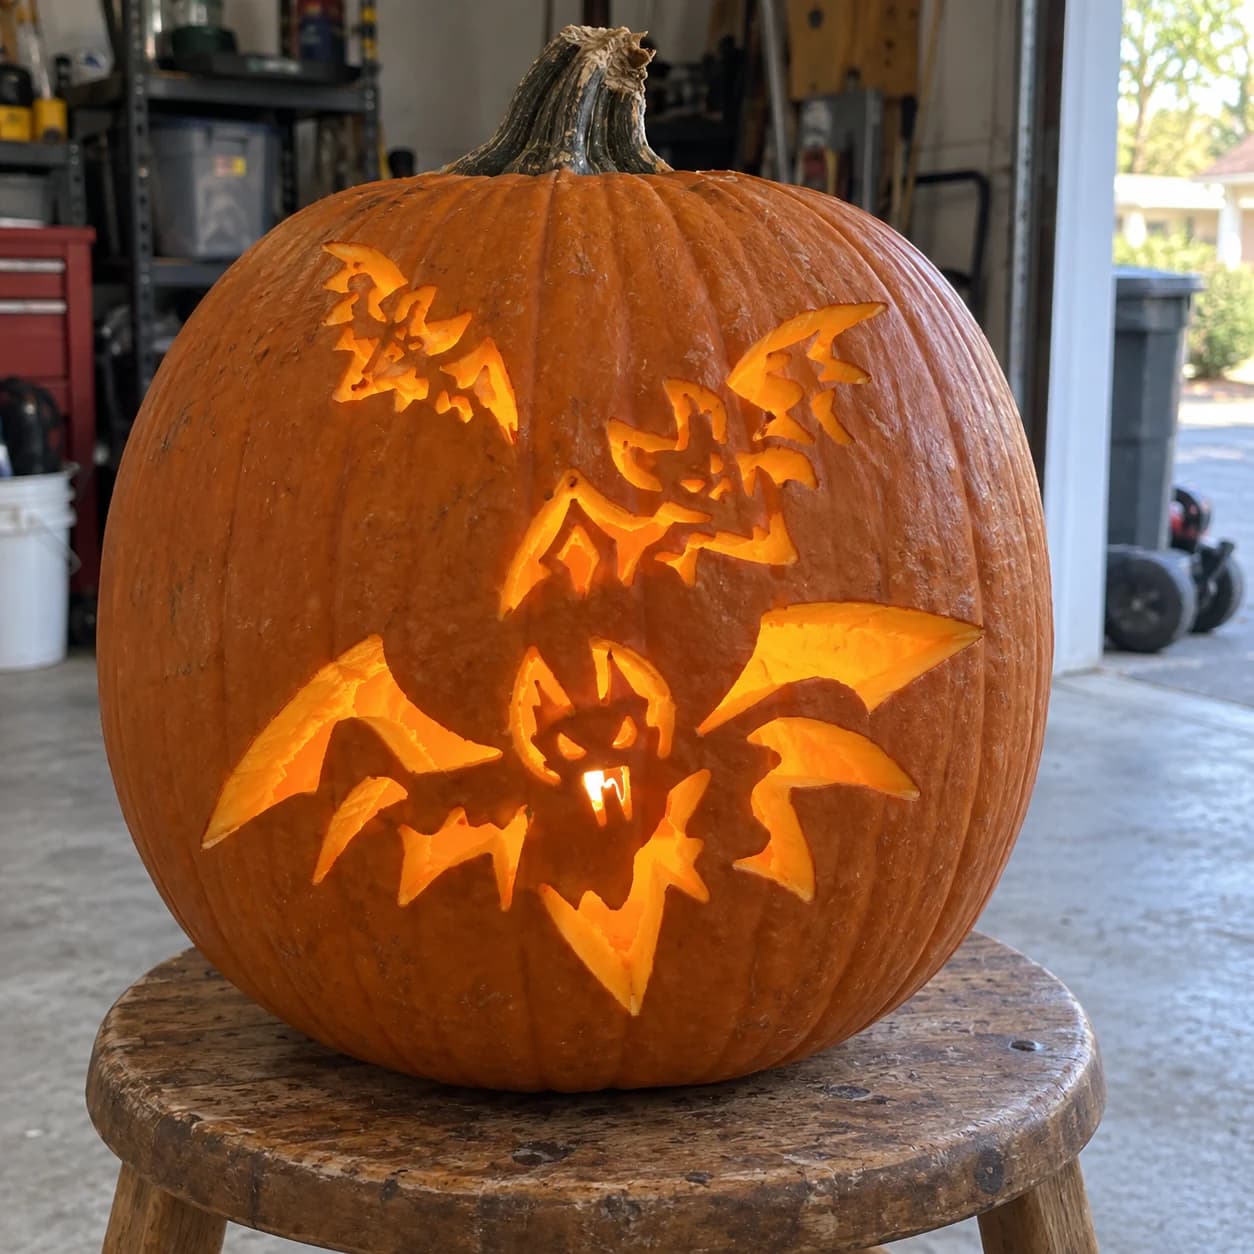
Three Bats Pumpkin Stencil
Three snarling bats in different sizes swoop across this bats pumpkin stencil: one large bat dominates the lower center with wide jagged wings and a gnashing face, a medium bat flies mid-right, and a small bat trails upper-left, all fully pierced through. The graduated scale creates depth on the jack-o-lantern face, and because the large bat's wing tips are long and thin, cut those points last after the broad wing voids are already removed to avoid snapping them during the heavy cutting.
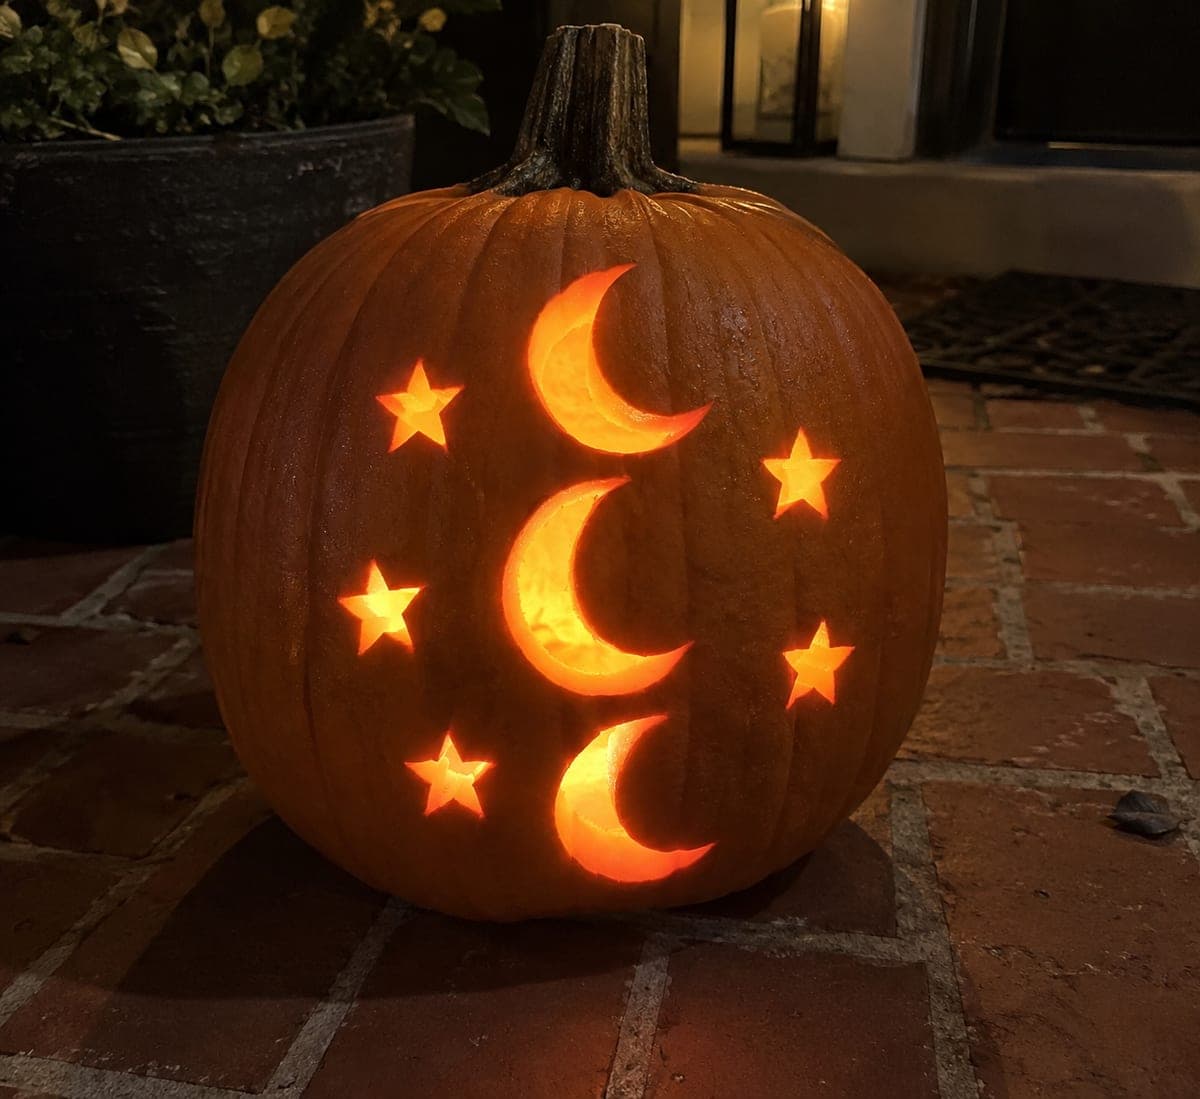
Three Crescents and Five Stars
Three crescent moons stack down the center of the pumpkin, each curving the same direction, with five little five-point stars scattered around them like a night sky. Every moon and star is cut cleanly through, so the whole face twinkles once the candle is in. A pleasant medium carve; punch the small stars first with a detail saw, then cut each crescent from the inner curve outward to keep the horn tips sharp.

Three Crescents and Six Dots
Three crescent moons of different sizes climb diagonally across the pumpkin, trailed by six small round dots like distant stars. Every crescent and dot is pierced fully through, giving a modern, almost tattoo-style celestial arrangement once the candle is lit. The medium rating comes from the crescents' thin inner horns, so drill or poke each dot first for practice, then cut the crescents starting at the fat middle and working out toward each narrow tip.
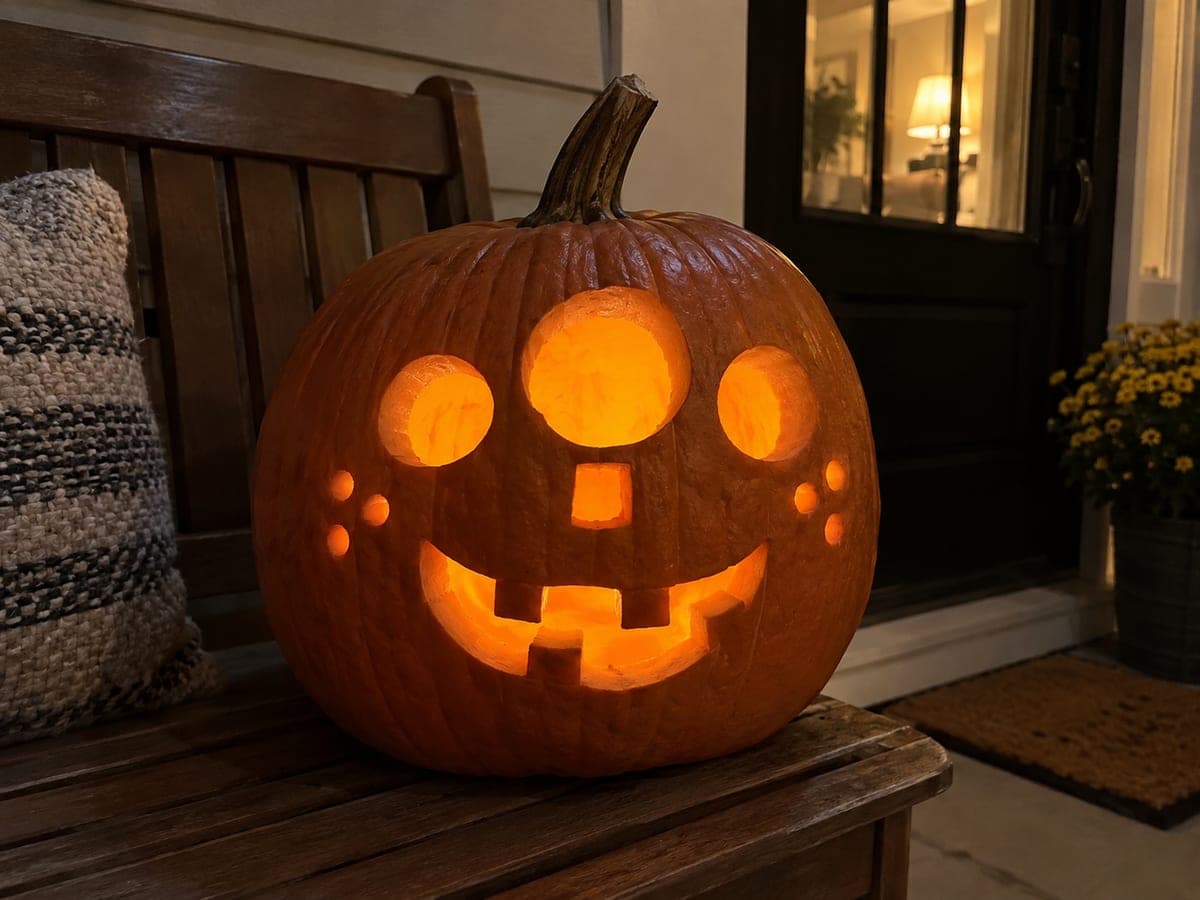
Three Eyes and Four Teeth
Three round eyes of different sizes line up above a small rectangular nose and a wavy grin broken by four square teeth, giving this mutant jack-o'-lantern a delightfully goofy personality. The eyes, nose, and mouth are all cut through, with the teeth left as tabs, and tiny freckle dots may be etched shallow on the cheeks. A medium carve mainly for tooth care; cut into the grin from between the teeth so each square tab keeps its corners.
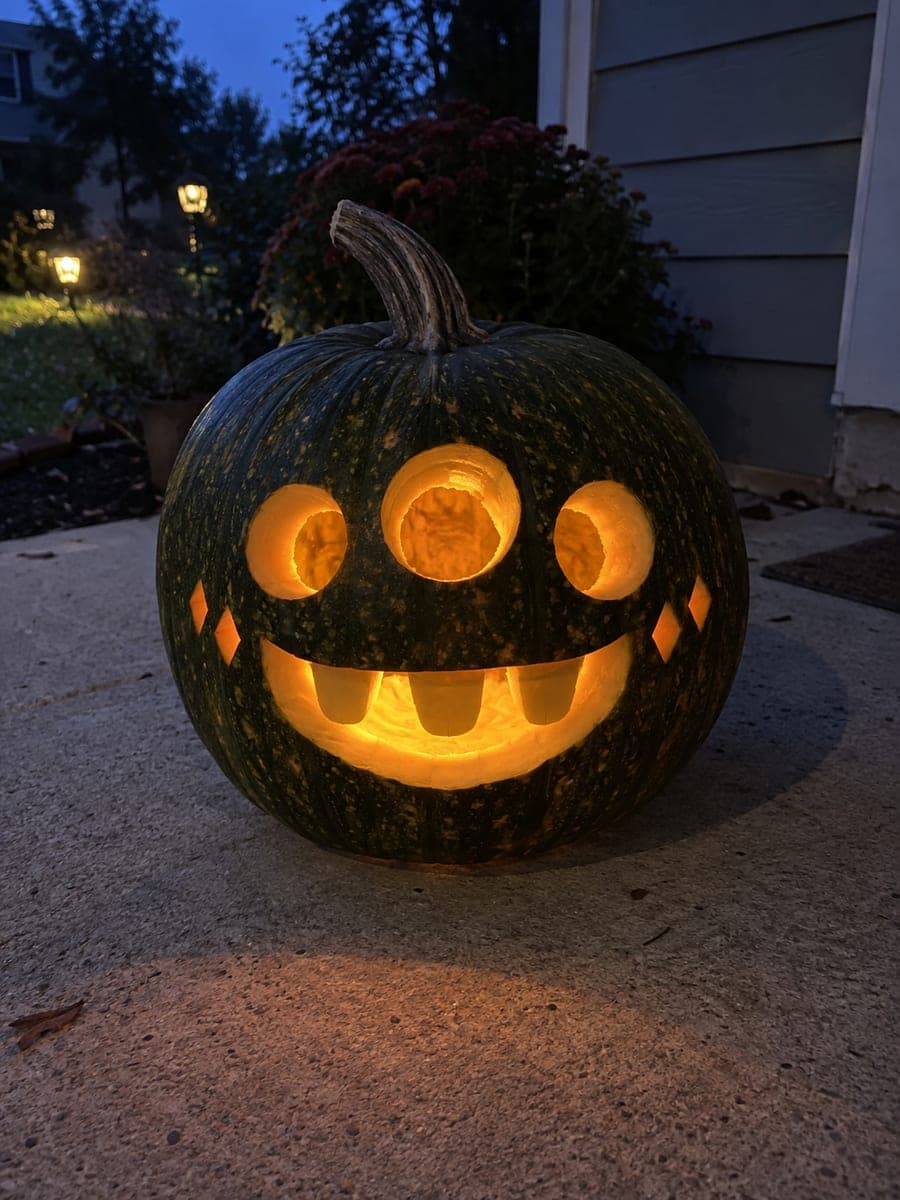
Three Eyes and Rounded Teeth
Three round eyes line up across the brow of this cheerful monster, above a wide grinning mouth with four rounded teeth hanging from the top lip and a small diamond accent cut on each cheek. The eyes, diamonds, and mouth are cut through, with the teeth left attached to the upper mouth edge. At medium difficulty, the main care point is those hanging teeth: cut around each one gently, and try it on a green or warty pumpkin for extra monster energy.

Three Eyes and Wide Oval Mouth
A delightfully weird mutant face with three round eyes arranged in a triangle above one huge wide oval mouth. All four shapes are pierced through, and the extra eye instantly turns an ordinary pumpkin into a little alien visitor. This is an easy carve with no fragile parts; leave at least an inch of rind between the eyes and the mouth rim so the bridge stays strong.
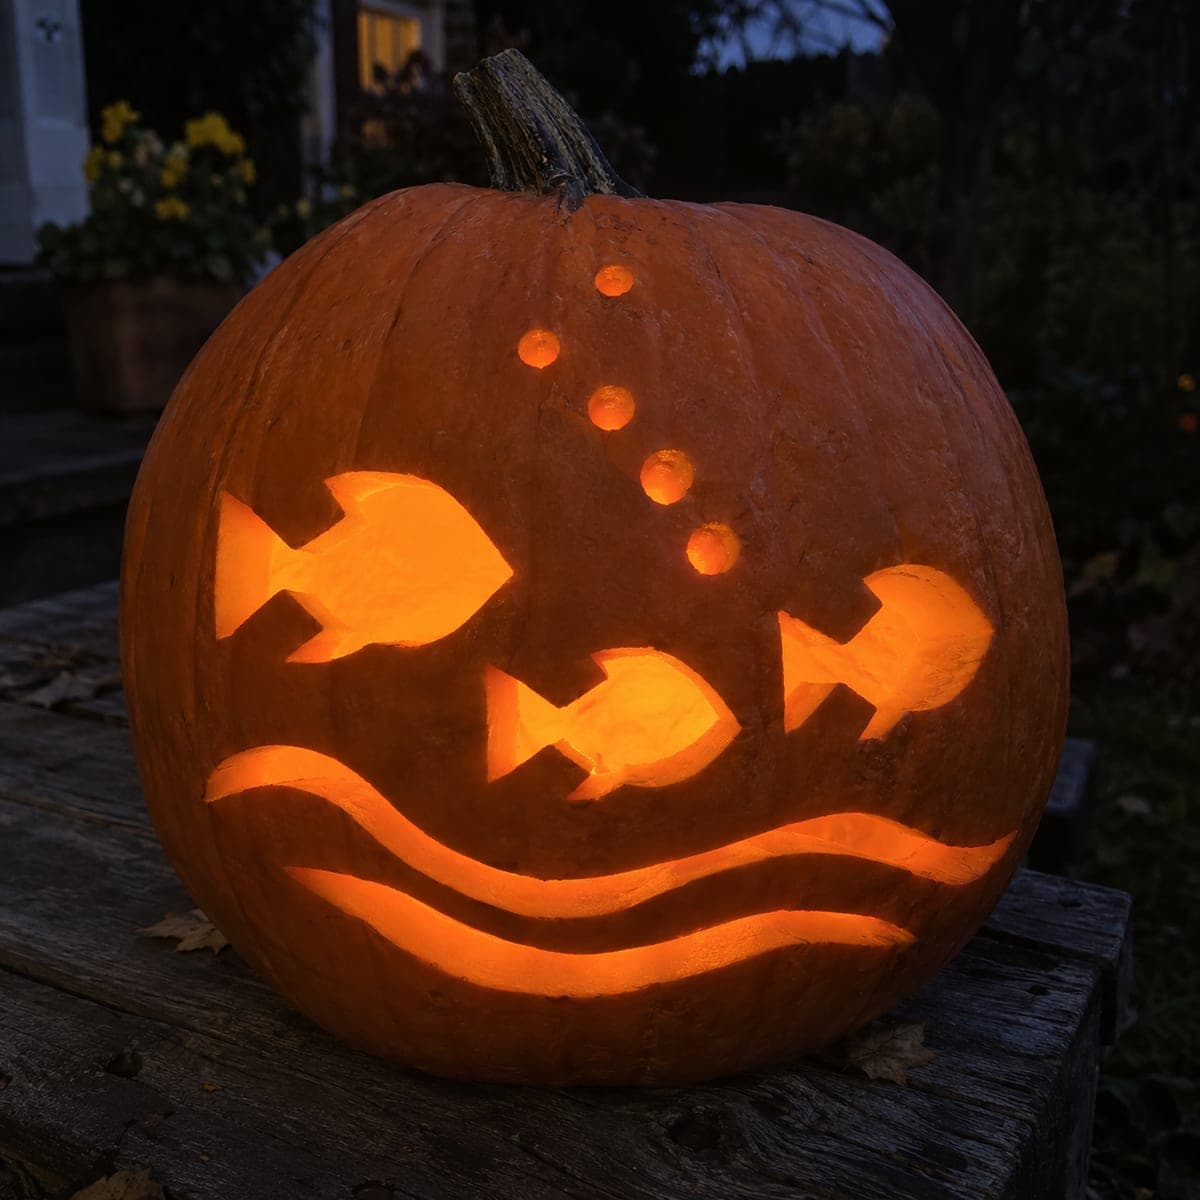
Three Fish Above Two Waves
Three fish swim in a loose diagonal school above two rolling wave bands, with a trail of round bubbles rising toward the stem. Every element is cut through: fish bodies with notched tails, the long curved waves, and the bubble dots all become glowing openings. The waves are the longest cuts, so brace the pumpkin and saw them in smooth continuous strokes; poke the bubbles out first with a round tool while the wall is solid.

Three Flames and Three Embers
Three teardrop flames of different heights rise across the pumpkin, with three small round embers floating above them like drifting sparks. Every flame and ember is cut fully through, so a candle inside makes the whole design flicker like real fire. Cut each flame from its rounded base up to the curved tip in one flowing motion, and drill-start the little ember dots so they come out perfectly round.
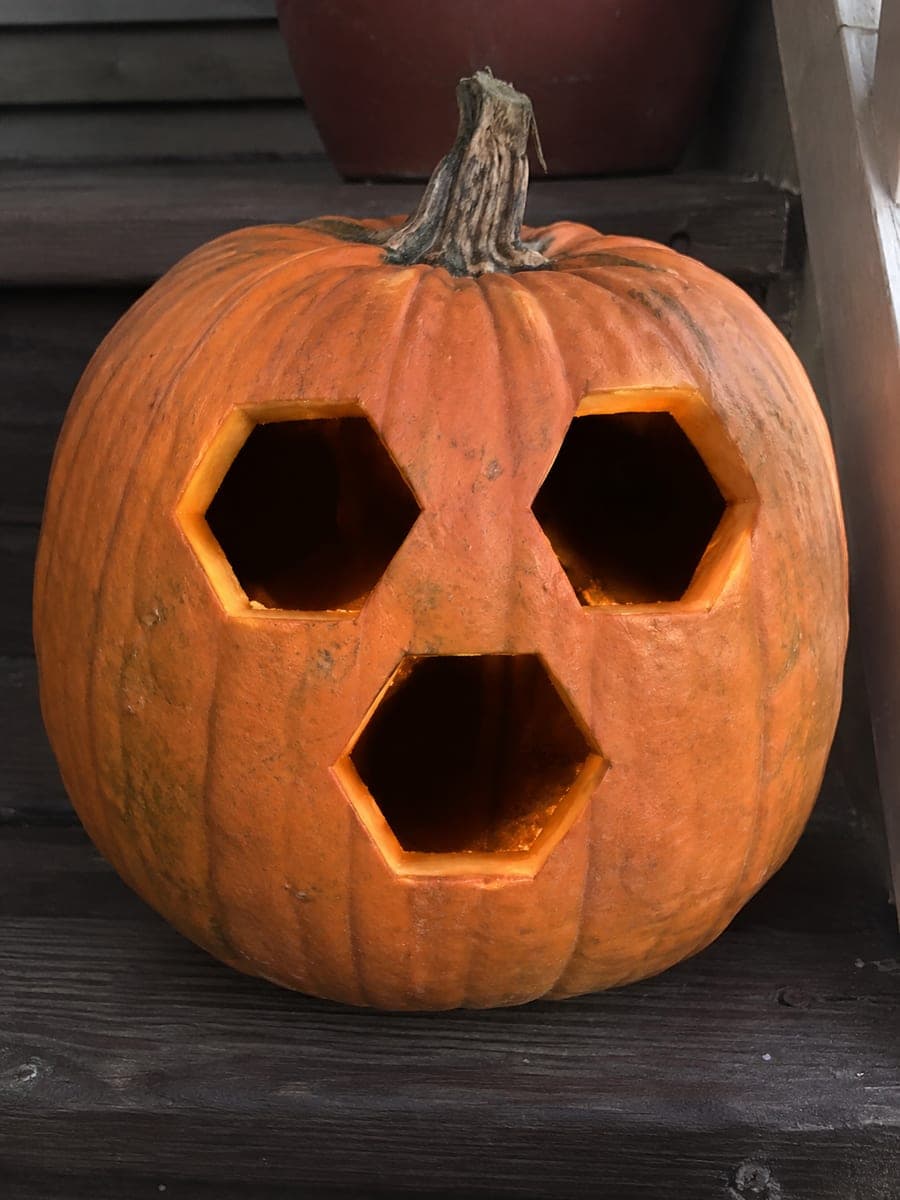
Three Honeycomb Openings
Three big hexagons are arranged like a honeycomb cluster, two side by side up top and one centered below, each cut cleanly through the wall. The result is a modern geometric lantern that glows in warm golden cells. Straight edges are the whole game here, so score each hexagon side with a ruler or card edge before cutting, and the easy design will look precision-made when lit.
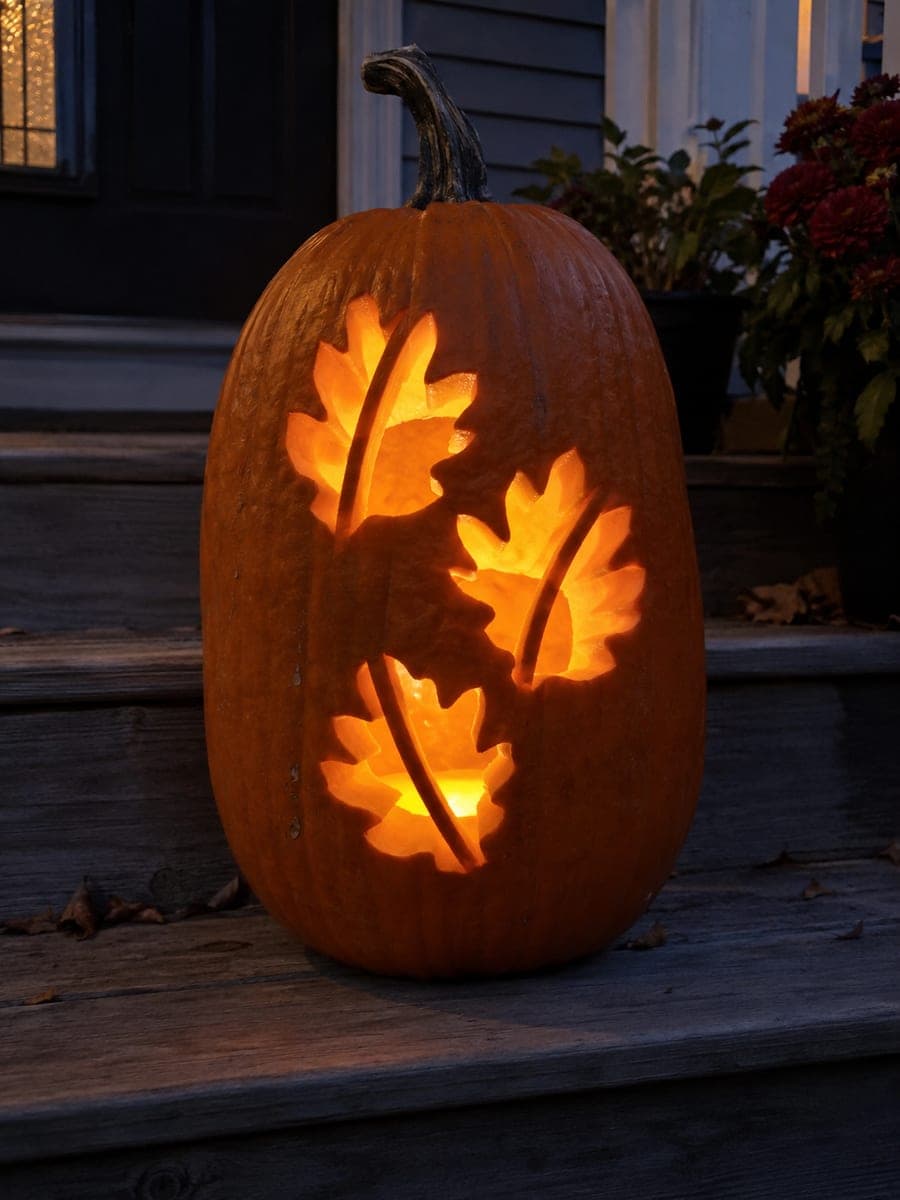
Three Leaves With Kept Veins
Three oak-style leaves tumble down the tall face of the pumpkin, each one cut through around its lobed outline while a central vein of rind is kept intact up the middle. Those uncut vein strips split each glowing leaf in two and give the design its realistic structure. The veins are also the fragile part of this medium carve, so cut each leaf as two separate halves on either side of the vein and never pry against the strip itself.
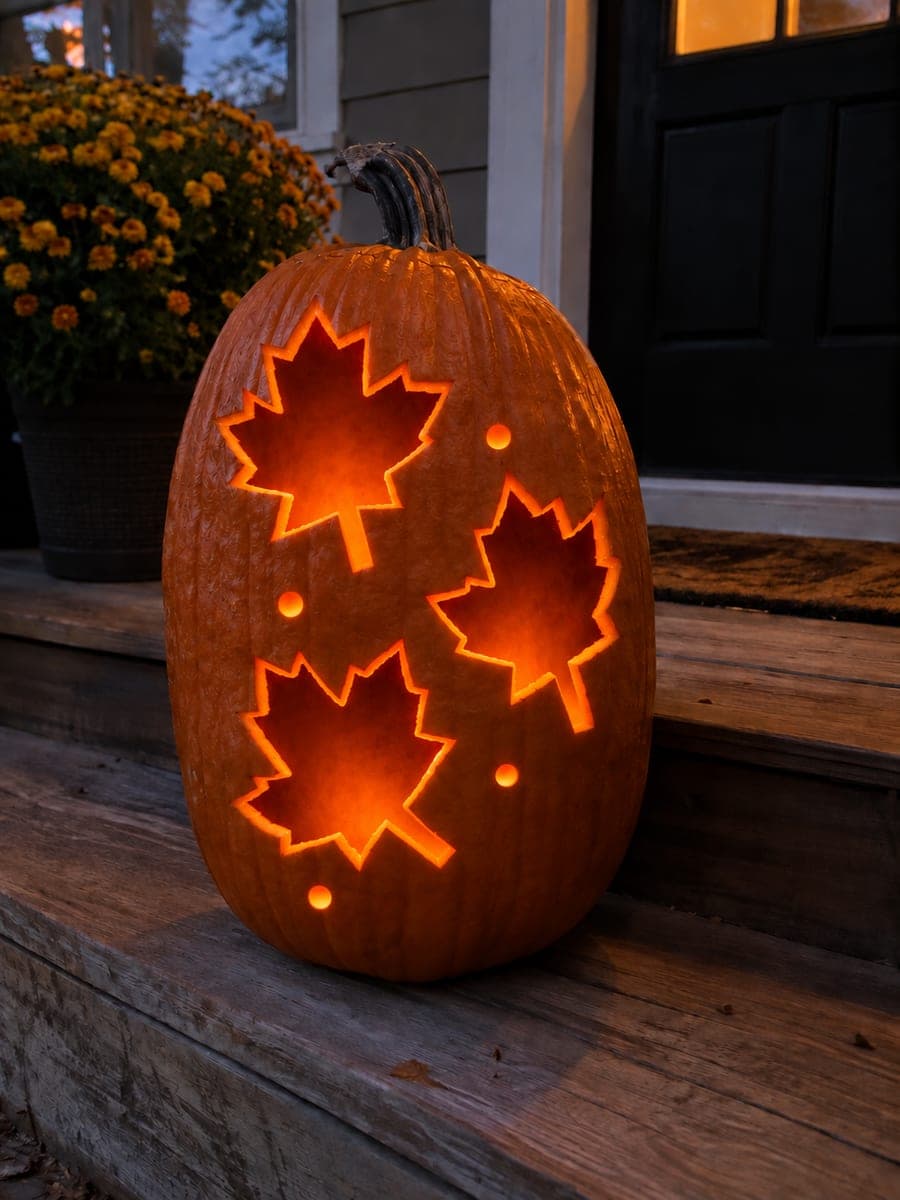
Three Maple Leaves and Dots
Three maple leaves drift diagonally down the pumpkin, each one cut fully through with its stem, and small round holes scattered between them like floating seeds. The pierced leaves throw crisp, recognizable maple silhouettes of light, making this a lovely all-autumn design rather than a strictly Halloween one. Saw each leaf point from the tip inward and remove the waste in sections so the notched edges stay sharp.

Three Mountains and Moon
A minimalist night landscape made of three simple triangle peaks in a row with a full round moon floating above them. Each triangle and the circle are cut cleanly through, turning the pumpkin into a tiny glowing mountain scene. This is one of the easiest patterns to carve; keep the triangle points sharp by cutting into each corner from both directions instead of turning the blade.

Three Mushrooms and Four Dots
Three toadstool mushrooms of staggered heights cluster at the base of a tall pumpkin, with four round dots floating above them like drifting spores. The mushroom caps, stems, and dots are all cut fully through, so the whole woodland scene glows as connected pools of light. For this medium carve, cut the two small side mushrooms first to warm up, then tackle the big center cap; leave the narrow stem-to-cap junctions until your final passes.
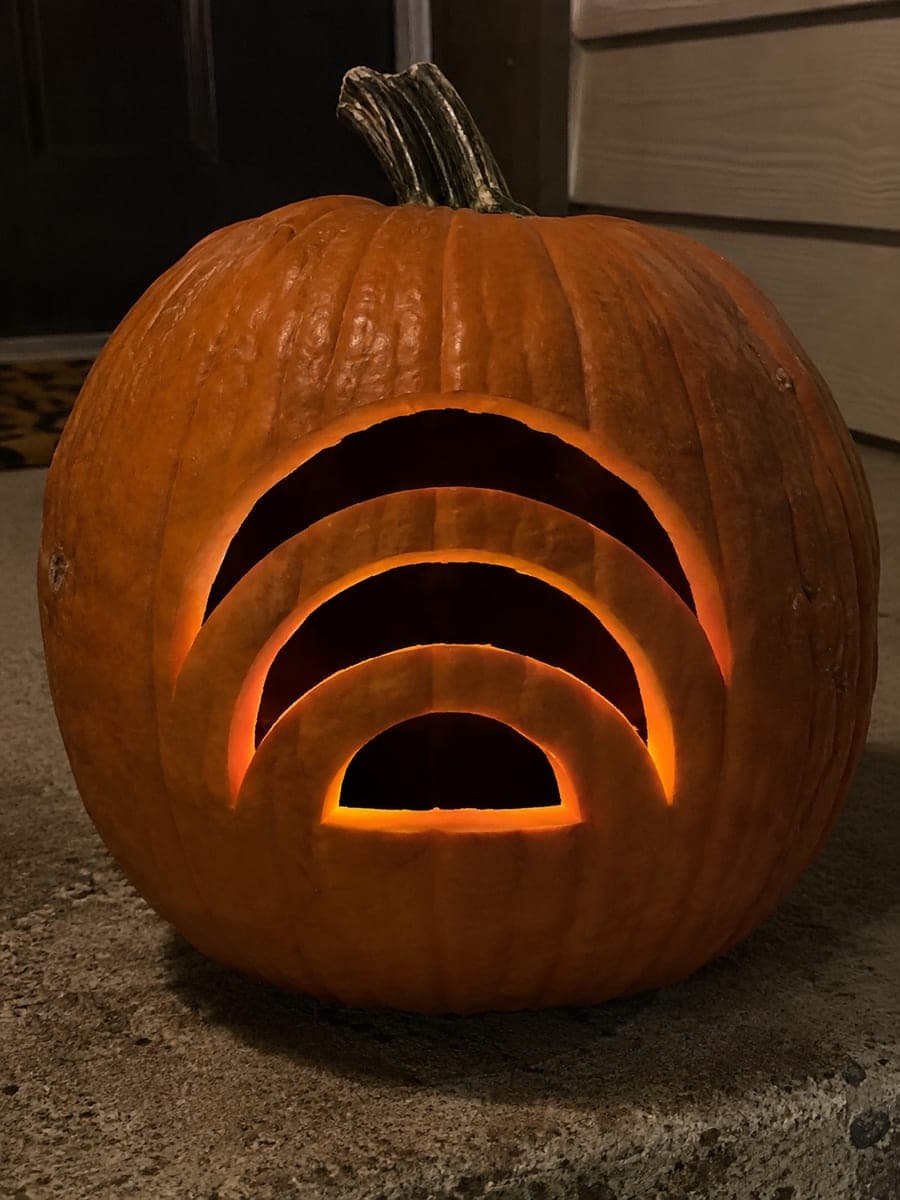
Three Rainbow Arches
Three nested arches stack like a glowing rainbow, each band cut fully through so the pumpkin lights up in bright concentric ribbons. The strips of pumpkin left between the arches form the rainbow's dark bands and keep the wall sturdy. It is an easy design with big visual payoff; cut the smallest inner arch first and work outward, and keep the leftover ribs at least half an inch wide so they stay strong.
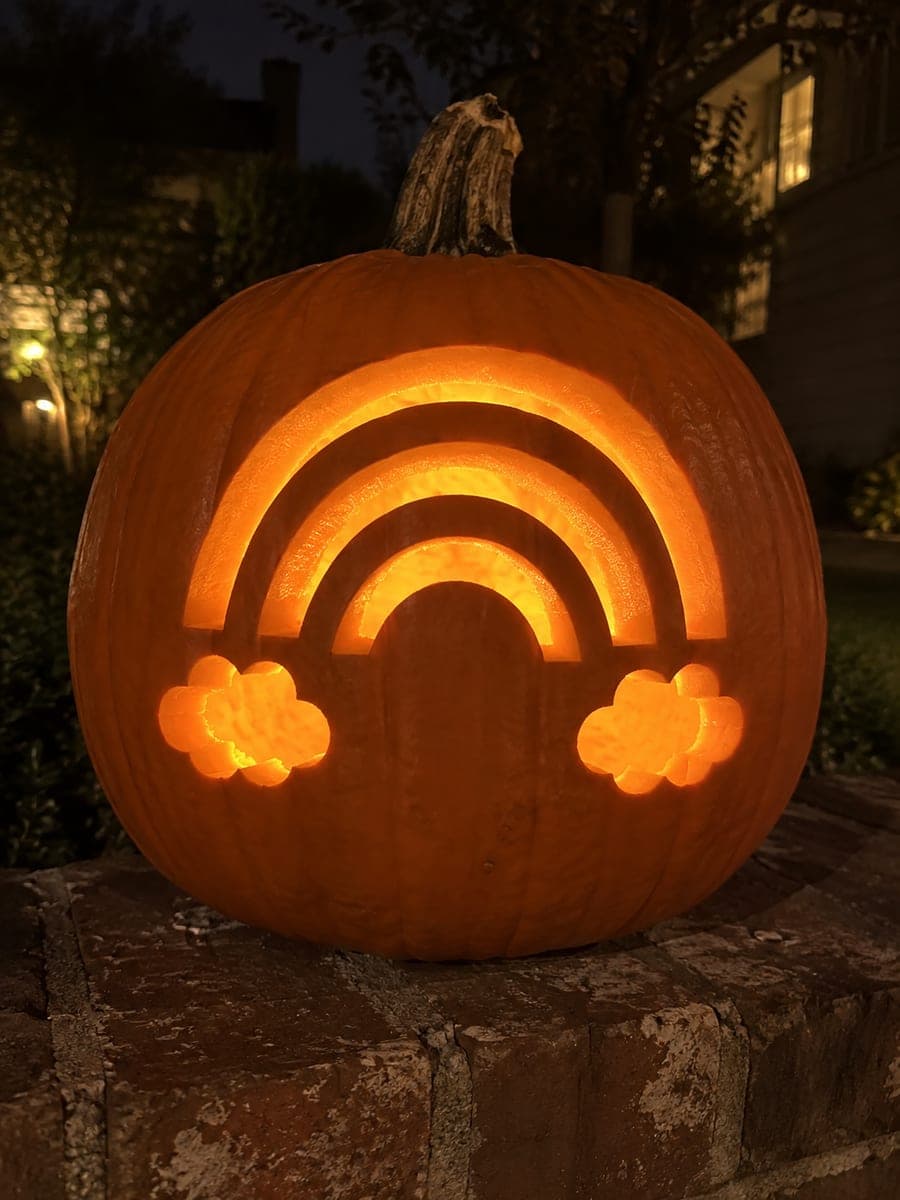
Three Rainbow Arcs and Clouds
Three nested rainbow arcs stretch across the pumpkin, each end tucking into a puffy little cloud at the bottom corners. The arcs and clouds all cut through the wall, and the thin ribs of skin left between the arcs are what give the rainbow its striped look. Cut the innermost arc first and work outward, supporting each rib with your free hand so those curved strips do not snap.
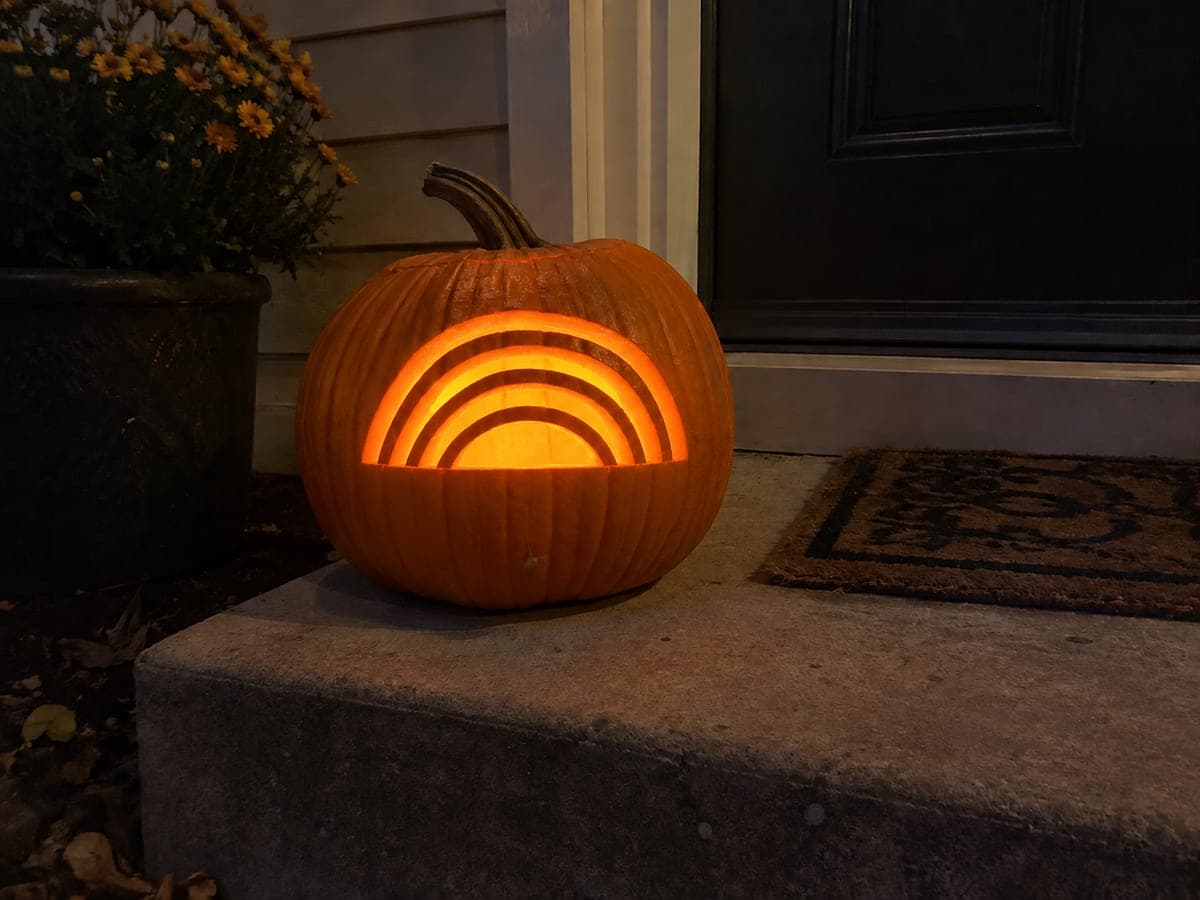
Three Rainbow Arcs and Sun
Three nested rainbow arcs curve over a low half circle sun, filling the bottom of the pumpkin with stacked bands of light. Each arc is cut through while narrow ribs of rind stay between the bands, which is what creates the layered glow. Keep those ribs at least half an inch wide as you carve this medium design, since they carry all the structure.
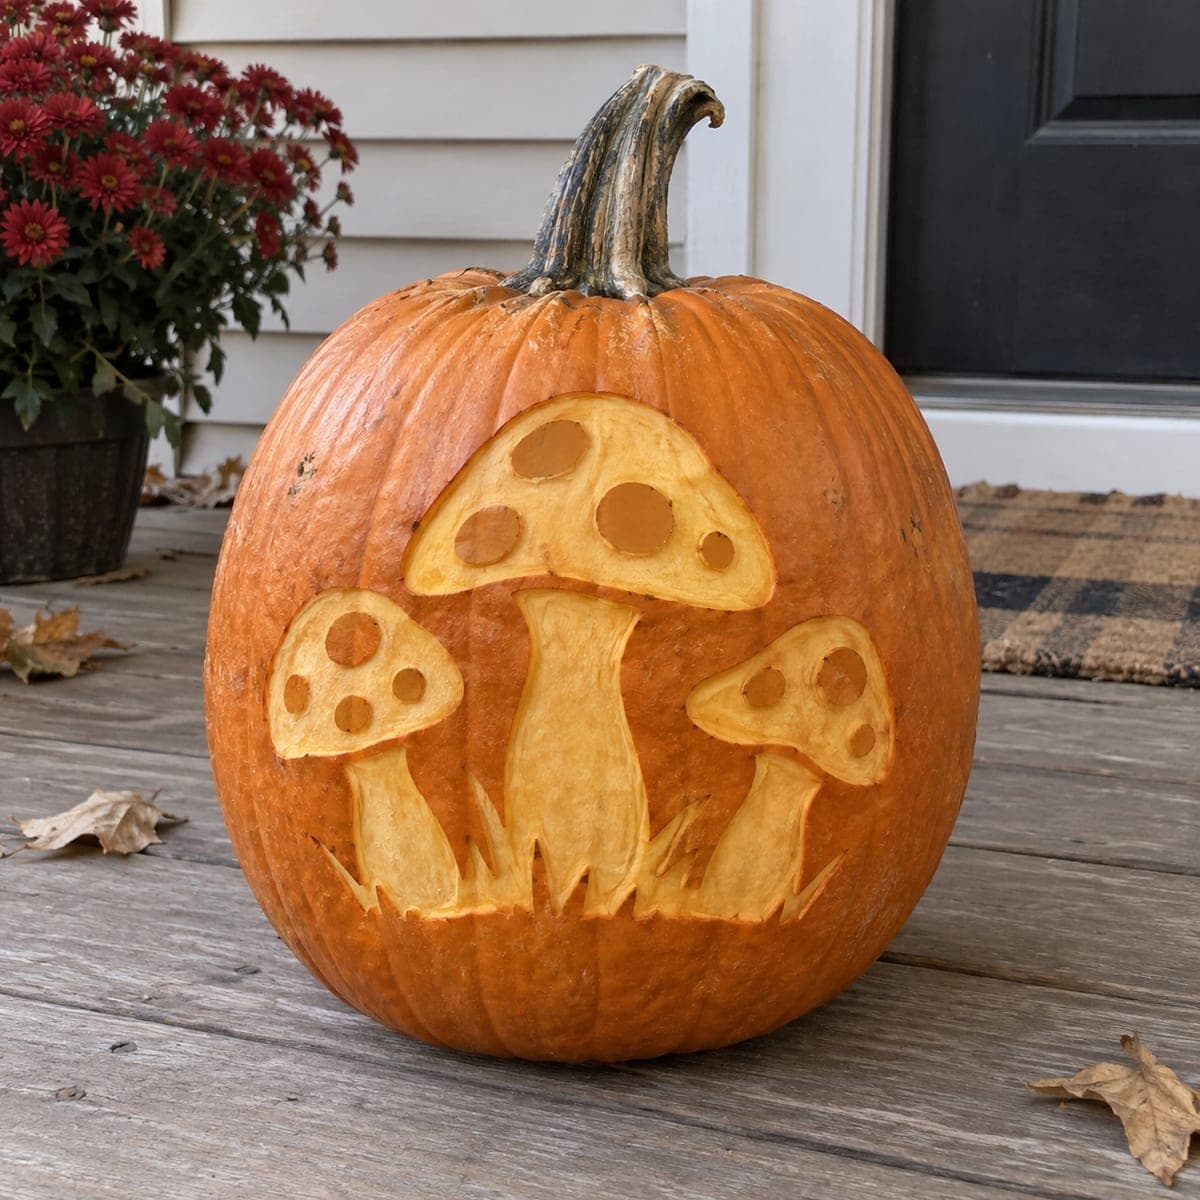
Three Spotted Mushrooms
Three spotted toadstools rise from a tuft of grass, one tall cap flanked by two smaller mushrooms. This is a shading pattern: you shave away the skin around the stems and caps so they glow softly, while the round spots are scraped a touch deeper for contrast. Nothing is pierced through, which keeps the pumpkin sturdy. Work in shallow layers and stop when light just starts to show through the wall.