Similar to This
View all stencils →About this stencil
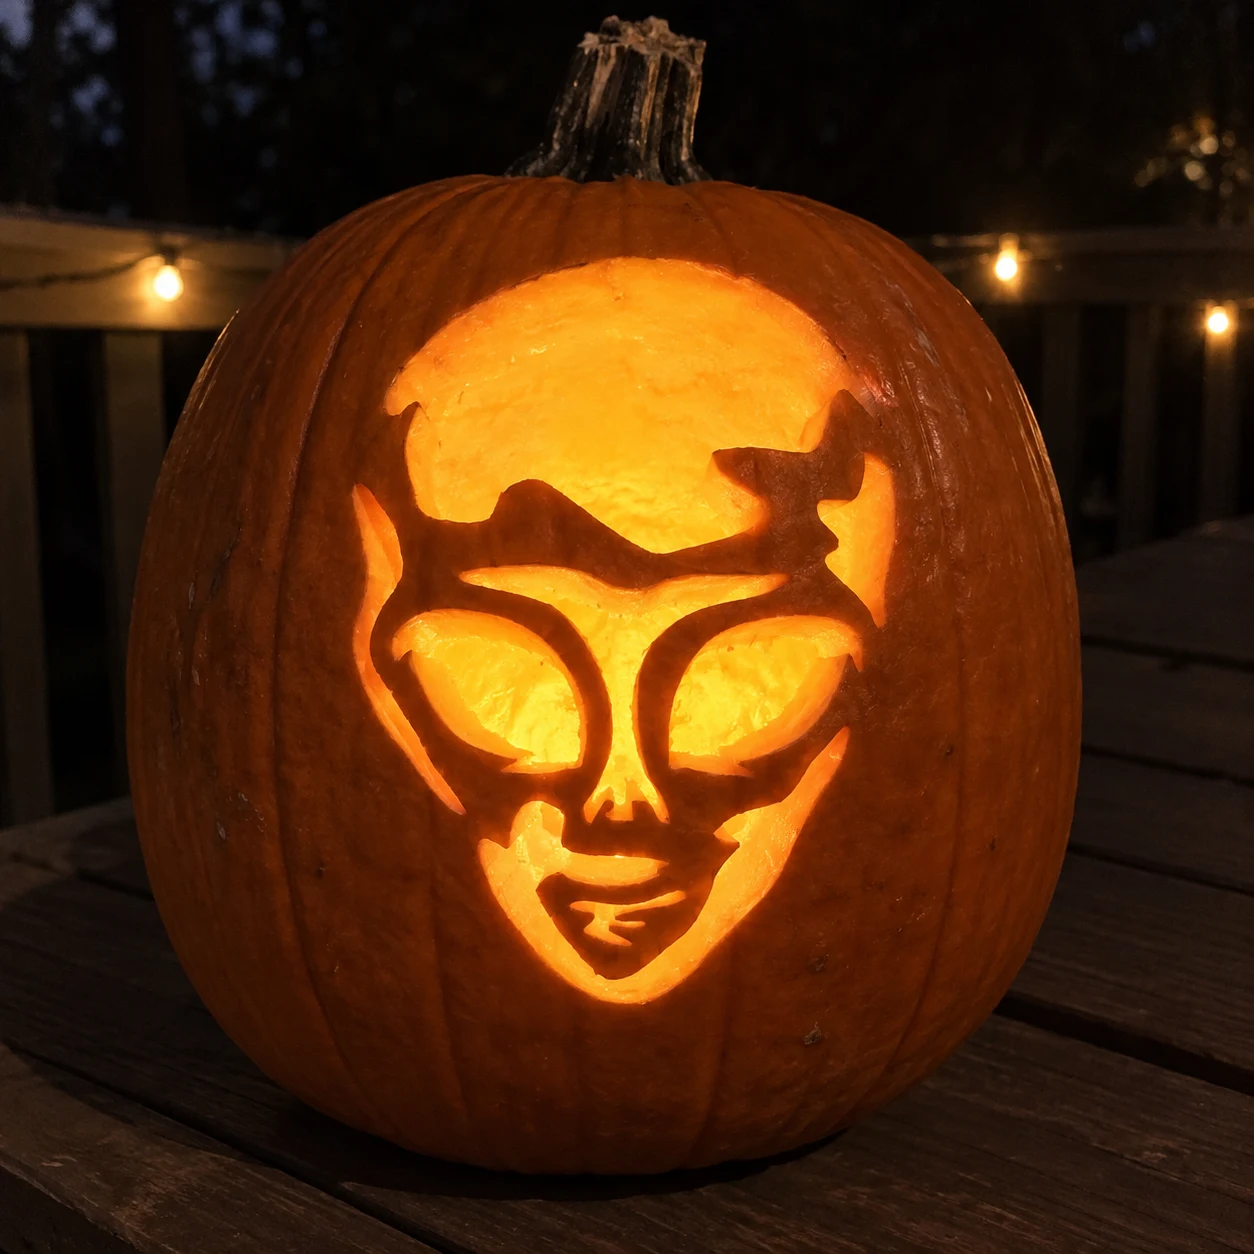
An alien face with oversized teardrop eyes, a broad domed cranium, and subtle nostril and lip details fills this space pumpkin stencil as a single large cut-out with internal skin bridges defining the facial features. The large eyes are open negative spaces separated from the head background by thin arching brow ridges, which are easily the most fragile element. Carve the outer head silhouette first, then remove the large eye areas, keeping the blade tight against the brow-ridge boundary to preserve that thin curved strip of pumpkin skin. This design is rated Beginner-friendly and takes most carvers around 30 minutes from trace to glow. Great for kids and first-timers. Big shapes, short cuts.
Pumpkin size guide
- 🎃 Small (5–7") — print at 80%
- 🎃 Medium (7–10") — print at 100% (recommended)
- 🎃 Large (11–13") — print at 130%
- 🎃 Giant (14"+) — print at 150% on tabloid paper
Frequently asked questions
Can I resize this stencil?▾
Yes. The PDF is vector so it scales cleanly. Print at 100% for a 7–10 inch pumpkin, 130% for 11–13 inch, or 150% for a giant. Use your printer's "Fit to page" or "Custom scale" setting.
What kind of paper works best?▾
Standard 20 lb letter or A4 printer paper is fine. Heavier paper is harder to bend around the pumpkin curve. If your printer supports it, set the quality to 'best' so the lines are crisp.
How long will the carved pumpkin last?▾
Usually 5–10 days. Coat all cut surfaces with petroleum jelly and store the pumpkin somewhere cool overnight. Avoid direct sun. Battery LED pumpkin lights produce no heat and double the lifespan.
Can I sell pumpkins carved with this stencil?▾
Yes, the carved pumpkin you make is yours. The license covers personal and small-scale commercial carving (selling carved pumpkins, photographing them, posting on social). You may not resell the PDF file itself.
What if my printer doesn't print the whole stencil?▾
Set 'Page scaling' to 'Fit' in the print dialog and uncheck 'Auto-rotate'. If it still cuts off, the design includes 0.25" of safe-area margin so a small crop won't ruin it.
How to carve this stencil
- 1Print it
Download the PDF and print at 100% scale on letter or A4 paper.
- 2Prep the pumpkin
Cut the lid at an angle, scoop the guts, thin the wall to ~1 inch.
- 3Tape it on
Snip darts in the paper so it lies flat against the curve.
- 4Transfer the design
Poke along every line — about one dot every 1/8 inch.
- 5Carve it
Connect the dots with short straight cuts. Center first, work outward.
- 6Light it up
Drop in a battery LED pumpkin light and you're done.
Tools you'll need
For a beginner-friendly carve like this you'll want a paring knife, spoon / scoop, marker, and led pumpkin light. Here's the kit we reach for — start with whatever you already own.

Elmchee Pumpkin Carving Kit
13-piece kit with carrying case
Saws for the larger cutouts, plus a scoop for hollowing. Covers both jobs in one kit.
View on Amazon ↗
HOME MOST LED Pumpkin Lights
4-pack, battery operated, with remote + timer
Orange glow made for jack-o'-lanterns. The remote and timer light the pumpkin every evening without reaching inside.
View on Amazon ↗
Speedball 4131 Lino Cutter Set
Handle + 5 interchangeable cutters
Interchangeable cutters for peeling and shading the face. Useful for the finer details.
View on Amazon ↗
Community Pumpkin Carving Ideas
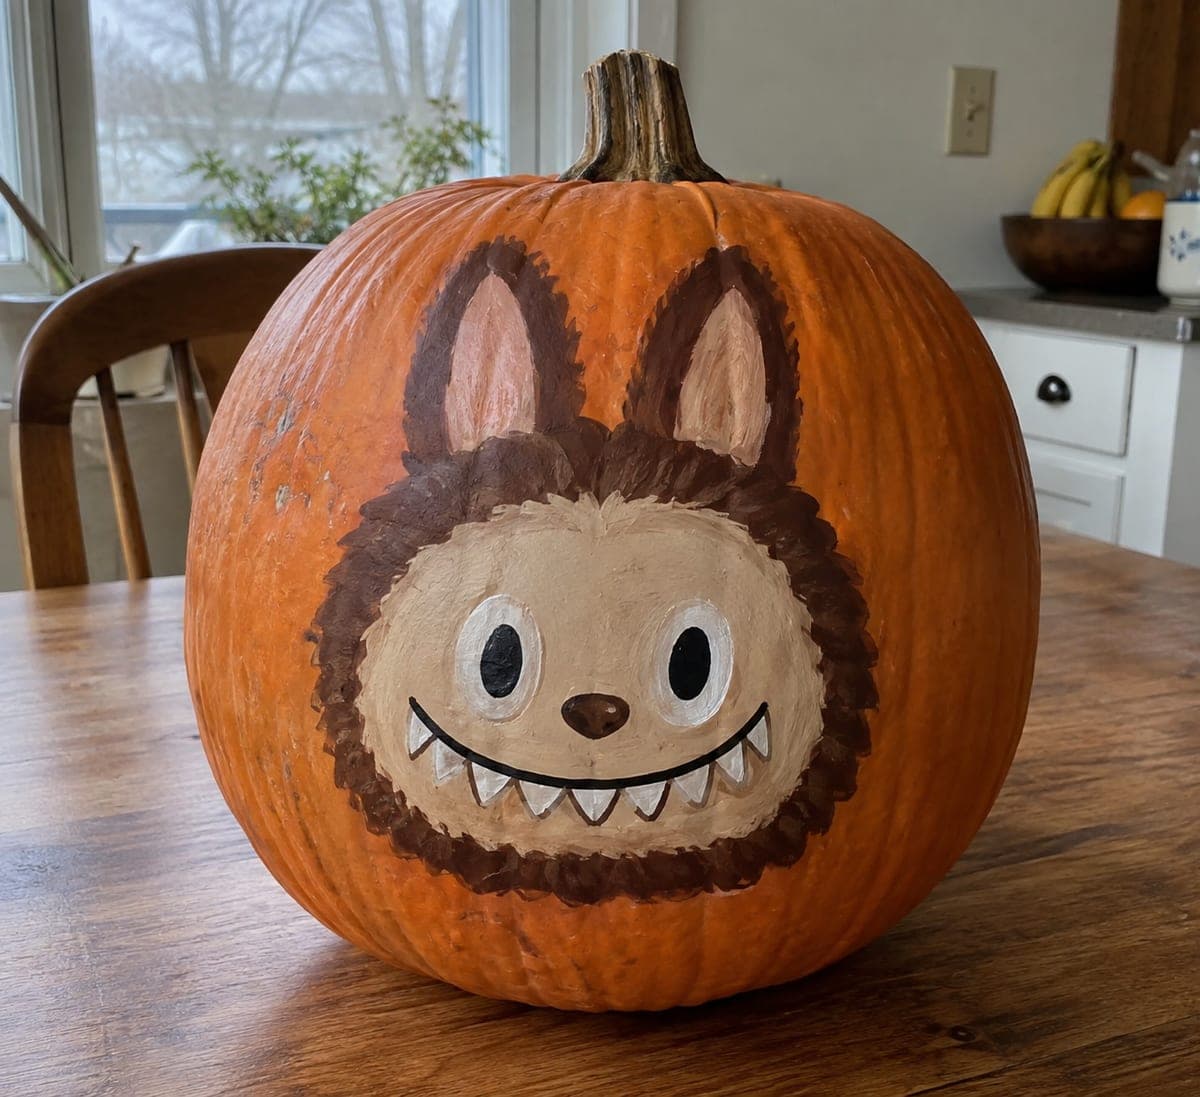
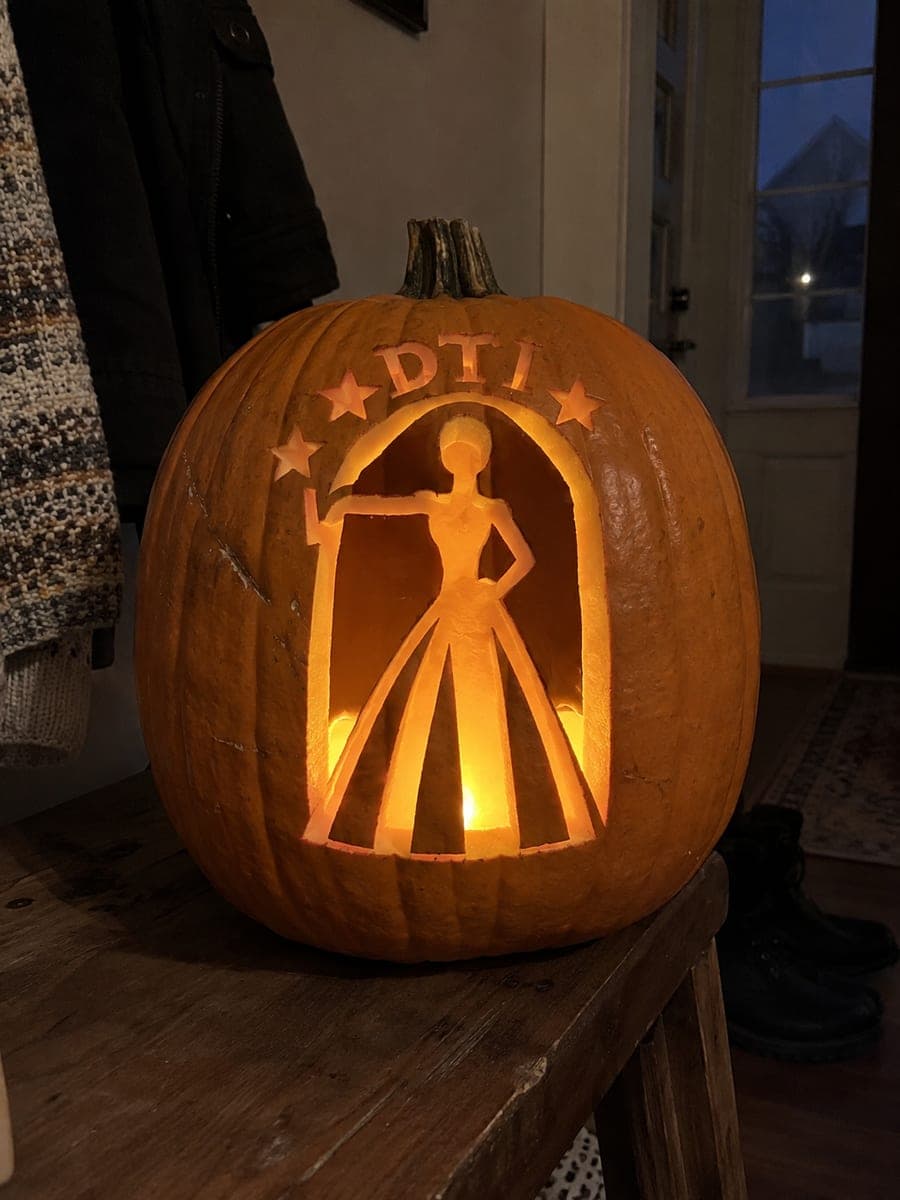
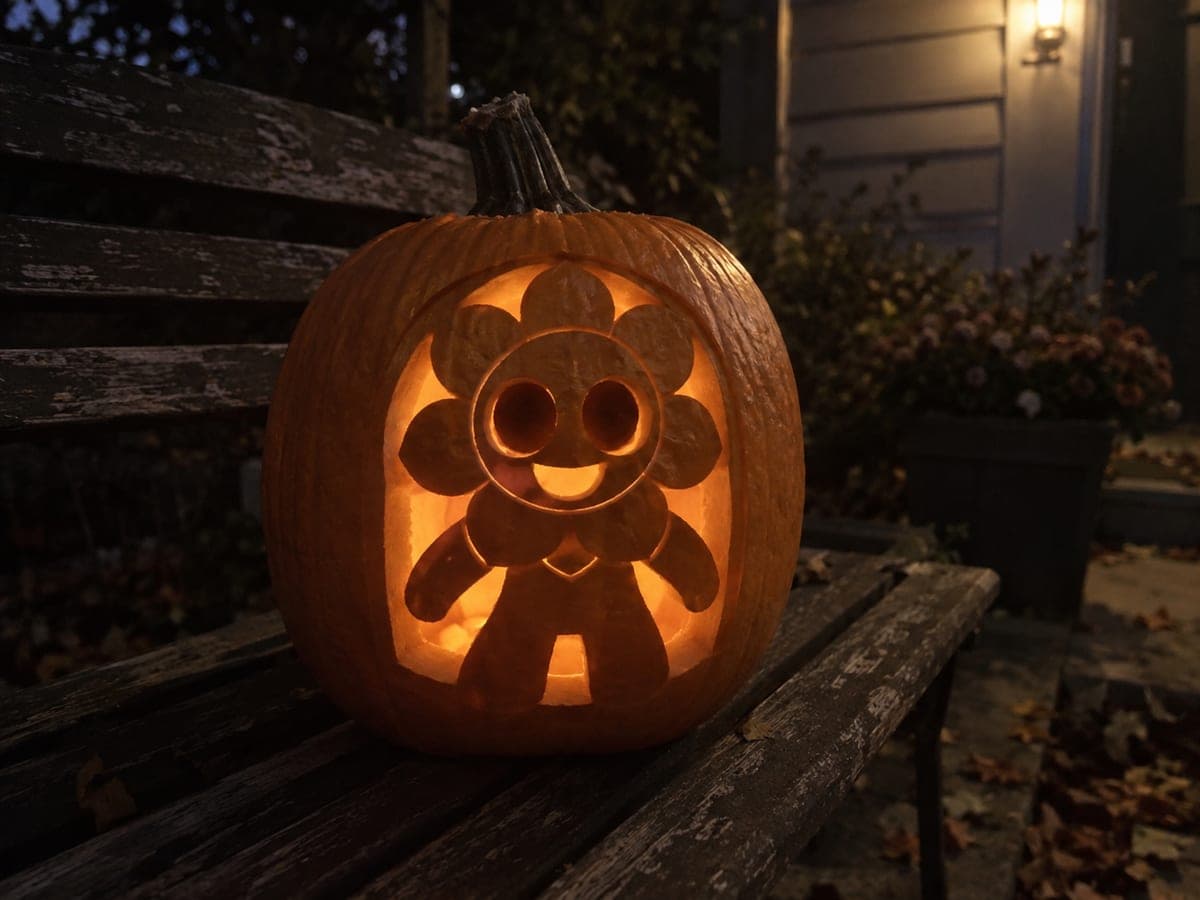
Carving ideas that use stencils like this one.

Related stencils
Carvers who liked this one also downloaded these.
 Intermediate
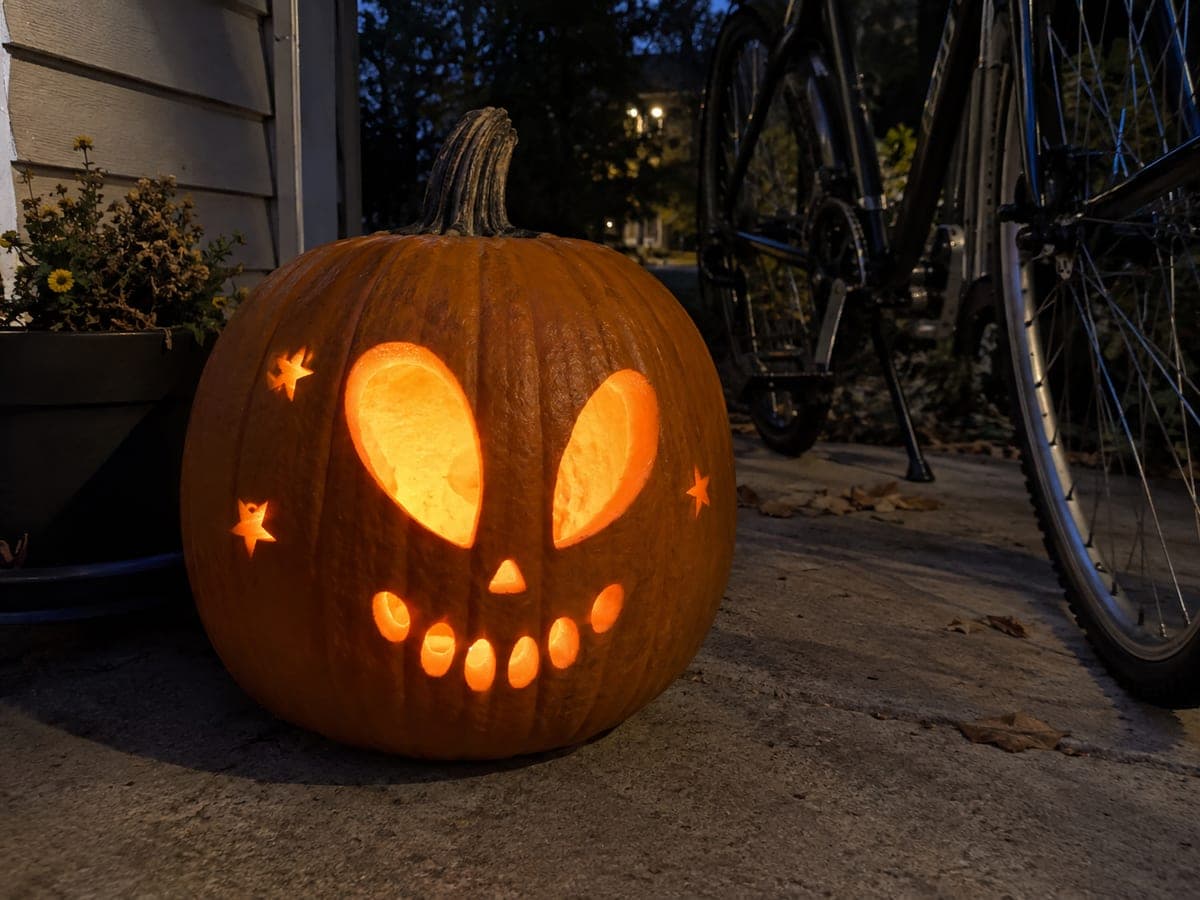
Teardrop Eyes and Three Stars
Two enormous teardrop eyes dominate this quirky alien mug, floating above a tiny triangle nose and a crooked grin made of separate oval mouth slots, with three little stars sprinkled around the face. Every eye, slot, and star is cut through, giving the pumpkin a goofy otherworldly stare. At medium difficulty, carve the huge eyes last since removing that much wall weakens the face, and keep the small oval grin slots evenly spaced.
 Intermediate
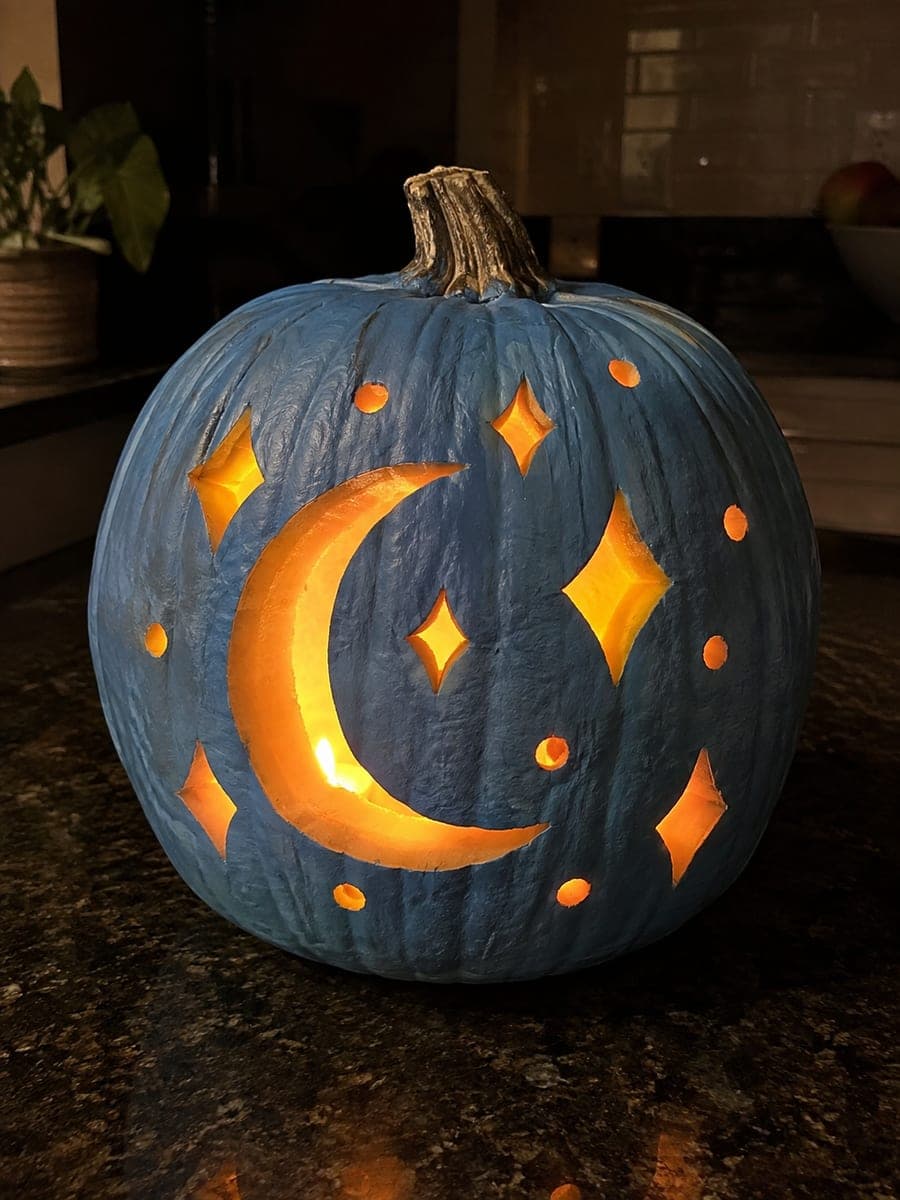
Moon and Six Diamond Sparkles
A large crescent moon anchors the center while six diamond sparkles and a scattering of small round dots twinkle around it, turning the whole pumpkin into a patch of night sky. Every moon, diamond, and dot is a separate pierced opening, so the pattern wraps light in all directions. Carve the crescent first, then the diamonds from largest to smallest, using a drill or apple corer for the tiny circles.
 Intermediate
Seven Stars in a Winding Trail
Seven five-pointed stars of varying sizes wind down the pumpkin in a gentle S-curve, like a constellation trailing across the night sky. Each star is a full cut-through opening, so the finished lantern twinkles from every angle. Star points are where beginners slip, so cut each arm from the outer tip inward toward the center and let the cuts meet, which keeps all five points sharp on every star.
 Intermediate
Three Stars and Small Crescent
Three plump five-pointed stars scatter across the upper face of the pumpkin while a small crescent moon tucks into the lower corner, capturing a dreamy bedtime sky. Every shape cuts cleanly through the wall, and the generous star sizes keep the sawing forgiving. Cut the crescent's inner curve before its outer curve so the thin horn tips at each end release without cracking.
 Intermediate
Ringed Planet and Four Stars
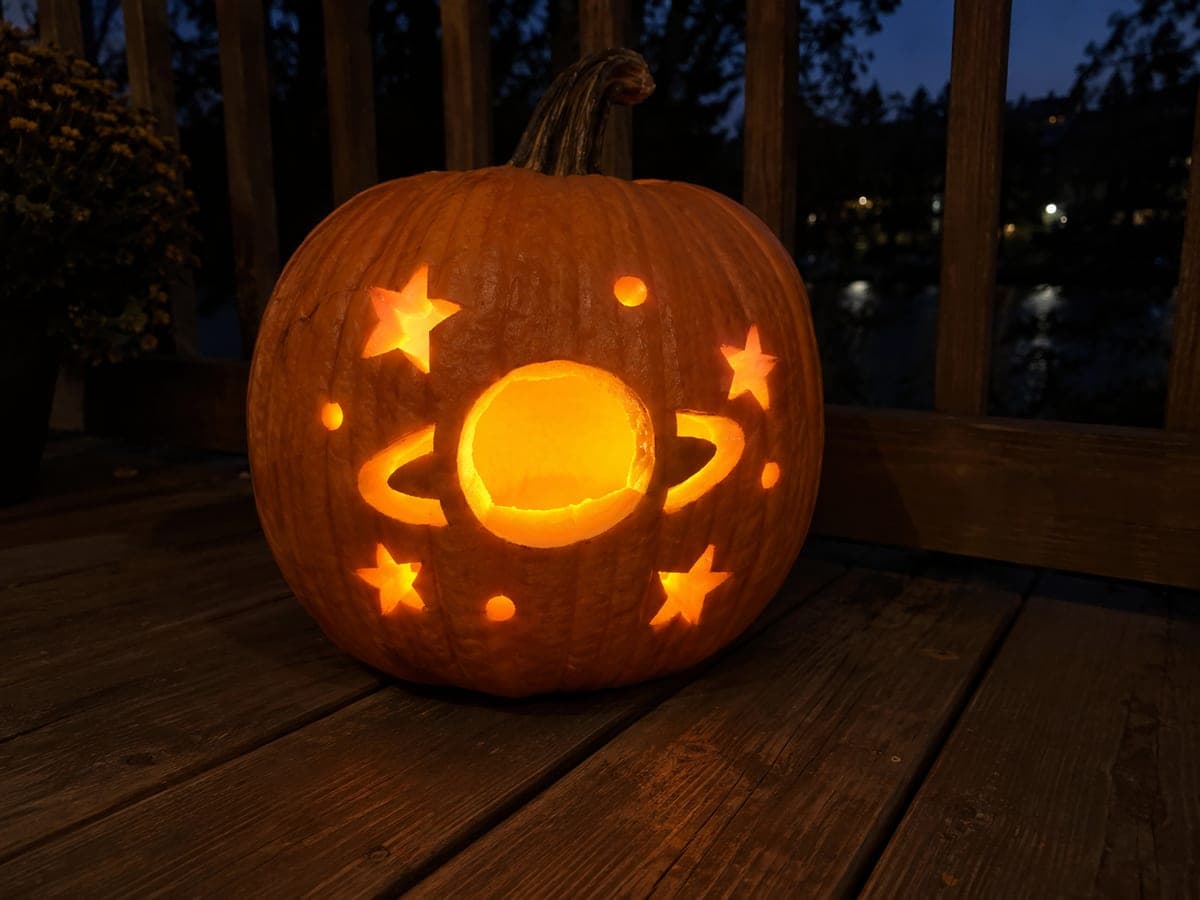
A big ringed planet dominates the middle of the design, its ring sweeping behind the glowing globe as two side wings, surrounded by four pointed stars and a few round dot holes. The planet, ring segments, and stars are all cut through for a bright cosmic display. A great medium pick for space-obsessed kids and tweens; carve the planet circle first, then add the ring wings so the thin rind gap between them stays even.
 Intermediate
Moon with Five Stars and Dots
A large crescent moon anchors the center of the pumpkin while five stars and a sprinkling of small round holes orbit around it. Every element is pierced through the wall, so the finished carve reads as a glowing night sky from across the yard. Carve the crescent first since it is the largest opening, then add the stars, sawing each point from the tip toward the center for clean corners.