Halloween Pumpkin Carving Contest Β· Starts October 1st Β· $500 in prizes
← Back to ideas
@ai_concepts
Aug 30, 2026
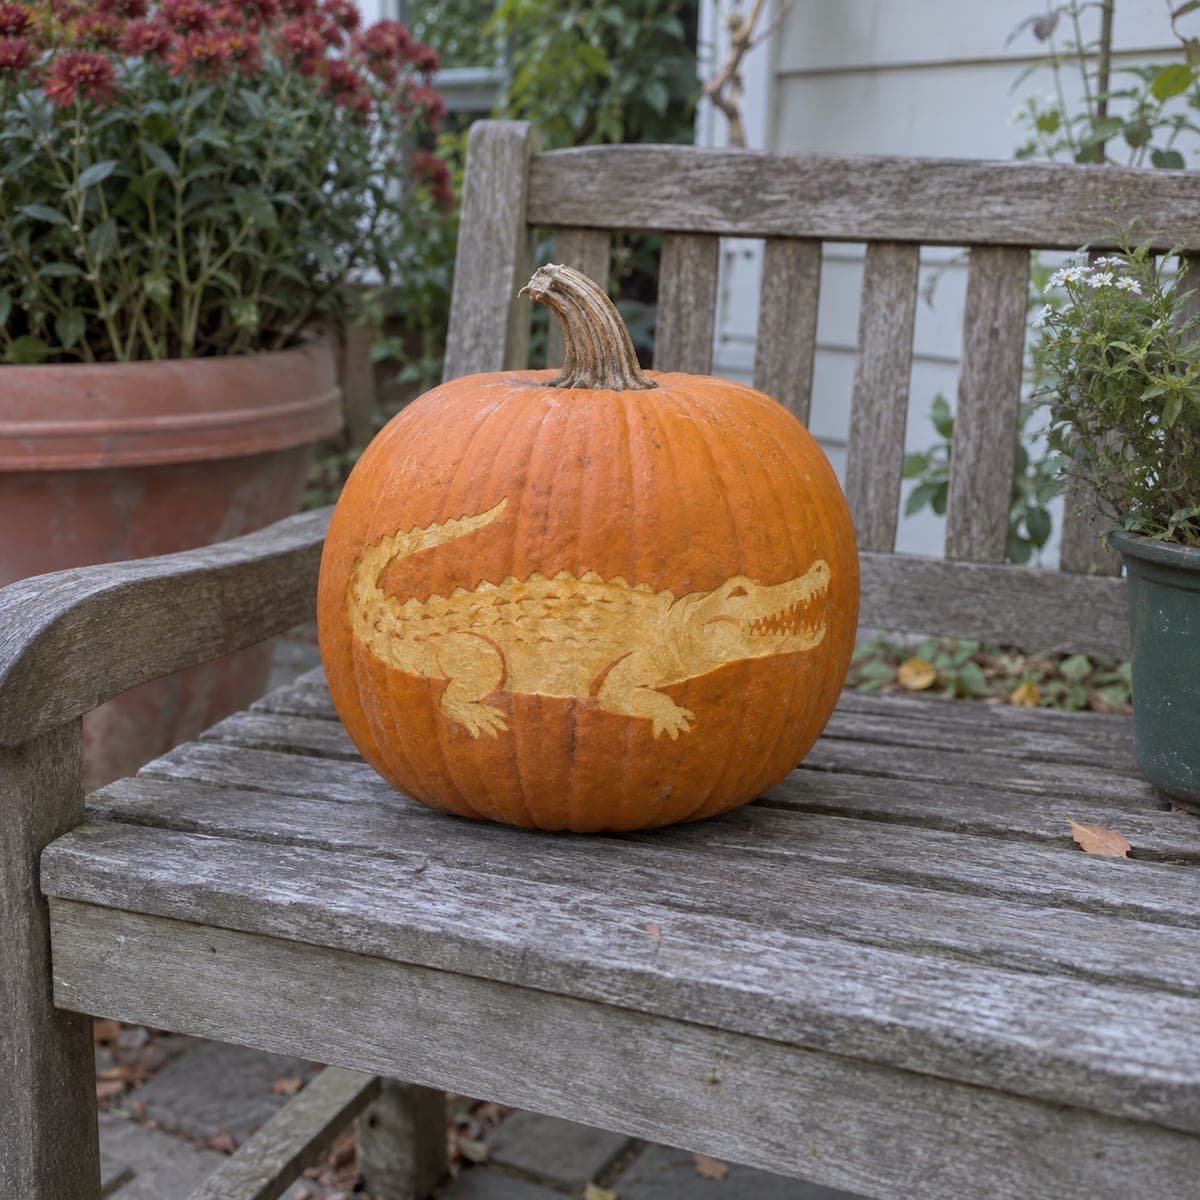
Alligator Etched Pumpkin With Toothy GrinAI
0

Alligator Etched Pumpkin With Toothy Grin

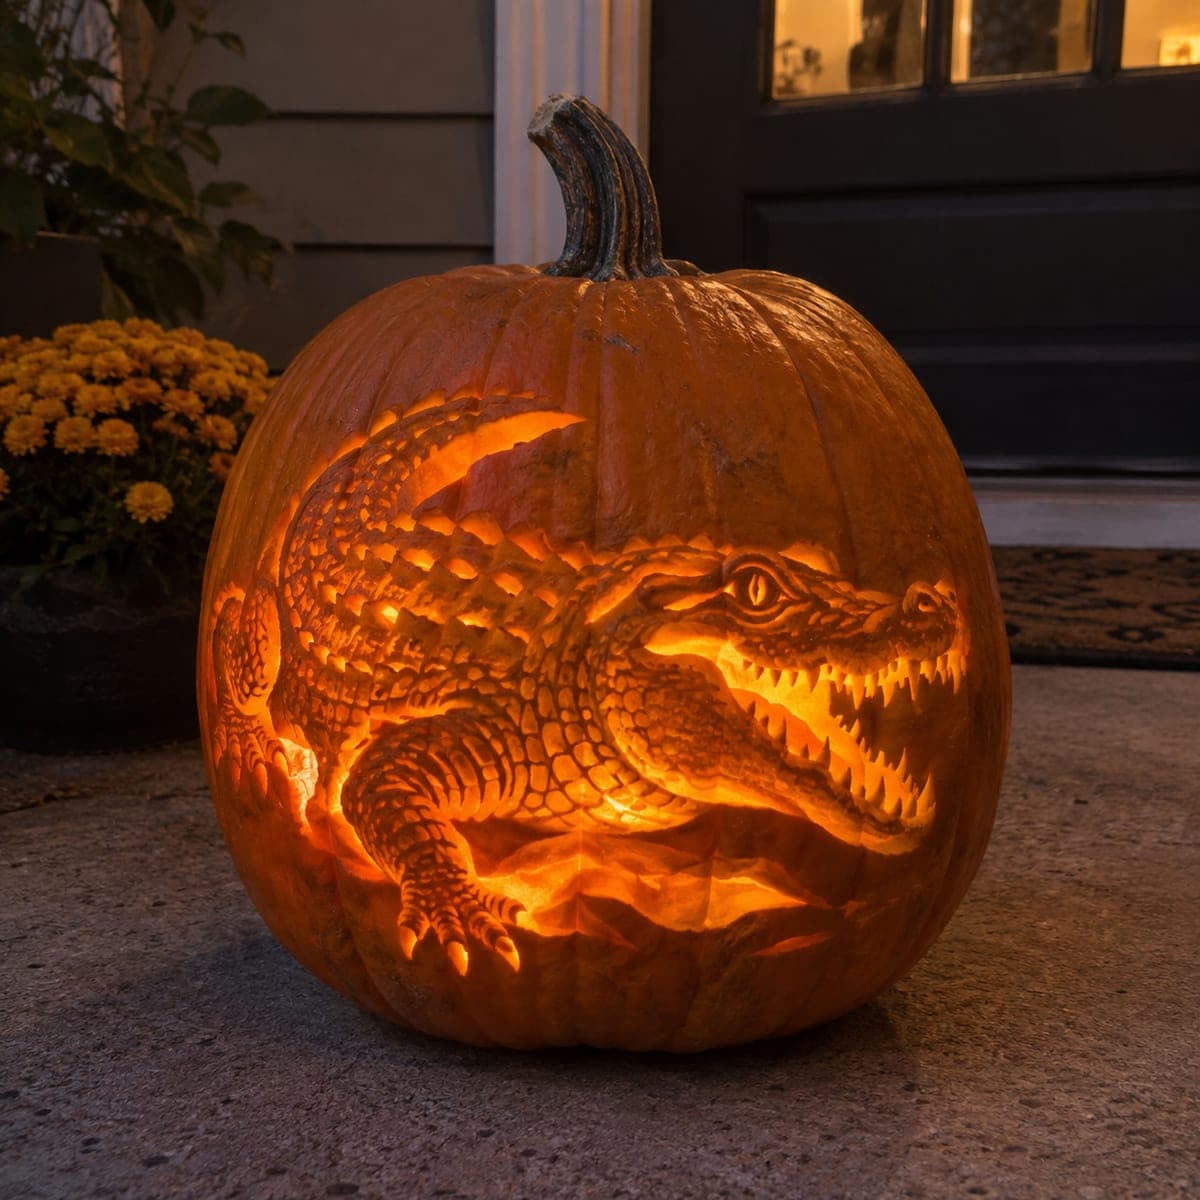
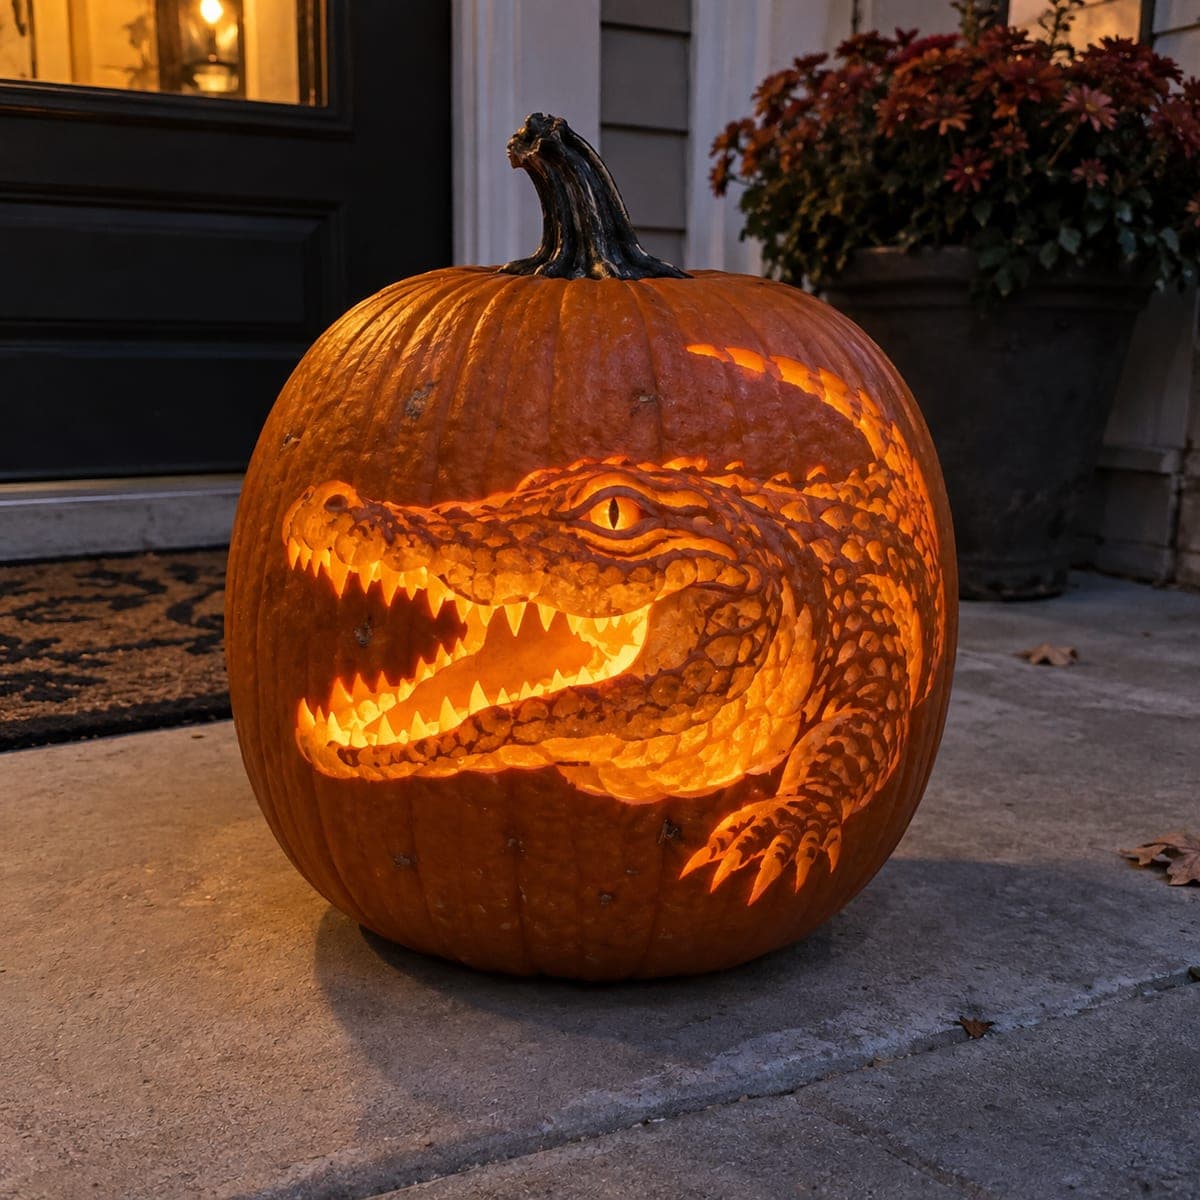
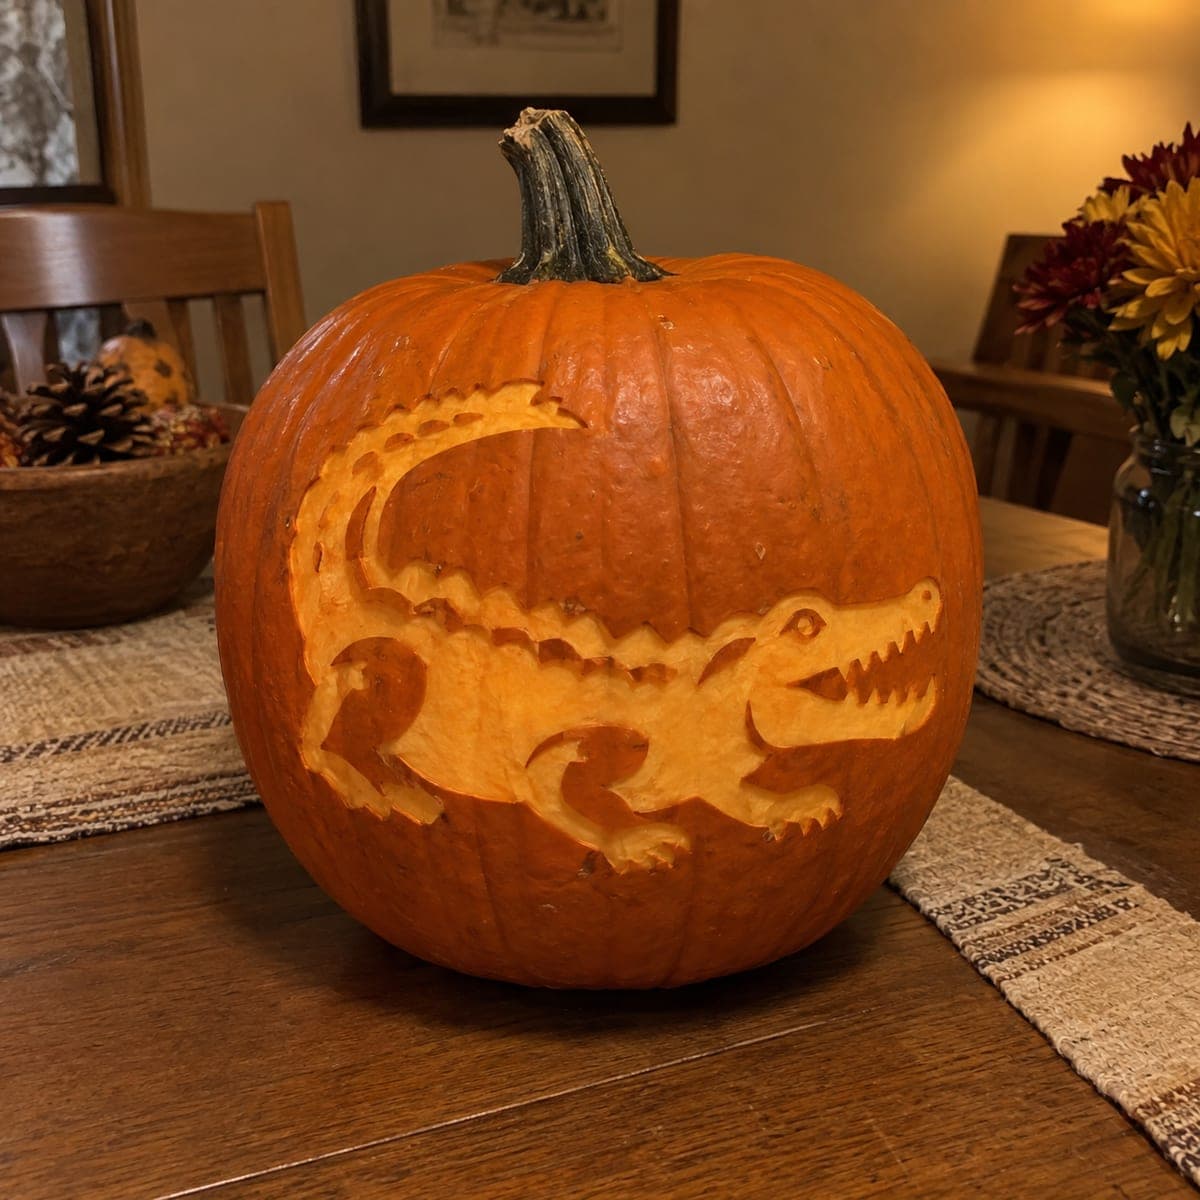
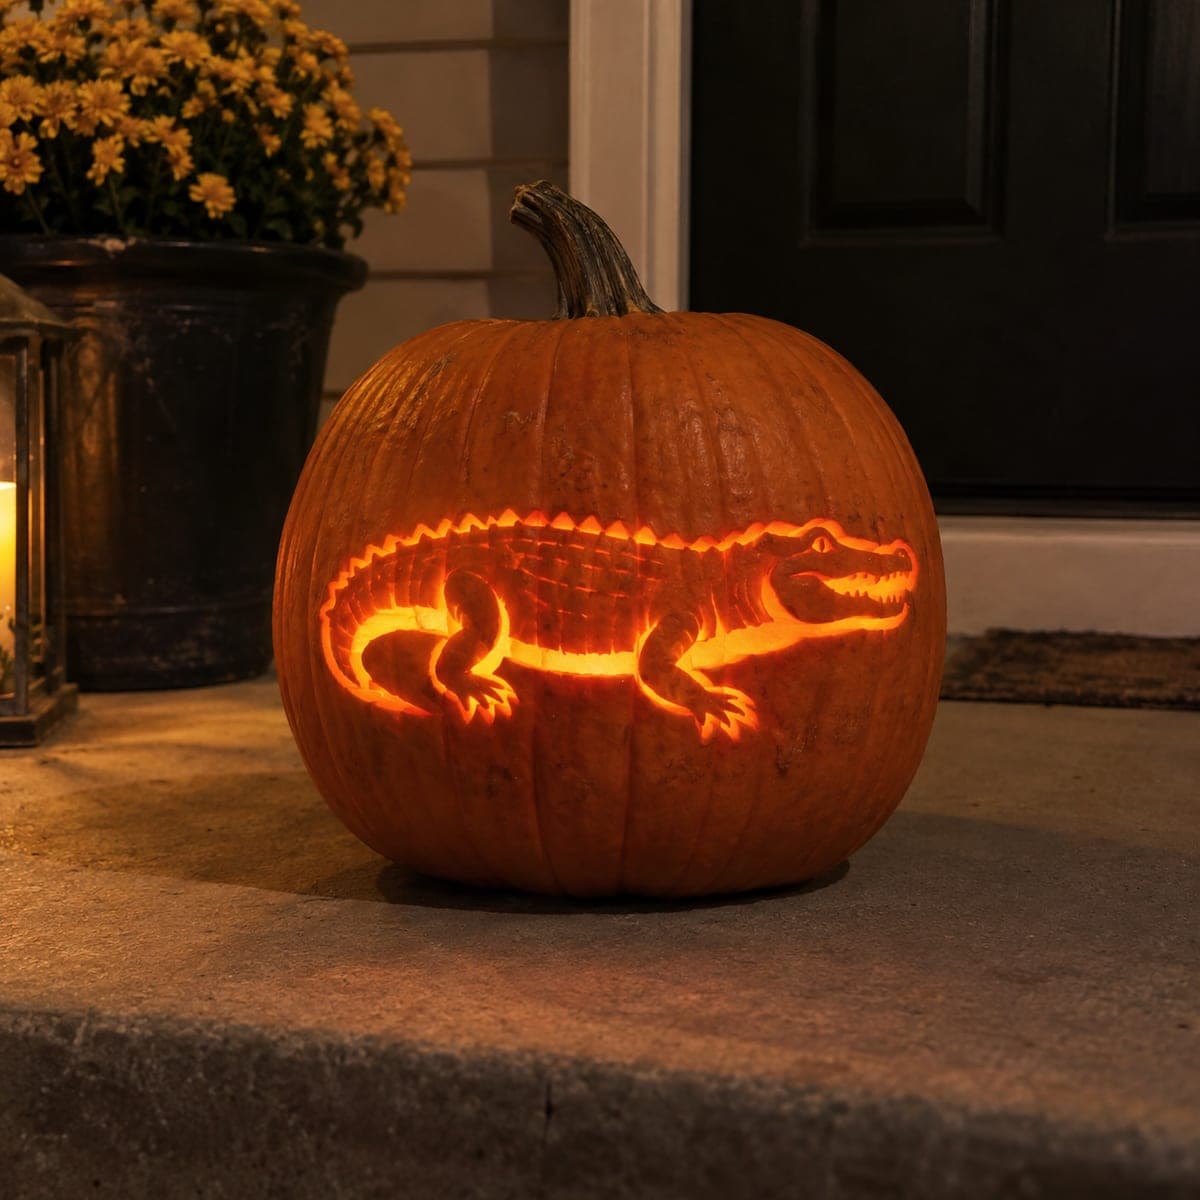
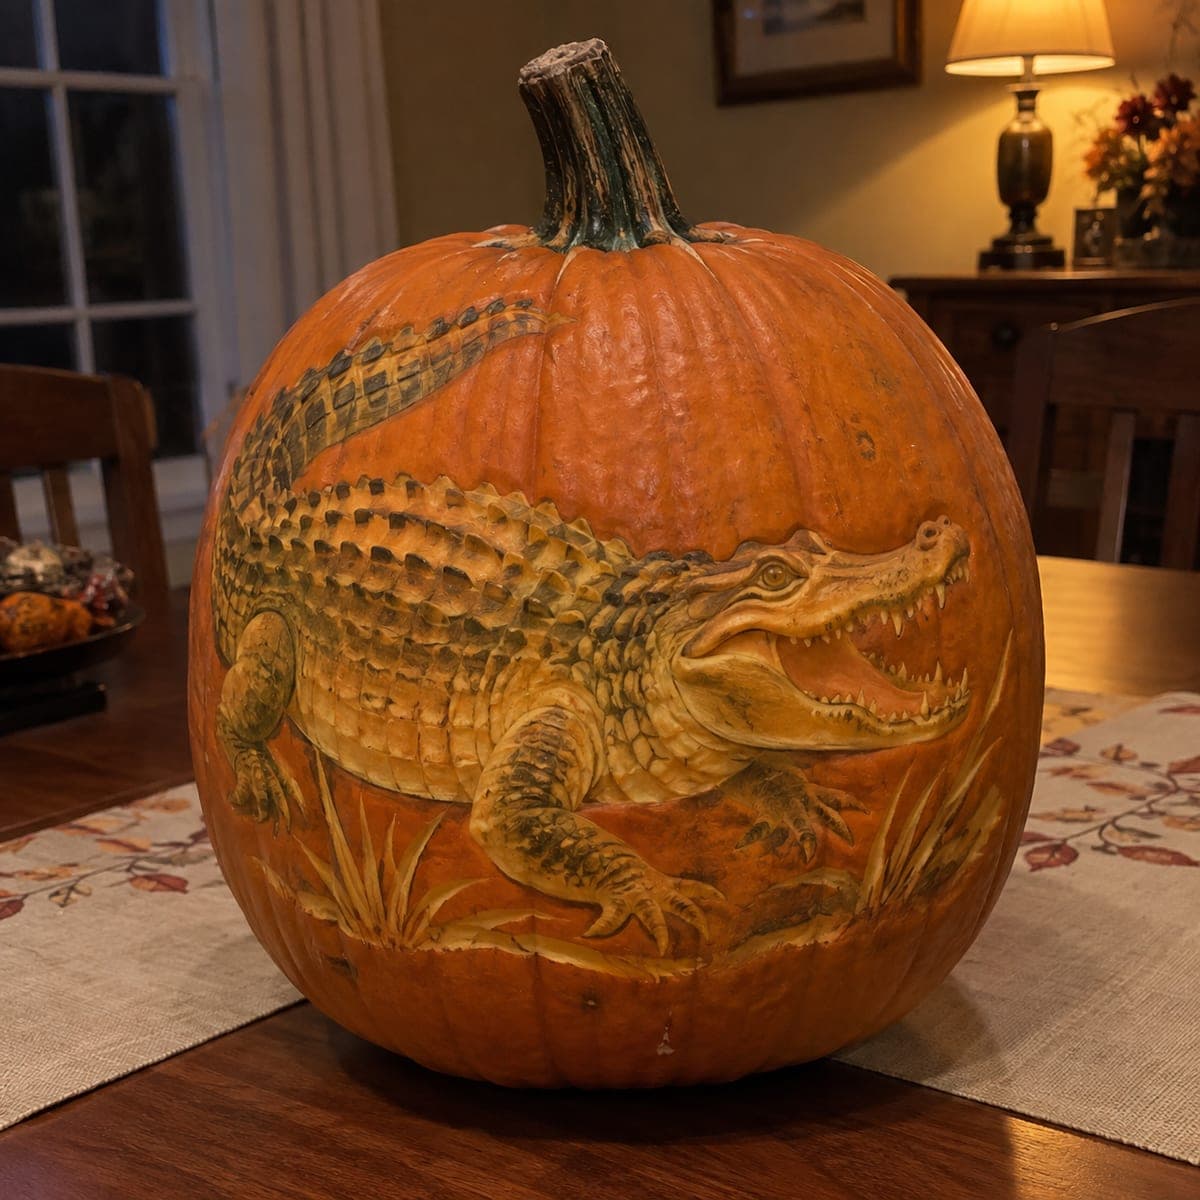
An alligator prowls across this pumpkin with its jaws open, every tooth and back ridge picked out in peeled skin. The scaly texture comes from rows of small crescent cuts, which are forgiving to carve because slight irregularity reads as natural hide. Outline the body first, clear the interior to an even depth, then stamp in the scale marks with the tip of a small gouge. Great daytime porch pumpkin for reptile fans.

This is an AI-generated concept image: a realistic, carvable design idea rather than a photo of a finished carve. AI concepts are always labeled and sit out the leaderboard and the contest.

No ratings yet Β· Sign in to rate

Comments (0)

  • No comments yet β€” be the first.

Save without an account. Sign in to like or comment.

Our tips for carving a similar design

The core trick here is a peel-and-shade silhouette: the whole alligator lives just under the skin, so it reads as a warm gold shape in daylight instead of a cut-through hole. You outline the body, shave the interior to an even depth for the mid glow, then stamp rows of small crescents for the scaly hide and leave the teeth and back ridges slightly thicker so they stay bright. Because a rough scale texture looks natural, small irregularities work in your favor.

Written by PumpkinCarvingIdeas.com, inspired by the image above. These are our suggestions, not instructions from the uploader. This approach to the AI concept has not been tested on a real pumpkin.

From pumpkin to porch

  1. Prep the pumpkin and pick a flat panel

    Choose a pumpkin with a broad, smooth side so the long alligator body fits without wrapping around the ribs. Cut a lid or a back access hole and scoop the inside, thinning the carving wall to about one inch so peeling is easier. An even wall gives you consistent glow later. Wipe the surface dry before you transfer the design.

  2. Transfer and outline the body

    Tape your alligator stencil in place and poke through the outline, teeth, and back ridge with a pin or transfer tool. Remove the paper and connect the dots by lightly scoring the outline with a detail knife. Keep the jaw and tail lines crisp since they define the whole shape. Do not cut deep yet, just break the skin.

  3. Peel the body to an even depth

    With a ribbon or looped shading tool, shave the orange skin off inside the outline down to the pale flesh. Aim for one steady depth across the belly and back so the light passes evenly. Peeled skin glows a soft gold, which is exactly what you want for the hide. Take your time near the outline so the edges stay sharp.

  4. Stamp the scale texture

    Use the tip of a small U-gouge to press or scoop short crescent marks in rows down the back and along the flank. Slight unevenness reads as natural leather, so relax and let the rows drift a little. Vary the crescents to be denser along the spine ridge and looser on the belly. This texture is the signature of the design, so cover the body fully.

  5. Deepen the teeth, eye, and ridge highlights

    Shave the teeth and the bumpy back ridge a touch shallower than the surrounding hide so they catch more light and pop brighter. Keep each tooth attached to the jaw with a small bridge of flesh; do not cut all the way through. Nick a small dark eye by leaving a spot of untouched skin. These are the details that sell the toothy grin.

  6. Light it and photograph

    Set a battery LED puck inside, never a candle, since the thin peeled areas can scorch. Test in a dark room and shave any spots that look too dim. This design shines in daylight as a golden relief, so shoot it on a porch or bench during the day and again at dusk with the LED on. Mist it and bag it in the fridge overnight to keep the peeled skin fresh.

Gather your supplies

Check things off as you get ready.

Work on a stable surface, keep your free hand out of the cutting path, and have an adult handle sharp tools.

Three levels of light

  • Leave intact

    The background skin around the alligator and the small eye stay untouched and dark.

  • Peel & shade

    The whole body, tail, and legs are peeled to a mid gold glow.

  • Cut through

    Nothing needs a full cutout; keep everything as shaded relief so the teeth stay attached and strong.

Learn the carving basics

Before you start cutting

Do I have to cut through for the teeth to show?

No. On this design the teeth are shaded a little shallower than the rest of the hide so they glow brighter without any full cutout. Cutting through would leave the thin teeth fragile and prone to snapping. Keep each one bridged to the jaw for strength.

My scale crescents look uneven, is that a problem?

Not at all. Real alligator hide is irregular, so slight variation actually makes the texture more convincing. Just keep the rows flowing in the same direction along the body and vary the density from spine to belly.

How do I fit the long body without it wrapping around the ribs?

Pick a pumpkin with the widest, flattest panel you can find and size the stencil to sit within it. If the tail starts to curve onto a ridge, let it follow the natural curve rather than fighting it. A gently curved tail still reads as an alligator.

Your take belongs here, too.

Changed a detail? Made it simpler? Share a photo of your version and tell the community what worked.

Share your pumpkin

More pumpkins like this

You've reached the end Β· 8 pumpkins
The Patch Report

Fresh pumpkins, in your inbox.

The best new carvings, ideas worth stealing, and how-tos for carving season. Short, seasonal, and gone by November.

A short email during carving season. Unsubscribe anytime. See our privacy policy.