Halloween Pumpkin Carving Contest · Starts October 1st · $500 in prizes
← Back to ideas
@ai_concepts
Jul 6, 2026
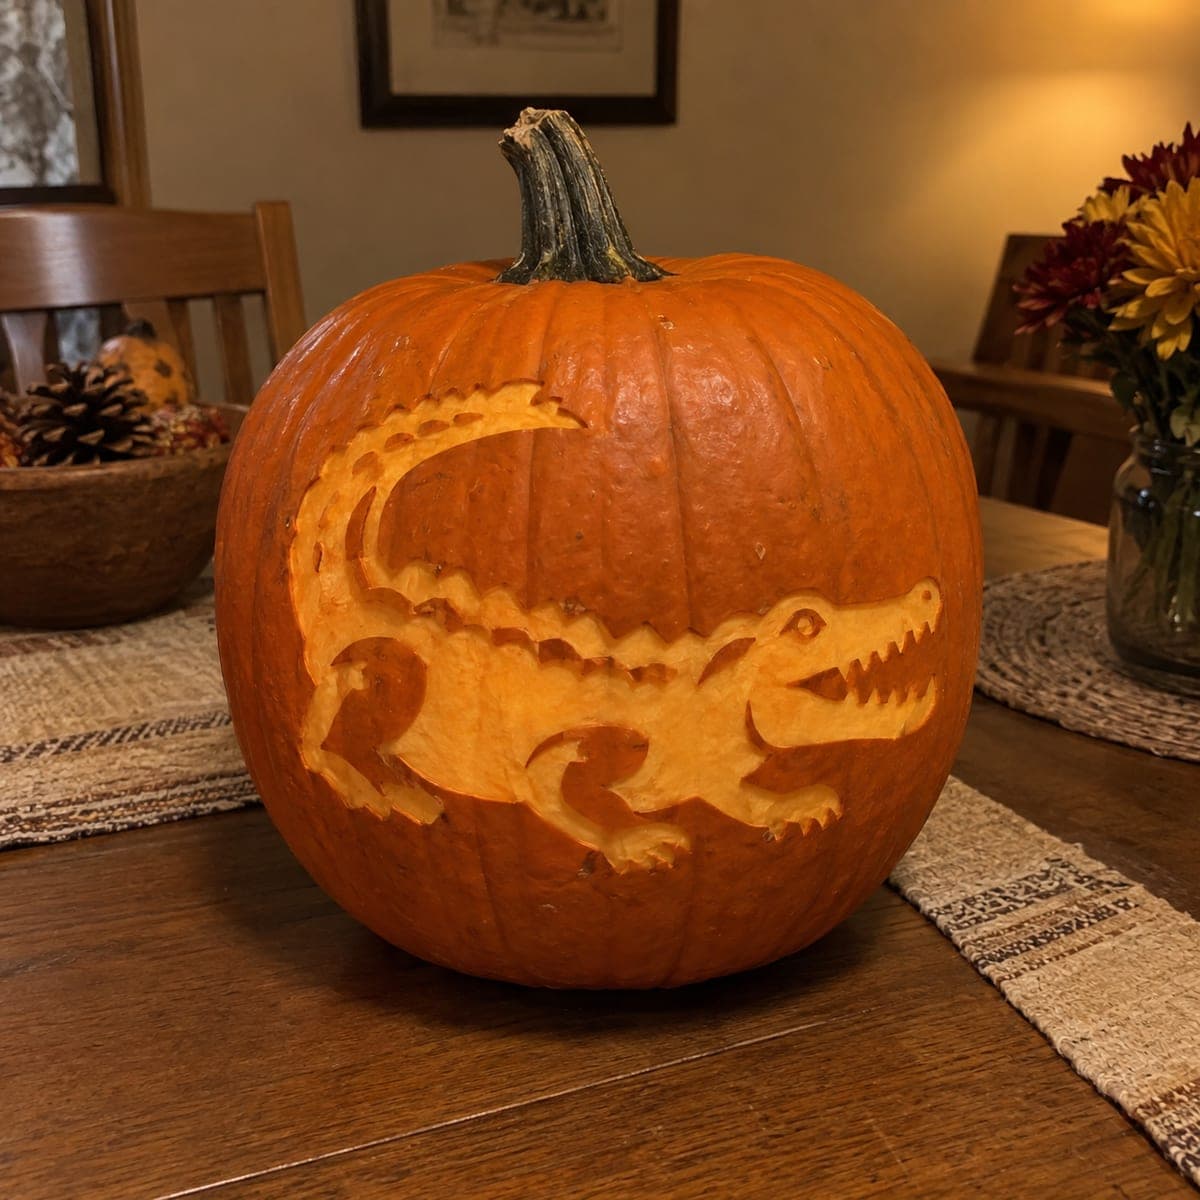
Alligator Portrait Shaded and Painted PumpkinAI
0

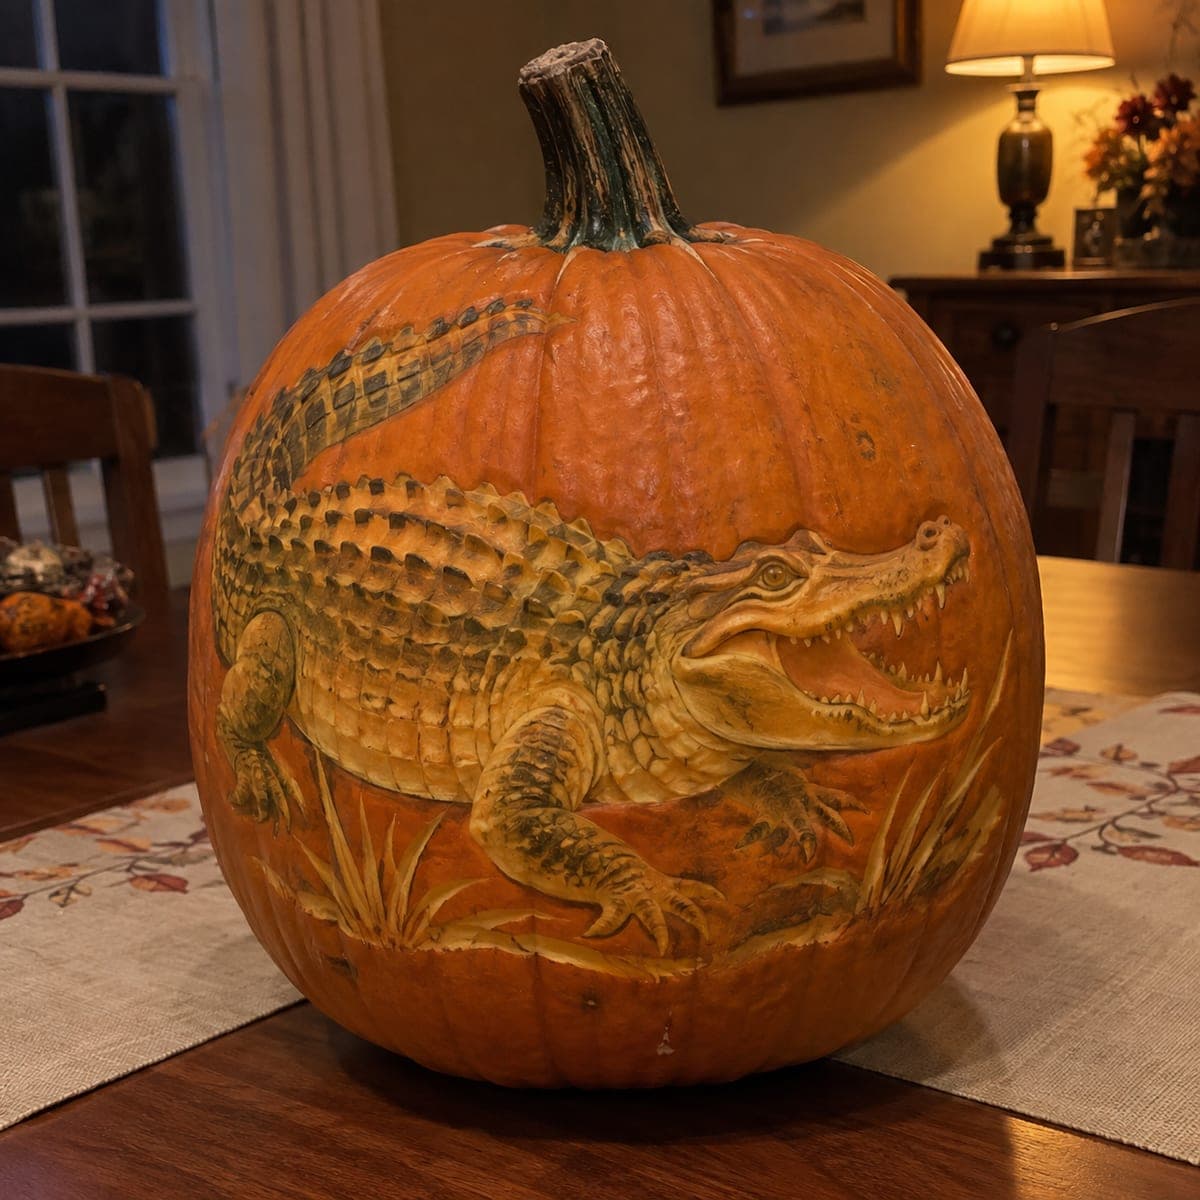
Alligator Portrait Shaded and Painted Pumpkin

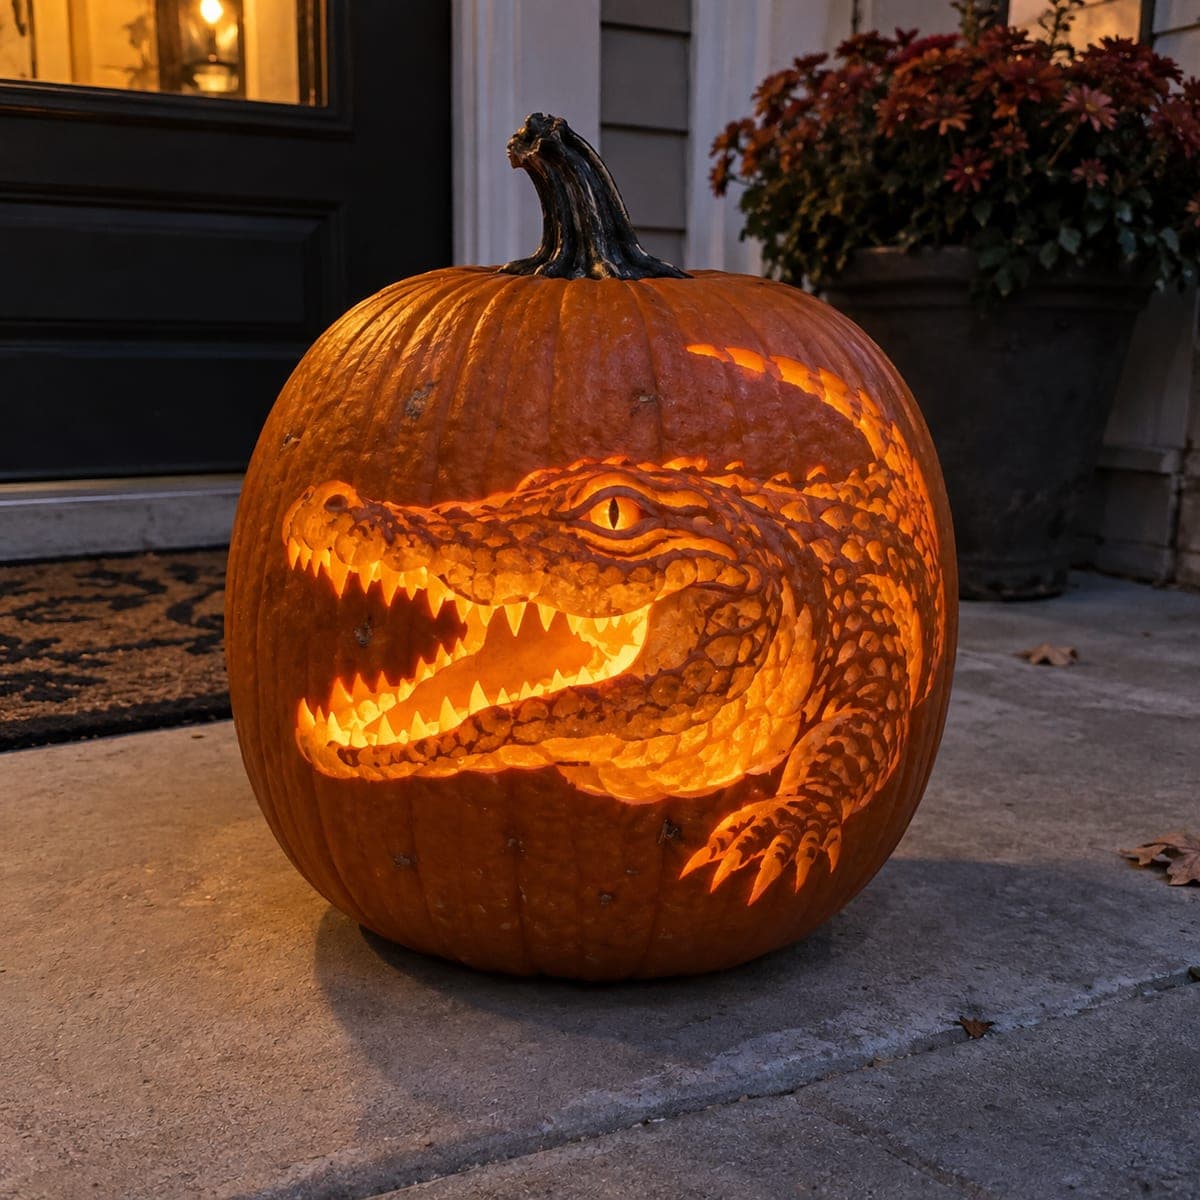
A full-body alligator with open jaws, textured scales, and swamp grass painted in lifelike color covers this pumpkin surface, blending shading carving with painted detail for a spectacular effect. The scales and jaw muscles are etched in shallow relief, then acrylic washes in olive green and tan are dry-brushed over the surface to enhance the reptilian texture. Work the relief carving first and seal the skin lightly before adding paint so the color does not soak into raw pumpkin flesh. This piece works best as an indoor display or covered porch centerpiece where rain cannot wash the paint.

This is an AI-generated concept image: a realistic, carvable design idea rather than a photo of a finished carve. AI concepts are always labeled and sit out the leaderboard and the contest.
No ratings yet · Sign in to rate

Comments (0)

  • No comments yet — be the first.

Save without an account. Sign in to like or comment.

Our tips for carving a similar design

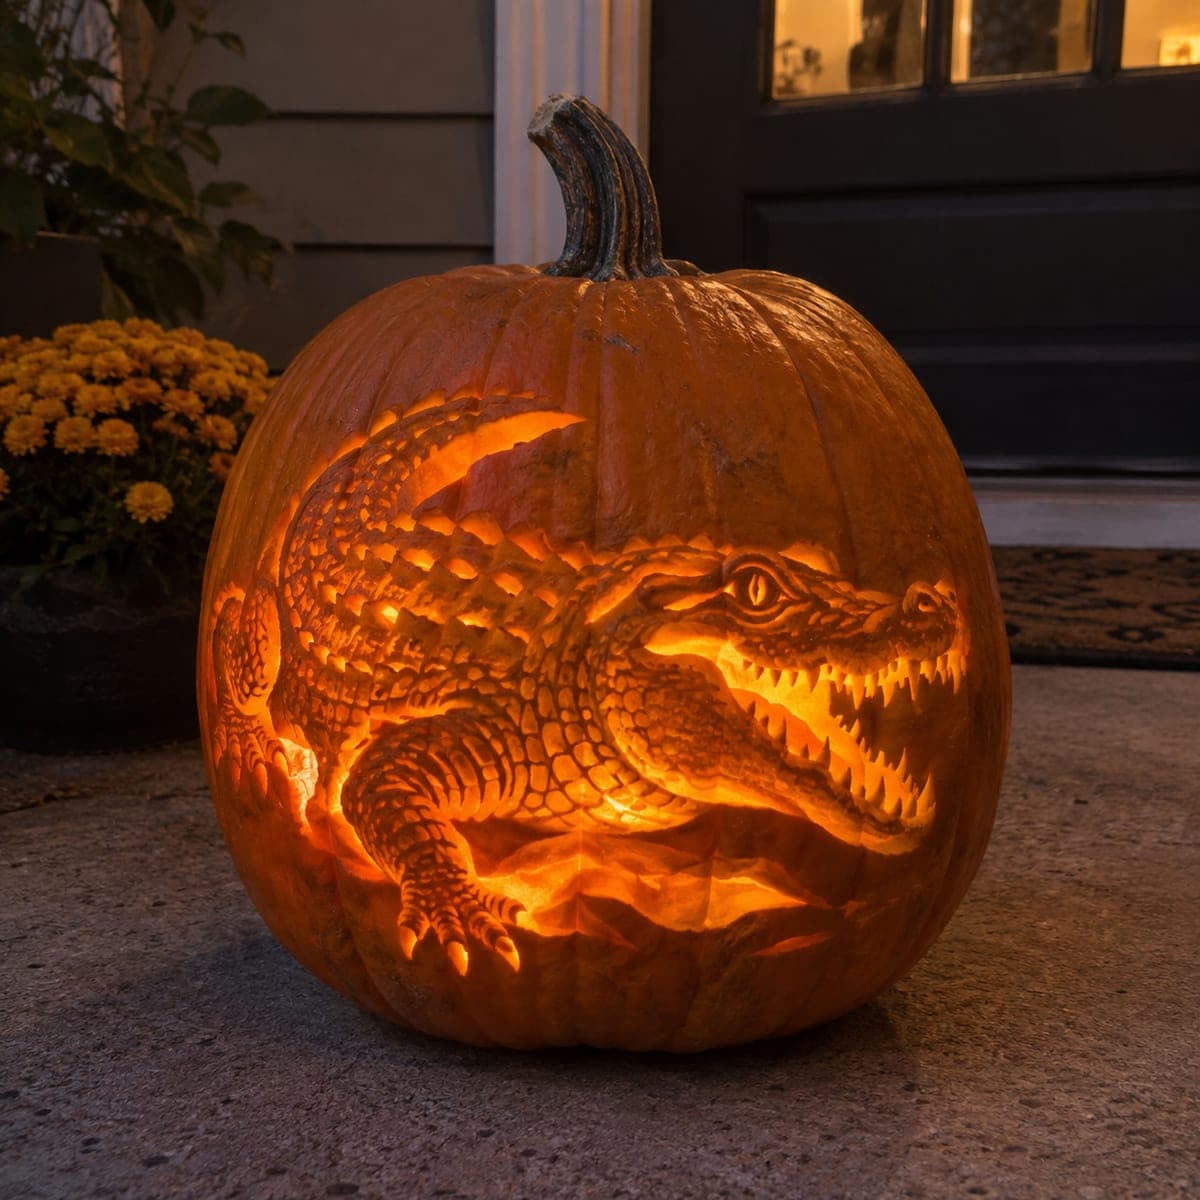
The core trick here is combining shallow relief shading with painted washes so the alligator reads as textured, living skin instead of a cut-through silhouette. You carve almost nothing all the way through. Instead you peel the skin at different depths to build scales, jaw muscles, and swamp grass, then dry-brush olive green and tan acrylics over the sealed surface to deepen the reptilian look.

Written by PumpkinCarvingIdeas.com, inspired by the image above. These are our suggestions, not instructions from the uploader. This approach to the AI concept has not been tested on a real pumpkin.

From pumpkin to porch

  1. Pick a large canvas and transfer the design

    Choose a tall, smooth, wide pumpkin with a flat working face so the whole alligator fits without wrapping around a curve. Leave the pumpkin whole rather than cutting a lid, since this is a surface-only piece with no interior light needed. Tape your stencil down and poke or trace the main outlines: the body, jaw line, eye, leg, and grass tufts. Keep your reference photo handy so you know where scales get largest along the back.

  2. Rough in the outlines with a shallow score

    Using a fine detail knife, lightly score along every transferred line without cutting deep. This gives you clean borders to shade against. Go slow around the open jaw and the row of teeth so those edges stay crisp. An adult should handle all blade work, and keep your non-cutting hand behind the blade at all times.

  3. Peel the shading, deepest first

    With a ribbon or loop tool, remove the outer skin only in the areas that should glow tan, working the darkest scales shallow and the brightest highlights deeper. Build the bumpy back ridge by leaving small raised islands of flesh for each scale and scooping around them. Carve the jaw muscles and leg with gradual depth changes so light rolls across them. Leave the eye and the deepest shadow lines under the jaw as untouched skin.

  4. Shape the teeth and swamp grass

    Keep the teeth as narrow raised triangles by carving away the mouth interior around them rather than cutting them out. This keeps them attached and structurally strong. For the grass at the base, use thin V-cuts that leave each blade connected to the pumpkin, cutting only the tips slightly deeper. Avoid any long unsupported slivers that could snap or sag.

  5. Seal, then dry-brush the color

    Wipe the carved surface dry and brush on a thin coat of clear matte sealer or spray, letting it set so paint will not bleed into raw flesh. Load a stiff brush with olive green acrylic, wipe most of it off on a paper towel, and drag it lightly over the raised scales so color catches only the high spots. Layer tan and a touch of brown the same way to model the jaw and belly. Keep washes thin and build slowly, since you can always add more but cannot easily remove it.

  6. Light it and photograph

    Set a warm LED puck or a small ring of battery lights in front of and slightly below the carving to rake across the relief and pop the shadows. This piece has no cut-through openings, so external light matters more than internal light. Place it on a covered porch or indoor table away from rain, which would streak the paint. Shoot from slightly to the side in low ambient light to capture the scale texture.

Gather your supplies

Check things off as you get ready.

Work on a stable surface, keep your free hand out of the cutting path, and have an adult handle sharp tools.

Three levels of light

  • Leave intact

    The eye, the deep shadow line under the jaw, and the darkest scale grooves stay as untouched skin.

  • Peel & shade

    The scaly back, jaw muscles, leg, and belly are skin-peeled to varying depths for a soft tan glow.

  • Cut through

    Almost nothing is cut fully through; only the mouth interior behind the teeth is opened for the brightest accent.

Learn the carving basics

Before you start cutting

Do I need to hollow this pumpkin and add a candle inside?

No. This is a surface relief and paint piece, so the light comes from outside, not inside. You can leave the pumpkin whole, which also keeps it firmer and longer lasting. Use an external LED to rake light across the carved texture.

Why seal the pumpkin before painting?

Raw pumpkin flesh is wet and porous, so acrylic soaks in and turns muddy instead of sitting on the surface. A thin coat of matte sealer lets you dry-brush crisp color onto the raised scales. Let the sealer set fully before you start painting.

How do I keep the teeth from breaking off?

Carve the teeth as raised shapes by removing the mouth area around them rather than cutting each tooth free. Leaving them attached at the base and gum line keeps them strong. Keep them short and slightly chunky rather than long and needle thin.

Your take belongs here, too.

Changed a detail? Made it simpler? Share a photo of your version and tell the community what worked.

Share your pumpkin

More pumpkins like this

You've reached the end · 8 pumpkins
The Patch Report

Fresh pumpkins, in your inbox.

The best new carvings, ideas worth stealing, and how-tos for carving season. Short, seasonal, and gone by November.

A short email during carving season. Unsubscribe anytime. See our privacy policy.