Halloween Pumpkin Carving Contest · Starts October 1st · $500 in prizes
← Back to ideas
@ai_concepts
Sep 7, 2026
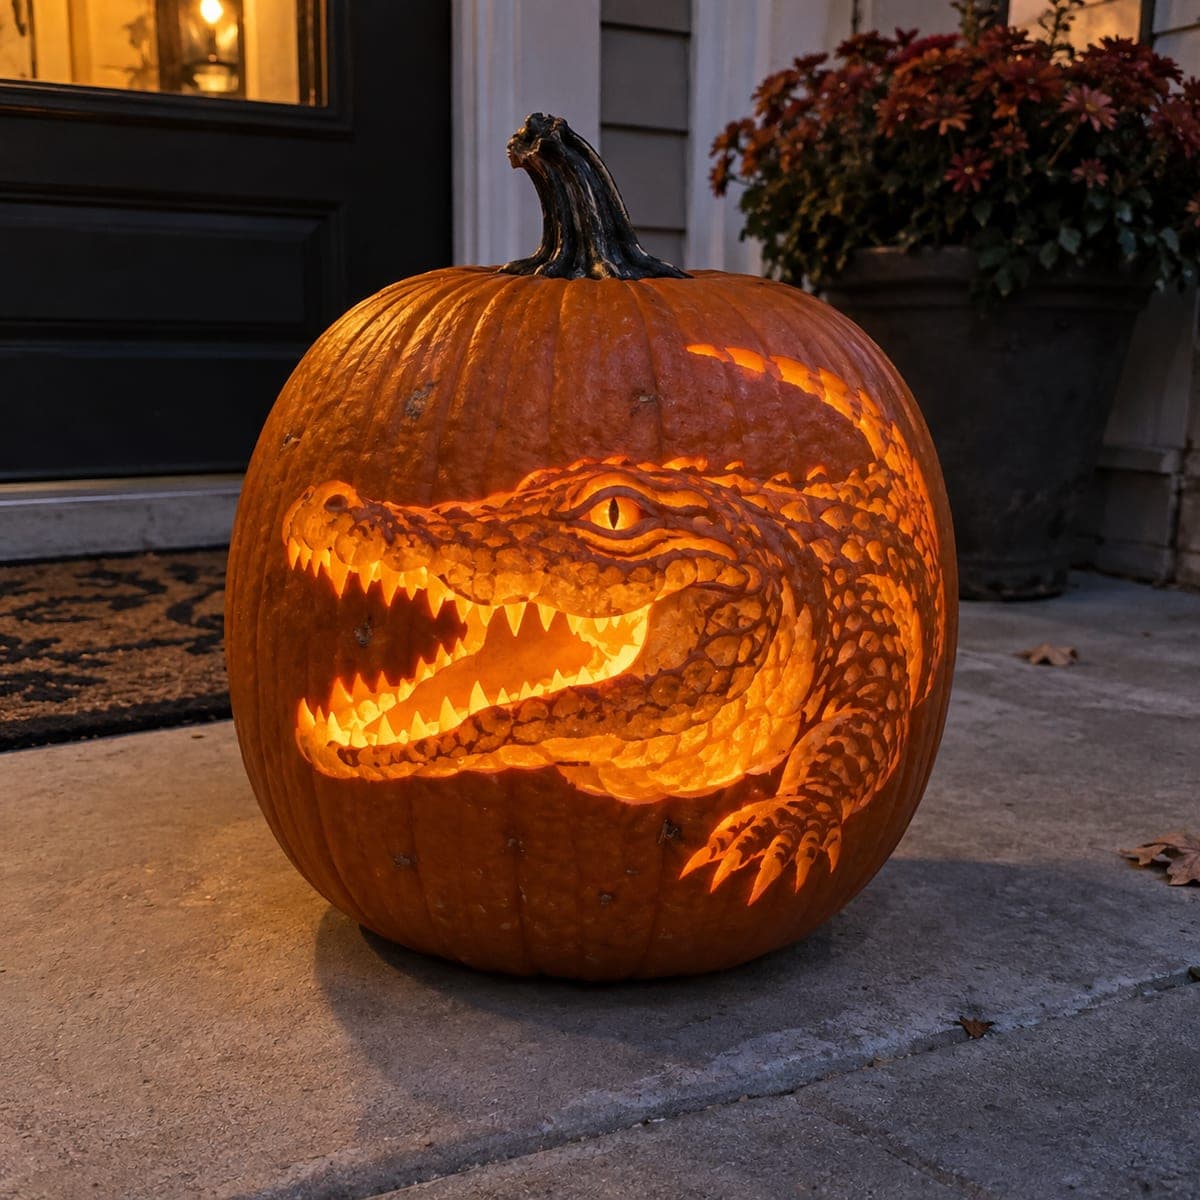
Snapping Alligator Deep Relief PumpkinAI
0

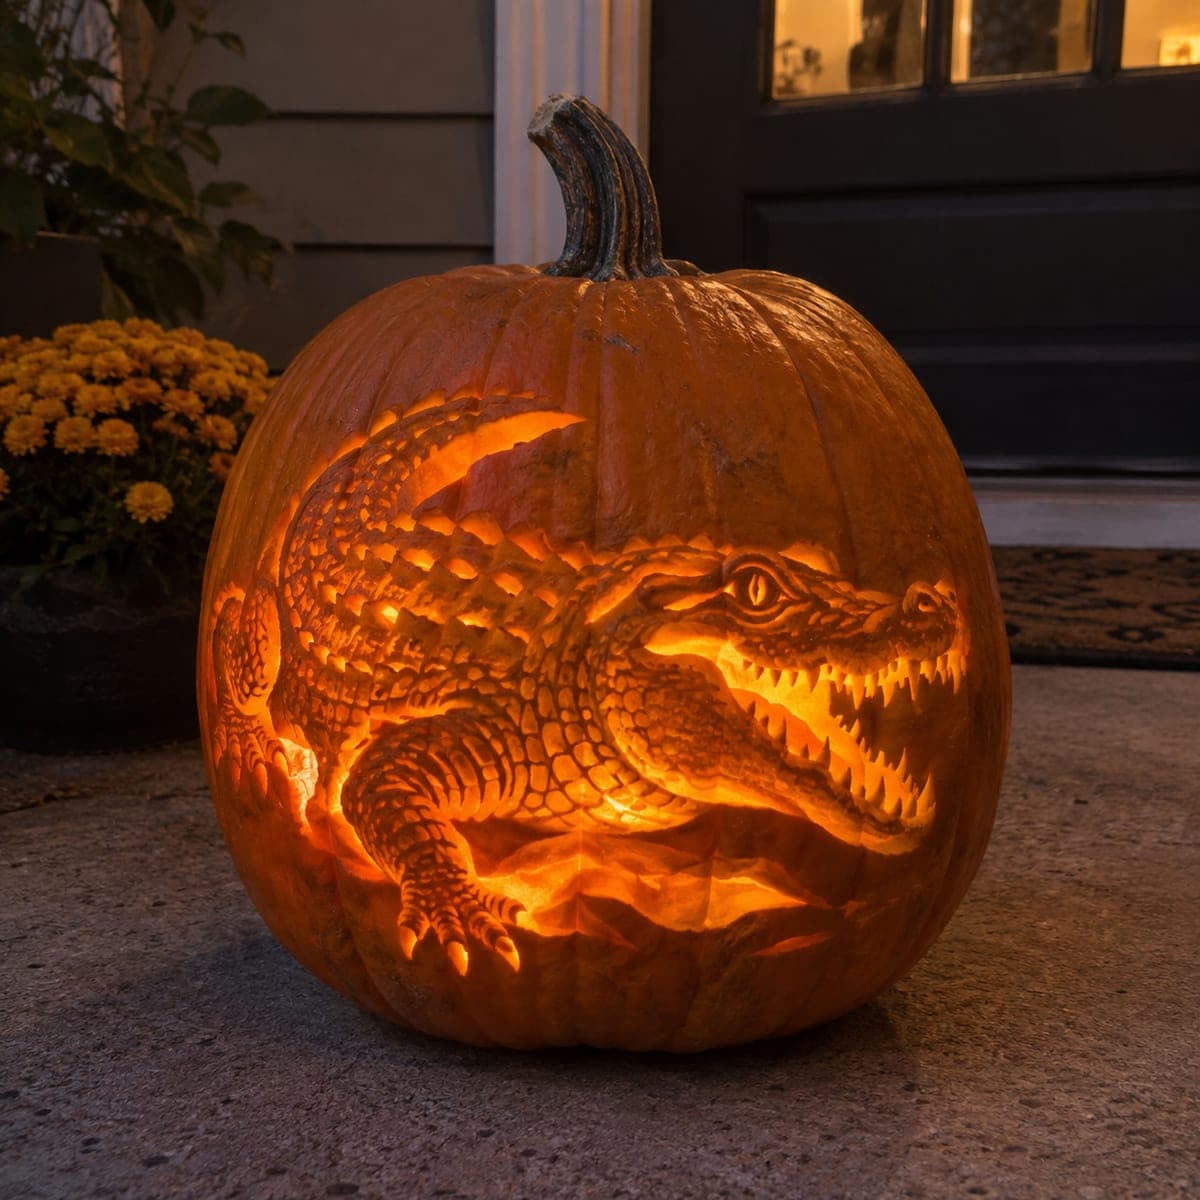
Snapping Alligator Deep Relief Pumpkin

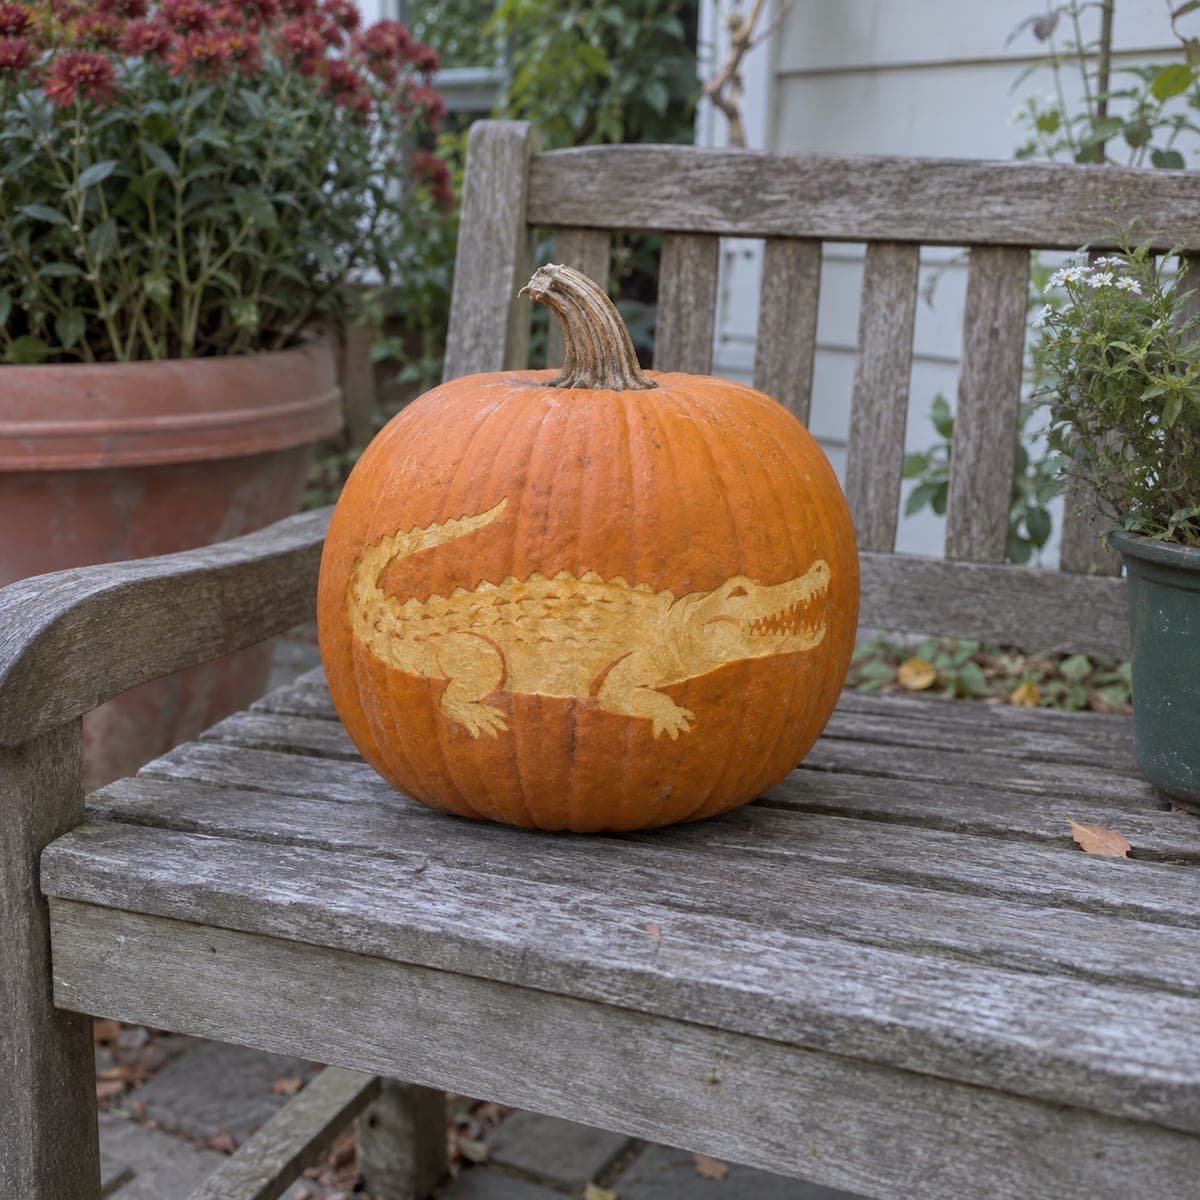
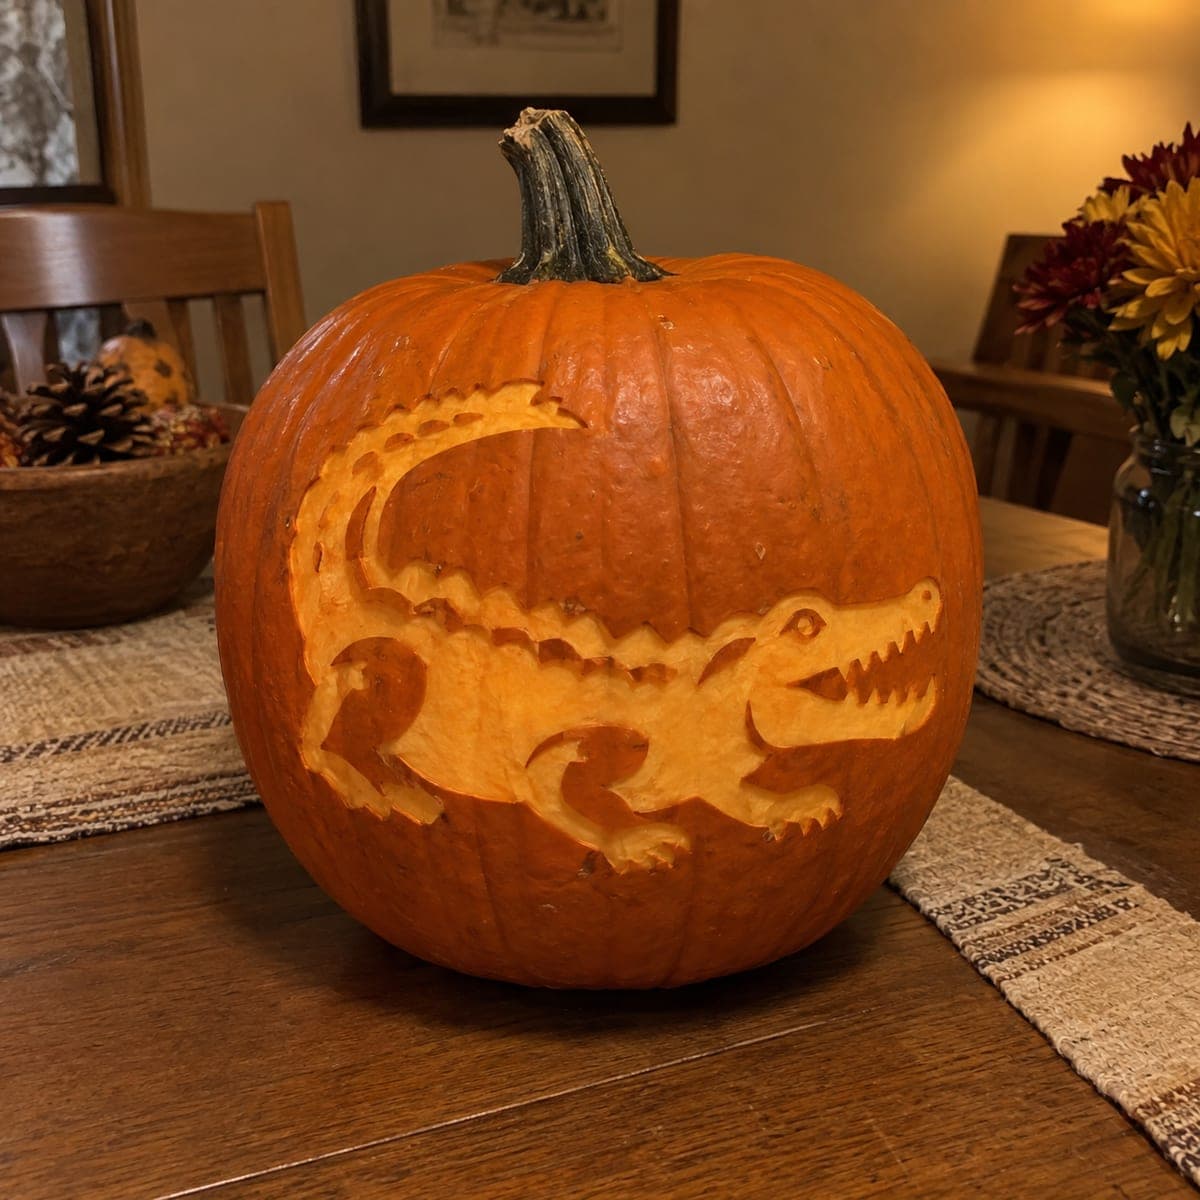
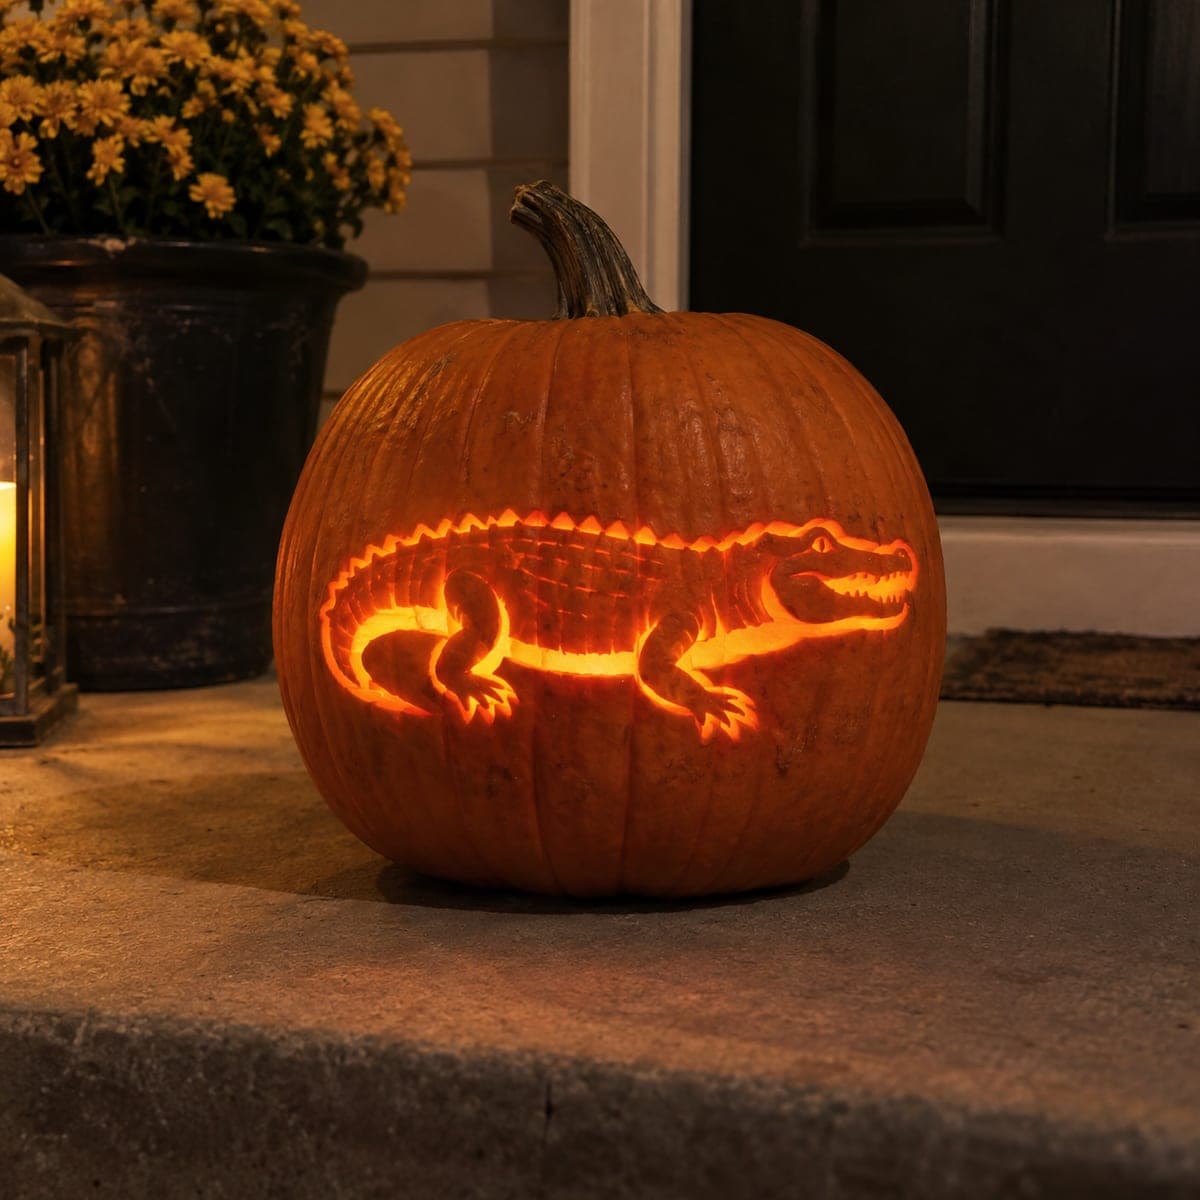
An alligator lunges across this pumpkin with jaws open, every tooth, claw, and ridge of armored hide sculpted in deep relief and backlit to a fiery glow. The scale texture comes from a crosshatch of gouge cuts over the body, while the mouth interior is shaved thinnest so it burns brightest. Rough out the full silhouette before detailing, save the delicate teeth for last, and use a bright LED so the deep cuts light evenly.

This is an AI-generated concept image: a realistic, carvable design idea rather than a photo of a finished carve. AI concepts are always labeled and sit out the leaderboard and the contest.

No ratings yet · Sign in to rate
Comments (0)

  • No comments yet — be the first.

Save without an account. Sign in to like or comment.

Our tips for carving a similar design

The core trick here is shading rather than cutting through: nearly the whole alligator lives in peeled and gouged relief, with only the open mouth and a few gaps cut fully through for the brightest glow. Rough out the entire silhouette first, then build the scale armor with a crosshatch of shallow gouge cuts, saving the fine teeth for last so they stay strong. Plan your light depths before you touch a blade so the belly, mouth, and hide each read at a different brightness.

Written by PumpkinCarvingIdeas.com, inspired by the image above. These are our suggestions, not instructions from the uploader. This approach to the AI concept has not been tested on a real pumpkin.

From pumpkin to porch

  1. Prep the pumpkin and transfer the design

    Pick a large, wide pumpkin with one broad, even face to hold the long gator body. Cut a lid or a rear access hole so you can hollow the shell, and scrape the carving wall down to about one inch so light passes through the peeled areas. Tape your stencil flat over the face and poke the outlines with a pin or transfer tool. Mark which zones are skin, peel, and full cut before removing the paper.

  2. Rough out the silhouette

    With a small loop tool, remove the top skin along the whole gator outline so the animal separates from the background. Do not carve any detail yet, just establish the raised body, the arched tail, the legs, and the head as broad shapes. Keep the mouth area solid for now since you will open it near the end. Step back often to check the lunging pose reads clearly from a few feet away.

  3. Shade the body and shallow depths

    Use ribbon and gouge tools to sink the deeper areas, leaving the closest ridges of the back and snout highest. Shave the belly and lower background thinner for a soft mid glow that suggests swampy ground. Vary your depth gradually so the light fades smoothly from bright to dim across the hide. Keep a bowl of water nearby to rinse pulp and read your true depth as you work.

  4. Carve the scale texture

    Cross a set of shallow gouge lines over the body to build the armored scale pattern, working in rows that follow the curve of the back and tail. Keep each cut light and even so no single scale punches all the way through. Add rounded scutes along the spine by leaving small raised bumps between your cuts. This crosshatch is the signature texture, so take your time and let the ridges catch shadow.

  5. Open the mouth and add teeth last

    Now shave the inside of the open jaw thinnest of all so it burns brightest, then cut fully through only the darkest gaps between the upper and lower teeth. Leave each tooth attached at both its base and tip where possible, using thin bridges of skin so the fangs do not snap off. Carve the eye and nostril last with a fine detail knife. Work slowly here since these are the most fragile cuts and the most dramatic payoff.

  6. Light it and photograph

    Set a bright LED puck or a string of LEDs inside so the deep relief lights evenly, and add a second small light near the mouth if the throat looks dark. Never use a candle, since the thin peeled areas can scorch and the heat dulls the glow. Photograph at dusk on a porch step so the warm interior light reads against the cooler evening. Mist the surface lightly to keep the cuts looking fresh for the shot.

Gather your supplies

Check things off as you get ready.

Work on a stable surface, keep your free hand out of the cutting path, and have an adult handle sharp tools.

Three levels of light

  • Leave intact

    The highest ridges of the back, snout, and raised scutes stay as untouched skin for the darkest tones.

  • Peel & shade

    The scaled hide, tail, legs, and swampy lower background are peeled and gouged for a warm mid glow.

  • Cut through

    The open mouth interior is shaved thinnest and the tooth gaps are cut fully through for the brightest fiery light.

Learn the carving basics

Before you start cutting

How do I keep the thin teeth from breaking?

Cut through only the dark gaps between teeth, not around each tooth completely, so every fang stays anchored at its base. Where a tooth tip meets the opposite jaw, leave a tiny bridge of skin to brace it. Save all tooth work for the very last step so you are not bumping fragile points while carving the rest.

Since this is a concept image, can a real pumpkin glow this evenly?

Yes, with planning. The even fiery glow comes from thinning the shell to about one inch and using a bright LED rather than a single dim candle. Add a second small LED near the mouth if the throat reads too dark once lit.

What if my scale texture looks muddy?

Keep each gouge cut shallow and consistent, and follow the curve of the body so the rows read as armor rather than random scratches. Rinse away pulp often and view it under a light to check contrast. If an area gets too deep and washes out, leave nearby ridges taller to restore the shadow.

Your take belongs here, too.

Changed a detail? Made it simpler? Share a photo of your version and tell the community what worked.

Share your pumpkin

More pumpkins like this

You've reached the end · 8 pumpkins
The Patch Report

Fresh pumpkins, in your inbox.

The best new carvings, ideas worth stealing, and how-tos for carving season. Short, seasonal, and gone by November.

A short email during carving season. Unsubscribe anytime. See our privacy policy.