Halloween Pumpkin Carving Contest · Starts October 1st · $500 in prizes
← Back to ideas
@ai_concepts
Sep 25, 2026
Almond-Eyed Shiba Inu Pumpkin Carving IdeaAI
0

Report this carving

Tell us what is wrong. Reports are private.

Almond-Eyed Shiba Inu Pumpkin Carving Idea

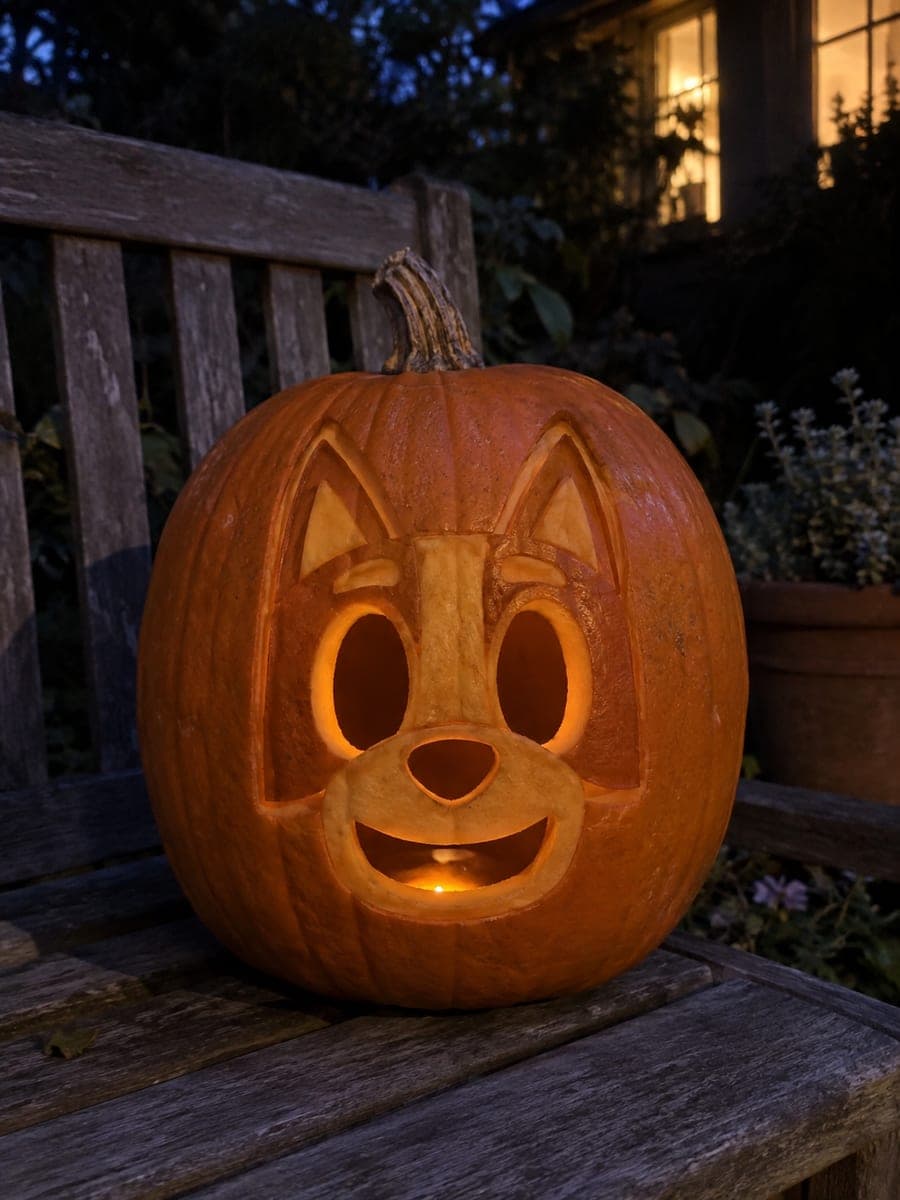
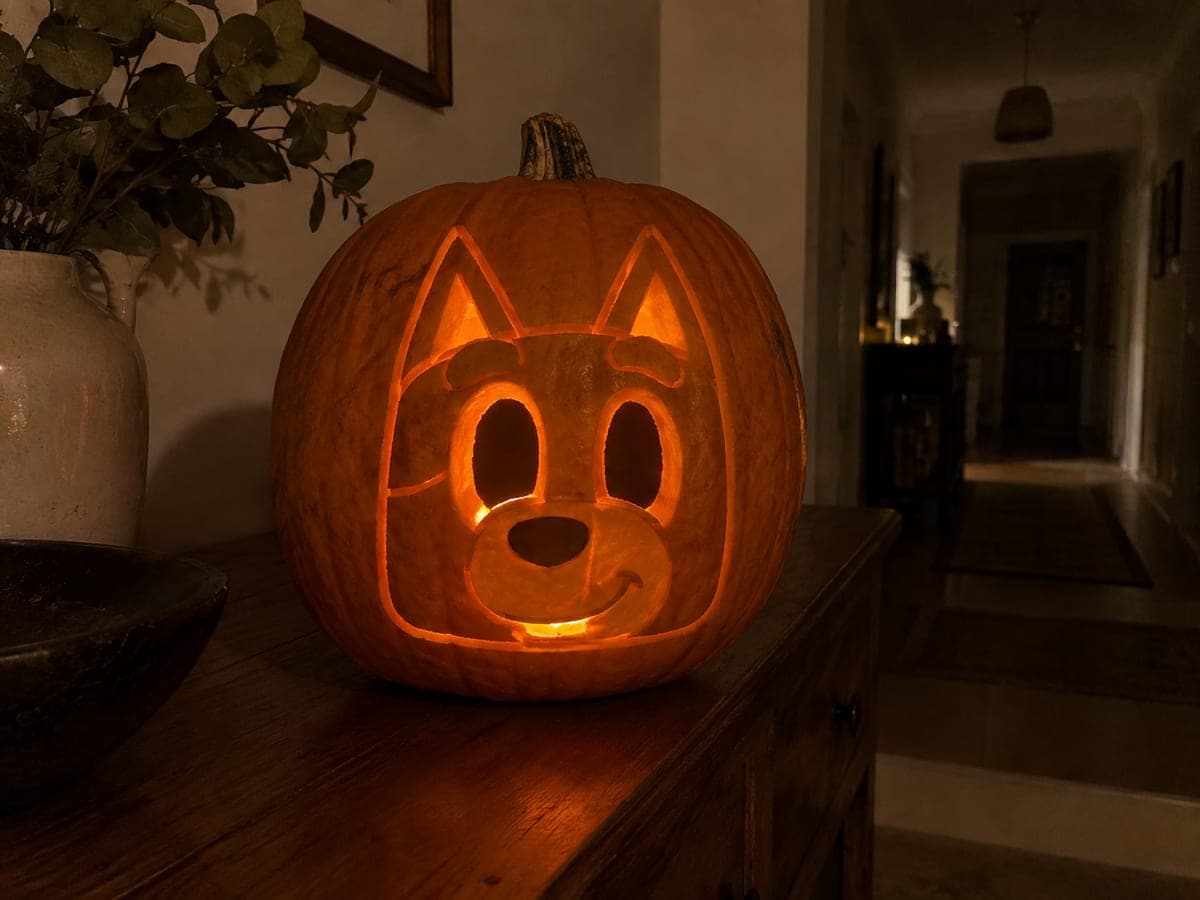
Triangular inner ear windows, almond-shaped eye apertures, and a small nose cutout define this easy shiba inu pumpkin carving, with the cheeks and smile softened by shallow backed contours. The design is beginner-friendly because every fragile detail stays backed rather than fully cut. Pin-transfer the stencil, then start with the triangular ear interiors before moving to the eyes and nose. A single tea light centered inside will push warm light through the distinctive almond eyes.

No ratings yet · Sign in to rate

Comments (0)

  • No comments yet — be the first.

Save without an account. Sign in to like or comment.

Our tips for carving a similar design

The triangular inner ear windows and almond eye apertures define the Shiba Inu's distinctive silhouette, while the cheeks and smile remain as backed relief so no structural bridges need to be managed. The entire face rests on solid rind, making this a forgiving design even if the cuts are not perfectly precise. Starting with the triangular ear interiors before the eyes creates a top-down visual anchor for the rest of the face.

From pumpkin to porch

  1. Hollow and prep

    Scoop the pumpkin to a half-inch wall throughout. The triangular ear shapes are not large, so a consistent wall ensures they glow as brightly as the larger eye apertures. Clean and dry the outer surface before pinning the stencil.

  2. Transfer all lines

    Pin-punch the stencil and mark triangular ear interiors and eye openings in one color, and cheek contours and smile lines in a second. The distinction is helpful because the cheek and smile marks may look like through-cut lines at first glance.

  3. Cut the triangular inner ears

    Saw out both triangular ear interior apertures before any other opening. The triangles have relatively straight sides that are beginner-friendly. Keep each cut inside the marked triangle so the surrounding ear rind stays intact.

  4. Cut the almond eyes and nose

    Move to the almond-shaped eye apertures, using a fine-tipped saw or detail knife for the pointed ends. Then cut the small round or oval nose opening. The three facial openings should now be fully through the rind.

  5. Carve the backed cheeks and smile

    Use a detail knife held at a low angle to shave the rounded cheek contours to roughly a third of the wall depth. Add the smile as a shallow curved groove at the same depth. The backed cheeks create the Shiba's characteristic puffy cheek appearance.

  6. Light and display

    Place a warm tea light inside and view in a dim room. The triangular ears and almond eyes should read as a clear Shiba Inu face from several feet away. A simple wooden step or plant stand as a display surface raises the carving to eye level.

Written with AI to match this design

Gather your supplies

Check things off as you get ready.

Work on a stable surface, keep your free hand out of the cutting path, and have an adult handle sharp tools.

Three levels of light

  • Leave intact

    Outer ear rind, the forehead, and the full face panel connecting all apertures

  • Peel & shade

    Rounded cheek contours and smile groove at roughly one-third wall depth

  • Cut through

    Triangular inner ear windows, both almond eyes, and the small nose

Learn the carving basics

Before you start cutting

The triangular ear shapes are small and my saw slips on the curves. What helps?

The triangular ear interiors have straight sides rather than curves, which makes them good for a beginner saw. Cut each side as a straight line and meet the corners carefully. If the saw is slipping, try scoring each side lightly with a detail knife before sawing to create a starting groove.

How do I get the almond eye shape to look pointed rather than rounded?

Cut the two pointed ends of the almond first using a detail knife rather than a saw. Once the tips are scored in, connect them with a curved cut on each side. The scored points give the blade a defined stopping target so the tips stay sharp.

Will the backed cheeks look good in daylight as well as at night?

Yes. The backed cheek contours cast natural shadows during the day that make the face look three-dimensional even without interior lighting. Position the pumpkin where sunlight hits from a low angle to maximize the daytime shadow effect.

Your take belongs here, too.

Changed a detail? Made it simpler? Share a photo of your version and tell the community what worked.

Share your pumpkin

More pumpkins like this

You've reached the end · 8 pumpkins
The Patch Report

Fresh pumpkins, in your inbox.

The best new carvings, ideas worth stealing, and how-tos for carving season. Short, seasonal, and gone by November.

A short email during carving season. Unsubscribe anytime. See our privacy policy.