Halloween Pumpkin Carving Contest · Starts October 1st · $500 in prizes
← Back to ideas
@ai_concepts
Sep 13, 2026
Angry Orc Face Carved Pumpkin Glowing from WithinAI
0

Angry Orc Face Carved Pumpkin Glowing from Within

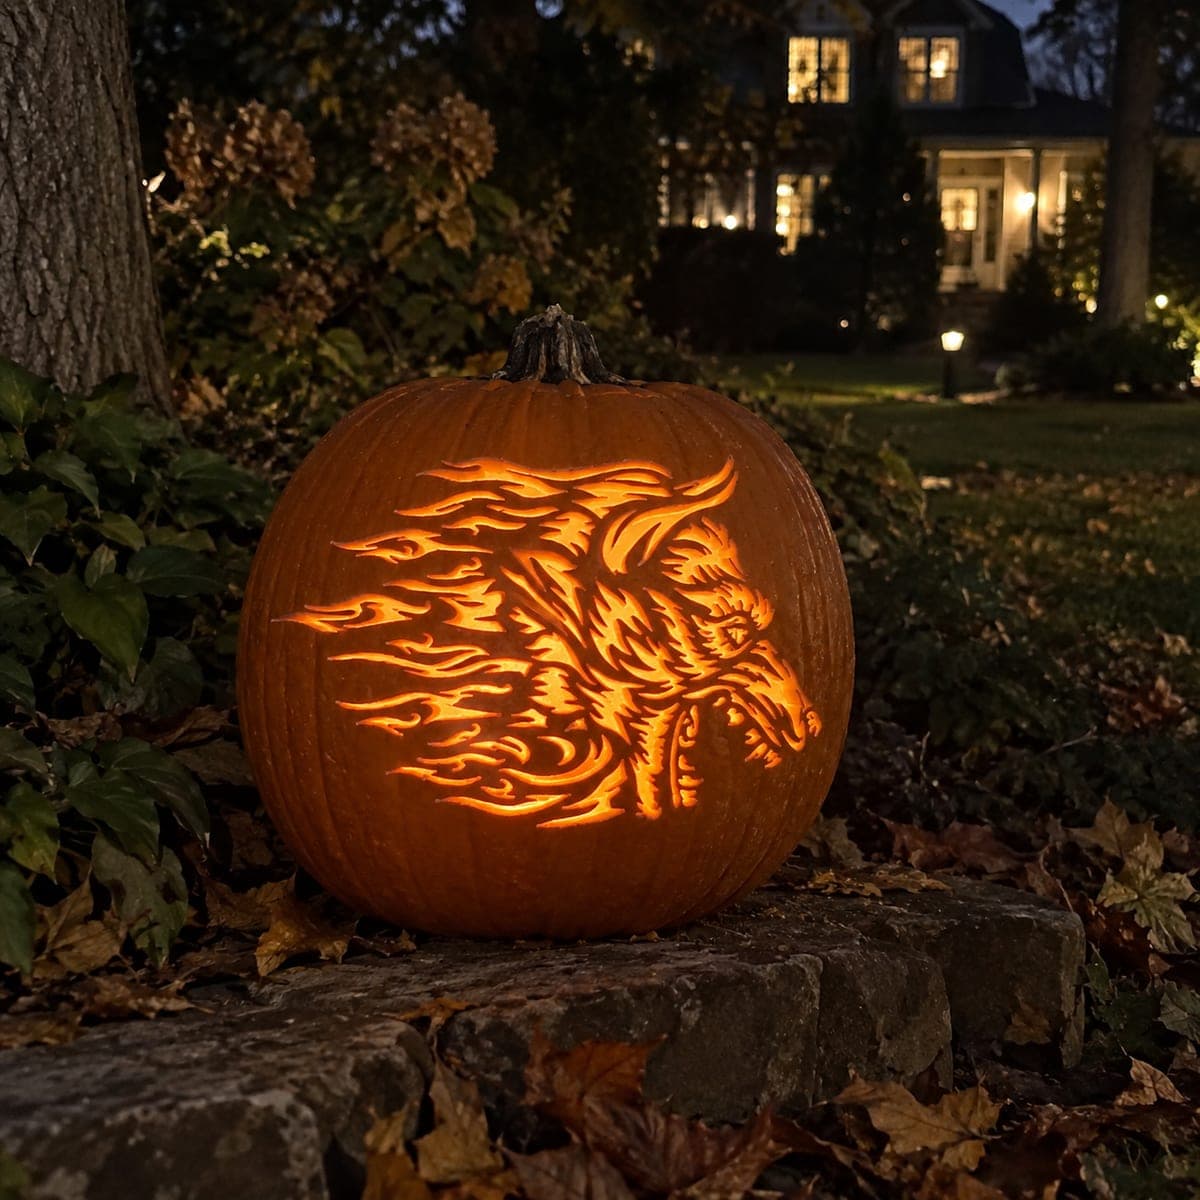
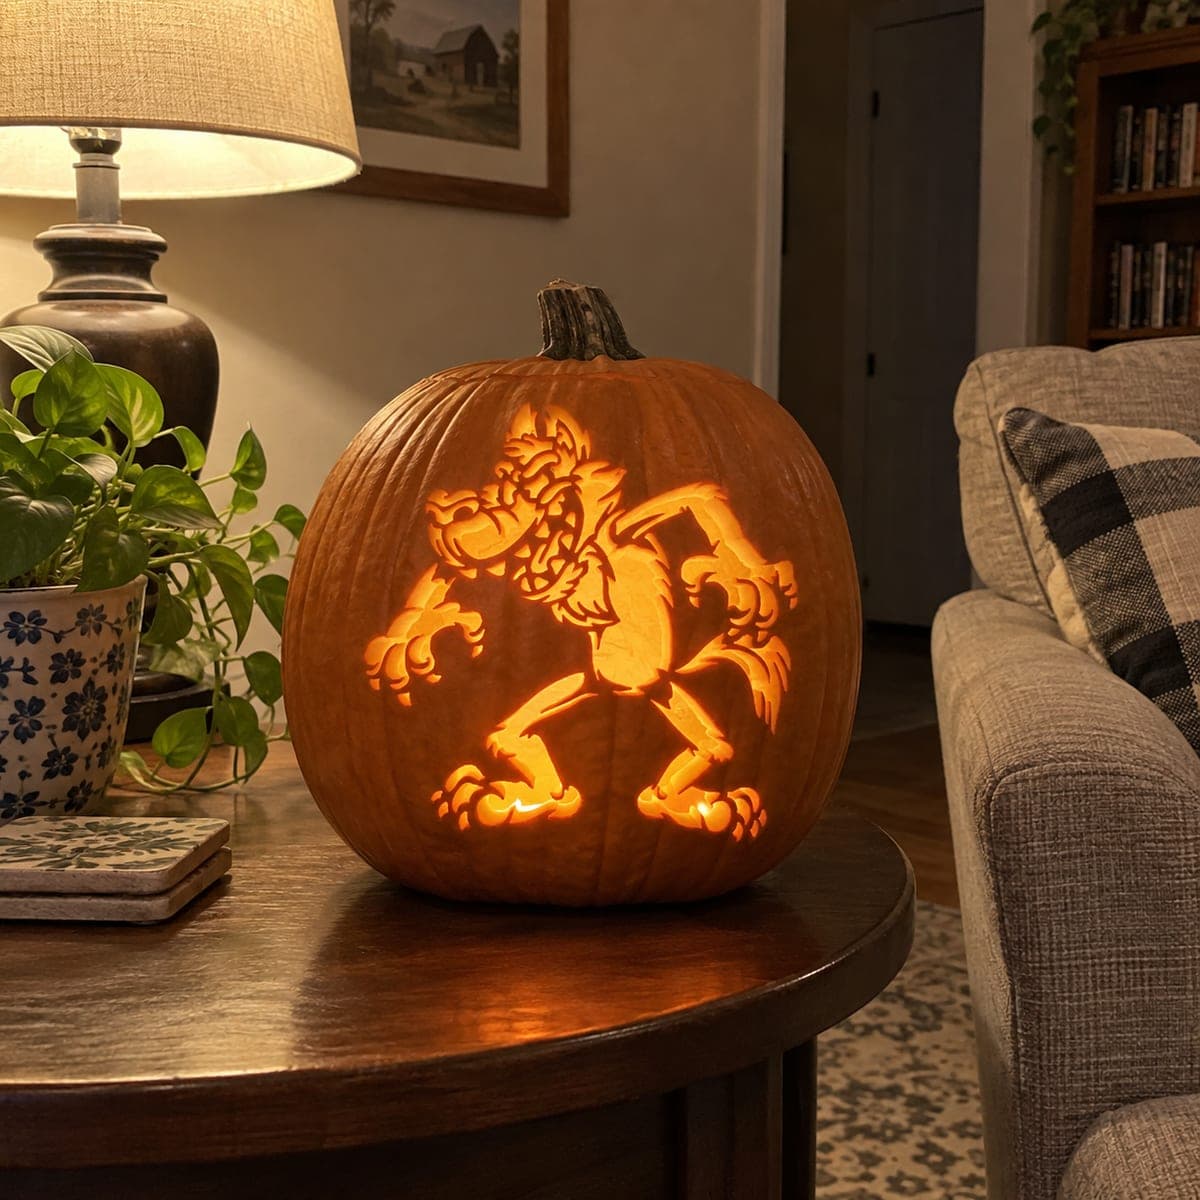
A brutish orc face with a heavy brow, jutting tusks, and glowing orange eye sockets is carved in deep sculptural shading across the pumpkin surface, the monster's rage almost palpable in the deep-set features. The eyes are pierced all the way through so the candle inside shines out, while the rest of the face uses depth-varied etching to create tonal shadow. Carve the eye holes first as your access point, then use that opening to scoop the pumpkin clean before etching the surrounding face details. Fantasy gaming fans looking for a unique pumpkin carving idea will recognize this creature immediately.

This is an AI-generated concept image: a realistic, carvable design idea rather than a photo of a finished carve. AI concepts are always labeled and sit out the leaderboard and the contest.


No ratings yet · Sign in to rate

Comments (0)

  • No comments yet — be the first.

Save without an account. Sign in to like or comment.

Our tips for carving a similar design

The core trick here is relief shading: most of the orc is never cut through but carved to varying depths so peeled skin glows warm while thin recesses stay dark. Only the two eye sockets are pierced fully, letting light blast out for that glaring stare. Plan the deepest scoops for the brow, tusks, and jaw ridges, and keep the surface skin as your darkest shadow lines.

Written by PumpkinCarvingIdeas.com, inspired by the image above. These are our suggestions, not instructions from the uploader. This approach to the AI concept has not been tested on a real pumpkin.

From pumpkin to porch

  1. Prep and transfer the face

    Pick a large, tall pumpkin with a smooth front panel for the face. Tape your orc pattern in place and poke the outlines with a pin or transfer tool, marking the brow, eyes, nose, tusks, and jaw. Step back and check that the features look balanced and centered. Keep the stem end intact so you can gut through the eyes instead.

  2. Pierce the eyes and gut through them

    An adult should cut the two eye sockets all the way through first, since these are your only full openings and your access point. Reach in through the eye holes with a small scraper and loosen the pulp, then scoop the inside wall behind the face down to about one inch thick. A thinner wall lets more glow bleed through your shaded areas later. Save the seeds and go slowly so you do not blow out the eye edges.

  3. Rough in the deep planes

    Using a loop or ribbon tool, remove skin and shave down the biggest recessed areas: under the heavy brow, the cheek hollows, and the space around the tusks. Work from shallow to deep so you can judge how much light comes through. The more flesh you remove, the brighter and warmer that spot glows. Keep the tusks and brow ridge raised and full so they catch light like sculpted highlights.

  4. Etch the shading and wrinkles

    Switch to smaller detail tools to carve the forehead creases, the scowl lines between the eyes, and the folds around the snarling mouth. Leave the darkest lines as untouched skin and peel gently for mid tones. Vary your depth constantly, since that contrast is what reads as an angry, three dimensional face. Take breaks to light test from inside so you can correct any flat, muddy areas.

  5. Refine the tusks and jaw

    Round and smooth the two jutting tusks by peeling their surface so they glow pale against the darker mouth. Deepen the shadow just behind each tusk to make them pop forward. Clean up the nostril hollows and the heavy lower lip with a fine tool. Brush away all crumbs and check every edge is smooth so no ragged bits catch shadow oddly.

  6. Light it and photograph

    Set a battery LED, ideally a warm flicker or amber one, inside through the base or an added back vent. Skip real candles, since the thin shaded wall can scorch and the detail work deserves even light. Test in a dark room and adjust the LED position until the eyes blaze and the shading glows. Shoot your final photo at dusk on a porch or bench for the best mood.

Gather your supplies

Check things off as you get ready.

Work on a stable surface, keep your free hand out of the cutting path, and have an adult handle sharp tools.

Three levels of light

  • Leave intact

    The deepest scowl lines, nostril shadows, and the dark recesses just behind the tusks stay as untouched skin.

  • Peel & shade

    The broad forehead, cheeks, snout, and tusks are skin-peeled to varying depths for the warm sculpted glow.

  • Cut through

    Only the two eye sockets are cut fully through for the brightest, glaring light.

Learn the carving basics

Before you start cutting

How do I keep the face looking three dimensional and not flat?

Depth contrast is everything. Carve the brow, cheeks, and jaw to clearly different thicknesses so light passes through unevenly. Light test from inside often and deepen any area that looks washed out or muddy.

Should I really cut the eyes before gutting?

For this design it helps, because the pierced eyes double as your access hole. Cut them first, then reach in to scoop and thin the wall behind the whole face. That keeps the rest of the surface uncut so you have full room for shading.

This is an AI concept, so is a face this detailed even carvable?

A relief face like this is achievable by a patient carver, though it takes hours. Keep the tusks fairly thick and rounded rather than needle thin so they do not snap. Real pumpkin will not hold as crisp an edge as a rendered image, so aim for the overall mood rather than a perfect match.

Your take belongs here, too.

Changed a detail? Made it simpler? Share a photo of your version and tell the community what worked.

Share your pumpkin

More pumpkins like this

You've reached the end · 8 pumpkins
The Patch Report

Fresh pumpkins, in your inbox.

The best new carvings, ideas worth stealing, and how-tos for carving season. Short, seasonal, and gone by November.

A short email during carving season. Unsubscribe anytime. See our privacy policy.