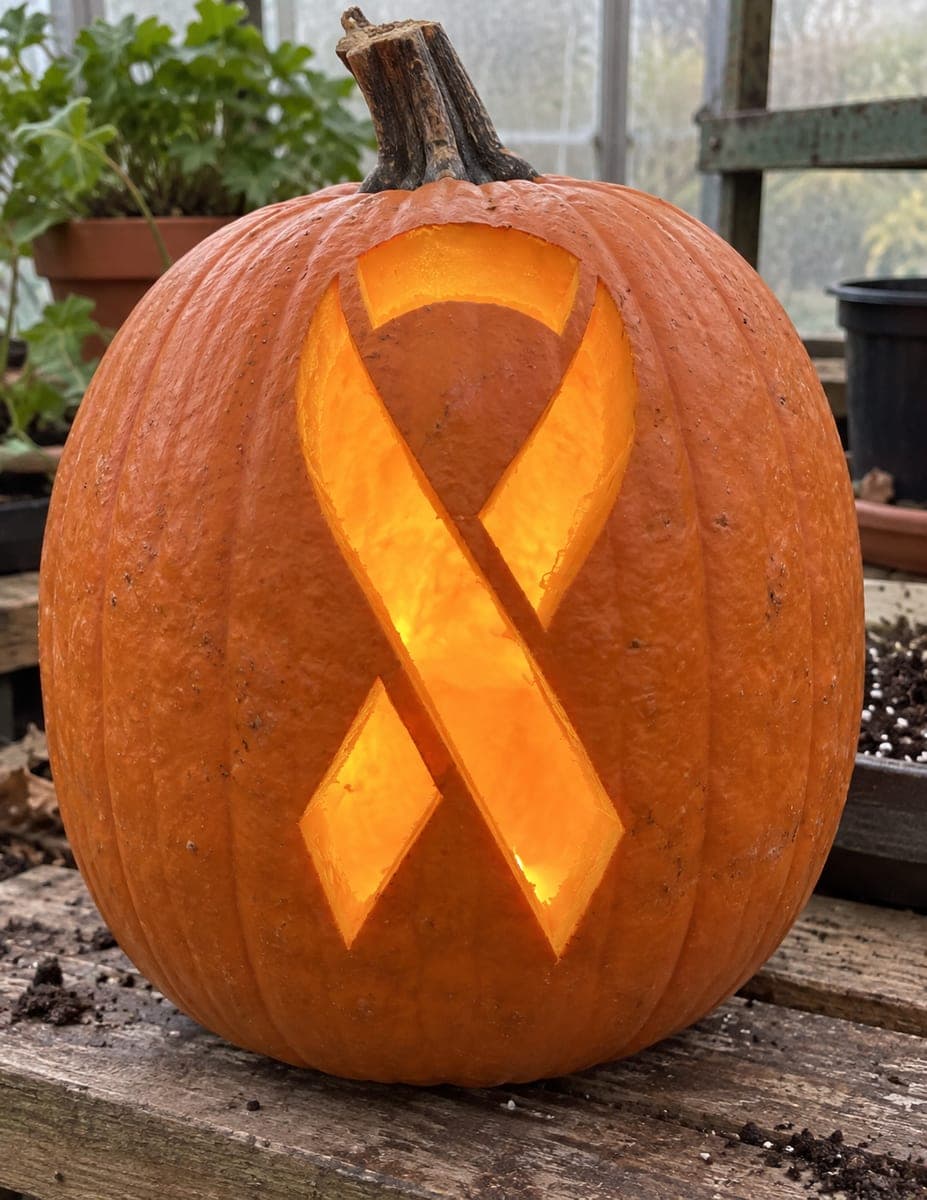
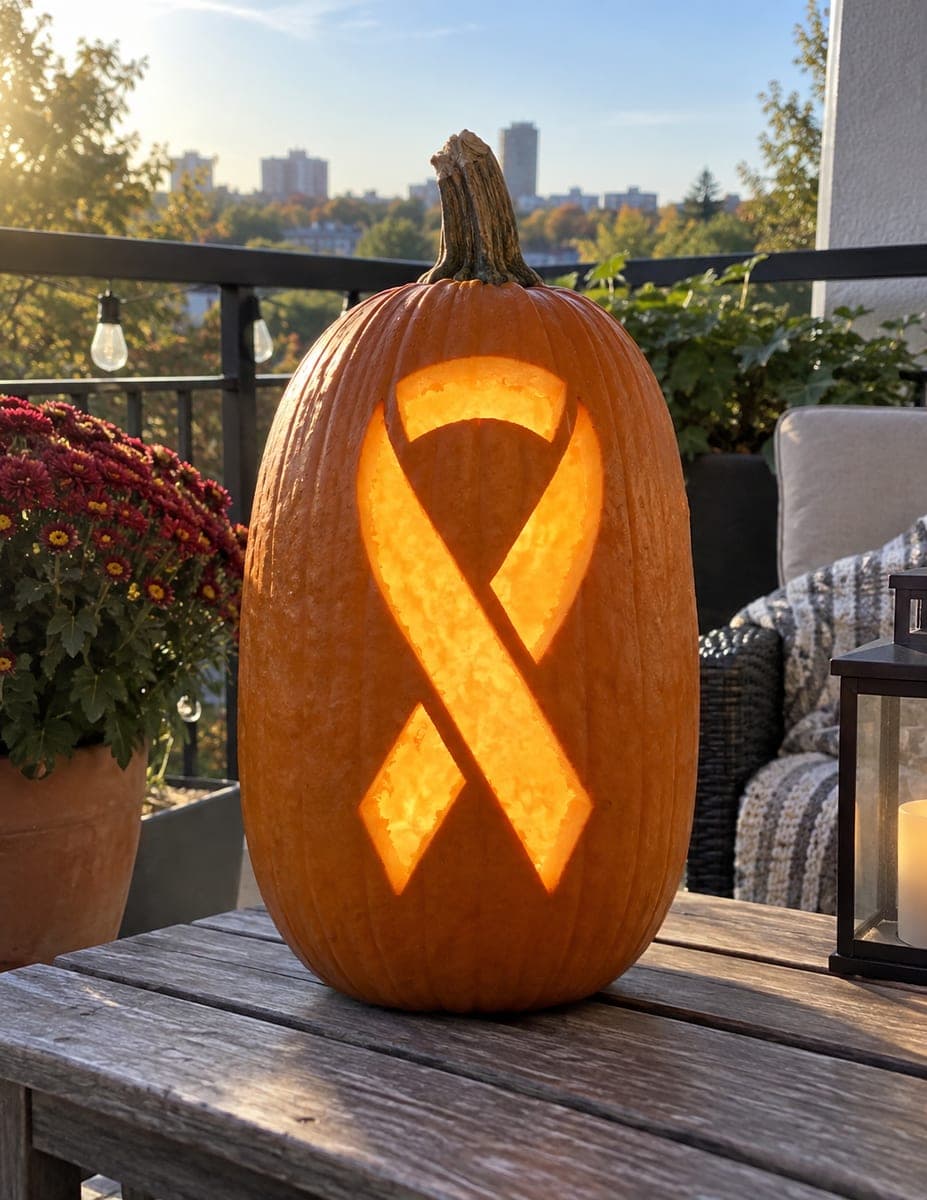
Halloween Pumpkin Carving Contest · Starts October 1st · $500 in prizes
← Back to ideas
@ai_concepts
Aug 1, 2026
Awareness Ribbon Glowing Pumpkin Carving TributeAI
0

Awareness Ribbon Glowing Pumpkin Carving Tribute

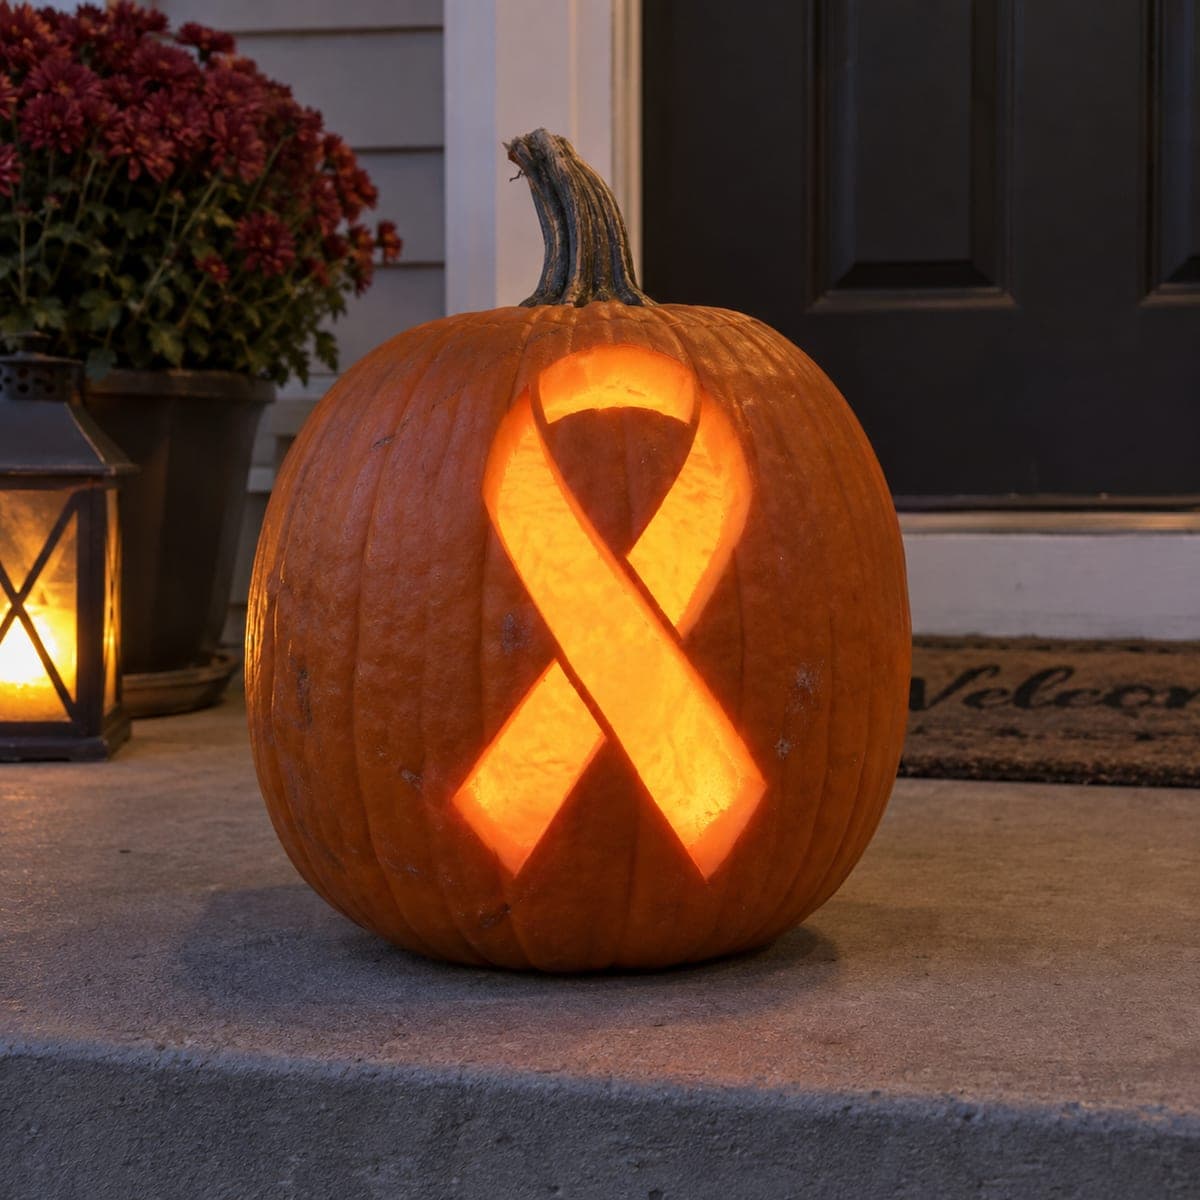
An awareness ribbon glows softly from this pumpkin, carved as a thinned panel rather than a full cutout so the loop keeps its crossover shape. It is a moving tribute design for a walk, fundraiser, or a porch display honoring a survivor. Shave the ribbon area down to a translucent layer instead of piercing it, keep the crossover edges clean with a small knife, and light it with a steady LED so the shape holds its warm even glow.

This is an AI-generated concept image: a realistic, carvable design idea rather than a photo of a finished carve. AI concepts are always labeled and sit out the leaderboard and the contest.

No ratings yet · Sign in to rate
Comments (0)

  • No comments yet — be the first.

Save without an account. Sign in to like or comment.

Our tips for carving a similar design

The core trick here is a thinned panel, not a full cutout. Instead of piercing the ribbon loop all the way through, you shave the pumpkin wall down to a thin translucent layer so light glows through evenly while the crossover shape stays intact. The two open triangle gaps below the loop are the only true cutouts, which frame the glow and keep the design readable from the street.

Written by PumpkinCarvingIdeas.com, inspired by the image above. These are our suggestions, not instructions from the uploader. This approach to the AI concept has not been tested on a real pumpkin.

From pumpkin to porch

  1. Plan and transfer the ribbon

    Choose a smooth, wide face on the front of the pumpkin so the ribbon has room to breathe. Print or draw a simple awareness ribbon with its signature crossover loop and tape the pattern flat, snipping the edges so it hugs the curve. Poke the outline with a pushpin or transfer tool, spacing dots close together on the crossover so you can read the shape later. Step back and check that the loop sits centered and upright before you cut anything.

  2. Open the lid and clean out the wall

    An adult should cut a lid from the bottom or the back rather than the top, so the stem stays intact for display. Scoop out the seeds and pulp, then scrape the inside wall behind the ribbon down until it is about an inch thick or a little less. A thinner, even wall makes the shaving step in the next stage far easier and helps the glow read uniform. Work slowly with a sturdy scoop and keep your free hand clear of the blade path.

  3. Shave the ribbon to a glow layer

    With a ribbon loop tool or a small gouge, shave the surface of the ribbon shape down until the skin turns thin and pale. Aim for a consistent depth so the whole loop lights up evenly rather than in bright and dim patches. Do not cut through the wall here, the goal is a translucent panel that keeps the crossover shape solid. Hold the pumpkin against a lamp now and then to check where the light comes through and even out any thick spots.

  4. Cut the framing gaps

    Below the crossover, the ribbon splits into two tails with open triangle gaps between them. These are your only true cutouts, so save them for last once the panel work is done. Use a small carving saw or a detail knife and make slow, straight passes, letting the blade do the work instead of forcing it. Clean the edges with a fresh pass so the crossover reads sharp and the tails stay separated.

  5. Clean edges and firm up the shape

    Go back over the crossover line with a small knife so the two ribbon bands cross crisply and do not blur together. Bevel the cut edges slightly toward the inside so more light escapes and the outline looks bold. Wipe away loose pulp and dab the shaved panel dry with a paper towel. If any thin spot feels fragile, leave a little extra thickness there rather than risk a tear.

  6. Light it and photograph

    Set a steady, warm LED puck or a battery tealight inside, never an open flame near the thin panel. Let it sit for a minute so you can see how the glow spreads, then adjust the light position until the whole ribbon reads evenly. Shoot your photo at dusk on a porch step for that soft tribute mood. A dab of petroleum jelly on the cut edges will slow drying if you want it to last a few extra days.

Gather your supplies

Check things off as you get ready.

Work on a stable surface, keep your free hand out of the cutting path, and have an adult handle sharp tools.

Three levels of light

  • Leave intact

    The whole pumpkin body around the ribbon stays untouched dark orange skin.

  • Peel & shade

    The ribbon loop and tails are shaved to a thin panel that glows a soft even orange.

  • Cut through

    The two triangle gaps below the crossover are cut fully through for the brightest light that frames the loop.

Learn the carving basics

Before you start cutting

Why not just cut the whole ribbon out?

A full cutout would leave the crossover loop as a floating shape with nothing holding its bands together, so it could sag or snap. Shaving it to a thin panel keeps the loop solid while still letting it glow. You only cut fully through the two small gaps below, which are naturally supported.

How thin should the shaved panel be?

Aim for a layer thin enough that light passes through when you hold it to a lamp, roughly the thickness of a coin in most spots. Go evenly rather than chasing maximum thinness, since uneven shaving shows up as blotchy glow. Leave any fragile area slightly thicker to avoid tearing through.

What color light suits a tribute design like this?

A steady warm white LED gives the ribbon that soft, even honey glow you want for a memorial or fundraiser display. Skip flickering candle-style lights, since the movement reads as a jack-o-lantern rather than a calm tribute. If you want to match a specific cause color, a single amber or colored LED can tint the whole panel.

Your take belongs here, too.

Changed a detail? Made it simpler? Share a photo of your version and tell the community what worked.

Share your pumpkin

More pumpkins like this

You've reached the end · 8 pumpkins
The Patch Report

Fresh pumpkins, in your inbox.

The best new carvings, ideas worth stealing, and how-tos for carving season. Short, seasonal, and gone by November.

A short email during carving season. Unsubscribe anytime. See our privacy policy.