Halloween Pumpkin Carving Contest · Starts October 1st · $500 in prizes
← Back to ideas
@ai_concepts
Jul 14, 2026
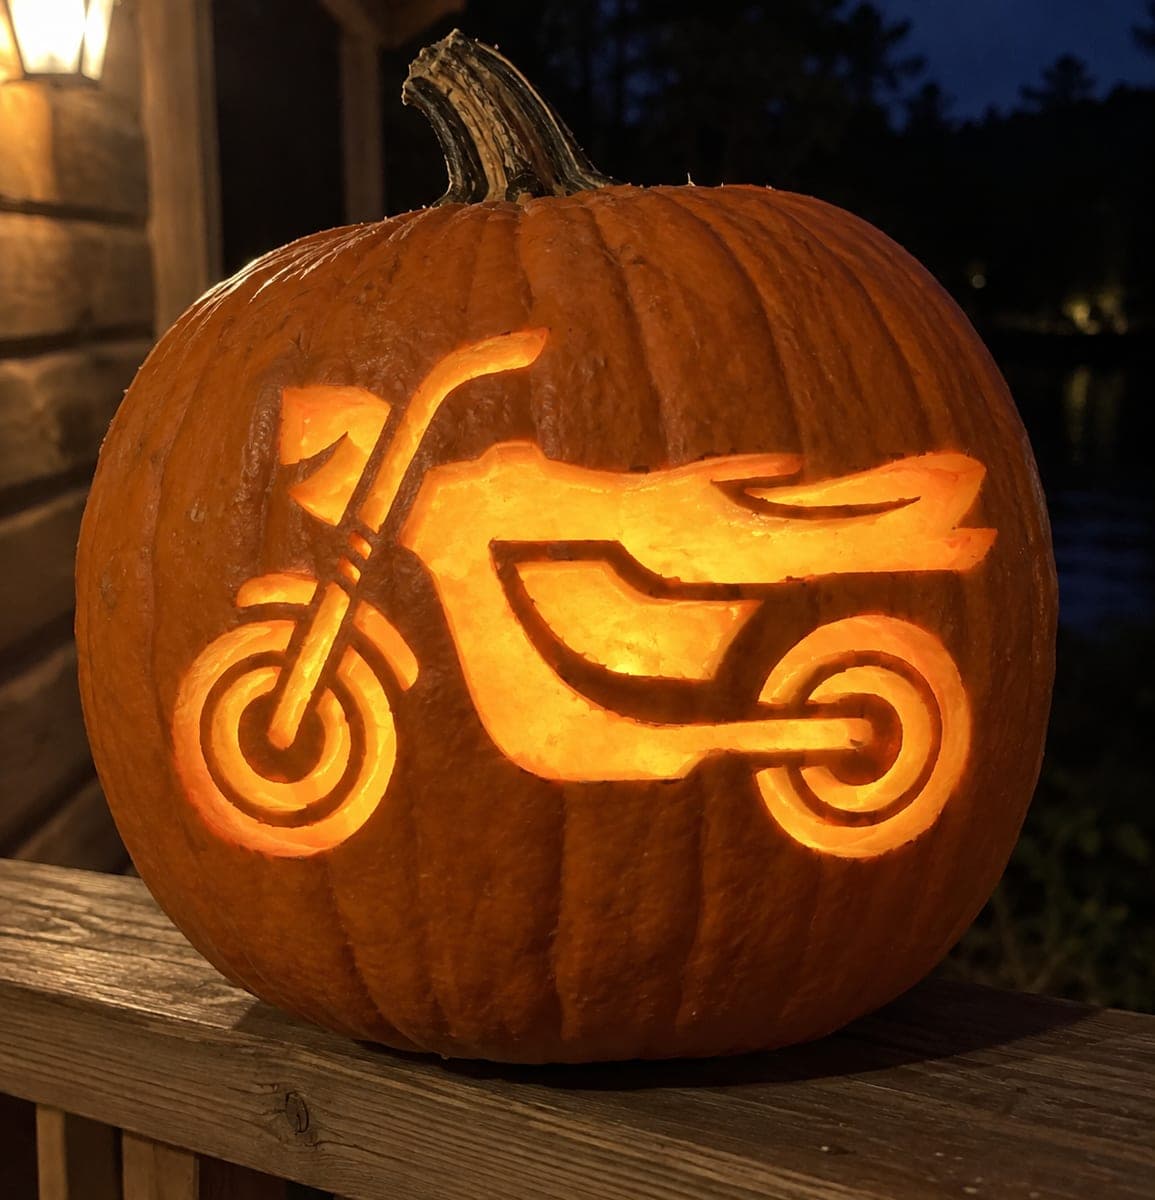
Bicycle Cutout Silhouette Pumpkin on Front StepsAI
0

Bicycle Cutout Silhouette Pumpkin on Front Steps

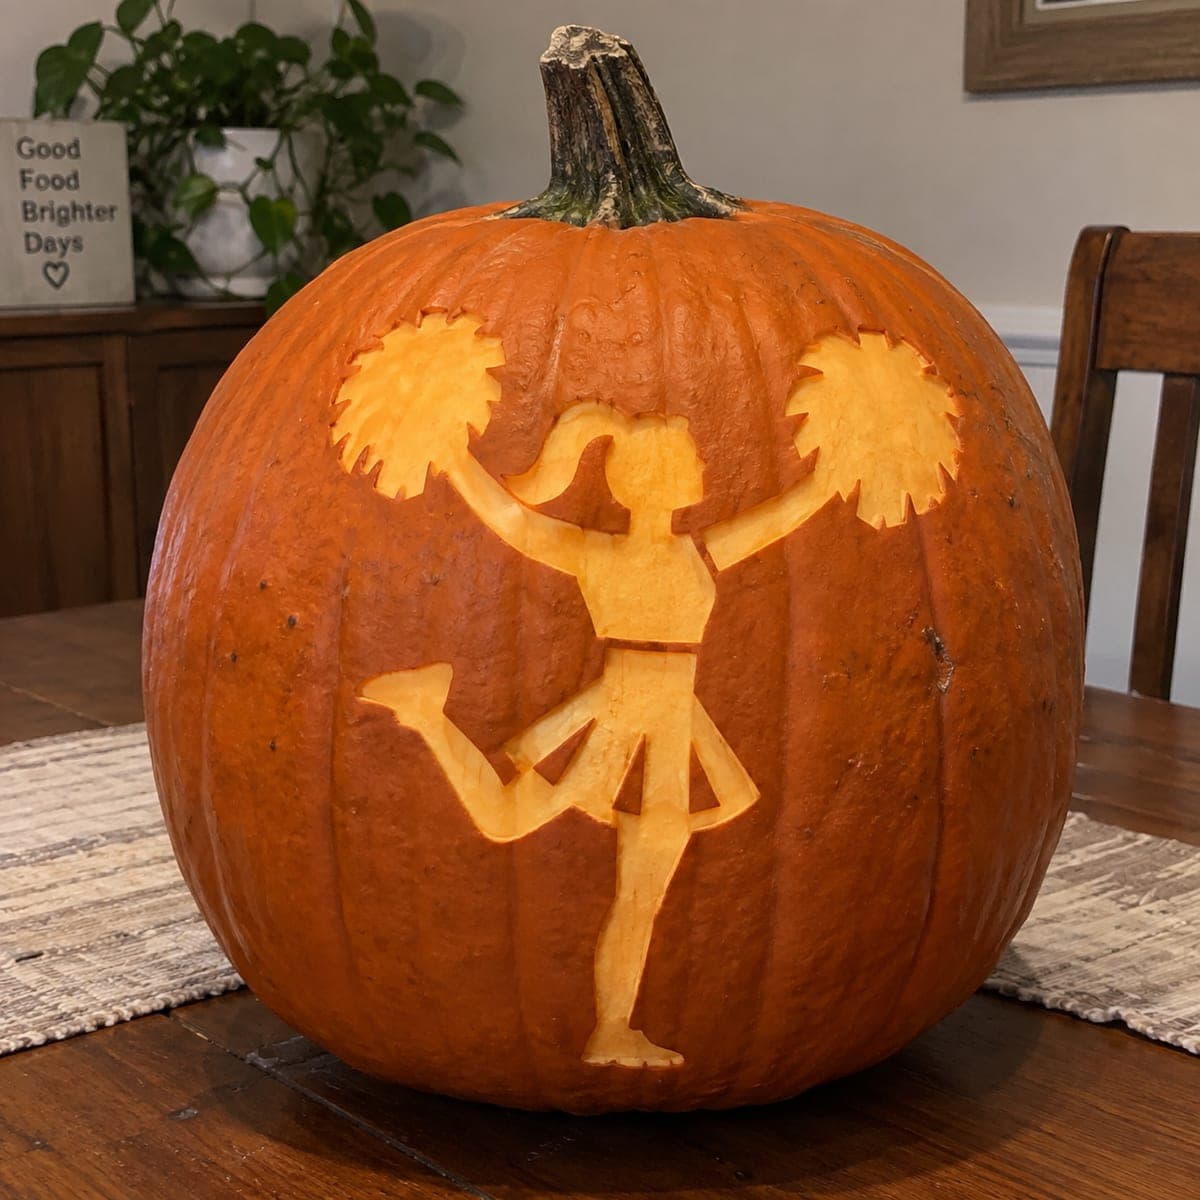
A detailed bicycle with spoked wheels, a chain drive, and handlebars is carved as a bright cutout against the pumpkin surface, the candlelight inside turning the bike into a glowing amber graphic. The silhouette approach uses only one visual plane, so you trace the outline, cut along it, and the bike shape falls away to reveal the glow behind. Pin the template through the pumpkin skin to trace it accurately, then use a fine scroll-saw blade to cut the wheel spokes without breaking the thin connecting pieces. Cyclists and active outdoor families will love this pumpkin carving idea on a porch or front stoop.

This is an AI-generated concept image: a realistic, carvable design idea rather than a photo of a finished carve. AI concepts are always labeled and sit out the leaderboard and the contest.
No ratings yet · Sign in to rate

Comments (0)

  • No comments yet — be the first.

Save without an account. Sign in to like or comment.

Our tips for carving a similar design

The whole design lives on one flat plane, so the trick is a clean silhouette cutout where the bike shape drops away and the LED behind it glows amber through every opening. The hard part is the spoked wheels and the chain, which are really a series of tiny openings separated by thin connecting bridges. Plan those bridges before you cut so the wheels hold together and read as spokes instead of one big hole.

Written by PumpkinCarvingIdeas.com, inspired by the image above. These are our suggestions, not instructions from the uploader. This approach to the AI concept has not been tested on a real pumpkin.

From pumpkin to porch

  1. Pick a sturdy pumpkin and open the back

    Choose a tall pumpkin with a smooth, flat front panel wide enough to fit the whole bike. Cut a round access hole in the back rather than the top so the front face stays uninterrupted. Scrape the inside of the front wall down to about one inch thick with a loop tool. A thinner, even wall makes the fine spoke cuts far easier and lets more light through.

  2. Transfer the bike template

    Tape the stencil flat against the front, smoothing out wrinkles over the curve. Poke closely spaced pin holes along every line, including the frame tubes, both wheel rims, each spoke, the chain ring, and the handlebars. Pull the paper and connect the dots with a washable marker so you can see the full drawing. Take a moment now to mark which slivers between spokes will stay as bridges.

  3. Cut the frame and small details first

    Have an adult handle the blades. Start with the interior openings like the triangle inside the frame, the gap under the seat, and the spaces between spokes, using a fine scroll-saw style blade for tight curves. Cut the smallest, most delicate openings while the pumpkin is still strong and stable. Saw slowly and let the blade do the work so you do not snap a spoke bridge.

  4. Shape the wheels and chain

    Work each wheel as a ring of narrow openings, leaving thin spoke bars between them so the wheel does not become one empty circle. Keep the outer rim as a continuous cut and let the spokes fan into the hub. For the chain ring and pedals, make short controlled cuts and leave a little extra material anywhere a piece feels fragile. It is fine if spokes look slightly thick, they will still glow as clean lines.

  5. Clear the largest openings last

    Once the fine work is done, cut away the big remaining voids, such as the open areas around the handlebars and any wide gaps between frame and wheels. Saving these for last keeps the front panel rigid while you handle the tricky spokes. Gently push each cut piece out from the back so you do not stress the bridges. Clean up ragged edges with a small detail blade.

  6. Light it and stage the photo

    Set a battery LED puck or a string of warm LEDs inside, never a candle near these thin bridges. Aim the light toward the front wall so it rushes through the wheels and frame. Place the pumpkin on a front step at dusk with a lantern nearby for a soft second glow. Shoot from straight on so the full bicycle silhouette reads clearly.

Gather your supplies

Check things off as you get ready.

Work on a stable surface, keep your free hand out of the cutting path, and have an adult handle sharp tools.

Three levels of light

  • Leave intact

    The surrounding pumpkin skin and the stem area stay untouched and dark, framing the bike.

  • Peel & shade

    You can shave a thin halo of skin just outside the wheels for a soft dim ring, though the original design keeps the field mostly plain.

  • Cut through

    The full bike, its frame, spokes, chain ring, and handlebars are cut all the way through for the brightest amber glow.

Learn the carving basics

Before you start cutting

How do I keep the wheel spokes from breaking?

Treat each wheel as many small openings separated by thin bars, not one open circle, and leave those bars a touch thicker than the stencil shows. Cut the spoke gaps early while the pumpkin wall is still firm. Saw slowly and support the area with your free hand from behind.

This is marked as an AI concept, so can a real pumpkin look like this?

Yes, a design like this is carvable, but real pumpkin is more fragile than a rendered image. Keep spokes and frame tubes a bit wider than the picture suggests so they hold. Thinning the front wall to about an inch also helps the light shine through the fine lines.

Where should the light go for the best effect?

Use a warm white battery LED placed low and toward the front wall so the beam floods the cutout evenly. Avoid open flame since the thin bridges dry out and can scorch. A second lantern beside the pumpkin adds ambient glow for photos without washing out the bike.

Your take belongs here, too.

Changed a detail? Made it simpler? Share a photo of your version and tell the community what worked.

Share your pumpkin

More pumpkins like this

You've reached the end · 8 pumpkins
The Patch Report

Fresh pumpkins, in your inbox.

The best new carvings, ideas worth stealing, and how-tos for carving season. Short, seasonal, and gone by November.

A short email during carving season. Unsubscribe anytime. See our privacy policy.