Halloween Pumpkin Carving Contest · Starts October 1st · $500 in prizes
← Back to ideas
@ai_concepts
Sep 3, 2026
Bold Black Scorpion Painted Pumpkin DesignAI
0

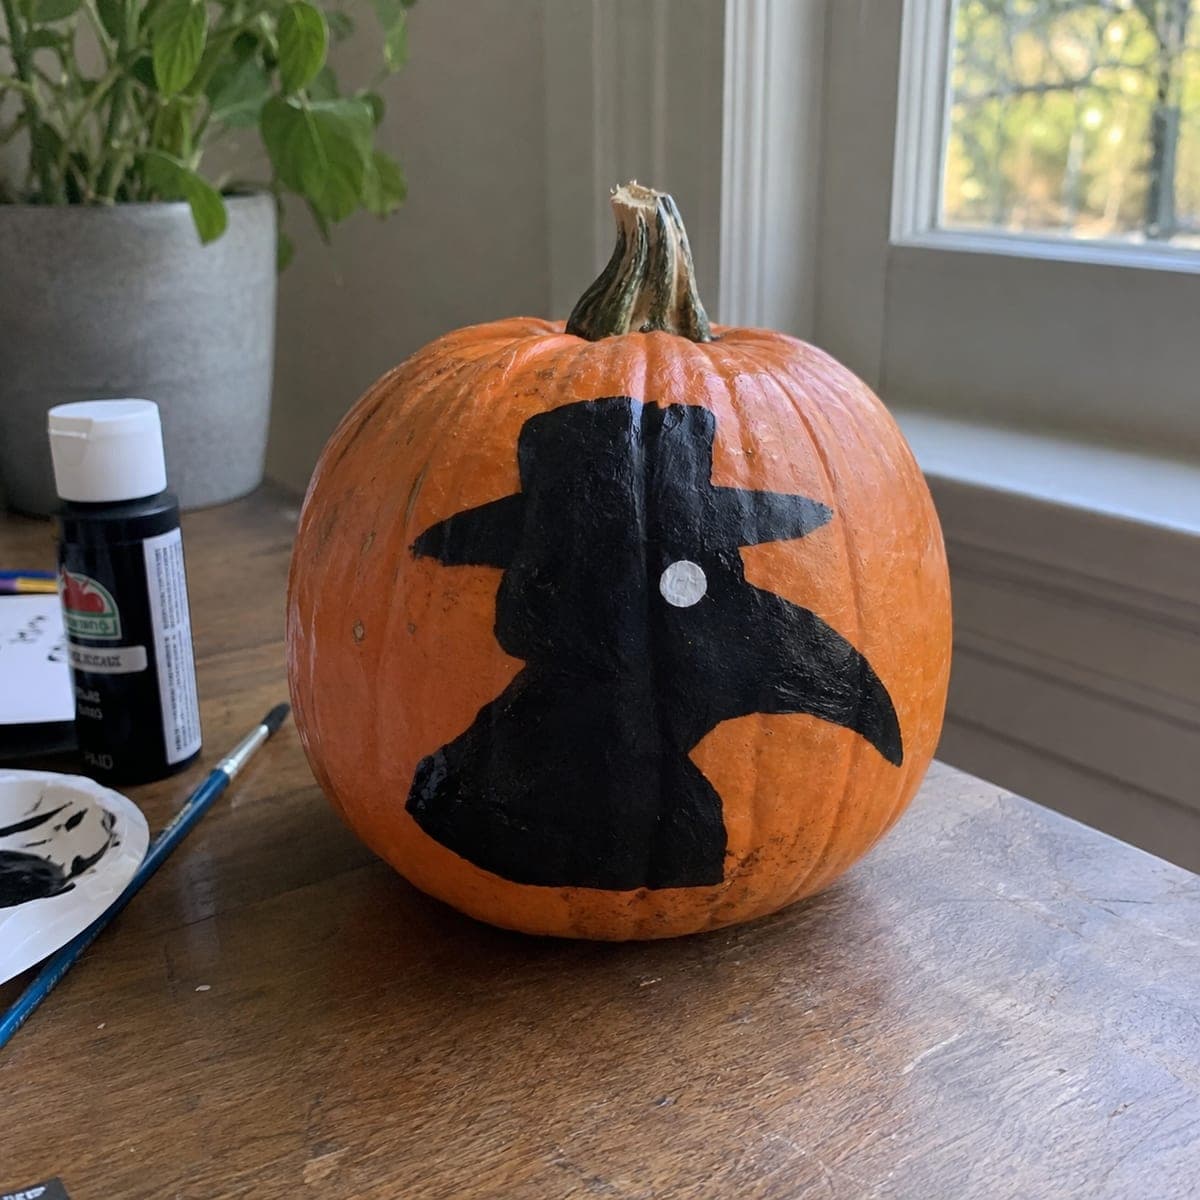
Bold Black Scorpion Painted Pumpkin Design

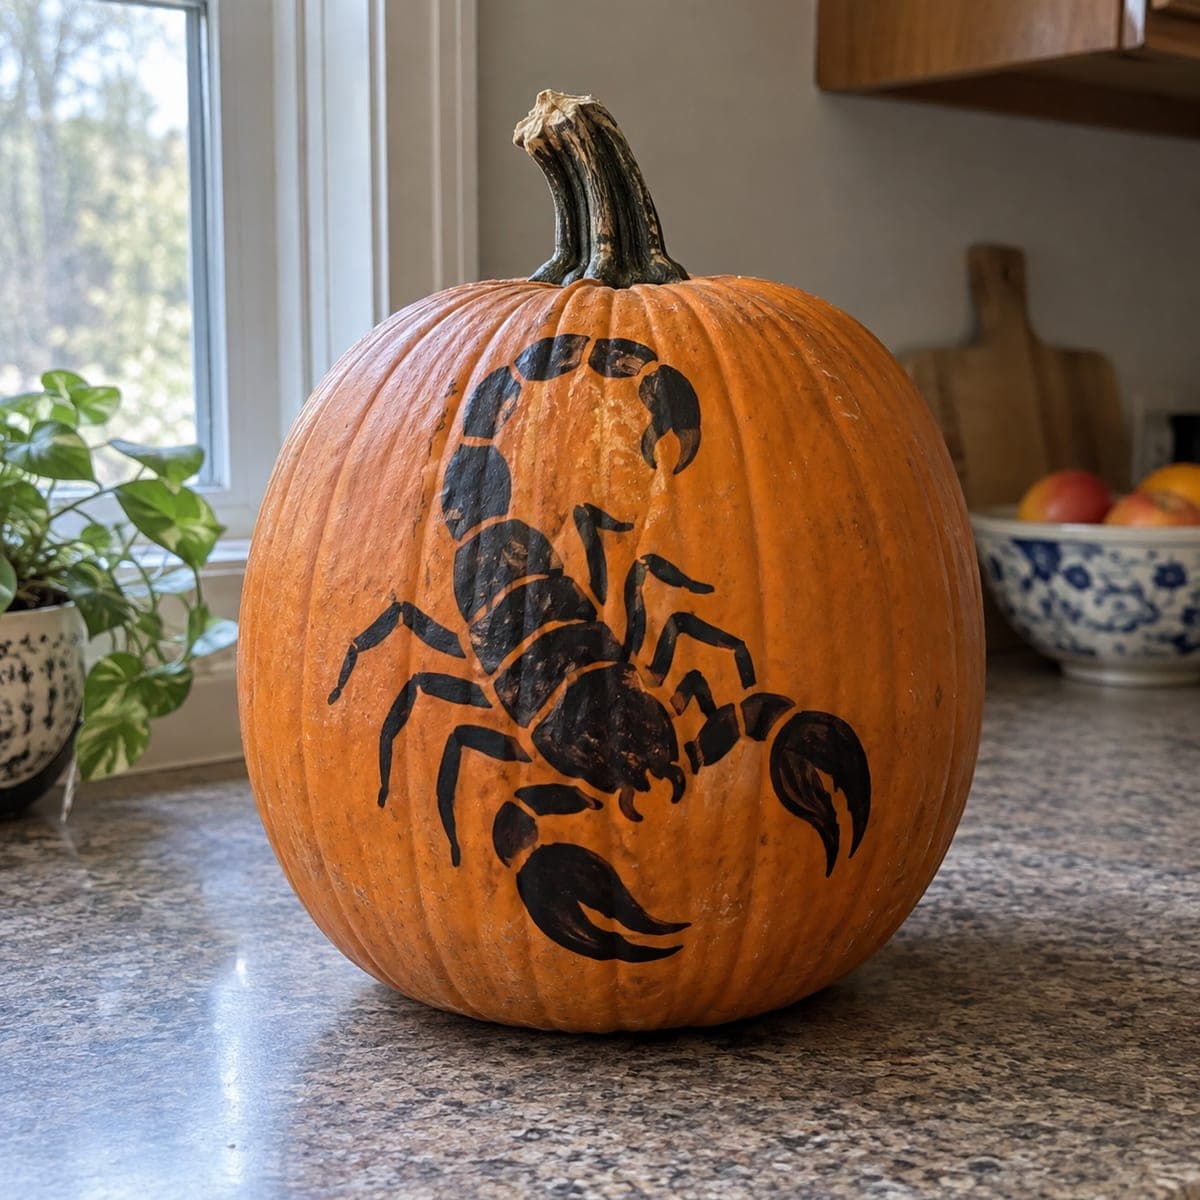
A big black scorpion crawls up this pumpkin with raised pincers and a curled stinger poised over its back, all done in paint with no knife required. The segmented body is the key to the look, so paint the tail as a chain of shrinking ovals and let each section dry before outlining. A flat black silhouette against bright orange gives strong contrast that reads from across the street.

This is an AI-generated concept image: a realistic, carvable design idea rather than a photo of a finished carve. AI concepts are always labeled and sit out the leaderboard and the contest.

No ratings yet · Sign in to rate
Comments (0)

  • No comments yet — be the first.

Save without an account. Sign in to like or comment.

Our tips for carving a similar design

The whole look leans on a flat black silhouette that pops against bright orange, so the trick is clean edges and a segmented tail. Plan the pose first with the pincers reaching up and the stinger curling over the back, then build the tail as a chain of shrinking ovals. Since this is a no-carve design, you could copy it with acrylic paint on any smooth-sided pumpkin.

Written by PumpkinCarvingIdeas.com, inspired by the image above. These are our suggestions, not instructions from the uploader. This approach to the AI concept has not been tested on a real pumpkin.

From pumpkin to porch

  1. Pick a pumpkin and wipe it down

    Choose a tall pumpkin with a broad, fairly smooth front face so the scorpion has room to sprawl. Wash off any dirt and dry the skin completely, since paint grabs better on clean, dry rind. Set it on newspaper with the best side facing you. Give the surface a quick check for soft spots before you start.

  2. Sketch the pose lightly

    Use a pencil or a washable marker to rough in the body first, a fat teardrop for the abdomen and a rounded head. Add the two big pincers reaching up and out, then dot in the leg positions, four to a side. Sketch the tail as a row of ovals that get smaller as they curl up and over the back, ending in the stinger. Step back often to check the balance before any paint touches the skin.

  3. Paint the body and pincers first

    Start with the large shapes, the abdomen, head, and both claws, using a medium round brush and black acrylic. Keep your edges crisp by pulling the brush toward the outline rather than pushing into it. Let this first coat dry fully before adding a second for solid, opaque black. Working big to small keeps your hand from smudging fresh paint.

  4. Build the segmented tail

    Fill each oval of the tail one at a time and let each section dry before you move to the next, which prevents the curled shape from blurring together. Leave a thin sliver of orange between segments so the chain reads as separate links from a distance. Cap the tail with a sharp, curved stinger. This segmenting is the detail that sells it as a scorpion.

  5. Add legs and clean the outline

    Paint the eight legs as thin tapered strokes with a small brush, angling them so they look like they grip the pumpkin. Once everything is dry, go back with a fine brush and tighten every outline so the silhouette stays sharp. Touch up any spots where orange shows through the black. Crisp edges are what make the shape read from across the street.

  6. Seal, light, and photograph

    Once fully dry, brush on a thin coat of clear matte sealer to protect the paint from dew and drizzle. Set the finished pumpkin where it will be seen, and place a battery LED puck or a small spotlight nearby to graze the surface. Never use a candle, since heat and open flame have no place on a painted pumpkin. Snap your photo at dusk when the low light rakes across the black shapes.

Gather your supplies

Check things off as you get ready.

Work on a stable surface, keep your free hand out of the cutting path, and have an adult handle sharp tools.

Three levels of light

  • Leave intact

    The whole black scorpion silhouette stays opaque and dark, no light passes through it.

  • Peel & shade

    If you want a subtle glow, lightly scrape a thin orange halo just outside the body so the shape seems to float.

  • Cut through

    For a lit variant, you could cut through the small gaps between the legs and tail segments so a spotlight peeks through the negative space.

Learn the carving basics

Before you start cutting

Do I really not need to cut anything?

Correct, this is a painted no-carve design, so no knife is required. That makes it a great choice for a pumpkin you want to last longer, since an uncut pumpkin resists rot for weeks. If you crave a glow, you can add a few small cutouts in the negative spaces after the paint dries.

How do I keep the tail from looking like one blob?

Paint the tail as separate ovals and let each one dry before starting the next. Leave a thin line of orange rind showing between the segments so the eye reads them as links in a chain. That spacing is what turns a curve into a recognizable scorpion tail.

Will the paint survive being outside?

Acrylic holds up reasonably well, but dew and rain can dull or lift it over time. A thin coat of clear matte sealer after everything dries adds real protection. On wet nights, bring the pumpkin under cover if you can.

Your take belongs here, too.

Changed a detail? Made it simpler? Share a photo of your version and tell the community what worked.

Share your pumpkin

More pumpkins like this

You've reached the end · 8 pumpkins
The Patch Report

Fresh pumpkins, in your inbox.

The best new carvings, ideas worth stealing, and how-tos for carving season. Short, seasonal, and gone by November.

A short email during carving season. Unsubscribe anytime. See our privacy policy.