Halloween Pumpkin Carving Contest · Starts October 1st · $500 in prizes
← Back to ideas
@ai_concepts
Aug 5, 2026
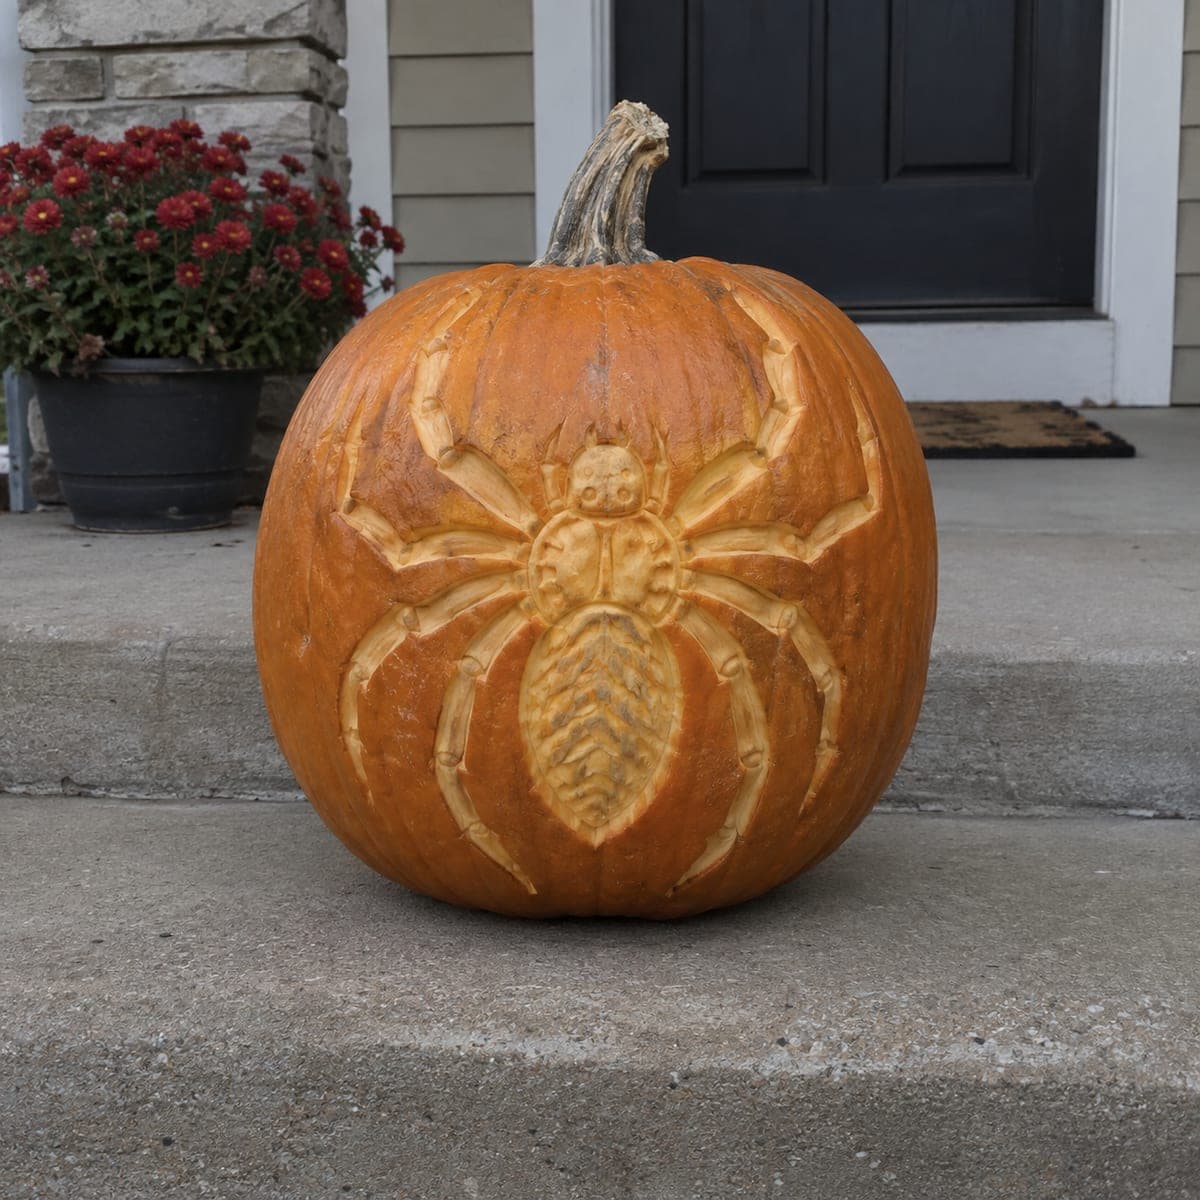
Realistic Tarantula Painted Halloween PumpkinAI
0

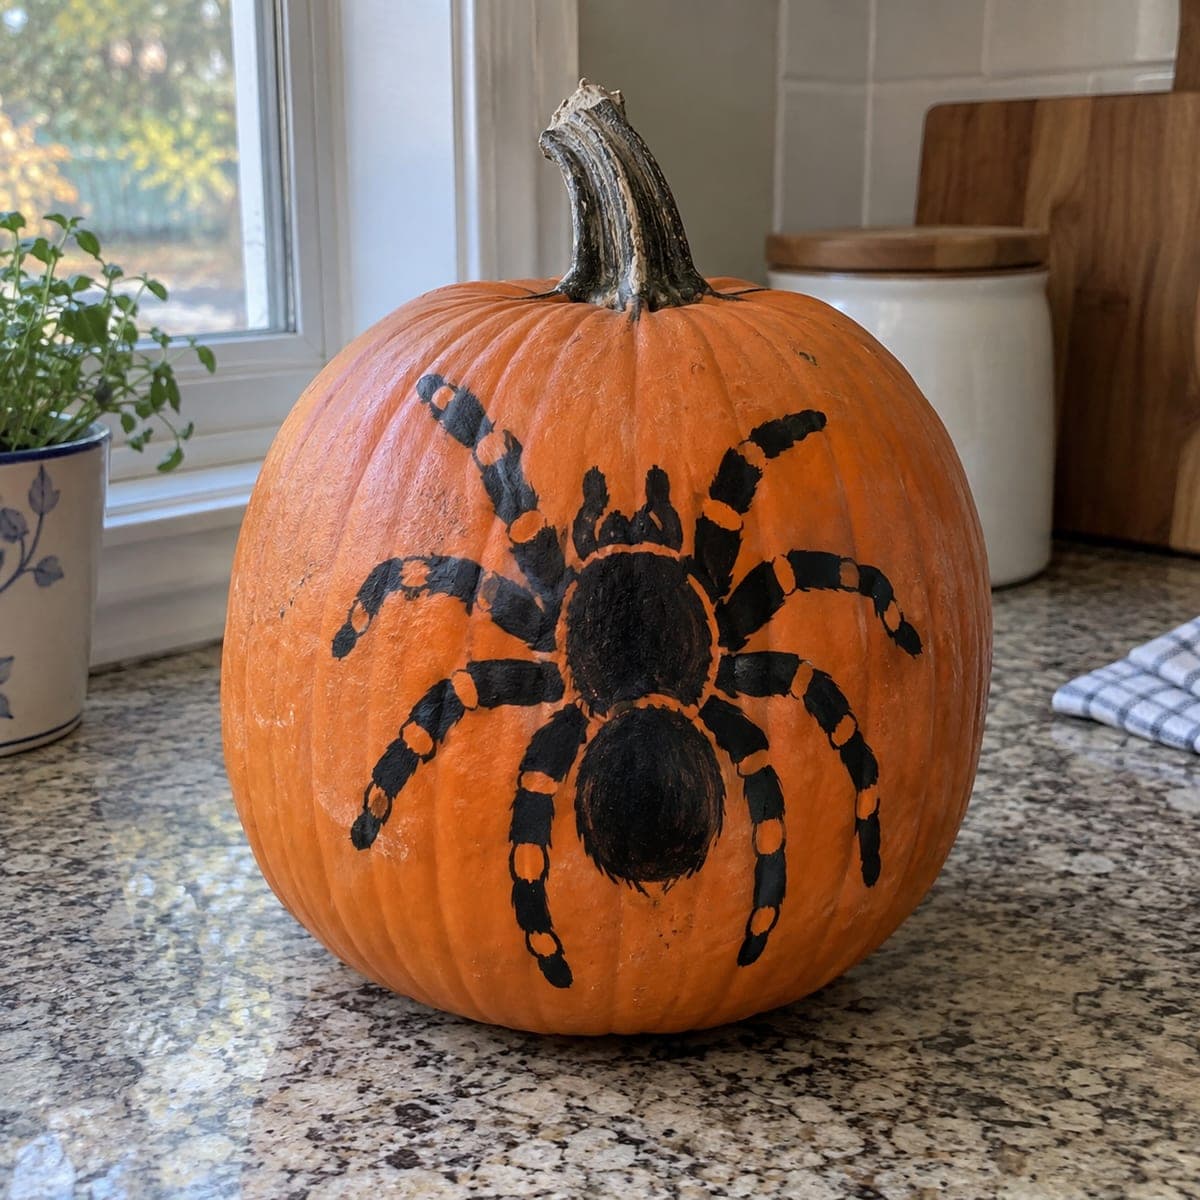
Realistic Tarantula Painted Halloween Pumpkin

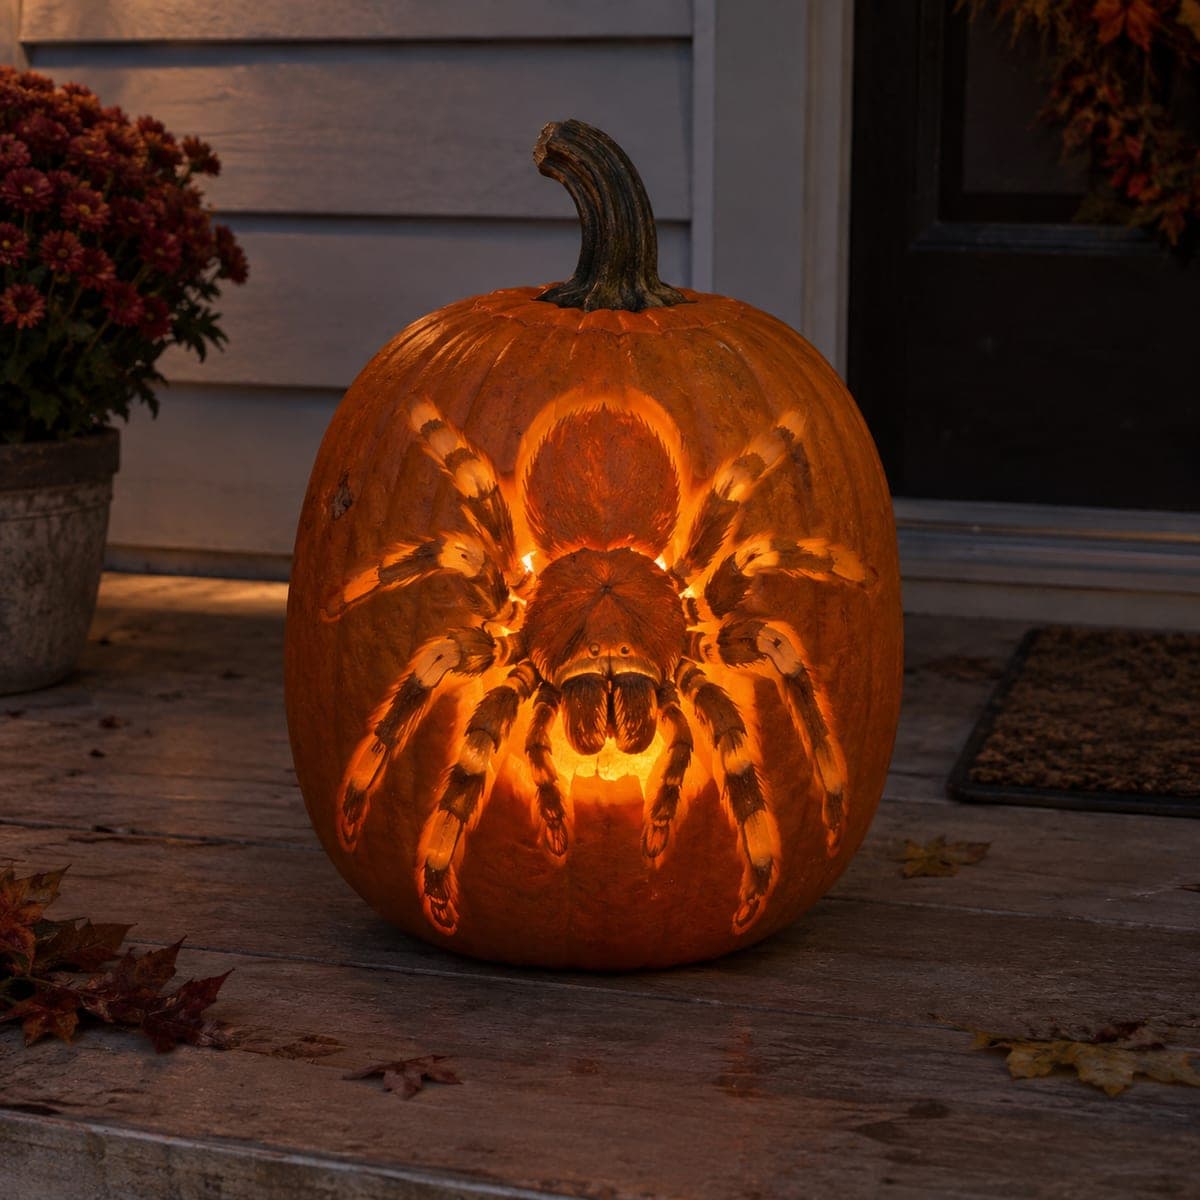
A big hairy tarantula crawls across this pumpkin in black paint with orange knee bands, sized and posed so realistically it gives visitors a genuine double take. Paint the two body segments first, then pull each leg outward in a single curved stroke, adding the orange joint markings once the black dries. It is an easy no-carve pumpkin with maximum creep factor for a kitchen or entryway.

This is an AI-generated concept image: a realistic, carvable design idea rather than a photo of a finished carve. AI concepts are always labeled and sit out the leaderboard and the contest.

No ratings yet · Sign in to rate
Comments (0)

  • No comments yet — be the first.

Save without an account. Sign in to like or comment.

Our tips for carving a similar design

Since no real pumpkin exists here, this is a concept you could recreate as an all-paint, no-carve design. The core trick is the two-part body plus eight legs pulled outward in single curved strokes, then finished with small orange knee bands that read as a real tarantula from across the room. Plan the pose lightly in pencil first so the spread of legs fits your pumpkin before any black goes down.

Written by PumpkinCarvingIdeas.com, inspired by the image above. These are our suggestions, not instructions from the uploader. This approach to the AI concept has not been tested on a real pumpkin.

From pumpkin to porch

  1. Clean and dry the surface

    Wipe the whole pumpkin with a damp cloth and let it dry completely so paint grips well. Choose the flattest, widest face for the body since curved shoulders can distort a leg. Set the pumpkin at eye level on a towel so it will not roll while you work. A dry surface keeps your black paint from beading up.

  2. Sketch the spider in pencil

    Lightly draw two ovals for the body, a smaller front cephalothorax and a larger rear abdomen. Add eight leg lines, four per side, each bending up at the knee then back down. Keep the whole shape inside the flat area so no leg wraps awkwardly around a rib. Step back and check the pose looks balanced before painting.

  3. Paint the two body segments

    Fill both body ovals with black acrylic craft paint using a medium round brush. Build up two thin coats rather than one thick one so it dries dark and even. Leave a faint highlight of bare skin near the top of the abdomen if you want a subtle rounded look. Let the black dry fully before touching the legs.

  4. Pull each leg in one stroke

    Load the brush and drag each leg outward from the body in a single confident curved stroke, lifting slightly at the tip so it tapers. Do all eight legs the same way so they match in weight. Keep the two front legs a touch longer and more raised for that alert, ready-to-crawl feel. Let everything dry before adding detail.

  5. Add the orange knee bands

    Once the black is dry, use a small brush and orange paint to add short bands at the leg joints. Keep them thin and evenly spaced so they suggest the classic tarantula marking. A couple of tiny orange dots near the front make simple eyes. Wipe any stray marks with a damp swab right away.

  6. Seal, stage, and photograph

    Brush on a thin coat of matte clear sealer so the paint survives an entryway or kitchen counter. Stage the pumpkin low, near a doorway or on a shelf, where someone will glance down and do a double take. Add a small LED tea light beside it, never inside, for a warm ambient glow. Snap your photo slightly from above to show the full leg spread.

Gather your supplies

Check things off as you get ready.

Work on a stable surface, keep your free hand out of the cutting path, and have an adult handle sharp tools.

Three levels of light

  • Leave intact

    The black body and legs stay fully painted and opaque, reading as the darkest part of the design.

  • Peel & shade

    For a subtle glow you could lightly scrape a thin halo of skin on the bare orange field behind the spider so an LED beside it warms the background.

  • Cut through

    This is a no-carve design, so there are no full cutouts, but you could add a few tiny pinholes near the LED for faint sparkle.

Learn the carving basics

Before you start cutting

How do I keep all eight legs looking even?

Sketch every leg in pencil first and check the spacing before you paint. Reload your brush the same amount for each stroke so the legs match in thickness. Doing the four legs on one side, then mirroring them on the other, helps keep the pose balanced.

Can I do this without any carving at all?

Yes, this is meant to be a full no-carve project done entirely in paint. Skipping cuts means the pumpkin lasts longer and stays sturdy indoors. If you want a little light, set an LED tea light beside the pumpkin rather than hollowing it out.

What paint holds up best on a pumpkin?

Acrylic craft paint sticks well to clean, dry pumpkin skin and dries fast between coats. Two thin layers give richer black than one heavy coat. A matte clear sealer on top protects the design from smudging and light moisture.

Your take belongs here, too.

Changed a detail? Made it simpler? Share a photo of your version and tell the community what worked.

Share your pumpkin

More pumpkins like this

You've reached the end · 8 pumpkins
The Patch Report

Fresh pumpkins, in your inbox.

The best new carvings, ideas worth stealing, and how-tos for carving season. Short, seasonal, and gone by November.

A short email during carving season. Unsubscribe anytime. See our privacy policy.