Halloween Pumpkin Carving Contest · Starts October 1st · $500 in prizes
← Back to ideas
@ai_concepts
Aug 19, 2026
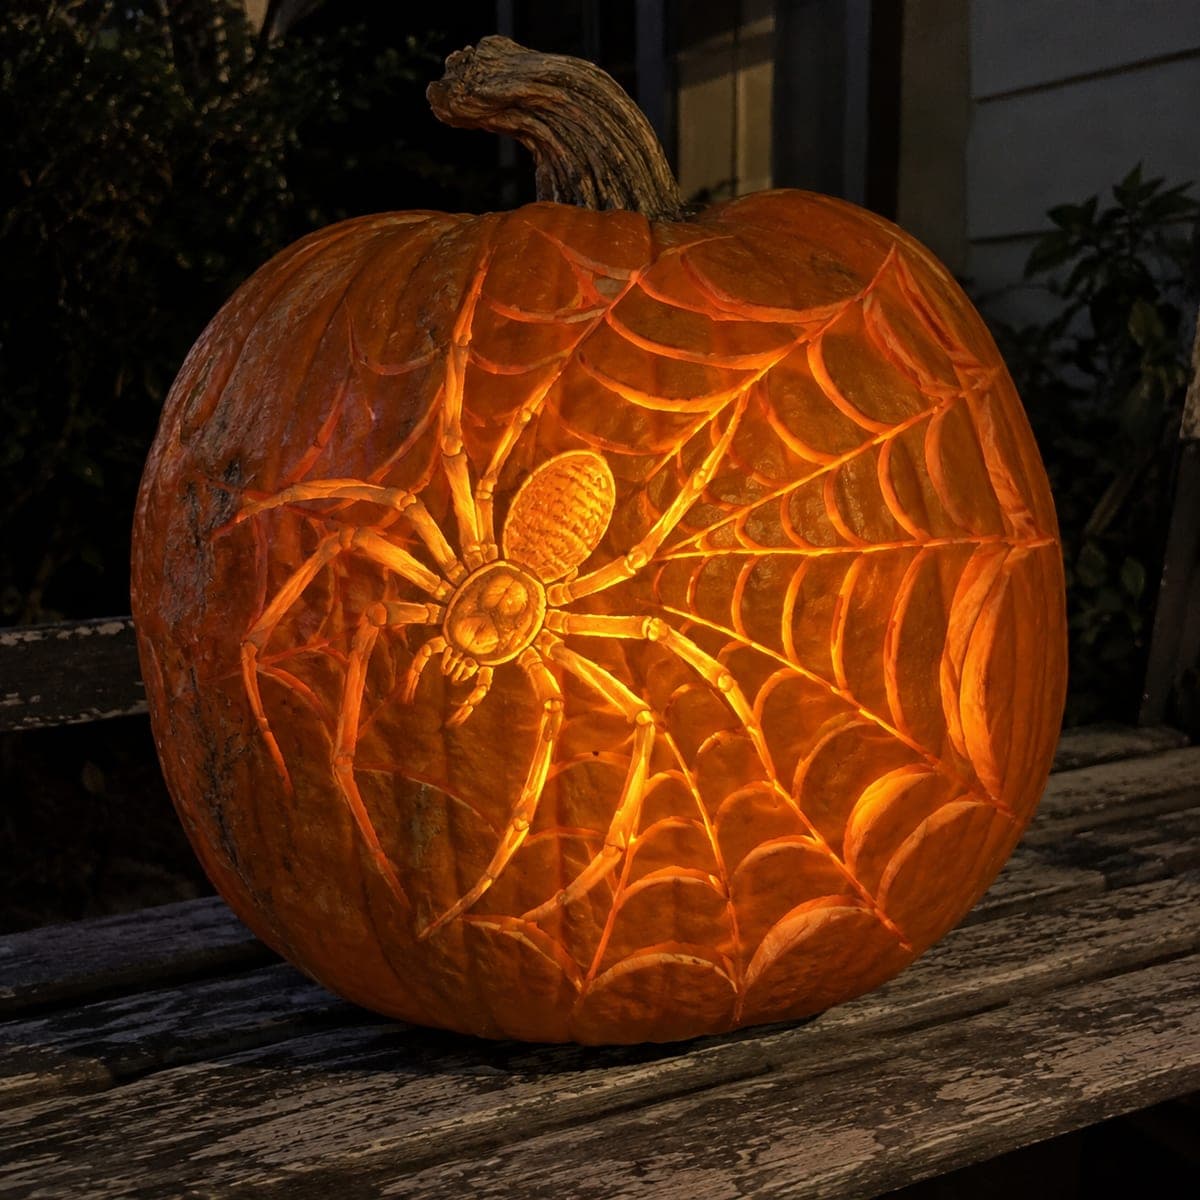
Big Spider Relief Carved PumpkinAI
0

Big Spider Relief Carved Pumpkin

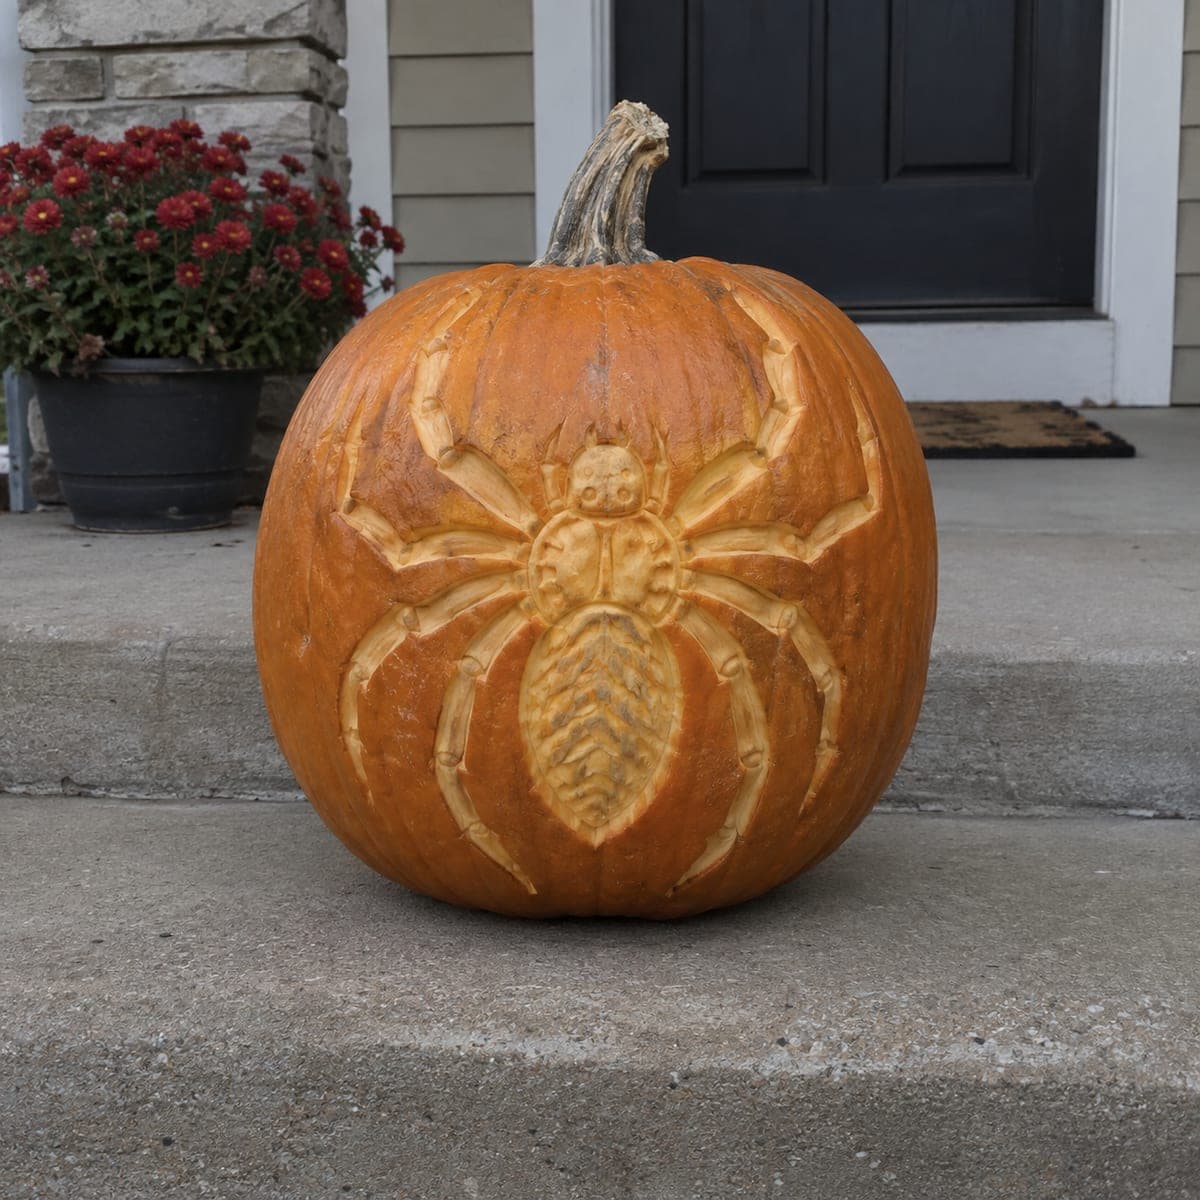
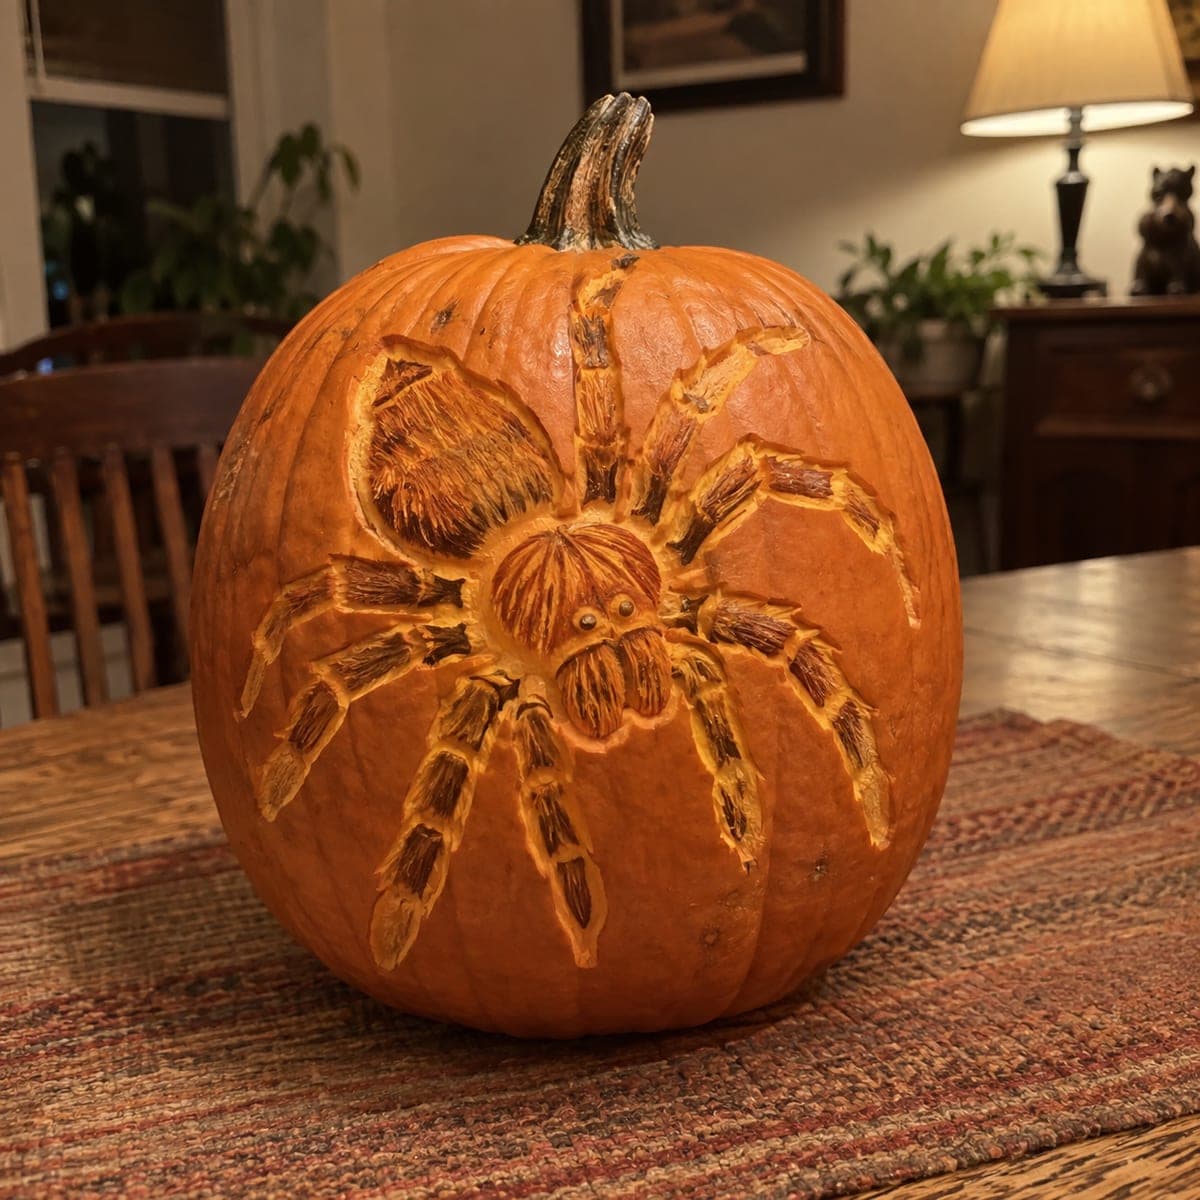
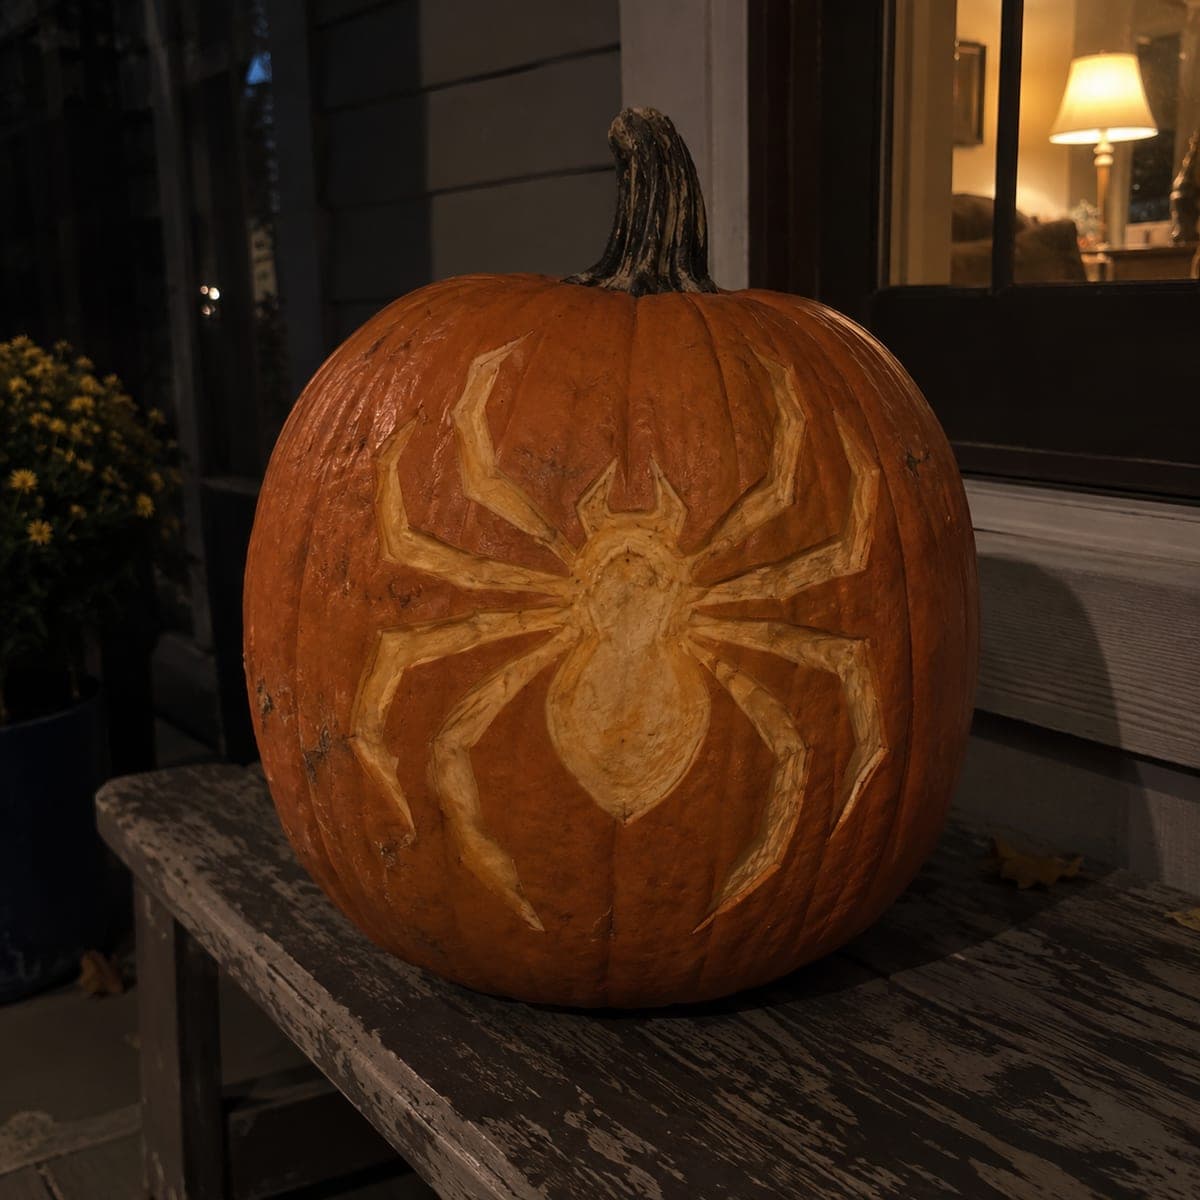
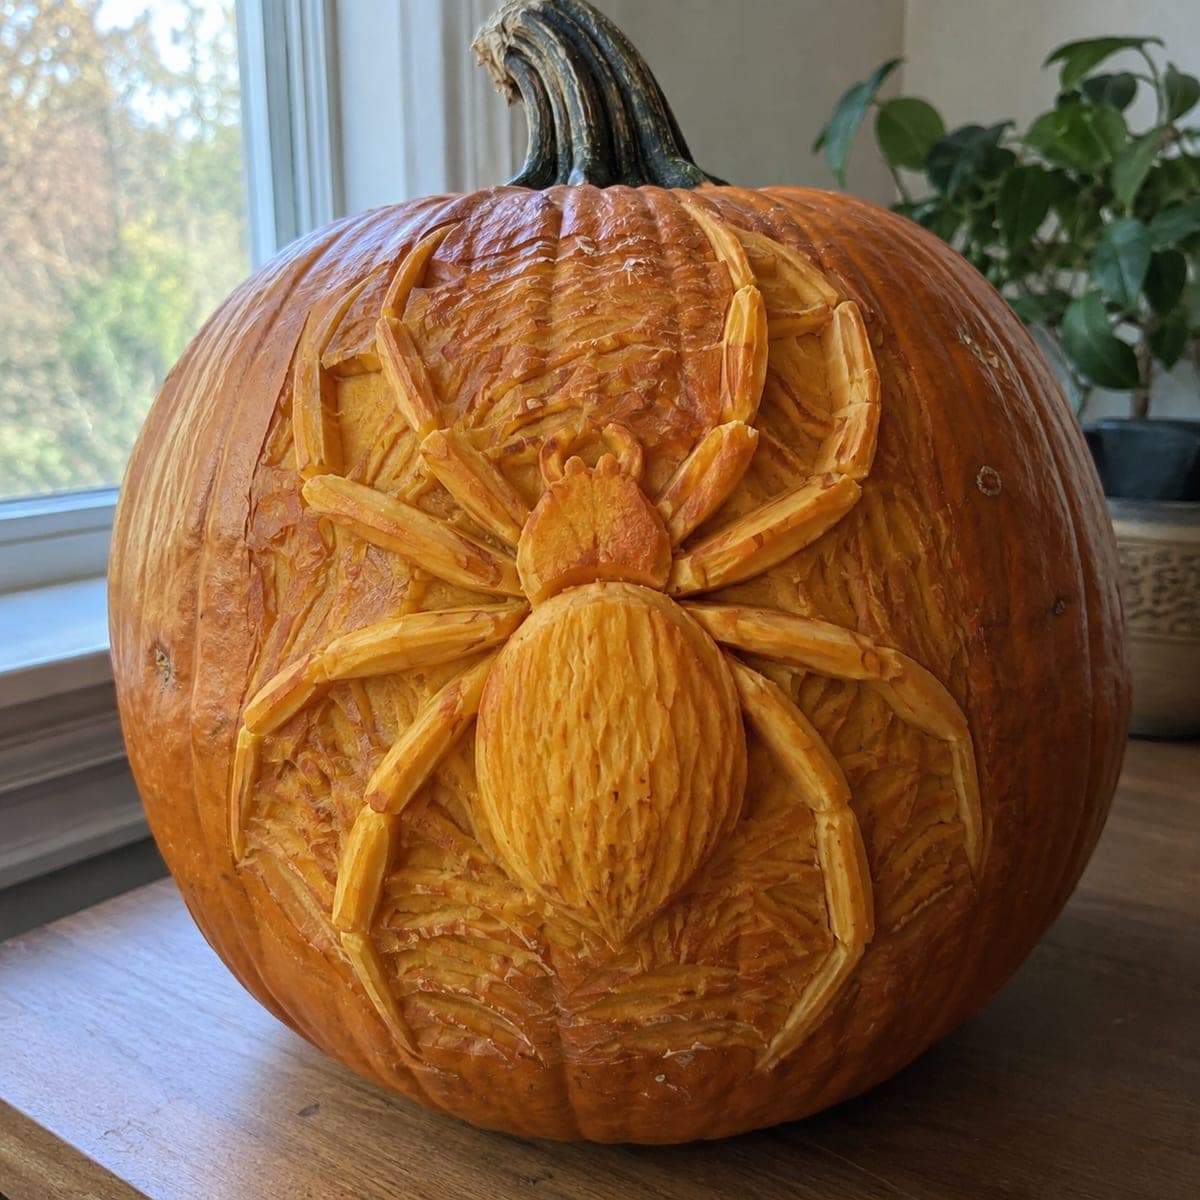
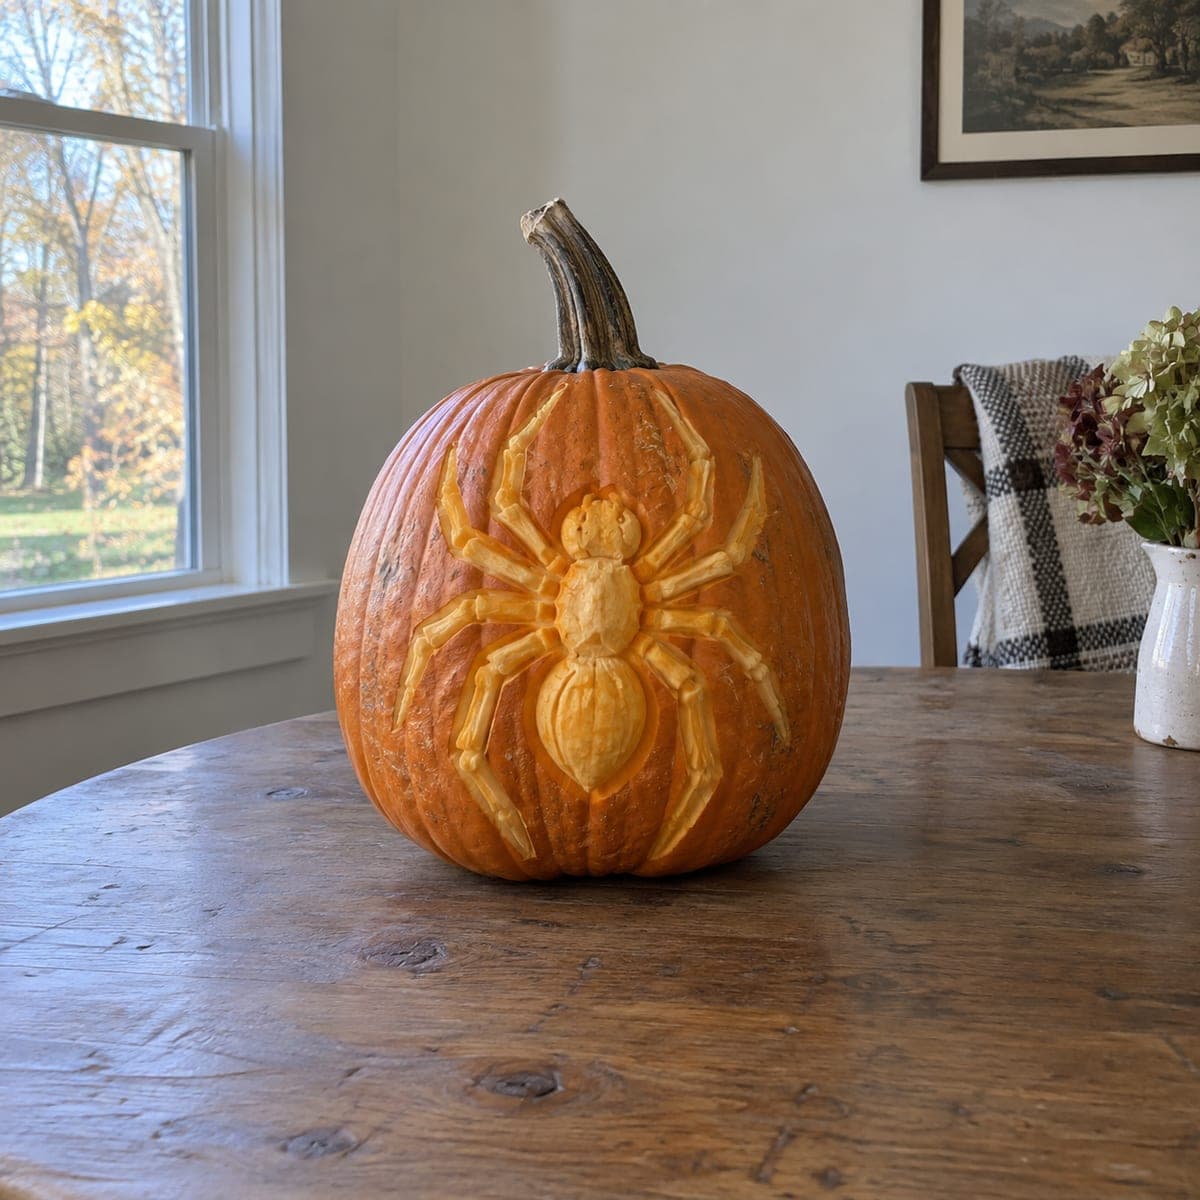
A large spider with a plump abdomen and eight jointed legs is carved in raised relief across this pumpkin, each leg segment shaped so the joints look bent and lifelike. Because the design reads by shadow rather than candlelight, it works on a table all day long. Carve away the background around the spider first, then round over the body and legs with a paring knife. Keep the legs at least a finger wide so they stay crisp as the pumpkin dries.

This is an AI-generated concept image: a realistic, carvable design idea rather than a photo of a finished carve. AI concepts are always labeled and sit out the leaderboard and the contest.

No ratings yet · Sign in to rate
Comments (0)

  • No comments yet — be the first.

Save without an account. Sign in to like or comment.

Our tips for carving a similar design

The core trick here is relief carving, where you leave the spider raised and scoop away everything around it so the shape reads by shadow rather than by light shining through. Because nothing is cut all the way through, this pumpkin looks great on a table all day long. The plan is to lower the background first, then round over the body and legs so the joints look bent and lifelike.

Written by PumpkinCarvingIdeas.com, inspired by the image above. These are our suggestions, not instructions from the uploader. This approach to the AI concept has not been tested on a real pumpkin.

From pumpkin to porch

  1. Transfer and plan the spider

    Since this is a concept image, start by sketching or printing a chunky spider with a plump abdomen and eight jointed legs, then tape it to the front of a smooth pumpkin. Poke along the outline with a pin or transfer tool so you have a dotted guide underneath. Keep every leg at least a finger wide and check that legs stay connected to the body. Wide, connected shapes will hold up as the pumpkin dries.

  2. Score the outline

    With a small detail saw or paring knife, trace just inside the spider outline about a quarter inch deep. Do not cut through the wall, you are only marking the edge of the raised area. Take your time around the leg joints so the bends stay clean. This scored line becomes the wall you carve down to.

  3. Lower the background

    Using a loop tool or the tip of a paring knife, shave away the pumpkin skin and a shallow layer of flesh everywhere outside the spider. Work in from the edges toward your scored line so the spider stands slightly proud of the surface. Keep the depth even, roughly a quarter to a half inch, so the whole background reads as one recessed field. This is the step that makes the spider pop by shadow.

  4. Round over the body and legs

    Now shape the spider itself. Soften the edges of the abdomen and head so they look domed, and bevel down the sides of each leg segment so the joints appear bent. A paring knife or a small V gouge works well for defining the gaps between leg segments. Rounded, not flat, is what sells the lifelike look.

  5. Add surface shading

    Peel just the skin from the top of the abdomen and body to catch light and add contrast. Leave a few darker skin patches for depth and scratch fine lines to suggest bristles or leg texture. Step back often and check the shadows from a few feet away. Adjust any spot that looks flat by deepening the background nearby.

  6. Seal and display

    Wipe the carved surface, then rub exposed flesh with a little petroleum jelly or a spritz of lemon water to slow drying. Set the pumpkin on a table where daylight or a nearby lamp rakes across it, since side light makes the relief read best. If you want a hint of glow, tuck a small LED nearby rather than inside. Snap your photo while the carving is fresh and crisp.

Gather your supplies

Check things off as you get ready.

Work on a stable surface, keep your free hand out of the cutting path, and have an adult handle sharp tools.

Three levels of light

  • Leave intact

    Untouched skin on the raised spider body and a few dark patches keeps the strongest contrast and reads as the darkest tone.

  • Peel & shade

    Skin peeled from the top of the abdomen, head, and leg segments glows a soft matte orange to shape the body.

  • Cut through

    No full cutouts here, since this design reads by shadow rather than light passing through.

Learn the carving basics

Before you start cutting

How thick should I keep the legs?

Keep every leg at least a finger wide, about three quarters of an inch. Thin legs will curl and crack as the pumpkin dries, breaking up the clean silhouette. Wide legs also give you room to round the joints and add shading.

Do I need to cut all the way through the pumpkin?

No. This is a relief carving, so you only lower the background and shape the surface. Cutting through would let light leak past and flatten the shadow effect that makes the spider stand out. Keep the wall intact for a design that works in daylight.

Will it last if I am not lighting it from inside?

Yes, and that is part of the appeal. With no big openings the pumpkin dries more slowly and holds its shape longer. Rub the carved areas with petroleum jelly and keep it out of direct sun to stretch the display window a few days.

Your take belongs here, too.

Changed a detail? Made it simpler? Share a photo of your version and tell the community what worked.

Share your pumpkin

More pumpkins like this

You've reached the end · 8 pumpkins
The Patch Report

Fresh pumpkins, in your inbox.

The best new carvings, ideas worth stealing, and how-tos for carving season. Short, seasonal, and gone by November.

A short email during carving season. Unsubscribe anytime. See our privacy policy.