Halloween Pumpkin Carving Contest · Starts October 1st · $500 in prizes
← Back to ideas
@ai_concepts
Jul 24, 2026
Giant Spider 3D Relief Pumpkin CarvingAI
0

Giant Spider 3D Relief Pumpkin Carving

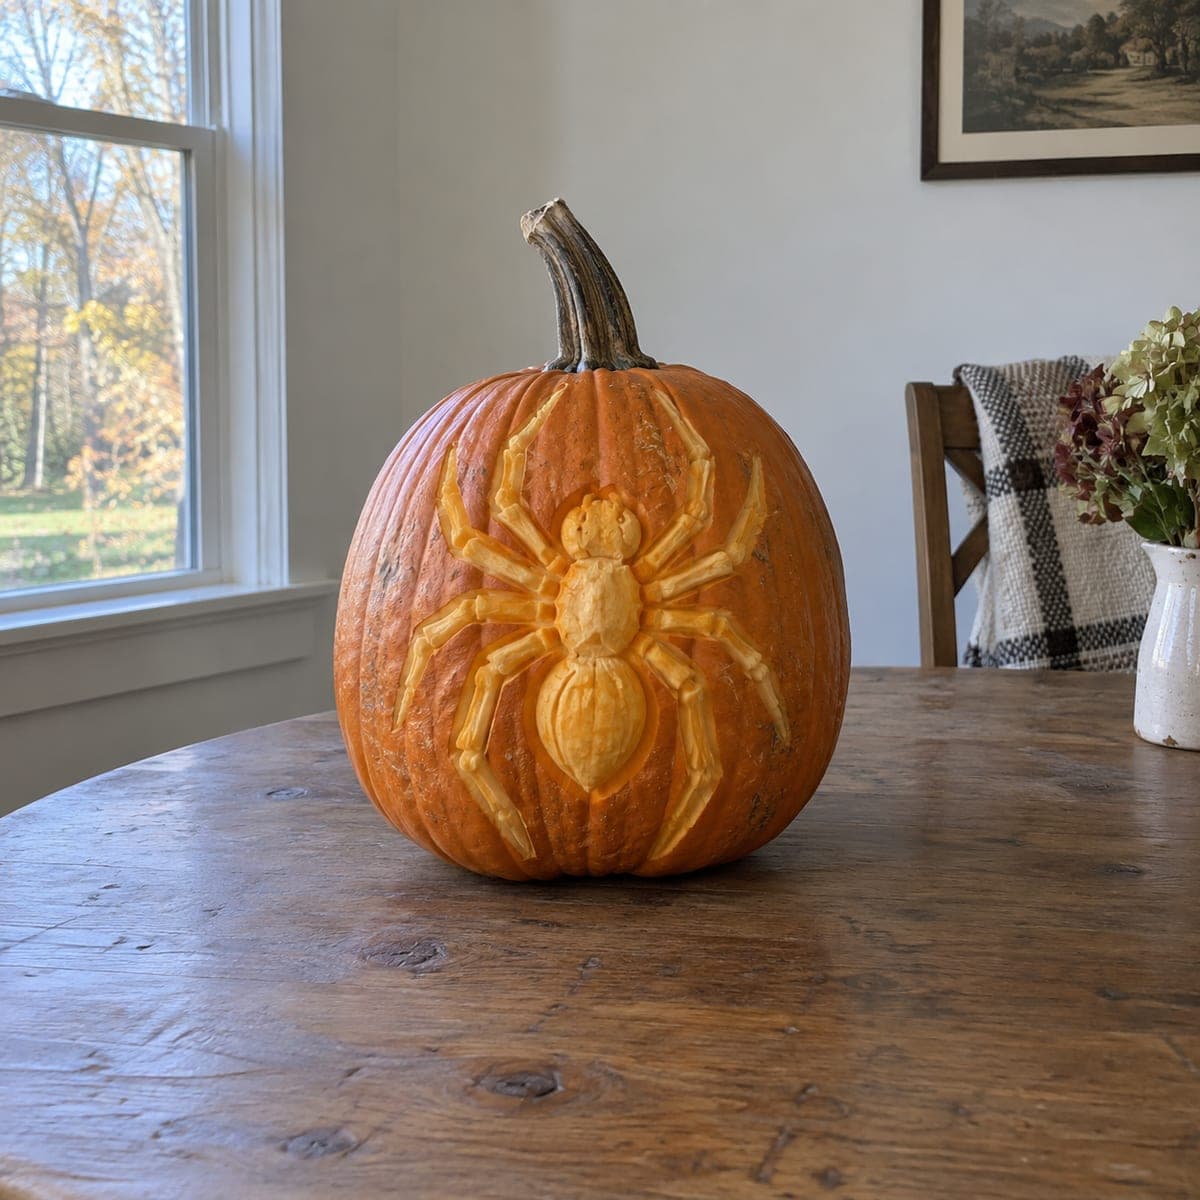
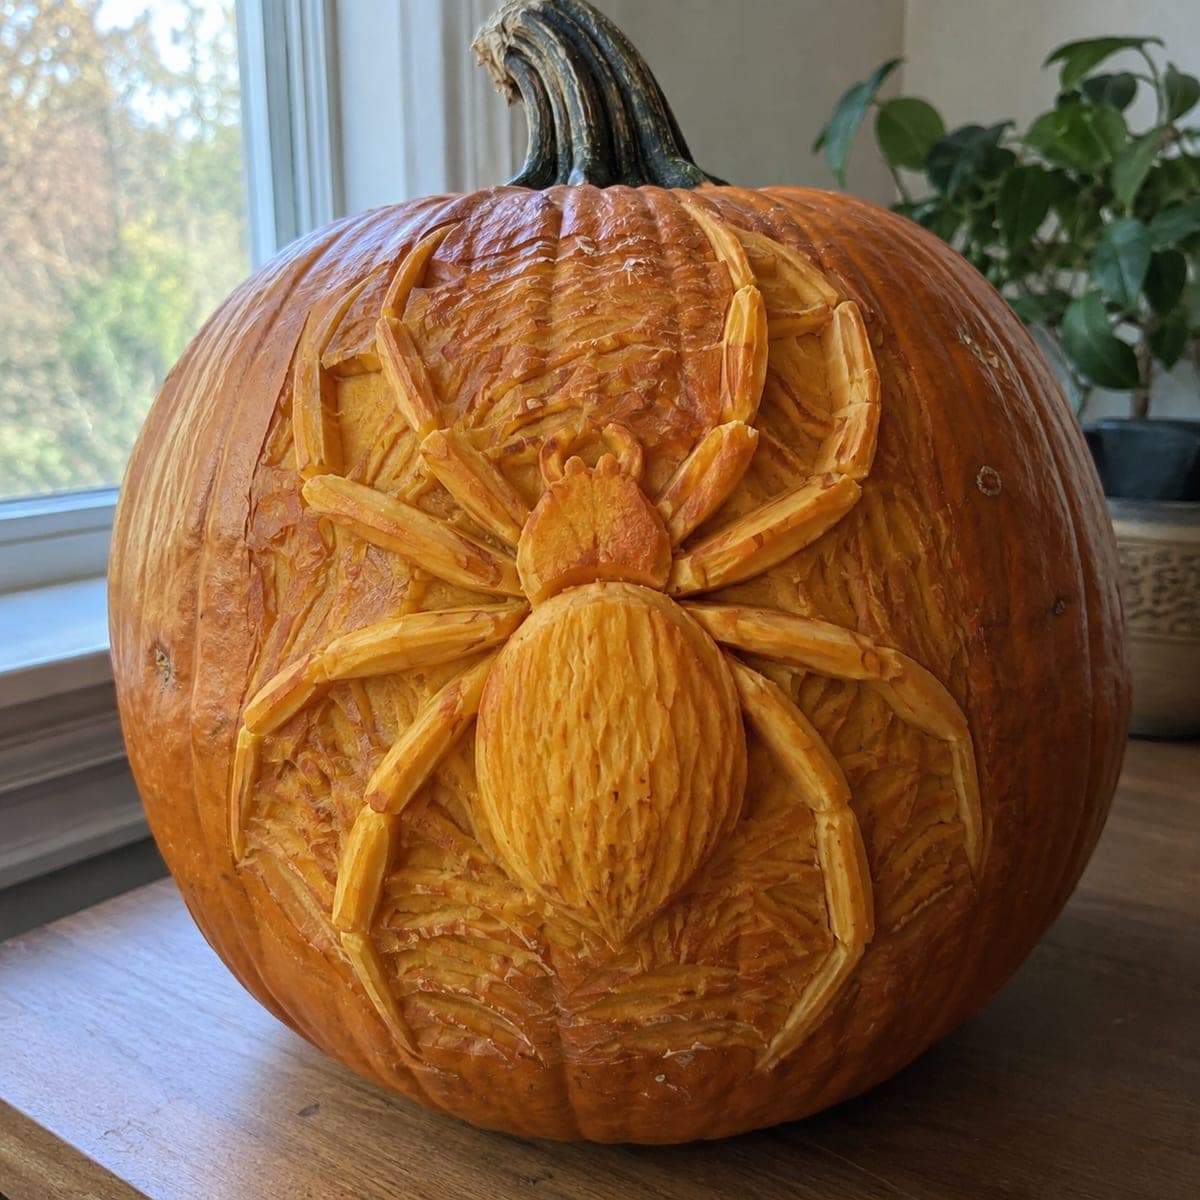
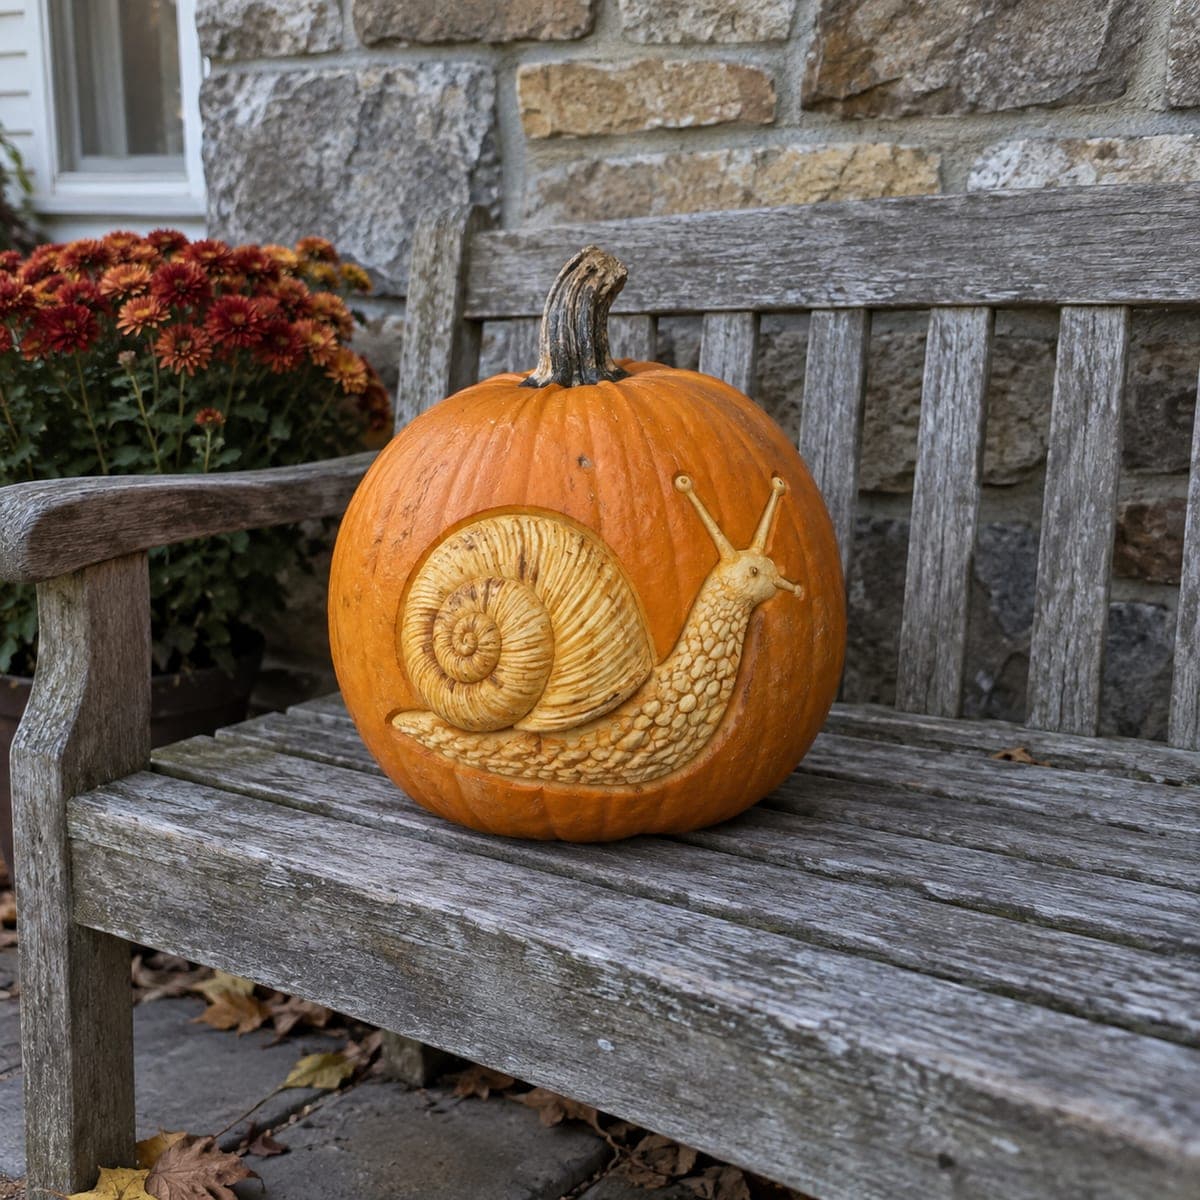
A huge spider crouches on this pumpkin in raised relief, its jointed legs and textured abdomen left standing proud while the background is carved away in swirling strokes. This reversed approach, cutting the background instead of the subject, gives the spider real dimension in daylight with no lighting needed. Outline the body and all eight legs first, then lower the surrounding surface evenly and add hatched texture to the abdomen last.

This is an AI-generated concept image: a realistic, carvable design idea rather than a photo of a finished carve. AI concepts are always labeled and sit out the leaderboard and the contest.

No ratings yet · Sign in to rate
Comments (0)

  • No comments yet — be the first.

Save without an account. Sign in to like or comment.

Our tips for carving a similar design

The core trick here is reverse carving: instead of cutting out the spider, you leave it standing at the pumpkin's full height and carve away everything around it. Lowering the background by a quarter inch or so makes the body and legs pop into real three dimensional relief. Because the depth does the work, this piece reads beautifully in daylight without any light behind it.

Written by PumpkinCarvingIdeas.com, inspired by the image above. These are our suggestions, not instructions from the uploader. This approach to the AI concept has not been tested on a real pumpkin.

From pumpkin to porch

  1. Plan and transfer the spider

    Since this is an AI concept, start by picking a real pumpkin with a broad, smooth front face for your canvas. Print or draw a chunky spider with a plump abdomen and eight jointed legs, then tape the pattern on and poke the outline with a transfer tool. Keep the legs fairly thick so they stay strong once raised. Remove the paper and connect the dots with a washable marker.

  2. Score the outlines

    With a small detail saw or a sharp craft knife, trace along every outline you drew, cutting only about a quarter inch deep. Go slowly around the leg joints and the rounded abdomen so your lines stay crisp. This scored border protects the spider when you start clearing the background. Have an adult handle all the blade work.

  3. Lower the background

    Switch to a loop or ribbon tool and shave the skin and a shallow layer of flesh away from the spaces between the legs. Work down to a consistent depth so the spider sits evenly proud of the surface. Keep your cuts flowing outward from the body to create the swirling strokes in the background. Do not tunnel all the way through the wall, this is a shallow relief, not a cutout.

  4. Shape and round the spider

    Go back to the raised spider and gently bevel the edges of the legs and abdomen so they look rounded instead of flat-topped. Trim the top skin off the legs to define each segment and the joints between them. Round the head and shape the two small front palps. Take off thin slivers at a time, you can always remove more but never add it back.

  5. Add the abdomen texture

    Using a small V gouge or the tip of your knife, carve close hatched strokes across the abdomen to suggest fine hair. Follow the curve of the body so the texture wraps naturally. Add lighter hatching to the legs and a stippled area on the head. Save this detail for last so the surface stays firm while you work.

  6. Clean up and display

    Wipe away marker lines with a damp cloth and shave any ragged edges smooth. Brush cut surfaces with a thin coat of petroleum jelly or lemon juice to slow browning. Set the pumpkin near a window for daytime viewing, and if you want a nighttime glow, place a battery LED to the side to rake light across the relief. Snap your photo in soft daylight to show off the dimension.

Gather your supplies

Check things off as you get ready.

Work on a stable surface, keep your free hand out of the cutting path, and have an adult handle sharp tools.

Three levels of light

  • Leave intact

    The raised spider body and legs keep their full skin so they read dark and solid against the cleared background.

  • Peel & shade

    The lowered background and the hatched abdomen texture are skin-peeled to a soft matte tone that catches raking light.

  • Cut through

    Nothing is cut all the way through on this relief design, keep the wall intact for strength and daytime shadow.

Learn the carving basics

Before you start cutting

How deep should I carve the background?

About a quarter inch is plenty for a strong relief effect. Going deeper weakens the wall and risks breaking through around the thin leg tips. Aim for a consistent depth so the spider sits evenly proud all the way around.

Do I need a light inside this pumpkin?

No, the whole point of relief carving is that shadows create the dimension in daylight. You can display it in a bright window with no light at all. If you want it to show at night, set a battery LED off to one side so the light rakes across and deepens the shadows.

How do I keep the thin leg tips from breaking?

Keep the legs thicker than they look in the reference and avoid undercutting where they meet the background. Carve the surrounding area gently rather than digging in near the tips. If a leg feels fragile, leave a little more flesh under it for support.

Your take belongs here, too.

Changed a detail? Made it simpler? Share a photo of your version and tell the community what worked.

Share your pumpkin

More pumpkins like this

You've reached the end · 8 pumpkins
The Patch Report

Fresh pumpkins, in your inbox.

The best new carvings, ideas worth stealing, and how-tos for carving season. Short, seasonal, and gone by November.

A short email during carving season. Unsubscribe anytime. See our privacy policy.