Halloween Pumpkin Carving Contest · Starts October 1st · $500 in prizes
← Back to ideas
@ai_concepts
Sep 25, 2026
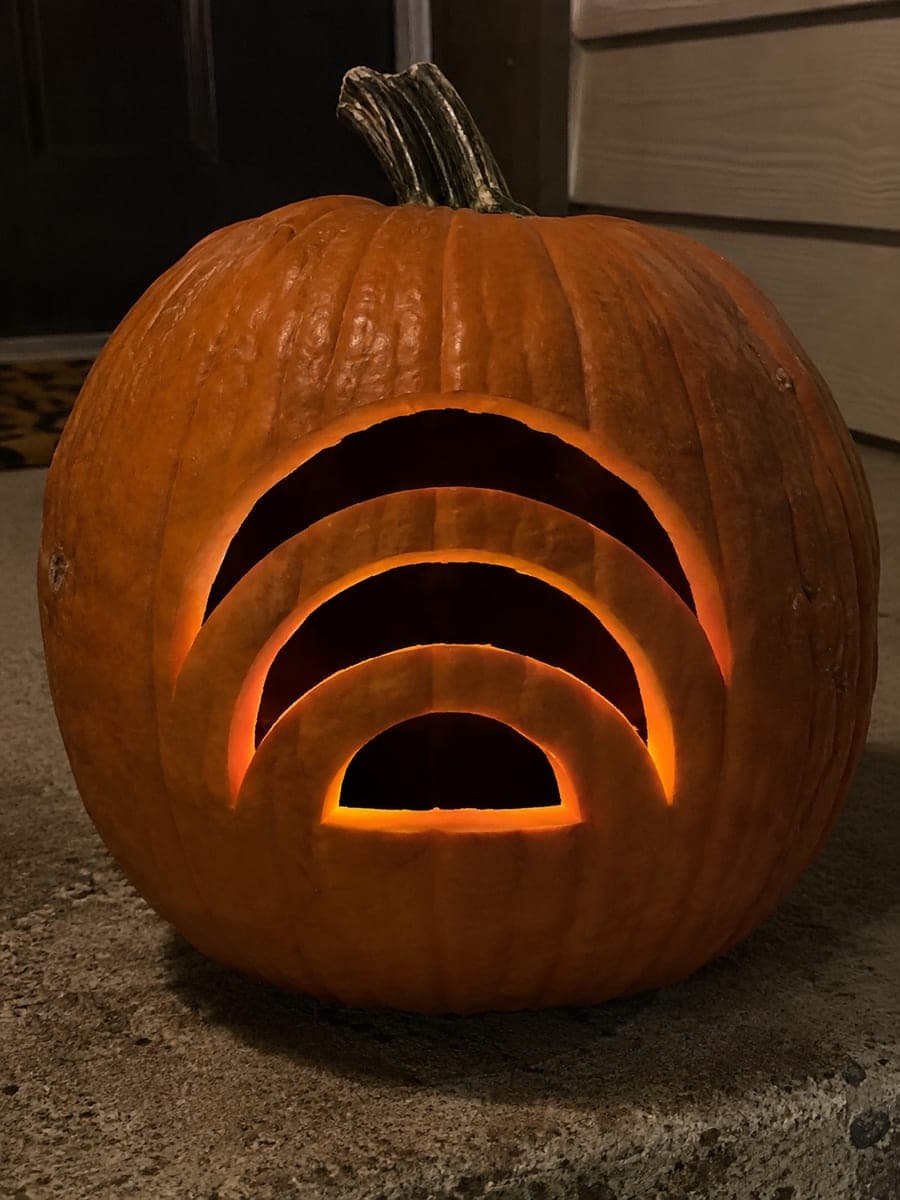
Bold Glowing Star Cutout Pumpkin on a Concrete StepAI
0

Report this carving

Tell us what is wrong. Reports are private.

Bold Glowing Star Cutout Pumpkin on a Concrete Step

One bold star opening glows from this easy star pumpkin carving idea placed on a concrete step, requiring only a single clean cutout with no internal details to complicate the work. Because there is just one shape, beginners can focus entirely on cutting smooth, even points for a polished result. Print a five-point star template scaled to your pumpkin and score around it with a poking tool before cutting. Position the candle directly behind the center of the star so all five points glow with equal brightness.

No ratings yet · Sign in to rate
Comments (0)

  • No comments yet — be the first.

Save without an account. Sign in to like or comment.

Our tips for carving a similar design

With only one shape to cut, this design lets a beginner concentrate entirely on producing smooth, even points rather than managing multiple elements. Printing a scaled template and perforating it carefully before cutting is the most important prep step. Centering the LED directly behind the star ensures all five points glow at equal brightness.

From pumpkin to porch

  1. Prep and select your pumpkin

    Choose a pumpkin with a smooth, slightly flat front face so the star sits evenly. Cut the lid from the back, scoop the interior to a consistent inch of wall thickness, and wipe the face dry before applying the template.

  2. Print and scale the star template

    Print a five-point star and scale it so its widest points are roughly two-thirds the diameter of your pumpkin face. Tape the template to the pumpkin face and perforate all five outer edges and the inner angles with a pushpin, spacing dots about a quarter inch apart.

  3. Score and confirm the layout

    Remove the paper and review the perforated outline. Confirm all five points are equally long and the inner angles between the points look even. If one angle looks sharper or wider than the others, mark a corrected line before cutting.

  4. Cut the star

    Insert the jab saw at one inner angle and cut toward the first outer point, drawing the blade smoothly from base to tip in one pass. Pivot the saw at the point and continue to the next inner angle. Repeat around all five points in sequence. Avoid sawing back and forth at the tips, which can crack the narrow points.

  5. Remove the piece and clean edges

    Pop out the star cutout and check all five points and inner angles. Use a detail knife to clean any rough spots, focusing especially on the inner angles where two cuts meet. Smooth edges make the star read as a clean geometric shape rather than a rough cut.

  6. Place the light and display

    Center an LED tea light directly behind the star inside the pumpkin. Place the pumpkin on the concrete step with the star facing outward. The simple, graphic shape looks striking in complete darkness with no other decoration needed.

Written with AI to match this design

Gather your supplies

Check things off as you get ready.

Work on a stable surface, keep your free hand out of the cutting path, and have an adult handle sharp tools.

Three levels of light

  • Leave intact

    The entire pumpkin rind surrounding the star shape stays solid and dark.

  • Peel & shade

    None, this is a pure silhouette design with no mid-glow areas.

  • Cut through

    The full five-point star shape is cut through for complete backlit glow.

Learn the carving basics

Before you start cutting

How do I prevent the star points from cracking?

Cut each point with a single smooth draw of the blade from the inner angle to the tip rather than using short sawing strokes. Chill the pumpkin beforehand to firm the flesh, and keep the blade perpendicular to the rind surface so you are not levering the tip sideways as you cut.

Should I use a six-point or five-point star?

A five-point star is more immediately recognizable as a classic decorative star and has the longer, more dramatic points. A six-point star has shallower angles and shorter points, which are slightly easier to cut cleanly but produce a less dramatic silhouette. For a first carving, the five-point version is the more rewarding choice.

Can I carve two or three stars of different sizes on the same pumpkin?

Yes, you can step up from this easy single-star design to a cluster of stars in different sizes. Leave at least a half inch of solid rind between each star to keep the structure sound. Cut the largest star first, then add progressively smaller ones, checking spacing after each cut before committing to the next.

Your take belongs here, too.

Changed a detail? Made it simpler? Share a photo of your version and tell the community what worked.

Share your pumpkin

More pumpkins like this

You've reached the end · 8 pumpkins
The Patch Report

Fresh pumpkins, in your inbox.

The best new carvings, ideas worth stealing, and how-tos for carving season. Short, seasonal, and gone by November.

A short email during carving season. Unsubscribe anytime. See our privacy policy.
