Halloween Pumpkin Carving Contest · Starts October 1st · $500 in prizes
← Back to ideas
@ai_concepts
Sep 25, 2026
Easy Pokeball Pumpkin Carving with Glowing Dome CutoutsAI
0

Report this carving

Tell us what is wrong. Reports are private.

Easy Pokeball Pumpkin Carving with Glowing Dome Cutouts

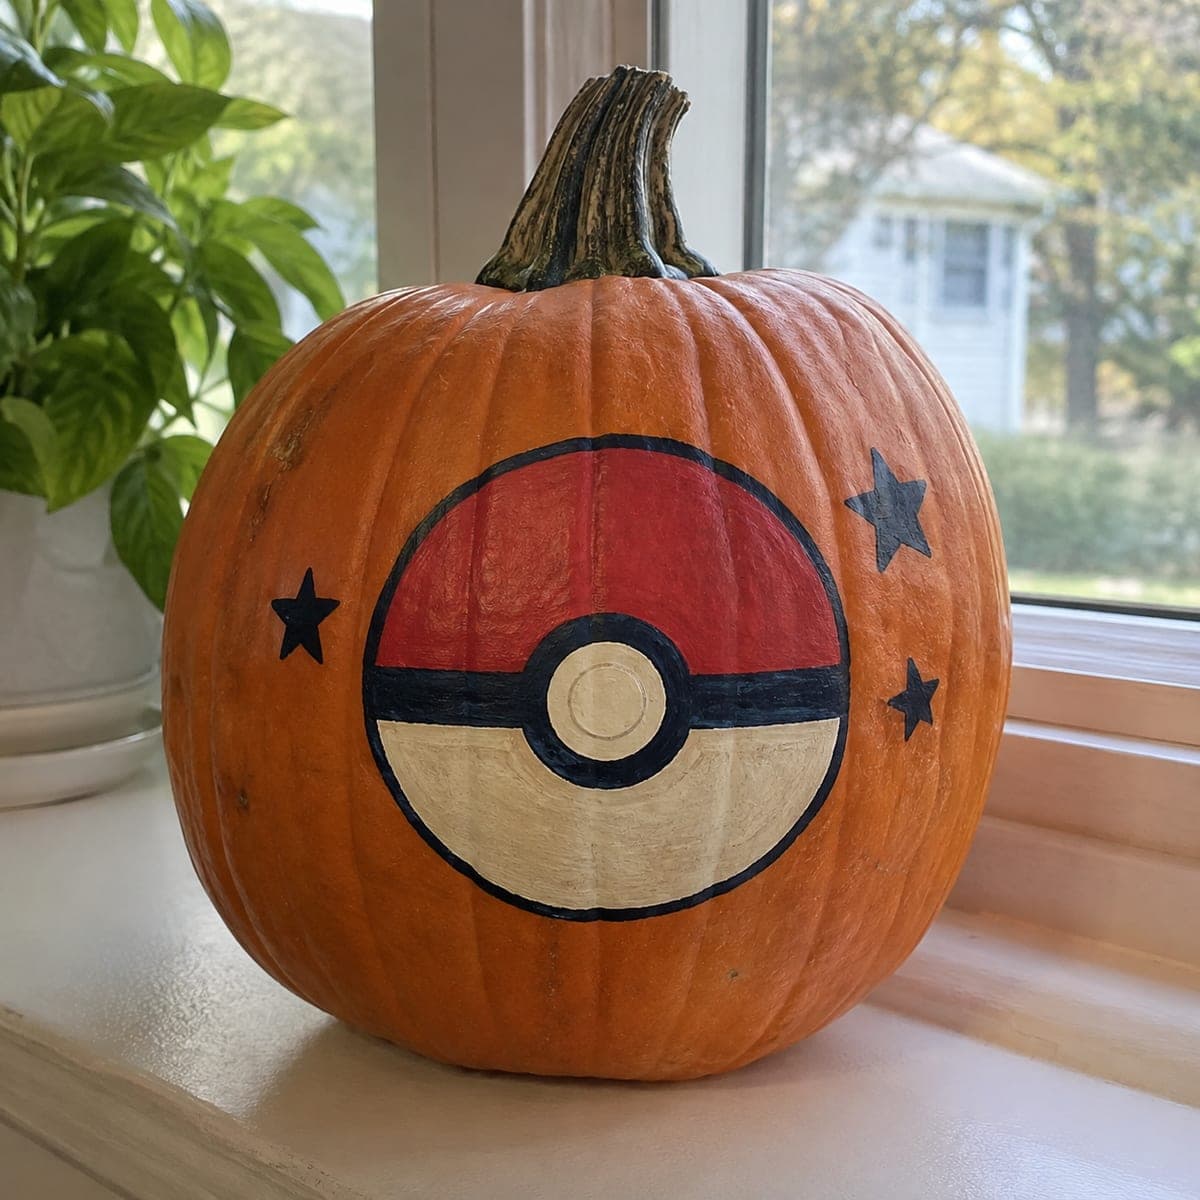
The Pokeball's iconic two-tone dome, center button, and dividing band glow through cut-through main apertures on this easy Pokeball pumpkin carving idea, with retained ribs and silhouettes broadly anchored to the shell. Secondary surface accents are shallow back-carved for clean edges. Score the center horizontal band first so the upper and lower dome openings are symmetrically spaced before cutting either one.

No ratings yet · Sign in to rate

Comments (0)

  • No comments yet — be the first.

Save without an account. Sign in to like or comment.

Our tips for carving a similar design

The Pokeball's bold two-part design is achieved by cutting out the upper and lower dome apertures while keeping the horizontal dividing band and center button circle as retained rind sections anchored to the shell. Scoring the center band line first ensures the two dome openings sit symmetrically before either is cut. Secondary accent lines are shallow back-carved for a crisp edge without any structural risk.

From pumpkin to porch

  1. Hollow the pumpkin

    Cut a back panel or bottom lid and remove all interior pulp. Thin the carving face walls to about three-quarters of an inch. The Pokeball design relies on two large symmetrical openings, and even wall thickness ensures both domes glow at the same intensity.

  2. Mark the center band first

    Before transferring the full pattern, draw or score a light horizontal line at the exact vertical midpoint of the carving face. This midpoint line becomes the top edge of the lower dome and the bottom edge of the upper dome. Establishing it first prevents the domes from sitting off-center, which is the most common mistake on this design.

  3. Transfer the full pattern

    Tape the printed Pokeball pattern to the pumpkin face, aligning the center band line with your pre-marked midpoint. Trace all lines and the button circle position with a pin tool. Mark the band bridges clearly with a pen before removing the paper.

  4. Cut the upper dome aperture

    Cut the upper dome opening completely, using a thin carving saw in short controlled strokes. Adults should handle all cutting. Keep the saw at least a half-inch above the center band line throughout. Remove the cut piece and check that the band boundary is clean and consistent.

  5. Cut the lower dome aperture

    Cut the lower dome opening, staying below the center band line and outside the circular button area. The button circle must remain fully attached to the band as an uncut rind island. If the button seems narrow at any edge, widen the clearance on the dome side rather than trimming the button.

  6. Back-carve accents and light

    Use a small gouge or Dremel bit to add shallow accent lines along the band edges for a crisper graphic look. Insert a battery-powered warm LED. The retained band and button will appear as a dark graphic silhouette against the two glowing domes.

Written with AI to match this design

Gather your supplies

Check things off as you get ready.

Work on a stable surface, keep your free hand out of the cutting path, and have an adult handle sharp tools.

Three levels of light

  • Leave intact

    Retained center band and button circle stay as dark rind shapes dividing the two glowing domes

  • Peel & shade

    Shallow accent lines along the band edges glow softly as a crisp graphic mid-tone

  • Cut through

    Upper and lower dome apertures are fully cut through for full bright light

Learn the carving basics

Before you start cutting

How do I keep the center band from looking crooked?

Establish a horizontal reference line on the pumpkin surface before taping the pattern, using a ruler and a light chalk-pencil mark. Align the printed band to that mark before tracing. If the pumpkin face has a slight curve, measure the band height at the left, center, and right edges and adjust the tape position until all three measurements match.

Can I color the pumpkin to match the Pokeball red and white halves?

Yes. After carving, paint the upper dome area with red acrylic and the lower dome area with white acrylic before inserting the light. The paint is thin enough that it tints the glow coming through without blocking it. Apply two light coats from the inside surface of each dome for best color saturation.

The center button ended up very small. Is it sturdy enough?

A button circle smaller than about three-quarters of an inch in diameter can become fragile when surrounded by two large openings. If the button feels wobbly, apply a thin bead of craft glue around its perimeter where it meets the band and allow it to cure before lighting. Alternatively, leave the button as a shallow back-carved indent rather than a fully retained island.

Your take belongs here, too.

Changed a detail? Made it simpler? Share a photo of your version and tell the community what worked.

Share your pumpkin

More pumpkins like this

You've reached the end · 8 pumpkins
The Patch Report

Fresh pumpkins, in your inbox.

The best new carvings, ideas worth stealing, and how-tos for carving season. Short, seasonal, and gone by November.

A short email during carving season. Unsubscribe anytime. See our privacy policy.