Halloween Pumpkin Carving Contest · Starts October 1st · $500 in prizes
← Back to ideas
@ai_concepts
Sep 14, 2026
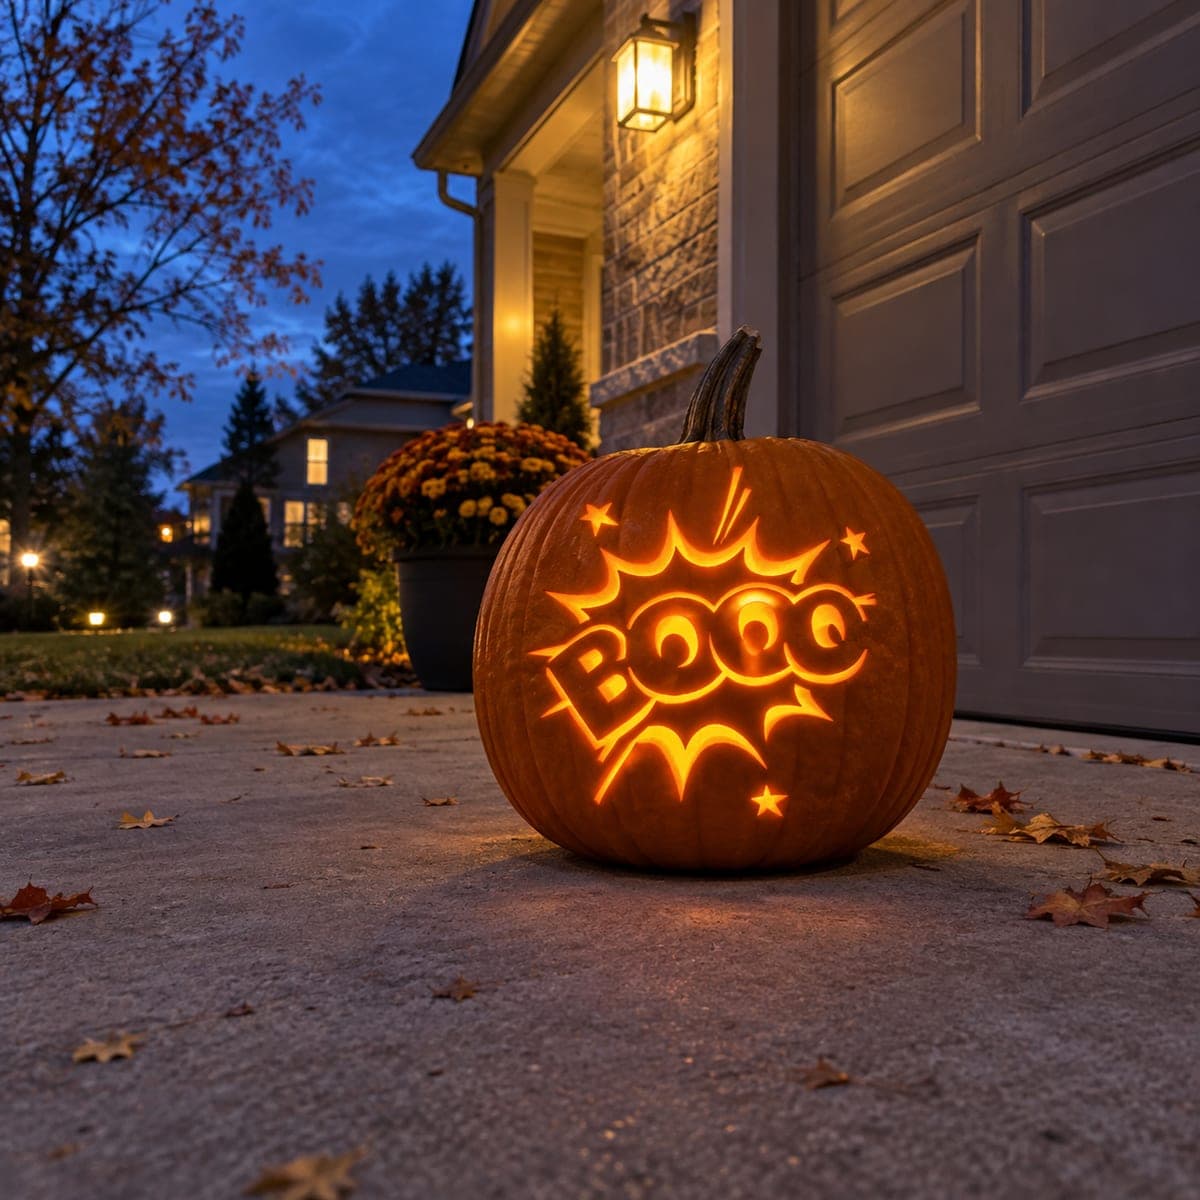
Boo Starburst Comic PumpkinAI
0

Boo Starburst Comic Pumpkin

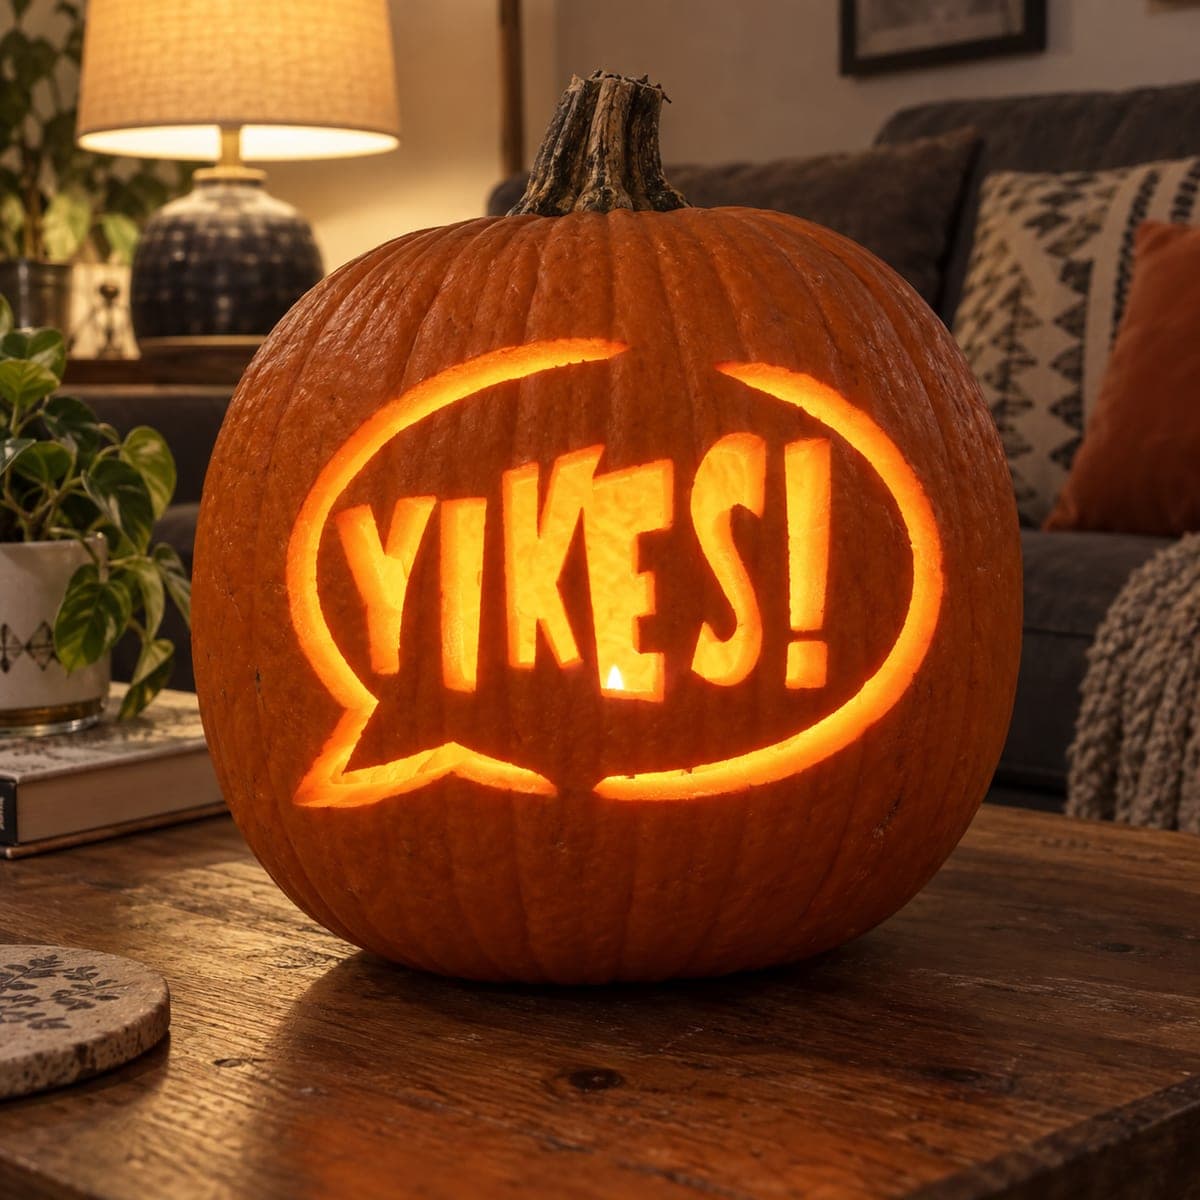
The word BOO fills the center of a spiky starburst shape with radiating pointed tips, small stars scattered around the burst, and thin curved accent lines framing the bottom in this fun Halloween word pumpkin carving idea for a driveway or walkway display. All elements are cut through, so the letters, burst spikes, and small star shapes all contribute to a bright, energetic glow. Carve the small individual star cutouts first since they are fully isolated from the main burst and easy to lose track of once the larger cuts begin. Counting and pre-marking all spike tips with a toothpick poke before sawing ensures the starburst stays symmetrical even if the pumpkin has uneven ribs.

This is an AI-generated concept image: a realistic, carvable design idea rather than a photo of a finished carve. AI concepts are always labeled and sit out the leaderboard and the contest.
No ratings yet · Sign in to rate

Comments (0)

  • No comments yet — be the first.

Save without an account. Sign in to like or comment.

Our tips for carving a similar design

The core trick here is treating the whole design as one connected chain of cutouts, with the fat BOO letters sitting inside a spiky starburst and a few loose stars floating around it. Because every element is cut clean through, the plan is to map and mark everything first, carve the small isolated stars before you lose track of them, then work the letters and burst outline last. The bubble letters carry the design, so plan bridges to hold the inner counters of the B and the two O shapes.

Written by PumpkinCarvingIdeas.com, inspired by the image above. These are our suggestions, not instructions from the uploader. This approach to the AI concept has not been tested on a real pumpkin.

From pumpkin to porch

  1. Transfer and mark the full layout

    Print or draw the starburst, the BOO lettering, the scattered stars, and the curved accent lines, then tape the pattern flat to the front of a clean, dry pumpkin. Poke through every line with a toothpick or a poker tool, spacing dots close together on the tight curves. Count the burst spikes and mark each pointed tip with an extra poke so the shape stays even, even if the ribs are uneven. Mark the center of the B and each O so you remember to leave bridges there.

  2. Scoop and thin the lid area

    Cut a lid or a wide bottom opening and scoop the interior until the front wall is about one inch thick. A thinner wall on the carving face makes the saw glide and helps light pass through cleanly. Scrape the inside behind the design flat with a loop tool so no thick spots block the glow. Set your LED light inside briefly to confirm the wall is even before you start cutting.

  3. Carve the small isolated stars first

    Start with the little floating stars scattered around the burst, since they sit alone and are easy to forget once the big cuts open up. Use a small detail saw and cut each star as a full clean cutout, working slowly around the points. Keep steady, gentle pressure so the narrow tips do not snap off. Finishing these early also keeps your reference pattern readable while the surface is still solid.

  4. Cut the letters and keep the bridges

    Move to the fat BOO letters and cut them as open shapes, but leave small uncut bridges to hold the inner islands of the B and the centers of both O letters. Aim for bridges about a quarter inch wide, placed where the letter naturally narrows so they hide in the design. Cut the outlines of the letters cleanly and pop the waste pieces out gently. If a bridge feels weak, leave it slightly wider rather than risk losing a letter center.

  5. Open the starburst and accent lines last

    Save the big starburst outline and the thin curved framing lines for last, since they remove the most material and weaken the face. Cut each spike from tip toward the base so you finish on the strongest part of the wall. Keep the thin accent curves narrow but continuous, and avoid crossing them into the letters. Once the burst is open, ease out the large waste sections by hand so you do not stress the remaining bridges.

  6. Light it and shoot the photo

    Drop in a bright LED puck or a battery string, never a candle, so the cutouts glow safely for hours. Set the pumpkin at ground level on a driveway or walkway and step back to check that BOO reads clearly from a distance. Rub a little petroleum jelly on the cut edges to slow drying and keep the points crisp. Photograph it at dusk with the porch light behind for that comic book pop.

Gather your supplies

Check things off as you get ready.

Work on a stable surface, keep your free hand out of the cutting path, and have an adult handle sharp tools.

Three levels of light

  • Leave intact

    The broad orange skin around the burst and between the stars stays untouched and dark, framing the design.

  • Peel & shade

    Optional shallow skin peeling just inside the burst spikes can add a soft dim halo around the bright letters.

  • Cut through

    The BOO letters, all burst spikes, the scattered stars, and the curved accent lines are cut through for the brightest glow.

Learn the carving basics

Before you start cutting

How do I keep the centers of the B and the O letters from falling out?

Leave small uncut bridges of skin, about a quarter inch wide, where each letter naturally pinches in. These little tabs hold the inner islands in place while still letting light frame the shapes. Place them where they blend into the lettering so they are barely noticeable when lit.

My pumpkin has deep ribs. How do I keep the starburst symmetrical?

Count the spike tips on your pattern and poke a marker dot at each one before you saw anything. Working from those fixed points keeps the spacing even even when the ribs push and pull the surface. If a rib forces a spike off center, adjust the neighboring spikes slightly so the whole burst still looks balanced.

Since this is a concept image, is a design this open actually stable?

Yes, if you cut smart. Carve the small stars and letters first, then open the large starburst spikes last so the face stays strong while you work. Keep a wall about an inch thick and hold the letter bridges, and the pumpkin will support all these cutouts without sagging.

Your take belongs here, too.

Changed a detail? Made it simpler? Share a photo of your version and tell the community what worked.

Share your pumpkin

More pumpkins like this

You've reached the end · 8 pumpkins
The Patch Report

Fresh pumpkins, in your inbox.

The best new carvings, ideas worth stealing, and how-tos for carving season. Short, seasonal, and gone by November.

A short email during carving season. Unsubscribe anytime. See our privacy policy.