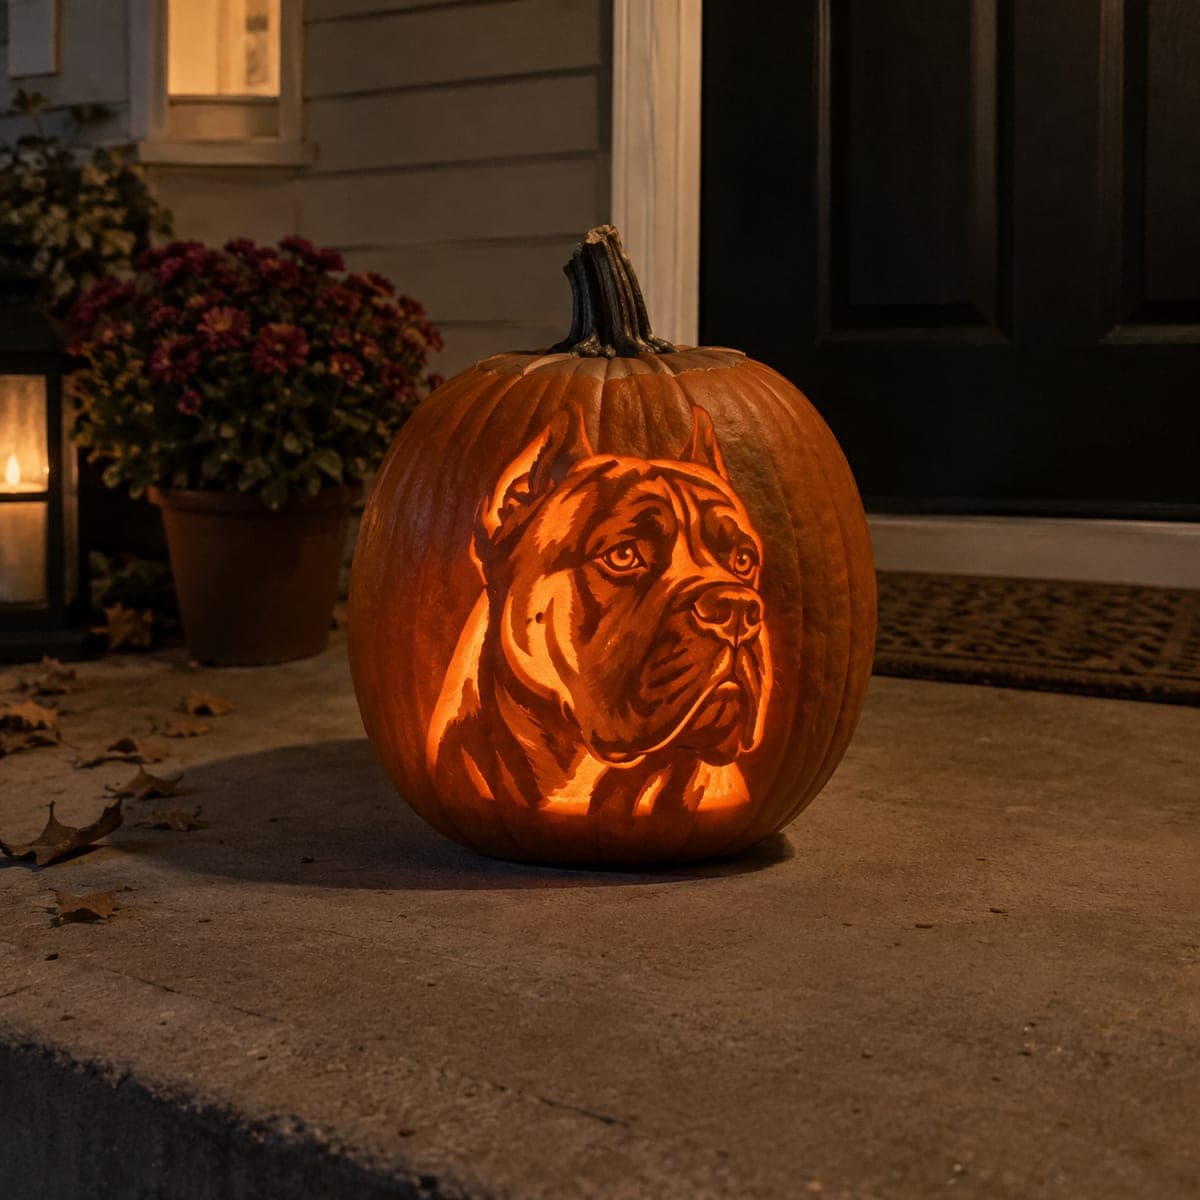
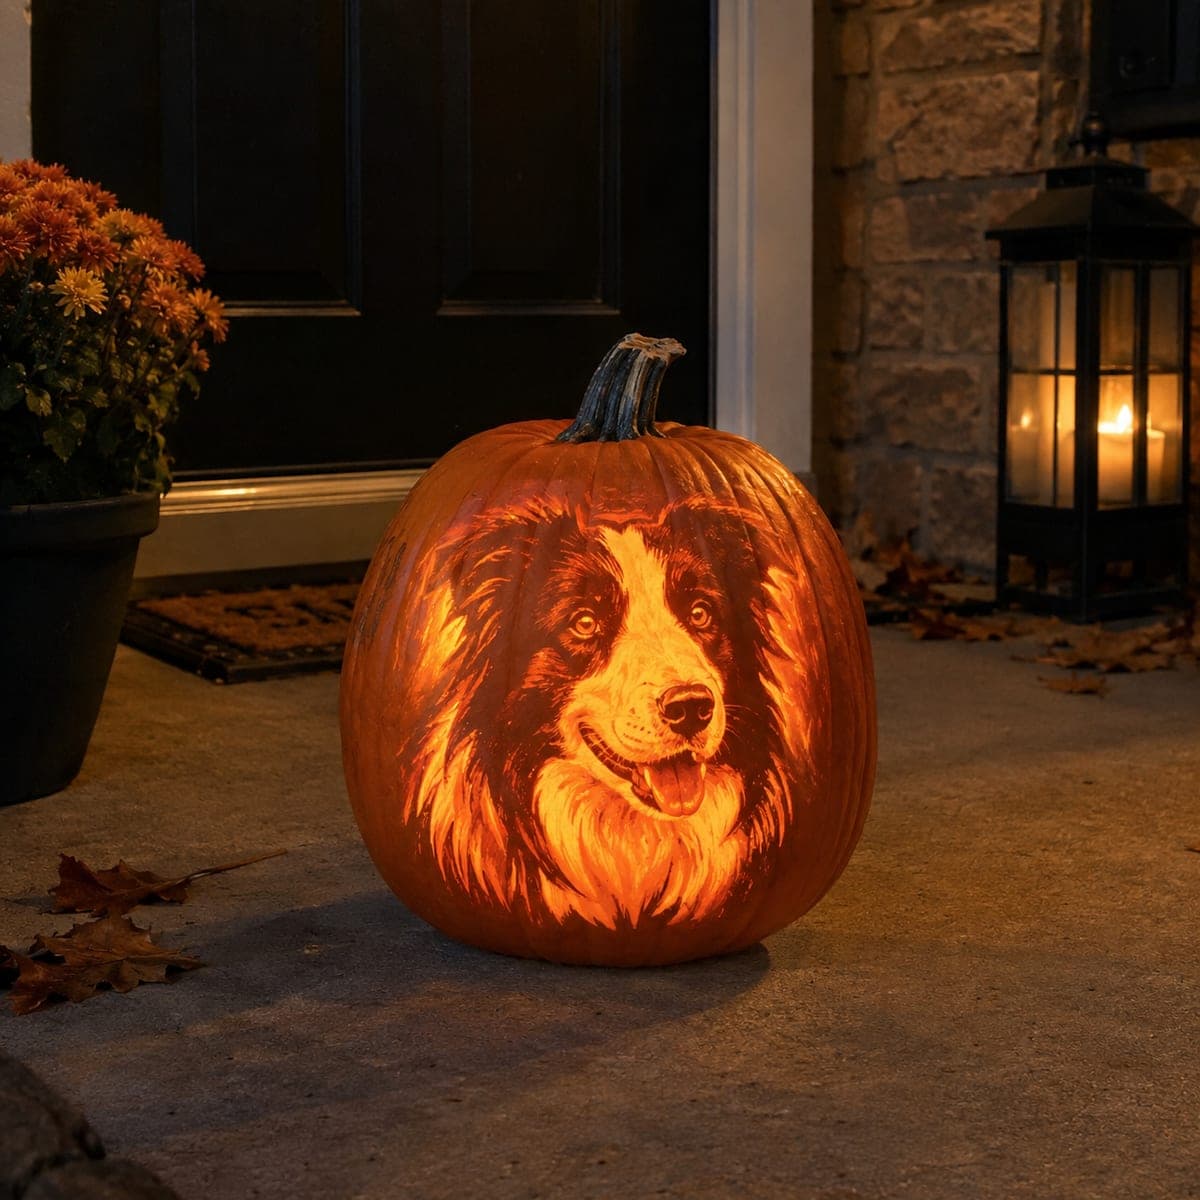
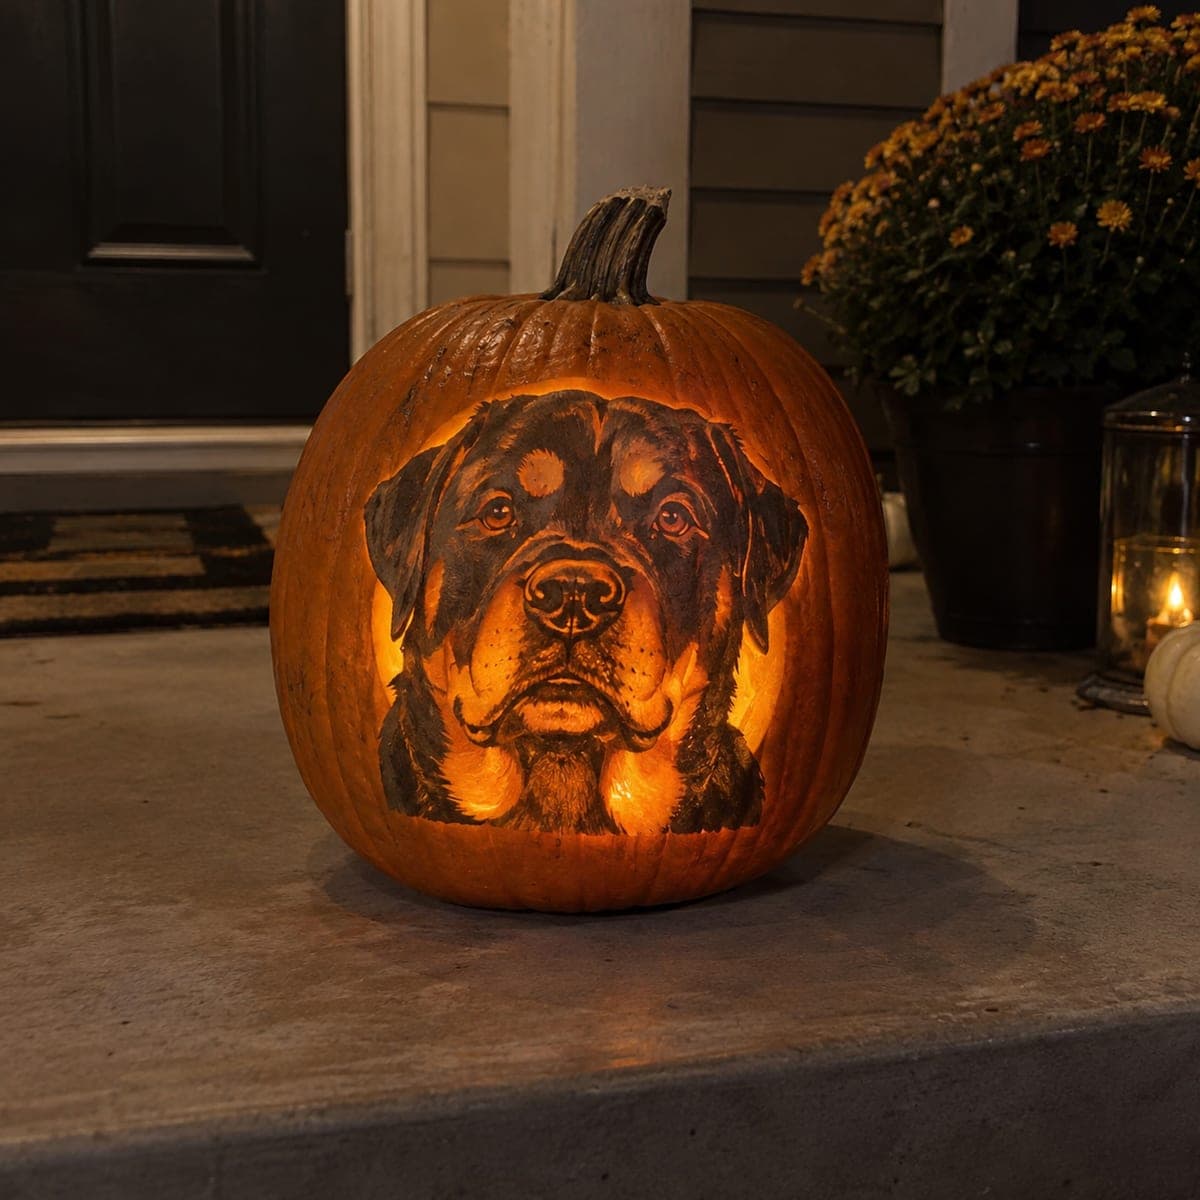
A noble cane corso in profile glows from this jack-o-lantern, its cropped ears, jowls, and broad chest modeled in careful graduated etching. The breed's short coat means smooth tonal transitions matter more than fur strokes, so shave wide shallow planes and blend the depth changes with a spoon edge. Backlight it with a bright LED and the soulful expression carries all the way to the street. A must for mastiff lovers.
This is an AI-generated concept image: a realistic, carvable design idea rather than a photo of a finished carve. AI concepts are always labeled and sit out the leaderboard and the contest.
The trick here is depth carving, not line art: the whole dog is built from wide, shallow shaved planes that read as light and shadow when a bright LED sits behind them. Because a cane corso has a short, smooth coat, you blend the depth changes into each other instead of scratching in fur. Plan the darkest features like the eyes, nostrils, and muzzle folds as untouched skin, and reserve true cutouts for the brightest edge highlights.
Written by PumpkinCarvingIdeas.com, inspired by the image above. These are our suggestions, not instructions from the uploader. This approach to the AI concept has not been tested on a real pumpkin.
From pumpkin to porch
1
Transfer the portrait and read the tones
Print a cane corso profile stencil sized to your pumpkin's flattest face and tape it down snugly. Poke the outline and the major tonal boundaries with a transfer tool or pin so you can see the map after the paper comes off. Before you cut anything, mark which zones stay dark, which get lightly shaved, and which cut all the way through. This planning step is what makes an etched portrait work, so do not skip it.
2
Open the lid and clean the wall
An adult should cut a lid from the bottom or the back, not the top, so the stem stays intact for looks. Scoop the pulp and scrape the inside wall behind the dog's face down to about one inch thick. A thinner wall lets light pass evenly and makes shallow shading glow. Keep the wall even so bright spots do not appear where you did not plan them.
3
Shave the mid tones first
Using a loop or ribbon tool, peel the skin off the broad mid tone areas: the cheek, the chest, the top of the head. Work in wide, shallow passes and keep the surface smooth rather than gouged. Peel deeper where you want more glow and leave more skin where you want shadow. Step back often and check the shapes from a few feet away.
4
Blend the depth changes
Go over every boundary between deep and shallow with the rounded edge of a spoon to soften hard steps into gradients. This is where the short coat comes to life, since smooth transitions read as muscle and jowl instead of carved ridges. Feather the edges of the jaw, brow, and folded skin so no line looks abrupt. Take your time; blending is slow but it is the heart of this design.
5
Protect the darks and cut the highlights last
Leave the eyes, nostrils, muzzle creases, and ear insides as untouched skin so they stay dark and give the face its expression. Only after all shading is done should an adult make the few true cutouts, like the brightest catchlight in the eye or a thin rim on the ear edge. Keep any thin cut sections short and leave small skin bridges so nothing sags. Cut these openings last because they weaken the wall.
6
Light it and photograph
Set a bright battery LED inside, never a candle, and aim for a warm white bulb that pushes light through the shaved planes. Test in a dark room and shave any spots that still look flat. Once the expression carries across the room, move it to the porch and shoot at dusk for the best glow. A little petroleum jelly on the cut edges slows drying if you want it to last.
Gather your supplies
Check things off as you get ready.
Work on a stable surface, keep your free hand out of the cutting path, and have an adult handle sharp tools.
Three levels of light
Leave intact
Eyes, nostrils, muzzle folds, and inner ear shadows stay as untouched skin for the darkest features
Peel & shade
Cheeks, brow, chest, and the broad head planes get skin-peeled for the soft mid glow
Cut through
Only the brightest eye catchlight and a thin ear rim are cut through for full light
Do I really avoid carving fur strokes on this one?
Yes. A cane corso has a short, tight coat, so scratching individual hairs would look wrong and busy. Instead shave smooth planes and blend them, letting light and shadow suggest the coat. Save fur strokes for long-haired breeds.
How do I keep the eyes looking soulful?
Leave the pupil and the dark rim of the eye as untouched skin so they read black against the glow. Shave the area just around the eye a little to lift it, and make only a tiny cutout for the catchlight. That small bright dot is what gives the expression its life.
This is shown as a concept image, so will it actually hold up?
The pictured pumpkin is an AI concept, but a similar design carves fine because it is mostly shading with very few cutouts. Keep any cut edges short and leave skin bridges near the ears so nothing droops. As long as the wall stays about an inch thick, the portrait will be sturdy.
Your take belongs here, too.
Changed a detail? Made it simpler? Share a photo of your version and tell the community what worked.
 AI
AI


Comments (0)