Halloween Pumpkin Carving Contest · Starts October 1st · $500 in prizes
← Back to ideas
@ai_concepts
Aug 18, 2026
Gentle Mastiff Face Carved Pumpkin PortraitAI
0

Gentle Mastiff Face Carved Pumpkin Portrait

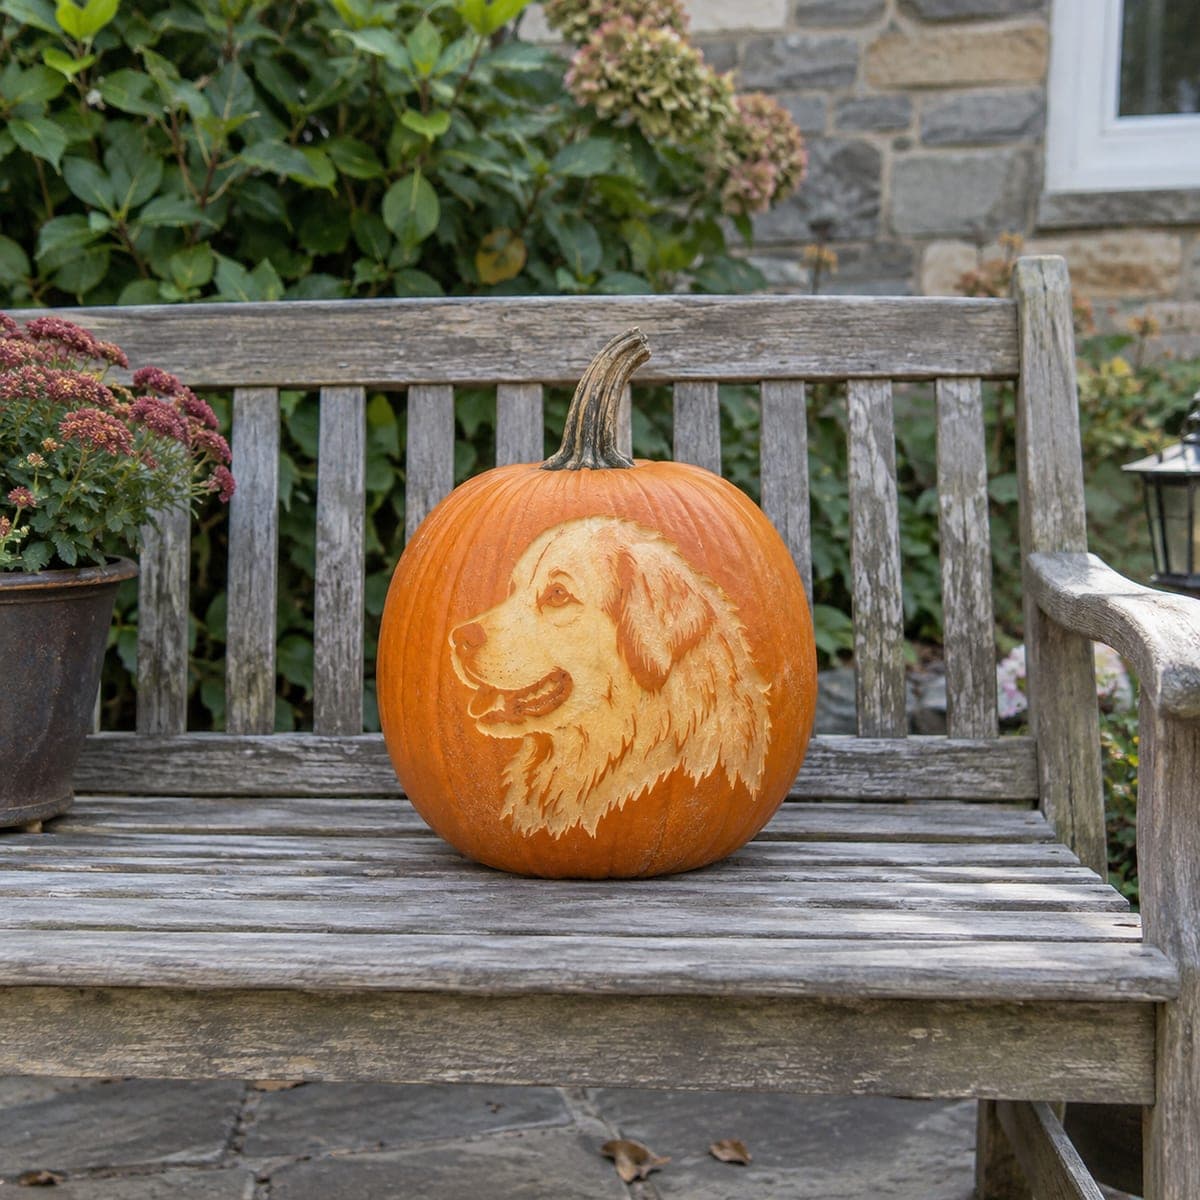
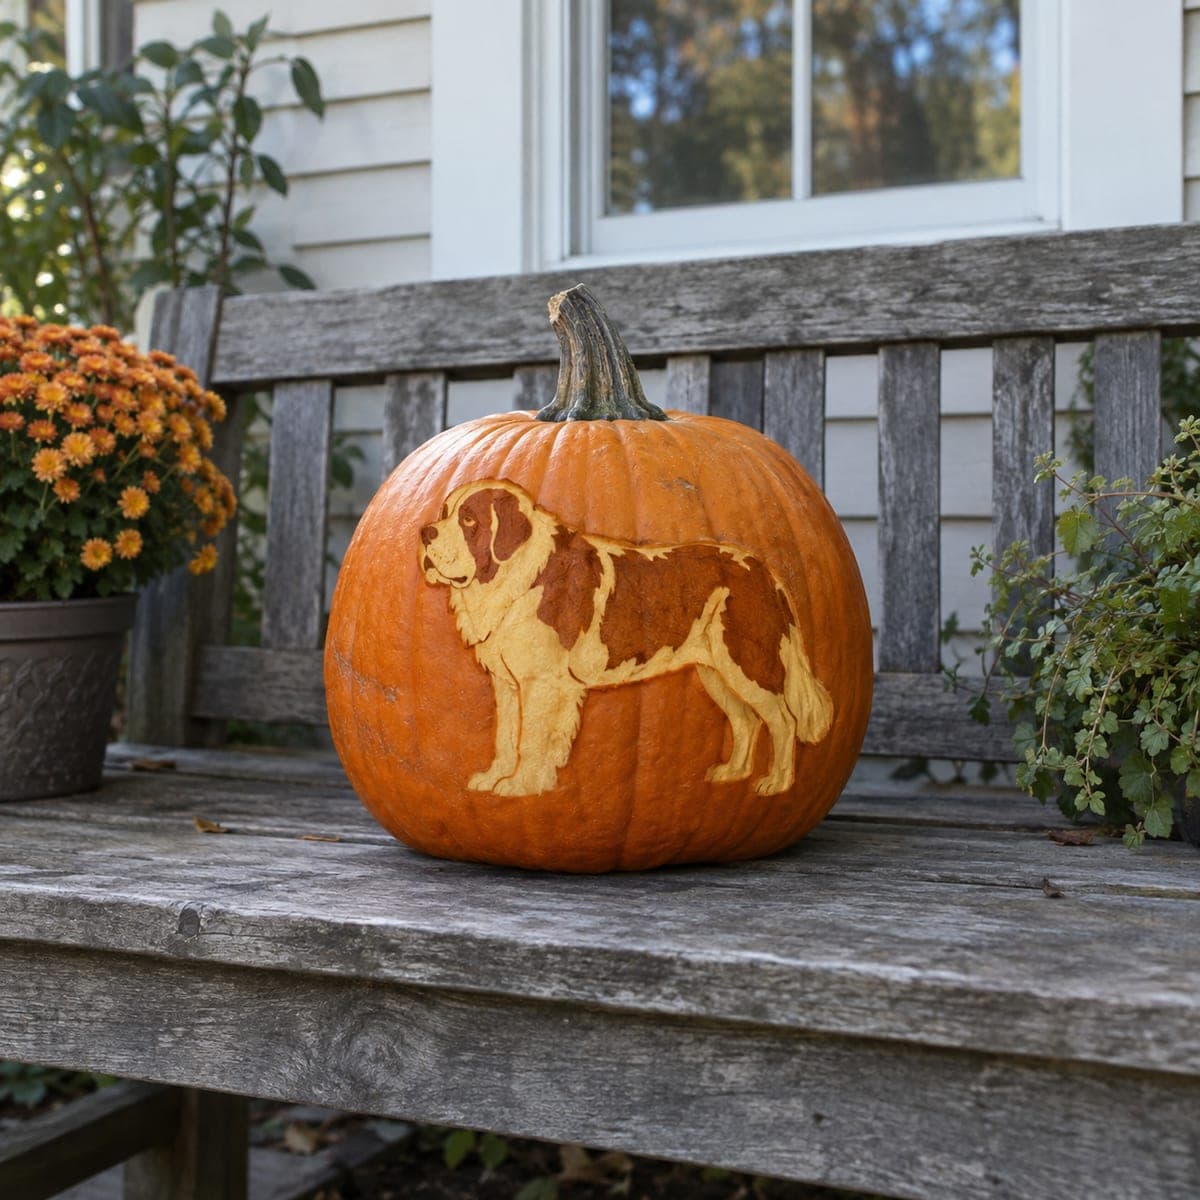
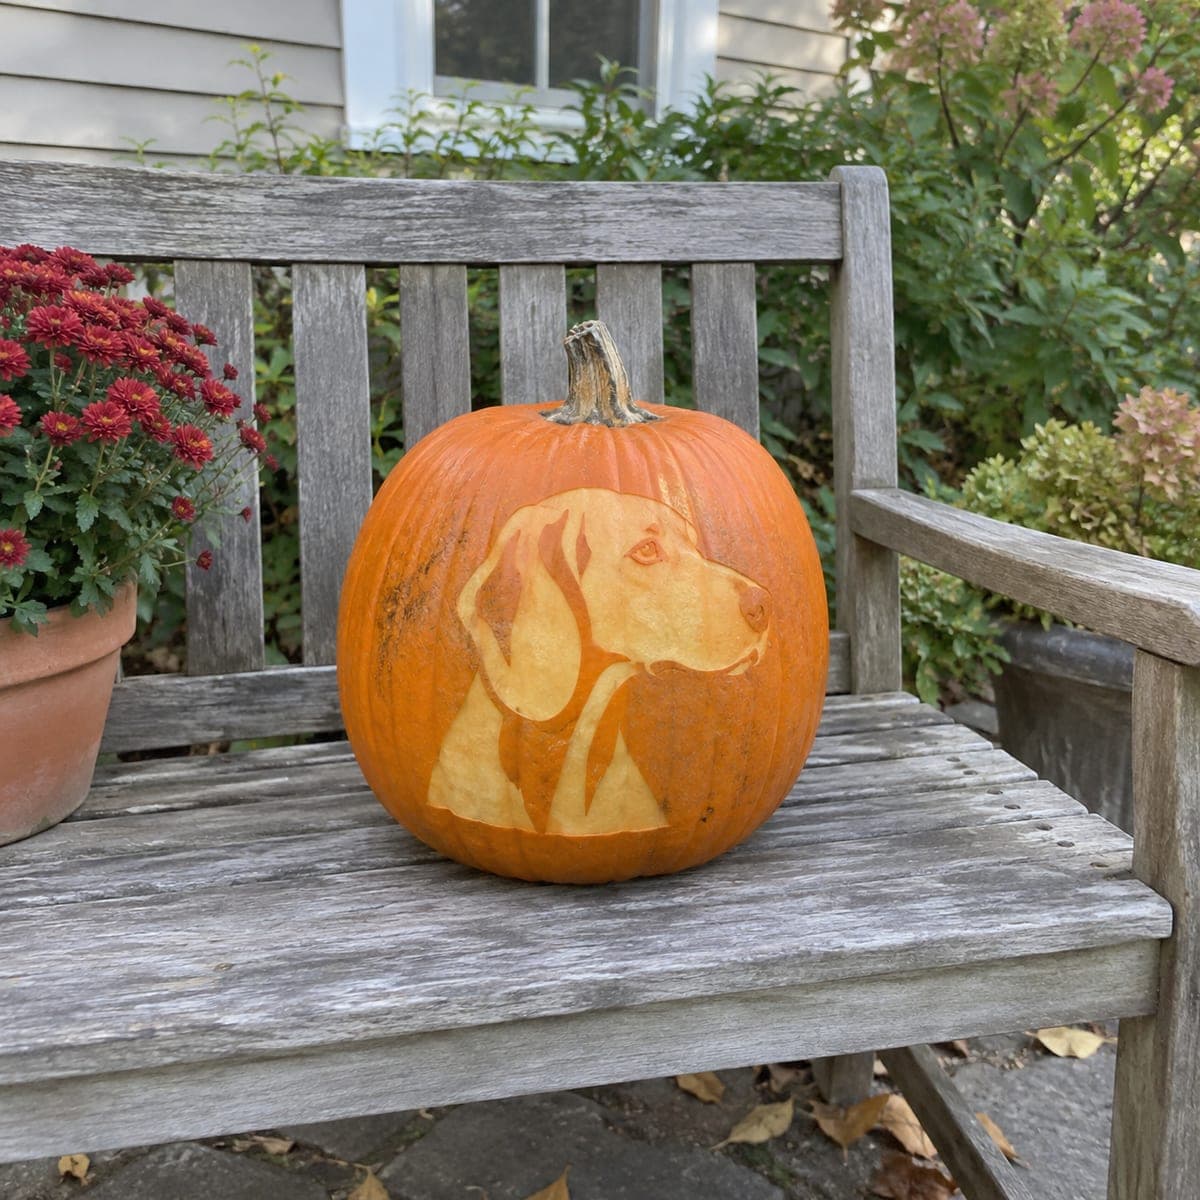
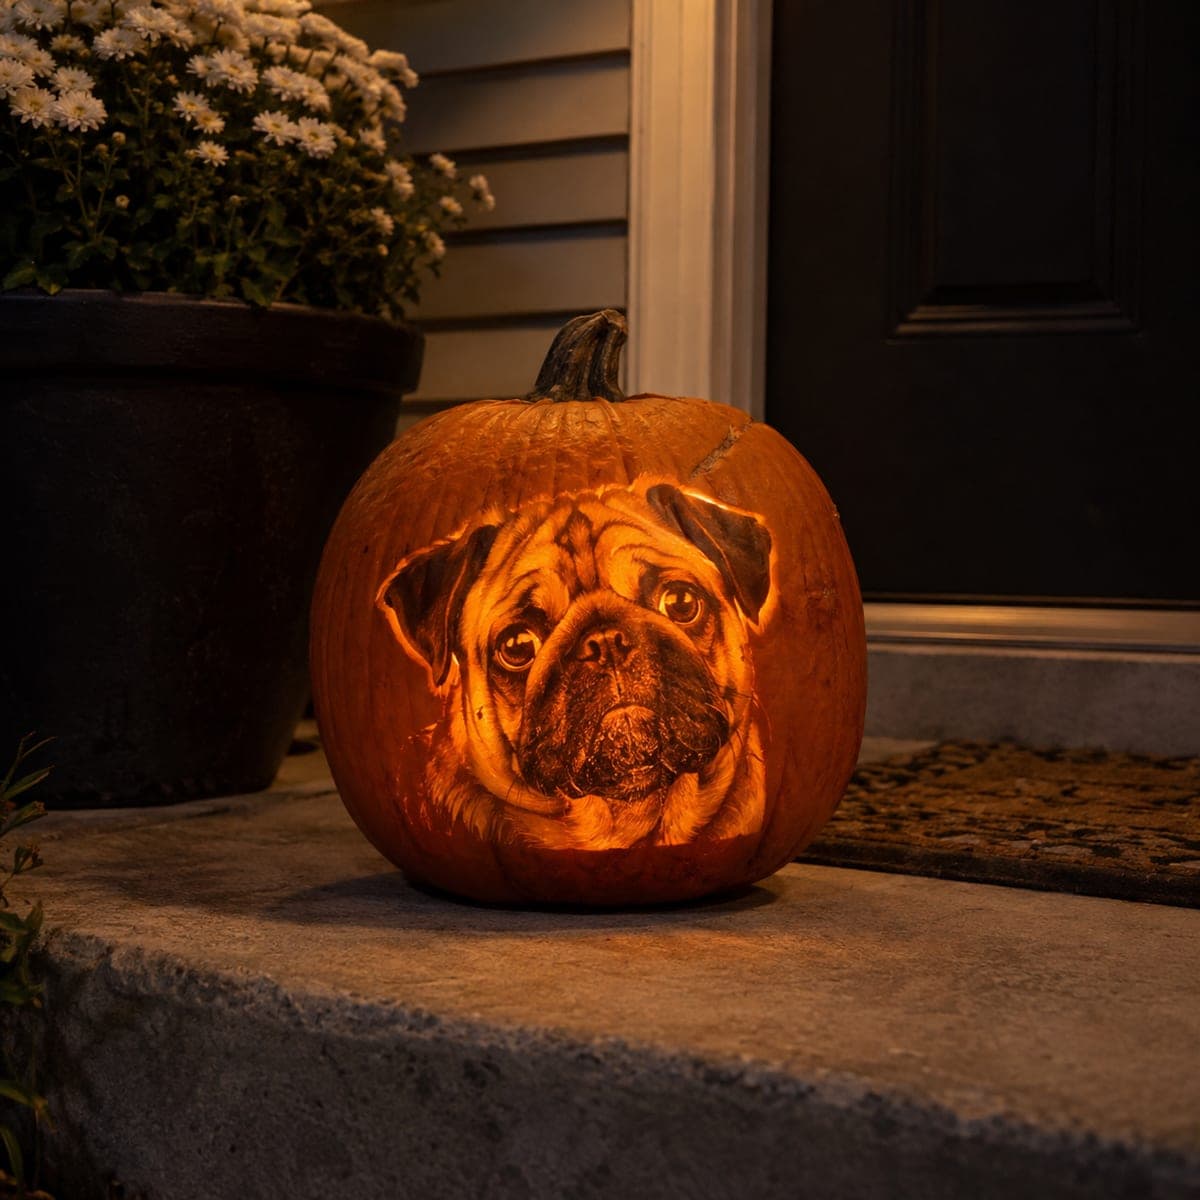
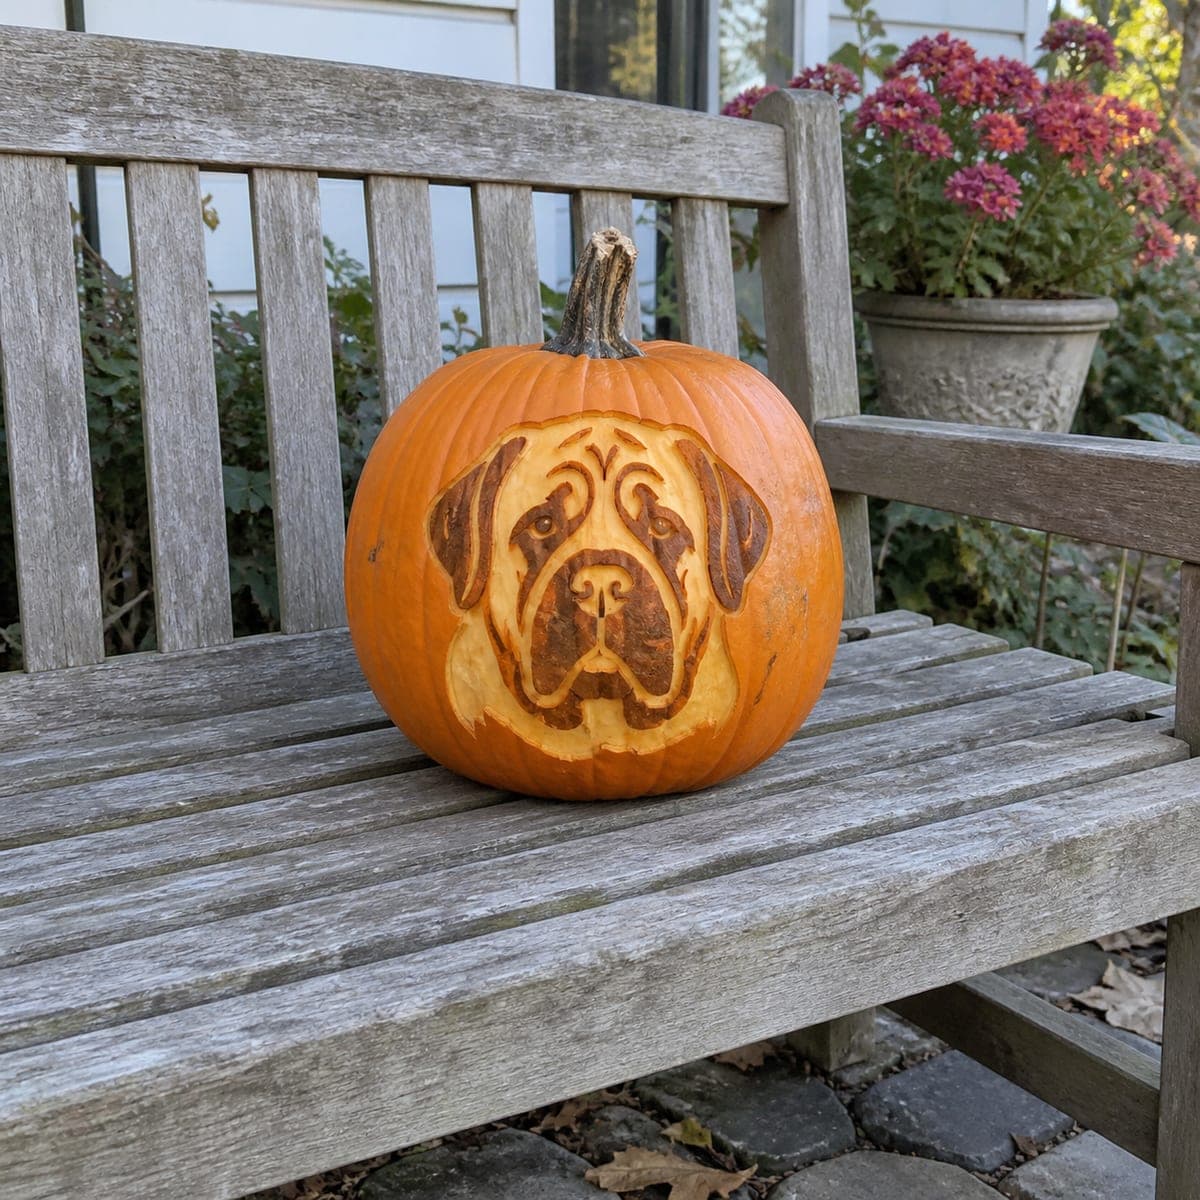
A wrinkled mastiff face with soulful drooping jowls is surface-carved into this pumpkin in warm two-tone shading that reads perfectly in daylight. The wrinkle lines are the roadmap: cut them as deep grooves first, then peel the pale areas between them to lift the face out of the skin. It is a rewarding weekend project for big-dog lovers who want a pet portrait pumpkin without electric lighting.

This is an AI-generated concept image: a realistic, carvable design idea rather than a photo of a finished carve. AI concepts are always labeled and sit out the leaderboard and the contest.

No ratings yet · Sign in to rate

Comments (0)

  • No comments yet — be the first.

Save without an account. Sign in to like or comment.

Our tips for carving a similar design

The core trick here is a two-tone shaded portrait rather than cut-through openings, so it reads clearly in daylight without any light inside. The wrinkle lines act as your roadmap: score them as deep grooves first, then peel the raised pale areas between them to lift the mastiff's face out of the dark skin. Plan for a full afternoon and work slowly, since this is all about controlled depth, not big holes.

Written by PumpkinCarvingIdeas.com, inspired by the image above. These are our suggestions, not instructions from the uploader. This approach to the AI concept has not been tested on a real pumpkin.

From pumpkin to porch

  1. Pick a broad, smooth pumpkin and transfer the pattern

    Choose a large pumpkin with a wide, flat front so the whole face fits without wrapping around the curve. Wipe it clean and dry, then tape your mastiff stencil firmly in place. Use a poking tool or push pin to dot along every wrinkle line, the eyes, the nose, and the jowl edges. Peel the paper and connect the dots lightly with a washable marker so you can see the full roadmap before cutting.

  2. Score the wrinkle lines as deep grooves

    Using a small detail knife or a lino-style V-gouge, trace every wrinkle and outline as a groove that cuts through the orange skin into the pale flesh. These dark lines define the whole face, so keep them clean and consistent in width. Do not cut all the way through the wall. Aim for grooves about a quarter inch deep so shadows collect in them and the wrinkles pop.

  3. Peel the pale highlight areas

    With a ribbon tool or the flat edge of a loop tool, scrape away just the orange skin inside the areas that should glow pale, such as the muzzle, the cheeks, the brow ridges, and the sides of the face. Remove only the top layer to reveal the lighter flesh beneath, keeping the depth even so the tone looks uniform. Leave the deepest wrinkles and the nose untouched so they stay dark by contrast. Step back often to check the balance between light and dark.

  4. Shade for depth around the eyes and jowls

    Vary how much skin you remove to build soft gradients. Scrape a little deeper where you want brighter highlights and leave a thin film of skin where you want a mid tone, which gives the drooping jowls their rounded, soulful look. The eyes can be scraped almost to a thin translucent layer so they read as gentle and alert. Blend the edges of each peeled area so nothing looks like a hard sticker.

  5. Refine the nose and small details last

    Once the big shapes are set, tidy the nostrils, the crease down the muzzle, and the fine folds above the brow with your smallest tool. If you want a touch of true brightness, you can cut fully through just the two nostril slits or a thin catchlight in each eye, saving these small openings for last so the surrounding wall stays strong. Clean up any ragged edges and brush away loose bits.

  6. Preserve it and photograph in daylight

    Rub all cut and peeled surfaces with petroleum jelly to slow drying and keep the pale tones from browning too fast. Because this design shines in sunlight, set it on a porch bench or step where soft daytime light rakes across the grooves. If you want a subtle evening glow, tuck a small LED puck behind it rather than inside, since there are few openings. Snap your photo within a day or two while the contrast is at its freshest.

Gather your supplies

Check things off as you get ready.

Work on a stable surface, keep your free hand out of the cutting path, and have an adult handle sharp tools.

Three levels of light

  • Leave intact

    The untouched orange skin around the face and the deepest wrinkle grooves and nose stay dark, framing the portrait.

  • Peel & shade

    The muzzle, cheeks, brow ridges, and jowls are skin-peeled to a warm pale tone that forms the glowing face.

  • Cut through

    Only the tiny nostril slits or eye catchlights are cut fully through for a small bright accent, if you choose to add them.

Learn the carving basics

Before you start cutting

Do I need to hollow the pumpkin if it is mostly surface-carved?

You can leave the wall thick since there are almost no cutouts, which actually makes the design stronger. Scoop out just enough from the top or back to reach a comfortable carving-wall thickness of about one inch behind the face. A thick wall gives you room to grade the shading without breaking through.

How do I keep the two-tone shading from browning overnight?

Peeled flesh oxidizes and darkens within a day, which softens your contrast. Coat every exposed surface with petroleum jelly right after carving and keep the pumpkin cool and out of direct heat. Even so, this is a short-lived display, so plan to photograph it within the first day or two.

This mastiff has a lot of wrinkles. How do I avoid making it look muddy?

Resist the urge to peel everything. Keep clear dark grooves between your pale areas so the eye can read each fold, and leave the deepest creases and the nose fully dark for contrast. Working from a printed reference and stepping back frequently helps you keep the light and dark shapes balanced.

Your take belongs here, too.

Changed a detail? Made it simpler? Share a photo of your version and tell the community what worked.

Share your pumpkin

More pumpkins like this

You've reached the end · 8 pumpkins
The Patch Report

Fresh pumpkins, in your inbox.

The best new carvings, ideas worth stealing, and how-tos for carving season. Short, seasonal, and gone by November.

A short email during carving season. Unsubscribe anytime. See our privacy policy.