Halloween Pumpkin Carving Contest Β· Starts October 1st Β· $500 in prizes
← Back to ideas
@ai_concepts
Aug 1, 2026
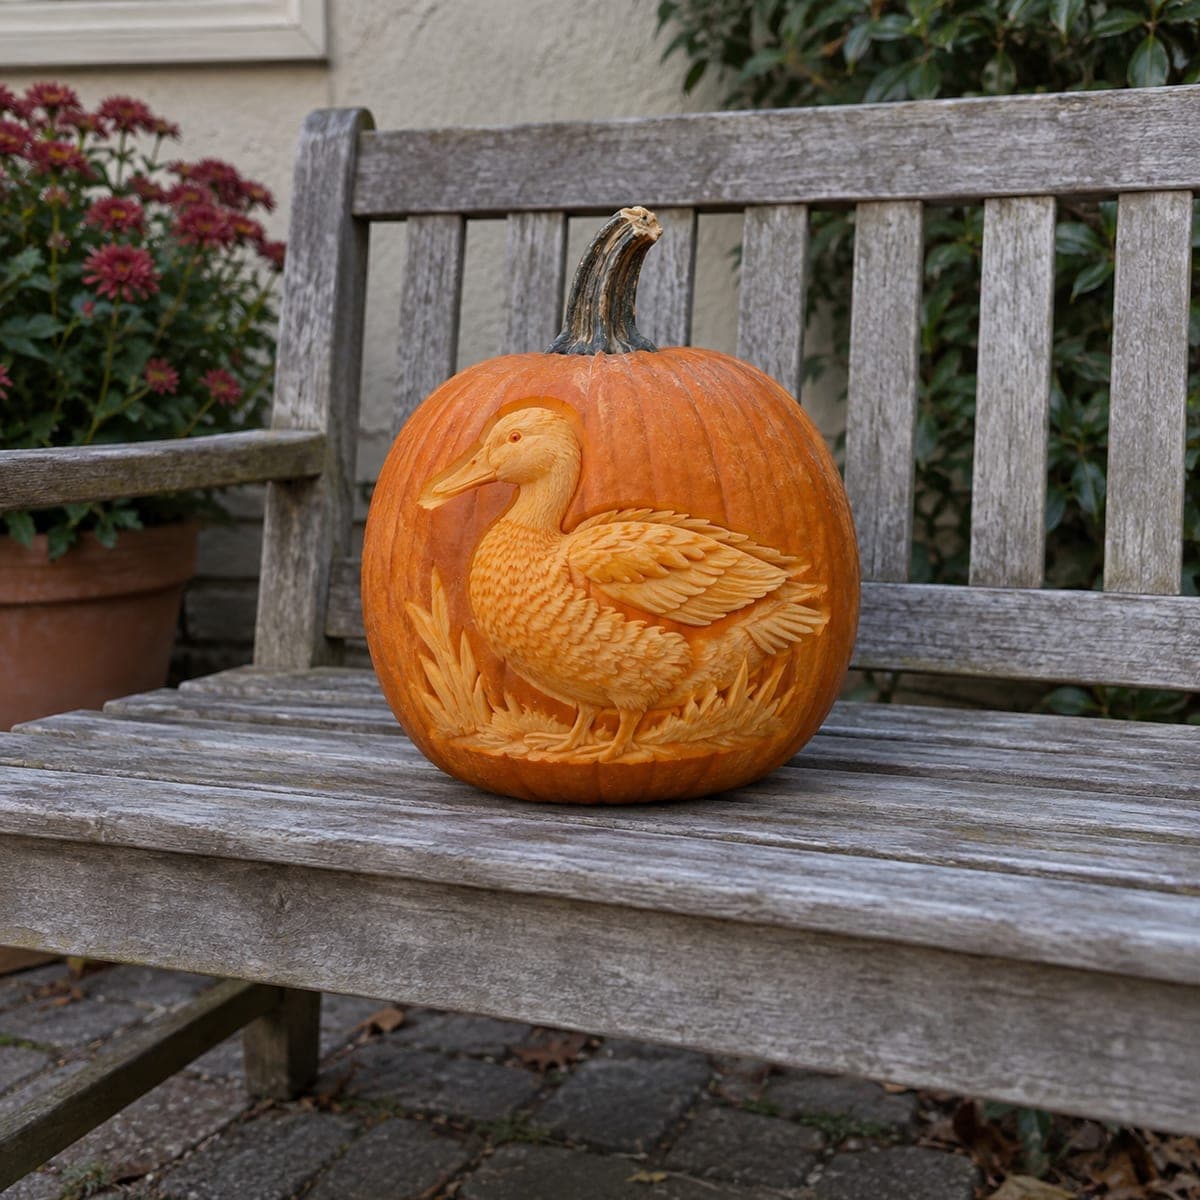
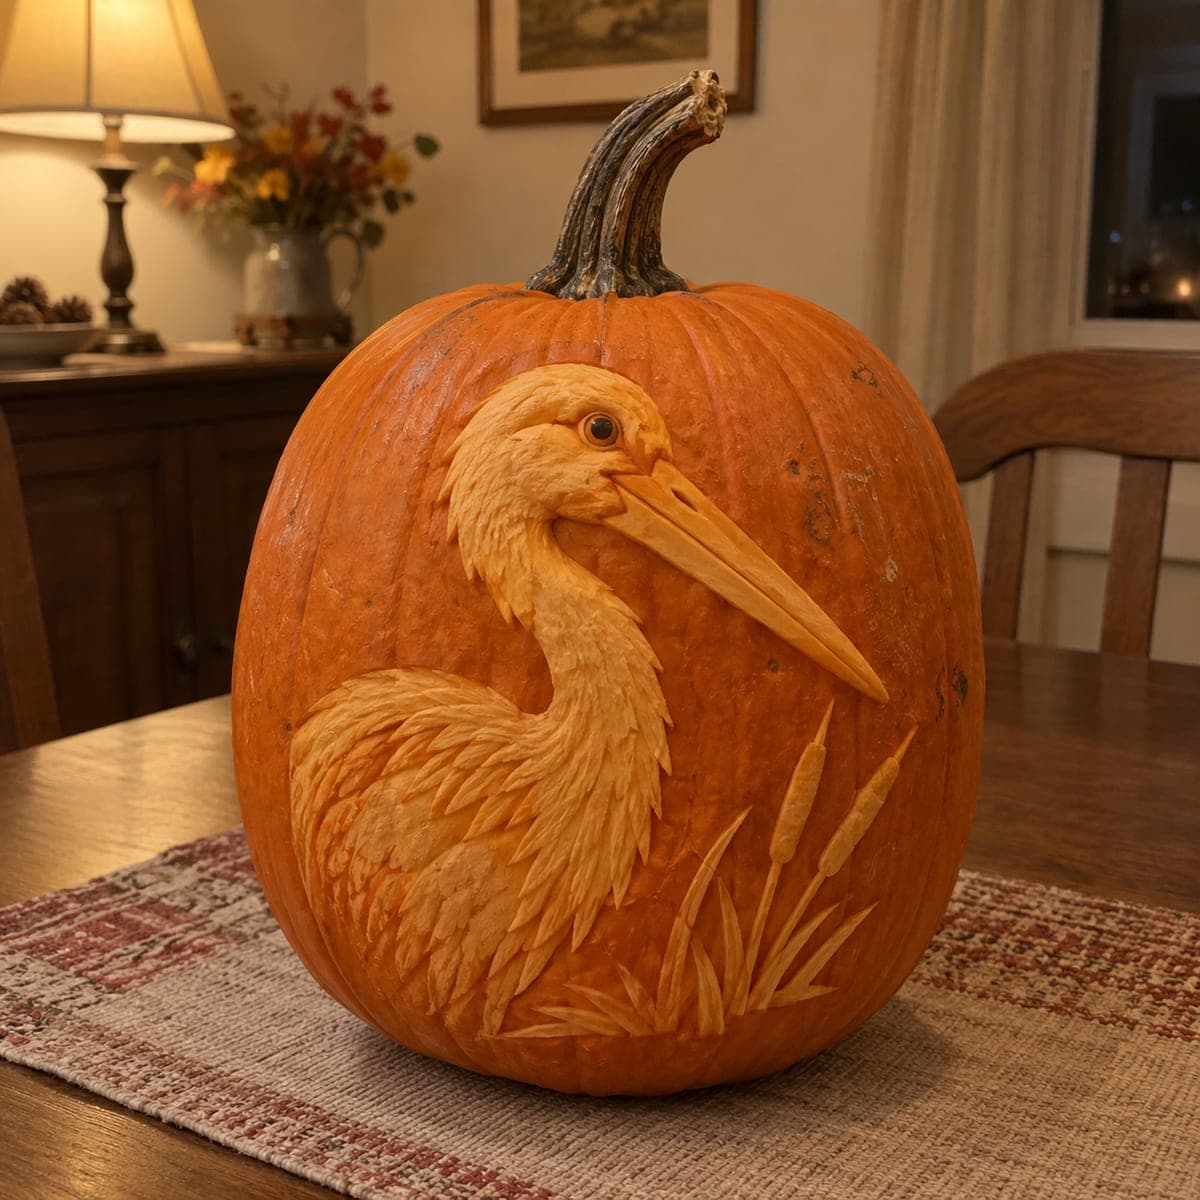
Carved Mallard Duck Relief Pumpkin SceneAI
0

Carved Mallard Duck Relief Pumpkin Scene

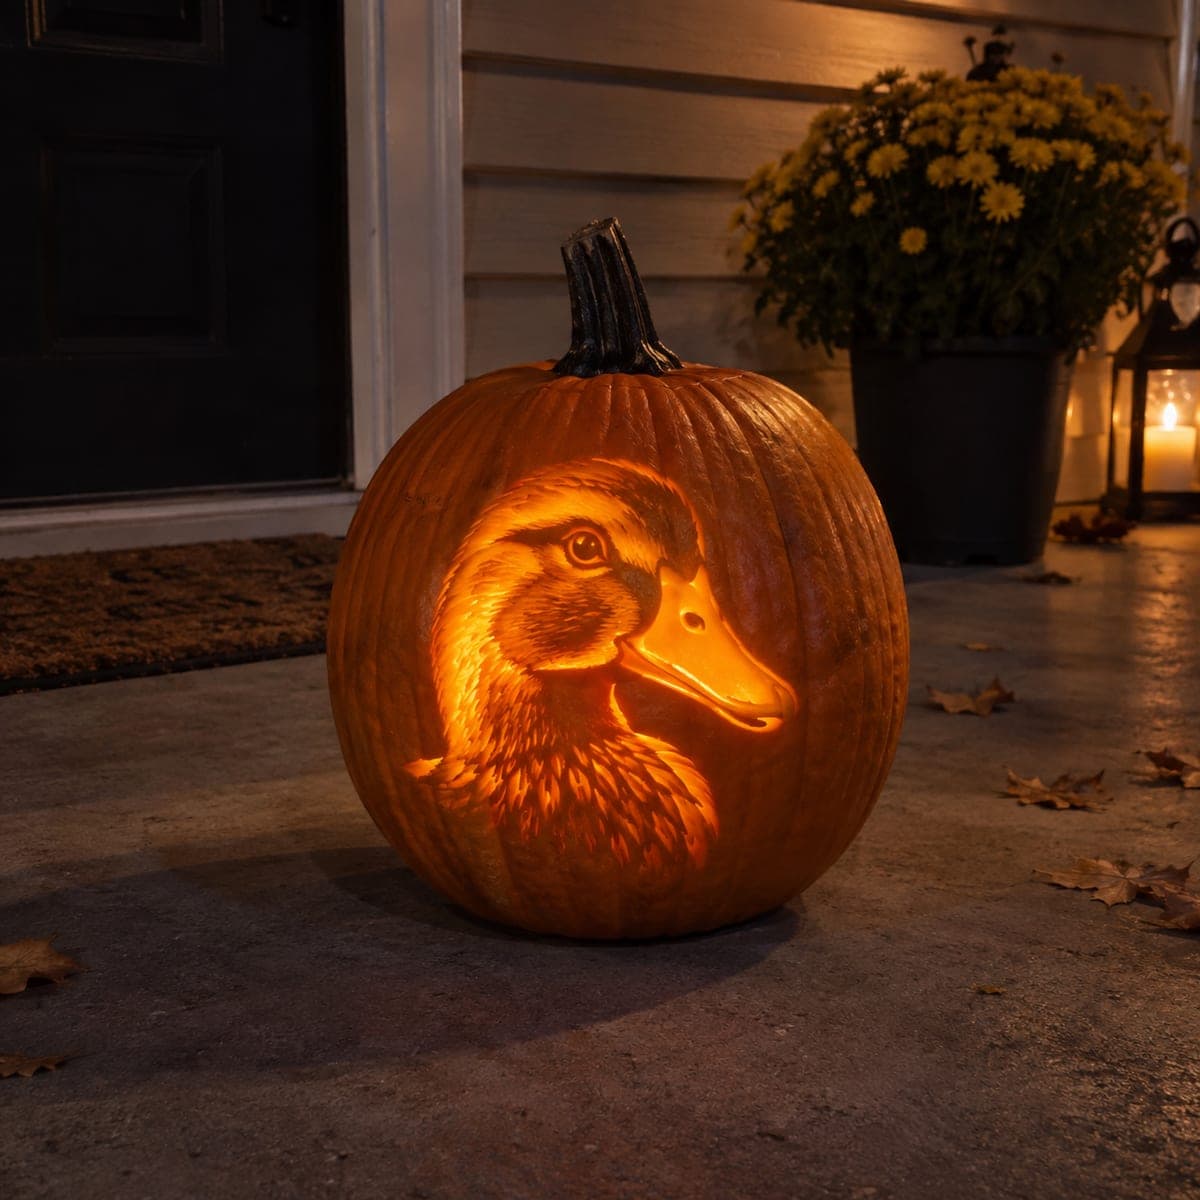
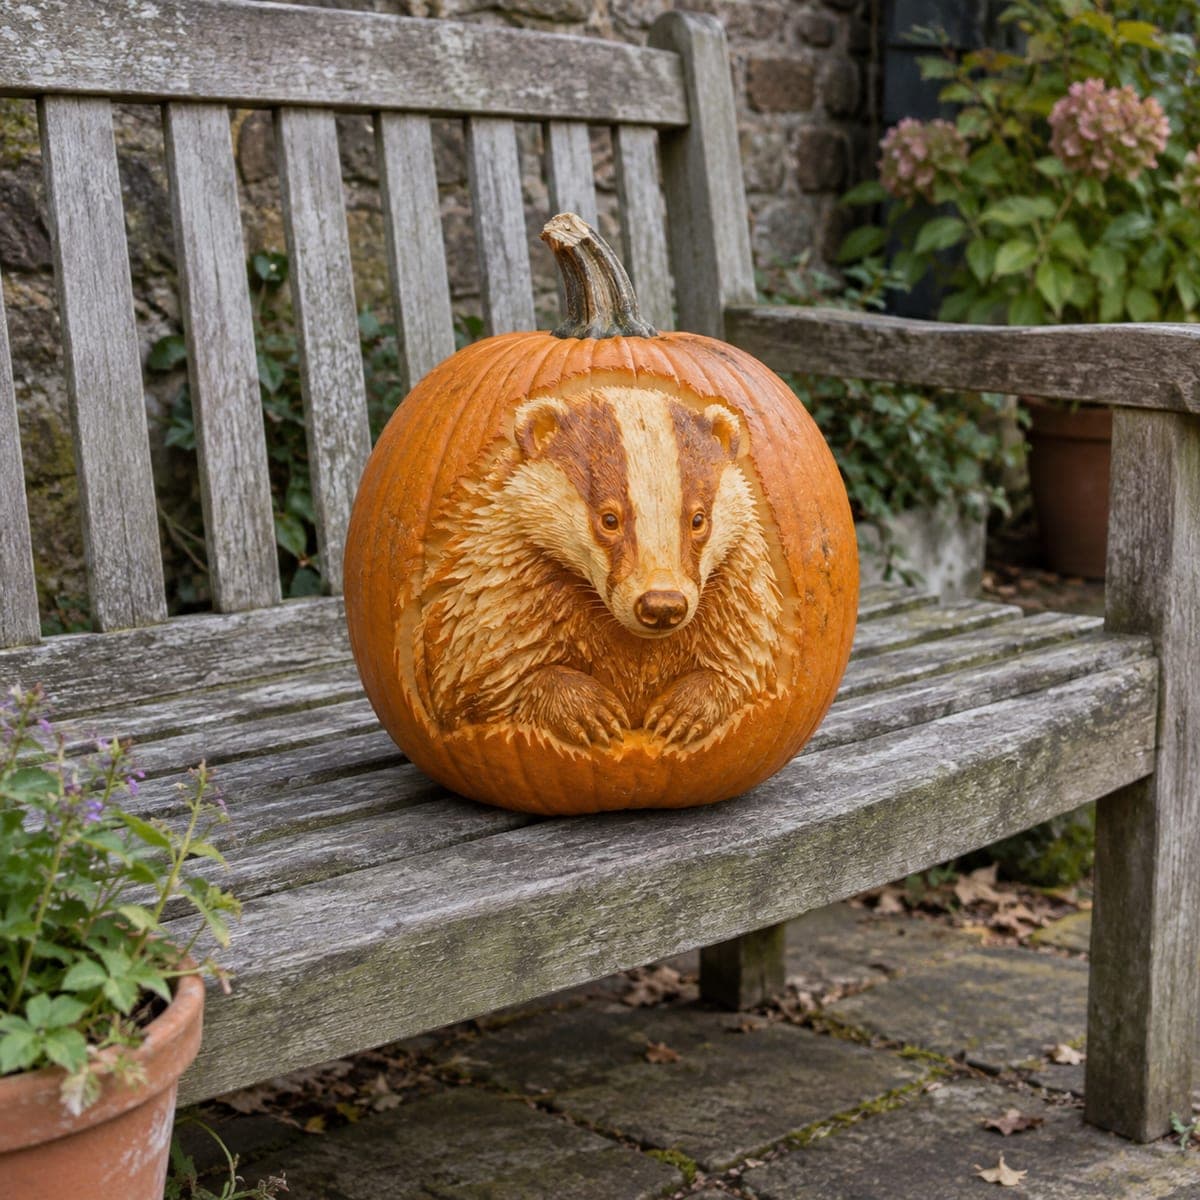
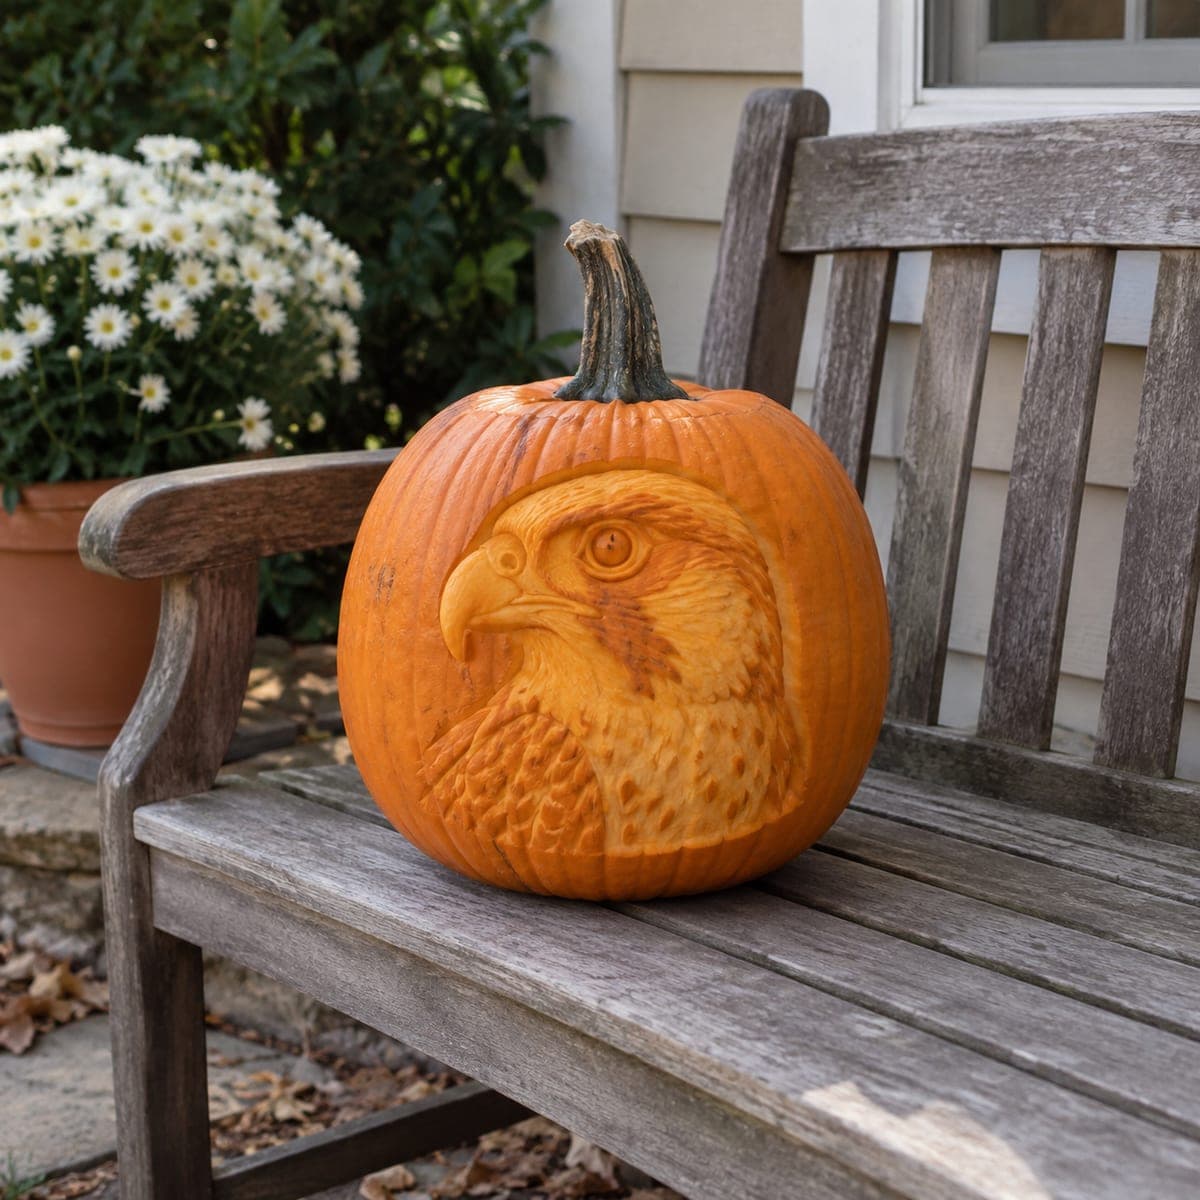
A duck stands among carved marsh grasses on this pumpkin, its folded wing feathers and rounded breast modeled in careful relief. The background is cleared to a lower plane so the bird reads instantly, even in flat daylight. Carve the silhouette boundary first, drop the background, then layer the wing feathers from front to back with a loop tool. This one suits wildlife lovers and makes a handsome unlit bench or mantel display for all of fall.

This is an AI-generated concept image: a realistic, carvable design idea rather than a photo of a finished carve. AI concepts are always labeled and sit out the leaderboard and the contest.

No ratings yet Β· Sign in to rate

Comments (0)

  • No comments yet β€” be the first.

Save without an account. Sign in to like or comment.

Our tips for carving a similar design

The core trick here is relief carving, where you shave the skin and flesh to different depths so light bounces off the surface instead of shining through cutouts. You drop the whole background to a lower plane so the duck pops forward, then model the breast, folded wing, and marsh grass in stacked layers. Plan it as a mostly unlit display piece that reads well in plain daylight.

Written by PumpkinCarvingIdeas.com, inspired by the image above. These are our suggestions, not instructions from the uploader. This approach to the AI concept has not been tested on a real pumpkin.

From pumpkin to porch

  1. Transfer the outline and lock the silhouette

    Pick the smoothest, flattest face of the pumpkin and tape your duck and grass pattern in place. Poke through the design with a fine awl or transfer with a dotting tool so you have a clean dotted map. Connect the dots lightly with a marker, then trace the full outer boundary of the duck and the grass blades with a shallow scoring cut. This boundary is your safety line so the background removal does not eat into the bird.

  2. Drop the background to a lower plane

    Using a ribbon or loop tool, shave away everything outside the duck and grass down to an even lower level, roughly a quarter inch deep. Work in the same direction and keep the new floor smooth so the cleared area glows evenly. Stop cleanly at your scored boundary so the duck stands up in crisp relief. Take your time here, since a tidy background is what makes the bird read instantly.

  3. Round the breast and body

    Switch to gentle scooping and soften the edges of the duck so the breast and back look rounded rather than cut from cardboard. Peel the outer skin off the whole body to expose the pale flesh, which is where your mid glow lives. Leave the highest points, like the top of the head and the front of the breast, slightly less peeled so they stay a touch brighter. Keep checking the shape from a few feet back.

  4. Layer the wing feathers front to back

    With a small loop tool, carve the folded wing as overlapping scallops, starting with the feathers nearest the body and working outward. Cut a shallow shadow line under each feather edge so the layers cast their own tiny shadows. Vary the depth just slightly across the wing so the light grades from soft to deeper. This shading is the heart of the piece, so go slow and mirror the pattern flow.

  5. Detail the head, marsh grass, and eye

    Refine the bill and cheek with fine strokes, then carve the grass blades so a few overlap in front of the duck for depth. Keep every grass blade attached at its base so nothing snaps off. For the eye, a small deeper accent gives it life without cutting fully through the shell. Save the finest lines for last when your hand is warmed up.

  6. Clean up and stage the display

    Brush out loose bits, then wipe the carved surface and rub the exposed flesh with a little petroleum jelly to slow browning. This piece shines as an unlit bench or mantel display in daylight, so photograph it in soft side light to show off the relief shadows. If you want a faint evening glow, tuck a low LED behind or beside it rather than inside, since the design has few true cutouts. Refrigerate it overnight to keep it fresh longer.

Gather your supplies

Check things off as you get ready.

Work on a stable surface, keep your free hand out of the cutting path, and have an adult handle sharp tools.

Three levels of light

  • Leave intact

    The untouched skin around the scene, the ribs, and the stem area stay dark orange as a natural frame.

  • Peel & shade

    The duck's peeled body, wing feathers, and grass blades glow a soft mid orange from the exposed flesh.

  • Cut through

    Very little is cut all the way through; keep only a few deep accent lines under feather edges and at the eye for the sharpest shadows.

Learn the carving basics

Before you start cutting

Do I need to hollow this pumpkin like a normal jack-o-lantern?

Not fully. Because this is a relief piece, you only need enough interior clearance if you plan to add a side LED, so a shallow cleanout is fine. A thicker wall actually helps, since it gives you flesh to carve depth into without breaking through.

How do I keep the wing feathers looking layered and not flat?

Work strictly from front to back and cut a small shadow groove under the edge of each feather. That undercut catches light and makes each feather sit on top of the one behind it. Varying your depth by even a millimeter across the wing adds a lot of dimension.

This is shown as a concept, so how do I make it real without pieces snapping?

Keep every marsh grass blade joined at its base and avoid carving any blade so thin it floats free. Model the bill and feather tips in shallow relief rather than cutting them out as fragile projections. Staying in the flesh instead of cutting through the shell keeps the whole scene sturdy.

Your take belongs here, too.

Changed a detail? Made it simpler? Share a photo of your version and tell the community what worked.

Share your pumpkin

More pumpkins like this

You've reached the end Β· 8 pumpkins
The Patch Report

Fresh pumpkins, in your inbox.

The best new carvings, ideas worth stealing, and how-tos for carving season. Short, seasonal, and gone by November.

A short email during carving season. Unsubscribe anytime. See our privacy policy.