Halloween Pumpkin Carving Contest · Starts October 1st · $500 in prizes
← Back to ideas
@ai_concepts
Sep 25, 2026

Chunky Tooth Classic Pumpkin Faces Carving IdeaAI
0

Report this carving

Tell us what is wrong. Reports are private.

Chunky Tooth Classic Pumpkin Faces Carving Idea

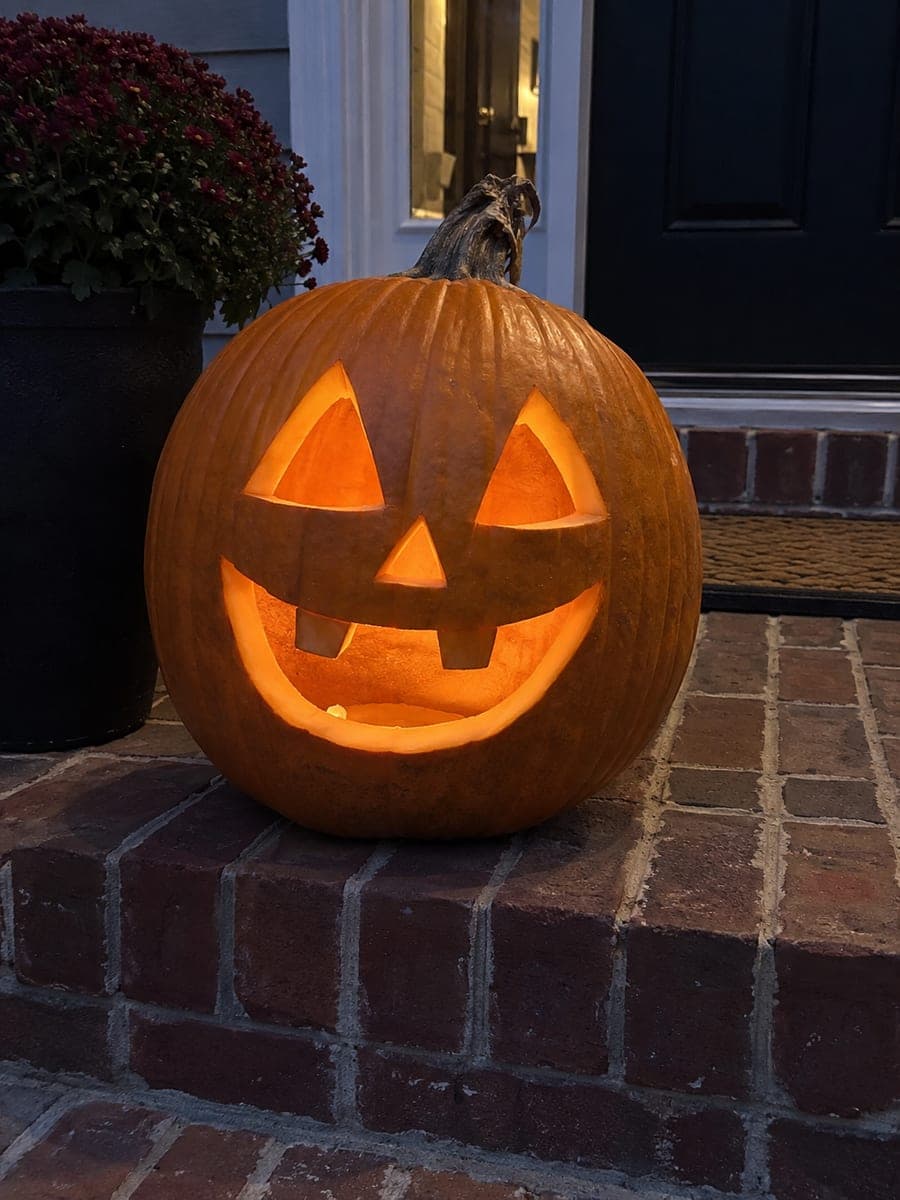
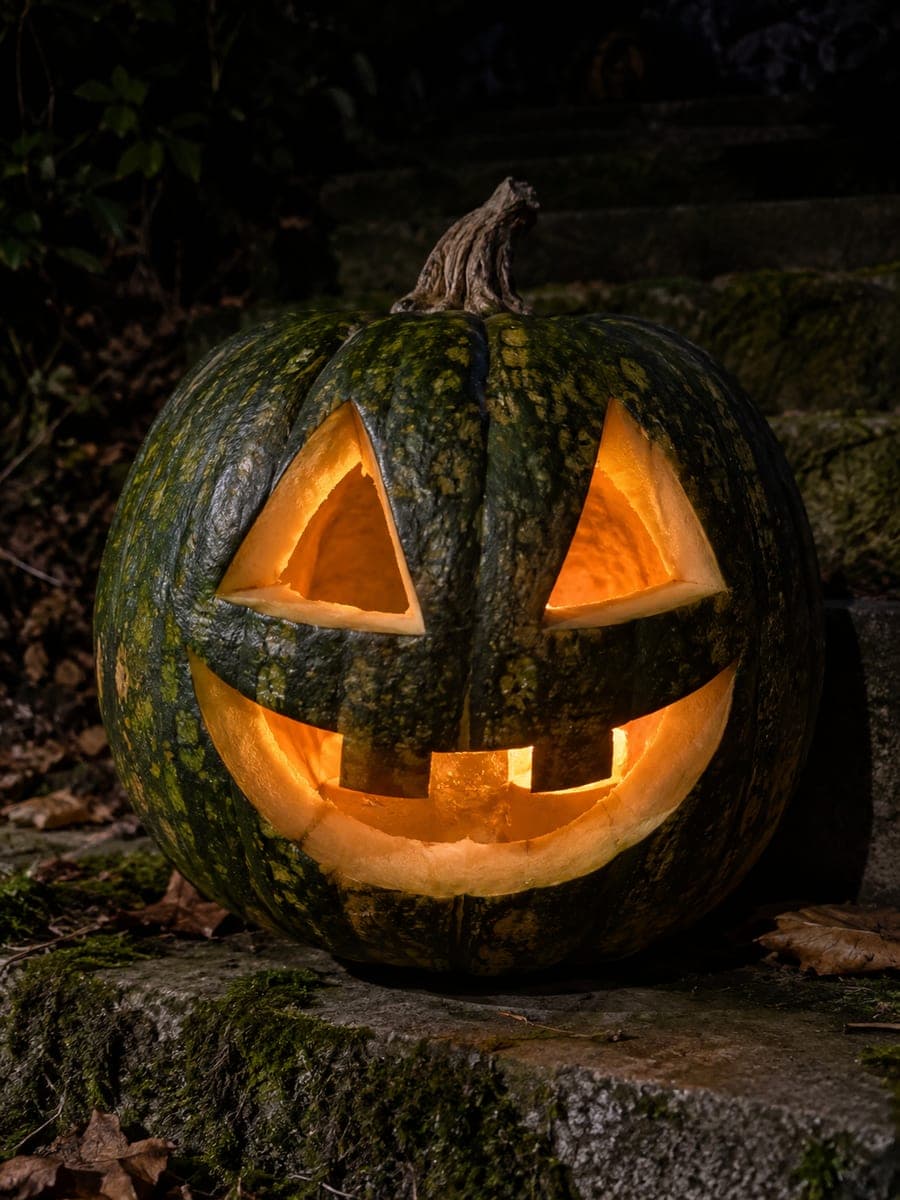
Two triangular eyes, a triangular nose, a wide smiling mouth, and two chunky teeth rooted in the upper lip deliver one of the most satisfying classic pumpkin faces in the simplest possible form. The chunky teeth are wider than usual so they stay sturdy even in a thin-walled pumpkin. Cut both triangular eyes and the nose first while the pumpkin is structurally intact, then open the mouth and shape the teeth last. A single tealight placed just behind the nose hole throws even light across all three face openings.

No ratings yet · Sign in to rate

Comments (0)

  • No comments yet — be the first.

Save without an account. Sign in to like or comment.

Our tips for carving a similar design

This is the platonic pumpkin face: five clean holes that any first-time carver can execute confidently. The chunky teeth are wider than usual so they stay solid even in a thin-walled pumpkin. Cutting the eyes and nose first while the face is structurally intact, then opening the mouth last, is the sequence that prevents the most common first-timer mistakes.

From pumpkin to porch

  1. Hollow from the back

    Cut a lid from the back of the pumpkin so the entire front face stays intact for drawing and carving. Scoop seeds and stringy flesh until the wall is about an inch thick throughout the face area. A consistent wall makes all five cuts behave predictably.

  2. Draw all five features

    Use a washable marker to sketch two triangular eyes at eye height, a smaller triangle nose centered below, and a wide grinning mouth with two chunky teeth attached to the upper lip. Place the eyes and nose first since they anchor the proportions of the whole face. Step back and check the composition before cutting anything.

  3. Cut both eye triangles

    Make three straight cuts per eye, meeting cleanly at each corner. A narrow pumpkin-carving saw handles the angled corners more safely than a kitchen knife. Pop out each triangular plug and set it aside.

  4. Cut the nose triangle

    The triangle nose is the smallest cut: three short straight lines meeting at a point. Cut slowly at the narrow tip to prevent the point from cracking. A small paring knife works well here for fine control on the tip angle.

  5. Cut the mouth last

    Open the mouth by cutting the outer boundary of the smile, then cut each tooth side carefully so the two chunky teeth stay attached solidly to the upper lip. Wider teeth are much safer than narrow ones, so err toward generous tooth widths. A tealight placed behind the nose throws even, warm light across all three face openings.

Written with AI to match this design

Gather your supplies

Check things off as you get ready.

Work on a stable surface, keep your free hand out of the cutting path, and have an adult handle sharp tools.

Three levels of light

  • Leave intact

    All uncut rind including the brow, cheeks, and jaw stays dark to define the classic face structure

  • Peel & shade

    None

  • Cut through

    Both triangular eye holes, the triangle nose, and the full smiling mouth including the two tooth gaps all glow at full brightness

Learn the carving basics

Before you start cutting

How do I get clean sharp corners on the triangle eyes?

Make two straight cuts that approach the corner from opposite directions rather than trying to pivot the saw at the corner point. A sharp corner is made by two lines meeting, not by turning the blade. A small paring knife or detail knife cleans up any fuzziness at the corners after the saw pass.

How wide should the chunky teeth be to stay intact?

Make each tooth at least an inch wide at its base where it connects to the upper lip. Wider is always safer for this design. Cut the two vertical sides of each tooth before cutting the horizontal bottom edge of the mouth so the tooth plug falls away cleanly rather than cracking off.

Can I use a candle inside instead of an LED?

A real tealight candle works and gives the most atmospheric flicker, but it creates a fire risk if the pumpkin dries out or if wind tips it over. If using a candle, never leave the lit pumpkin unattended and keep it away from anything flammable. An LED tea light gives a similar warm flicker effect with no fire risk.

Your take belongs here, too.

Changed a detail? Made it simpler? Share a photo of your version and tell the community what worked.

Share your pumpkin

More pumpkins like this

You've reached the end · 8 pumpkins
The Patch Report

Fresh pumpkins, in your inbox.

The best new carvings, ideas worth stealing, and how-tos for carving season. Short, seasonal, and gone by November.

A short email during carving season. Unsubscribe anytime. See our privacy policy.