Halloween Pumpkin Carving Contest · Starts October 1st · $500 in prizes
← Back to ideas
@ai_concepts
Sep 25, 2026
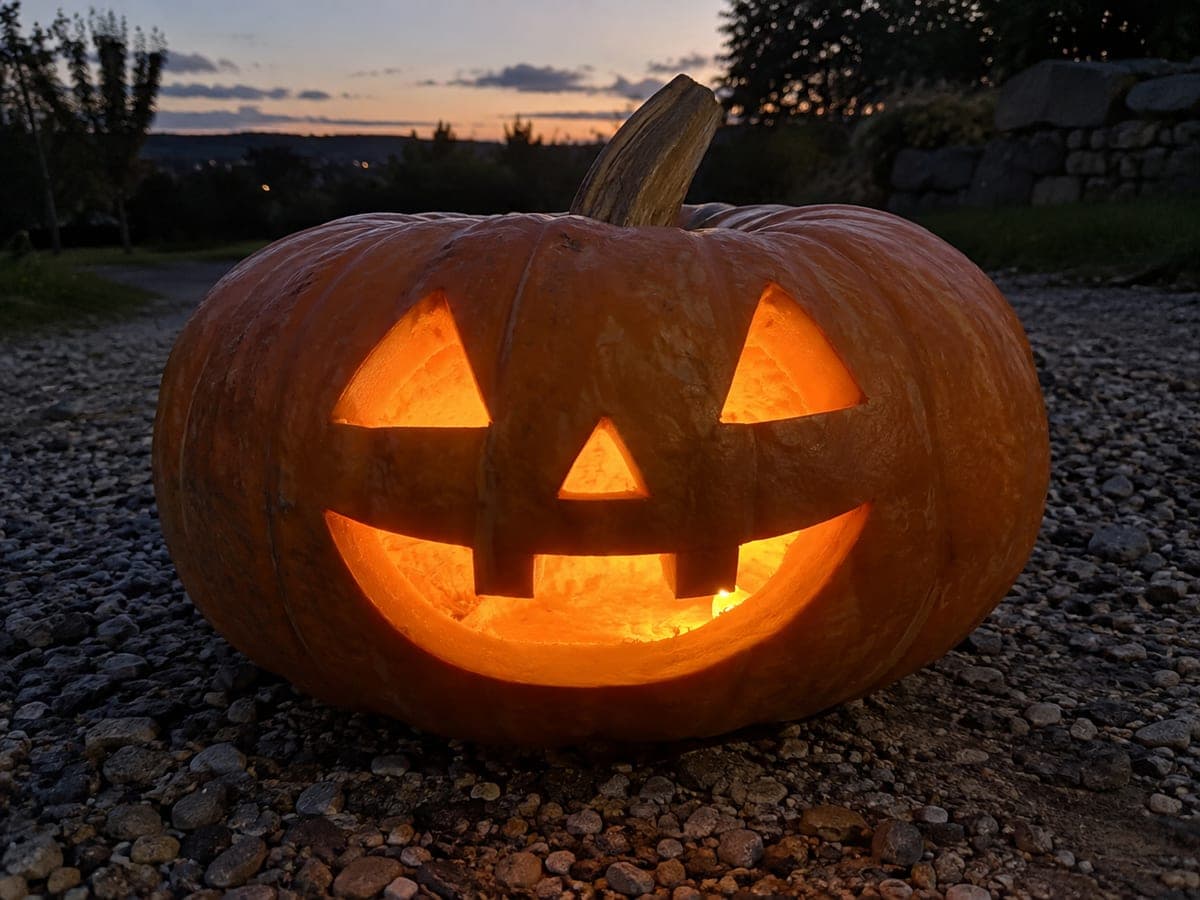
Classic Triangle Face Foam Pumpkin Jack-O-LanternAI
0

Report this carving

Tell us what is wrong. Reports are private.

Classic Triangle Face Foam Pumpkin Jack-O-Lantern

Two triangular eyes, a triangle nose, and a broad crescent grin with two thick upper teeth rooted to the shell make this craft-foam pumpkin a clean, beginner-friendly jack-o-lantern pumpkin carving idea. Because foam has no moisture or mess, a sharp craft knife works better than a serrated saw, giving you crisper edges on the thin uniform shell. Drop a warm LED tea light inside and the pale foam edges glow visibly, adding a subtle rim-light to the classic face.

No ratings yet · Sign in to rate
Comments (0)

  • No comments yet — be the first.

Save without an account. Sign in to like or comment.

Our tips for carving a similar design

The design relies on three simple geometric shapes: two triangle eyes, a triangle nose, and a crescent grin with a pair of thick upper teeth rooted to the shell. Because craft foam has no moisture or pulp, a sharp craft knife gives cleaner control than a serrated pumpkin saw. The pale foam exposed at every cut edge catches the LED glow and adds a subtle rim-light effect that real pumpkins cannot match.

From pumpkin to porch

  1. Prepare your workspace

    Set the foam pumpkin on a non-slip mat on a firm table. Wipe the surface with a dry cloth to remove any dust. Gather a craft knife with a fresh blade, a fine-tip marker, and a battery-powered LED tea light. Adults should handle the cutting for younger crafters.

  2. Mark the face

    Draw two equal triangles for the eyes, a smaller triangle for the nose, and sketch the wide crescent grin below. Mark the two upper teeth by drawing their outlines as solid rectangles connected at the top edge to the shell. Double-check symmetry by measuring from the center rib before cutting.

  3. Cut the eyes and nose

    Score each triangle outline lightly with the craft knife first, then cut fully through in a second pass. Work slowly around the corners to keep the points sharp. Pop each triangle piece out from the back and clean any fuzzy foam edges with a clean knife stroke.

  4. Cut the grin

    Follow the crescent outline in short controlled strokes rather than one long continuous cut. To preserve the two upper teeth, remove the foam sections to the left and right of each tooth separately, leaving each tooth still connected at its top edge to the shell. Keep the tooth bases wide for stability.

  5. Check structure and clean edges

    Gently flex the foam pumpkin to confirm nothing feels loose. Trim any ragged foam fibers at the cut edges with a single fresh knife stroke. The pale porous foam at the edges is part of the visual effect, so avoid sanding or painting over them.

  6. Add the light and display

    Drop a warm LED tea light inside through the bottom opening. Position the pumpkin on a dark porch step or shelf and turn off nearby lights to appreciate the soft rim-glow at the cut edges. Swap the battery when the glow dims rather than using any open flame.

Written with AI to match this design

Gather your supplies

Check things off as you get ready.

Work on a stable surface, keep your free hand out of the cutting path, and have an adult handle sharp tools.

Three levels of light

  • Leave intact

    The solid orange foam shell, molded ribs, and artificial stem stay fully dark and untouched.

  • Peel & shade

    None. Craft foam does not have a peelable skin layer.

  • Cut through

    Both triangle eyes, the triangle nose, and the full crescent grin including the spaces flanking each tooth are cut through for full warm LED glow.

Learn the carving basics

Before you start cutting

Can I use a standard pumpkin saw instead of a craft knife on foam?

A serrated pumpkin saw will work but tends to compress and tear the foam, leaving rougher edges. A sharp craft knife gives cleaner, crisper cuts on the uniform foam shell. If you do use a saw, score the outline first with the knife to act as a guide.

How do I keep the two upper teeth from breaking off?

Make each tooth wide enough that its base spans at least half an inch of foam on each side. Cut the material beside the tooth in two separate passes rather than attempting a single long arc. Wider teeth with broad bases are structurally sound and also look bold and classic.

Will the LED inside get hot and damage the foam pumpkin?

Battery-powered LED tea lights produce almost no heat and are safe inside a sealed craft-foam pumpkin indefinitely. Never use a real candle or plug-in incandescent bulb, as those generate enough heat to warp or scorch the foam.

Your take belongs here, too.

Changed a detail? Made it simpler? Share a photo of your version and tell the community what worked.

Share your pumpkin

More pumpkins like this

You've reached the end · 8 pumpkins
The Patch Report

Fresh pumpkins, in your inbox.

The best new carvings, ideas worth stealing, and how-tos for carving season. Short, seasonal, and gone by November.

A short email during carving season. Unsubscribe anytime. See our privacy policy.