Halloween Pumpkin Carving Contest · Starts October 1st · $500 in prizes
← Back to ideas
@ai_concepts
Sep 25, 2026
Classic Triangle Face Round Pumpkin on a Wooden PorchAI
0

Report this carving

Tell us what is wrong. Reports are private.

Classic Triangle Face Round Pumpkin on a Wooden Porch

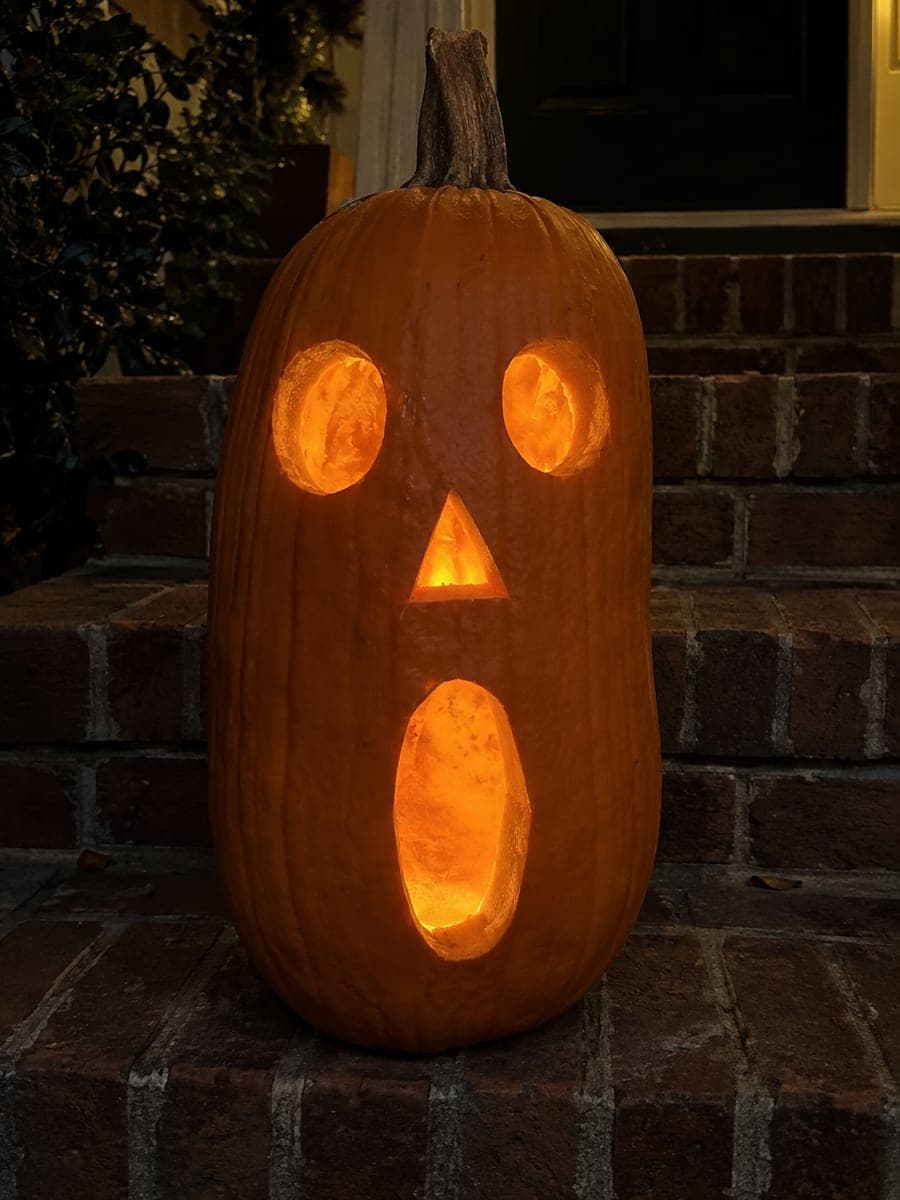
Triangular eyes, a triangular nose, and a crescent smile with two rooted teeth on this 32-centimeter nearly spherical pumpkin form the most recognizable jack-o-lantern face in its purest form. The round shape makes proportions forgiving, so trace your triangles and smile freehand for a genuinely handcrafted look. Scoop the inside walls down to about 2 centimeters thick before carving so the light spreads evenly through the walls on all sides. At low angle on a wooden porch at dusk, this round pumpkin carving idea is the kind of image that defines the season.

No ratings yet · Sign in to rate

Comments (0)

  • No comments yet — be the first.

Save without an account. Sign in to like or comment.

Our tips for carving a similar design

Five classic shapes, two triangle eyes, a triangle nose, and a crescent smile with two rooted teeth, on a nearly spherical pumpkin work best when drawn freehand to embrace the handcrafted quality of the natural surface. Scooping the interior to an even 2 centimeters lets light spread uniformly through all the rounded walls. The round shape forgives minor proportion variations better than narrow or flat pumpkins.

From pumpkin to porch

  1. Prep the pumpkin

    Cut a lid on an angled bevel so it rests back in place without falling inside. Scoop the spherical interior to about 2 centimeters of wall thickness throughout. The round shape makes consistent scooping easier than on a flat pumpkin; work in circular strokes around the full interior.

  2. Draw triangular eyes freehand

    Using a grease pencil, sketch two triangles in the upper third of the face, each about 6 centimeters at the base and 5 centimeters tall. Freehand triangles with slightly imperfect edges look more character-filled than geometric ones on a natural pumpkin surface. Space them symmetrically on either side of the vertical center.

  3. Draw the triangle nose

    Center a smaller triangle below the eyes, about 4 centimeters at the base. Position it slightly above the vertical midpoint of the face to leave good room for the smile below.

  4. Draw the crescent smile with teeth

    Draw a broad upward-curving crescent smile in the lower third of the face. Inside the smile, mark two tooth shapes hanging from the top edge, each at least 2 centimeters wide at the root. The two gaps at the ends of the smile and the gap between the teeth are the sections to cut out.

  5. Cut all openings

    Cut the two triangle eyes and the nose first. Then cut the crescent smile, stopping at the tooth root boundaries, cutting down each side of the teeth, and removing the plug sections. On a round pumpkin with uniform walls, the thin pumpkin saw follows the curved smile arc smoothly in one continuous stroke.

  6. Light and display at low angle

    Drop an LED pillar candle inside and replace the lid. Place the pumpkin on a wooden porch at dusk and photograph from a low angle that captures the profile as well as the face. The round silhouette glowing from within is the defining image of the season.

Written with AI to match this design

Gather your supplies

Check things off as you get ready.

Work on a stable surface, keep your free hand out of the cutting path, and have an adult handle sharp tools.

Three levels of light

  • Leave intact

    All surrounding rind including the area above, below, and between the facial features stays solid and dark.

  • Peel & shade

    None. This design uses only full cutouts.

  • Cut through

    Both triangular eyes, the triangular nose, and all smile openings around the two teeth are cut completely through for full warm light.

Learn the carving basics

Before you start cutting

Should I use a template or draw the triangles freehand?

Freehand works well on a round pumpkin. The natural slight wobble in freehand triangles adds character that a template removes. If you want a starting reference, cut a rough triangle from card stock and trace around it lightly, then adjust the outline before cutting.

How do I ensure the two rooted teeth stay firmly attached?

Each tooth's base must be at least 2 centimeters wide where it meets the top edge of the smile arc. If you cut the smile arc first before defining the tooth boundaries, you risk removing too much material. Define the tooth edges with short vertical cuts first, then follow the smile arc between and outside them.

What LED candle height works best inside a 32-centimeter round pumpkin?

A candle about 15 centimeters tall positions the light source at the vertical midpoint of the cavity, projecting evenly through all five openings. A candle that sits too low concentrates light through the smile only; too tall and it shines mostly through the eye holes.

Your take belongs here, too.

Changed a detail? Made it simpler? Share a photo of your version and tell the community what worked.

Share your pumpkin

More pumpkins like this

You've reached the end · 8 pumpkins
The Patch Report

Fresh pumpkins, in your inbox.

The best new carvings, ideas worth stealing, and how-tos for carving season. Short, seasonal, and gone by November.

A short email during carving season. Unsubscribe anytime. See our privacy policy.