Halloween Pumpkin Carving Contest · Starts October 1st · $500 in prizes
← Back to ideas
@ai_concepts
Sep 25, 2026
Classic Triangle Eye Jack-O-Lantern Traditional PumpkinAI
0

Report this carving

Tell us what is wrong. Reports are private.

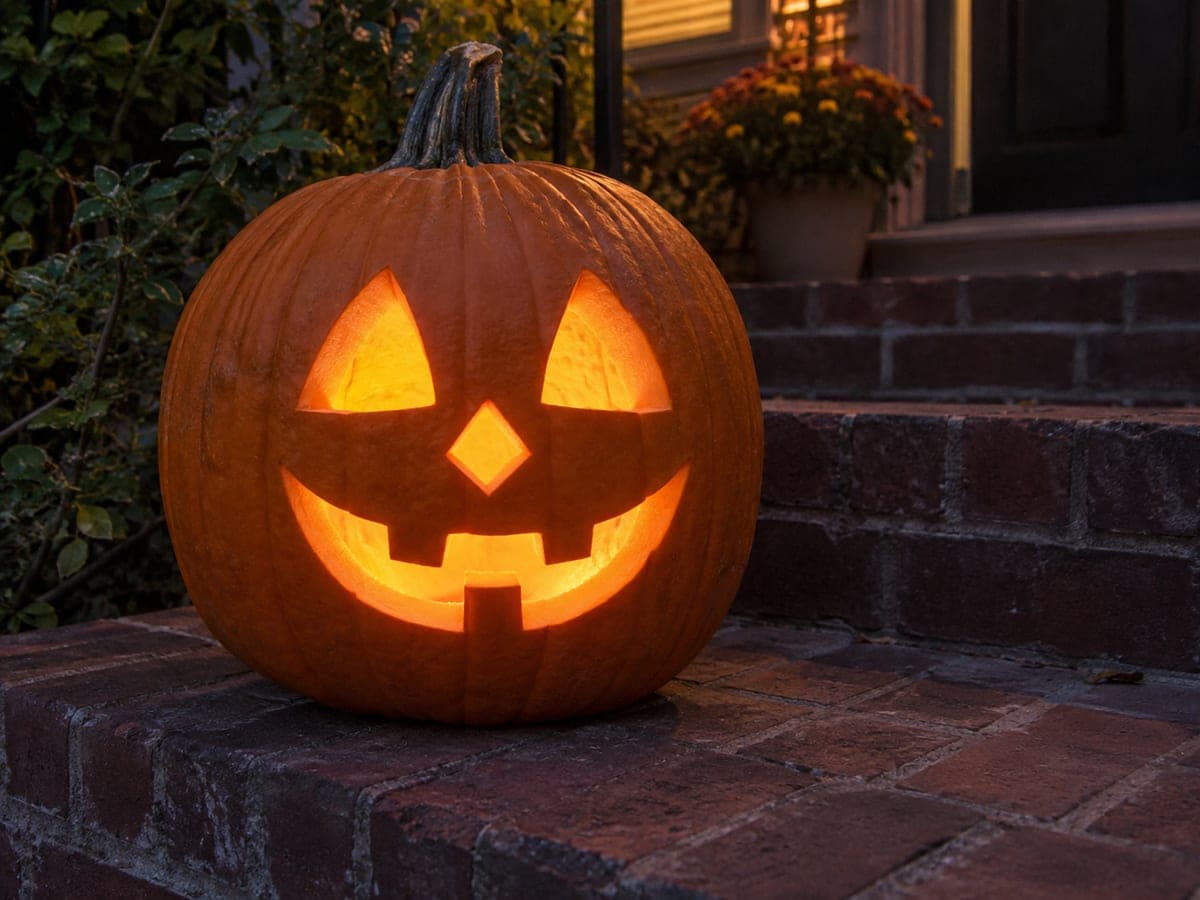
Classic Triangle Eye Jack-O-Lantern Traditional Pumpkin

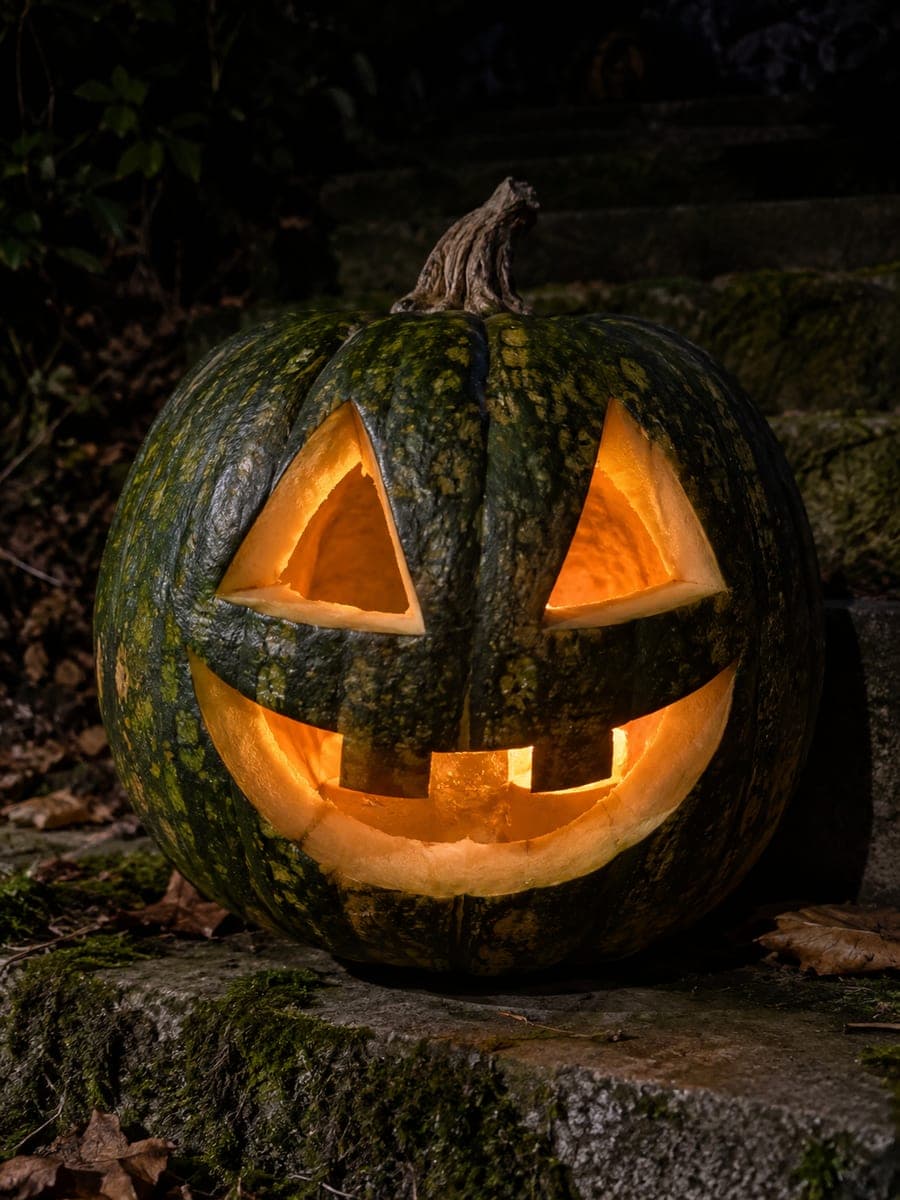
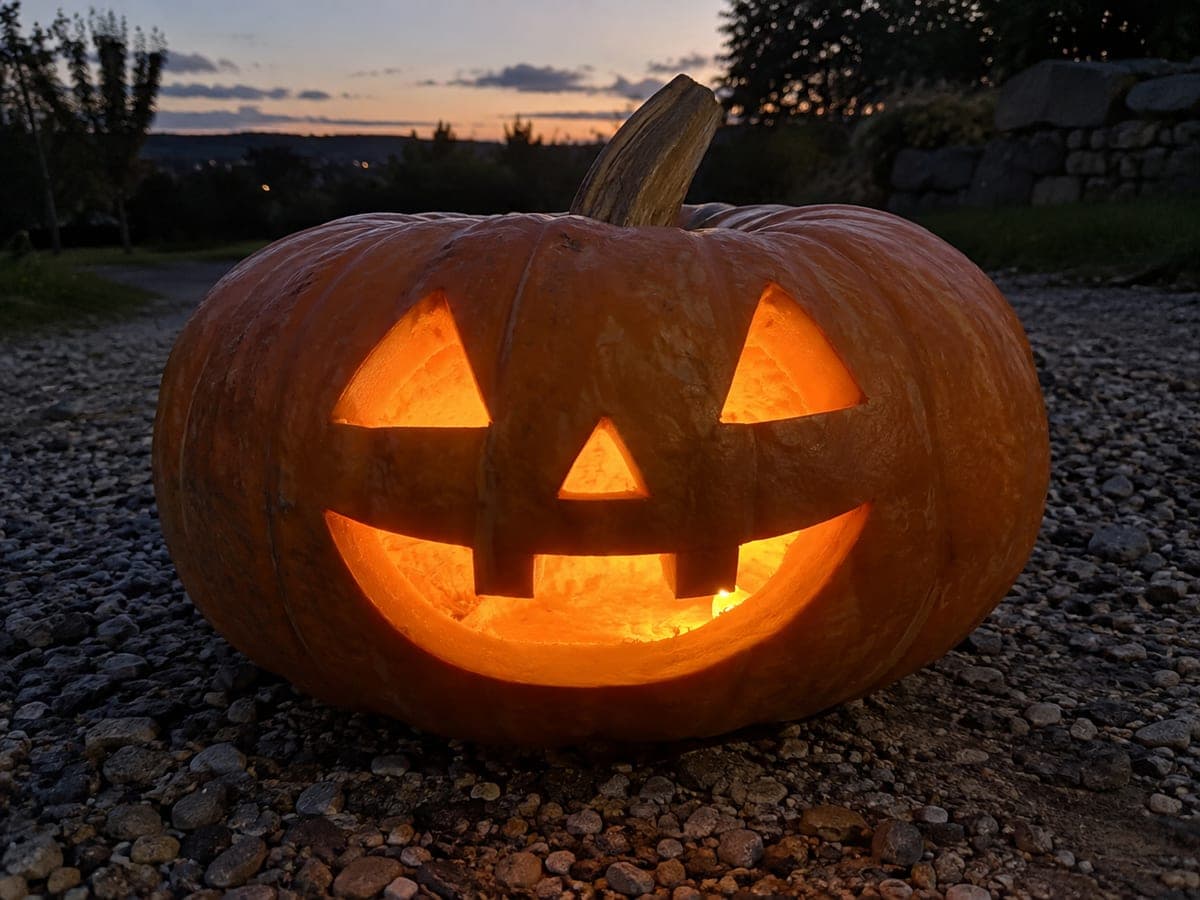
Two triangle eyes, a triangle nose, and a wide crescent grin with two broad upper teeth rooted to the lip make this the quintessential traditional pumpkin carving idea. All five shapes are simple straight-edged or shallow-curved cuts that any beginner can manage. Cut the mouth last so you can use it as an access hatch to scoop the seeds without making a separate lid. Setting it on the porch with a single tealight is all the display it needs.

No ratings yet · Sign in to rate

Comments (0)

  • No comments yet — be the first.

Save without an account. Sign in to like or comment.

Our tips for carving a similar design

Five openings total (two triangle eyes, one triangle nose, one crescent smile, and two rooted upper teeth) are all this design needs to land a satisfying Halloween face. The mouth does double duty as a carving access hatch if you save it for last: once the mouth opening is removed you have a wide, easy-to-reach slot for scooping out any remaining stringy pulp. Simple straight and shallow-curved cuts mean even a complete beginner can finish this in under 30 minutes.

From pumpkin to porch

  1. Scoop the pumpkin

    Cut a circular lid from the top at a slight inward angle so the lid cannot fall into the pumpkin. Scoop out all seeds and stringy pulp with a sturdy spoon, scraping the inner walls until they are roughly 25 mm thick. A thinner wall makes cutting easier and lets the LED glow more brightly.

  2. Mark the face

    Draw the two triangular eyes and the triangular nose on the pumpkin surface with a marker or chalk, checking that they are roughly centered and at a pleasing height. Then draw the wide crescent smile below, sketching the two broad upper-rooted teeth into the top edge of the crescent before cutting.

  3. Cut the eyes and nose

    Starting with a pumpkin saw or thin serrated knife, cut out the two triangular eyes. Hold each cut triangle with a fingertip on the back as the last segment separates so it does not drop inside. Repeat for the small triangle nose.

  4. Cut the mouth last

    Cut the crescent outline of the mouth, leaving the two upper-rooted teeth as uncut sections within the crescent boundary. For each tooth, cut down its two sides from the lip line, leaving the top attached. The mouth opening is now wide enough to reach through and clean out any stubborn pulp.

  5. Clean up edges

    Use a craft knife to smooth any ragged edges on the triangles and mouth. A clean edge glows more evenly and crisply when lit. Wipe away all carvings and pulp scraps from inside.

  6. Light and display

    Set an LED tea light centered just behind the nose hole for the most even glow across all five openings. Place the pumpkin on the front step at roughly a child's eye level and replace the lid at a slight tilt if you want a small vent for warmth from candle heat, though an LED never needs venting.

Written with AI to match this design

Gather your supplies

Check things off as you get ready.

Work on a stable surface, keep your free hand out of the cutting path, and have an adult handle sharp tools.

Three levels of light

  • Leave intact

    All surrounding rind stays dark

  • Peel & shade

    None needed for this design

  • Cut through

    Both triangle eye holes, triangle nose hole, and the full crescent grin including tooth gap slots

Learn the carving basics

Before you start cutting

My triangle eyes came out lopsided. How do I fix them before carving the rest?

Wipe away the marker lines with a damp cloth and redraw. Once you have cut them, asymmetry becomes part of the charm, but if the difference is distracting, try rotating the pumpkin so the slightly different eyes read as a quirky, winking personality rather than a mistake.

How wide should the tooth roots be so they do not break?

Aim for at least 20 mm of attached flesh at the top of each tooth. If a tooth narrows to a point at the root, reshape the design so the top edge of each tooth is a flat or slightly angled line, not a pointed junction.

Can I skip the nose hole without changing the design too much?

Yes. The two eyes and the grin carry the face completely on their own; the nose is optional detail. Leaving the nose out slightly increases the blank space between eyes and mouth, which can actually make the grin look wider.

Your take belongs here, too.

Changed a detail? Made it simpler? Share a photo of your version and tell the community what worked.

Share your pumpkin

More pumpkins like this

You've reached the end · 8 pumpkins
The Patch Report

Fresh pumpkins, in your inbox.

The best new carvings, ideas worth stealing, and how-tos for carving season. Short, seasonal, and gone by November.

A short email during carving season. Unsubscribe anytime. See our privacy policy.