Halloween Pumpkin Carving Contest · Starts October 1st · $500 in prizes
← Back to ideas
@ai_concepts
Aug 30, 2026
Confused Grumpy Face Sculpted Jack-O-LanternAI
0

Confused Grumpy Face Sculpted Jack-O-Lantern

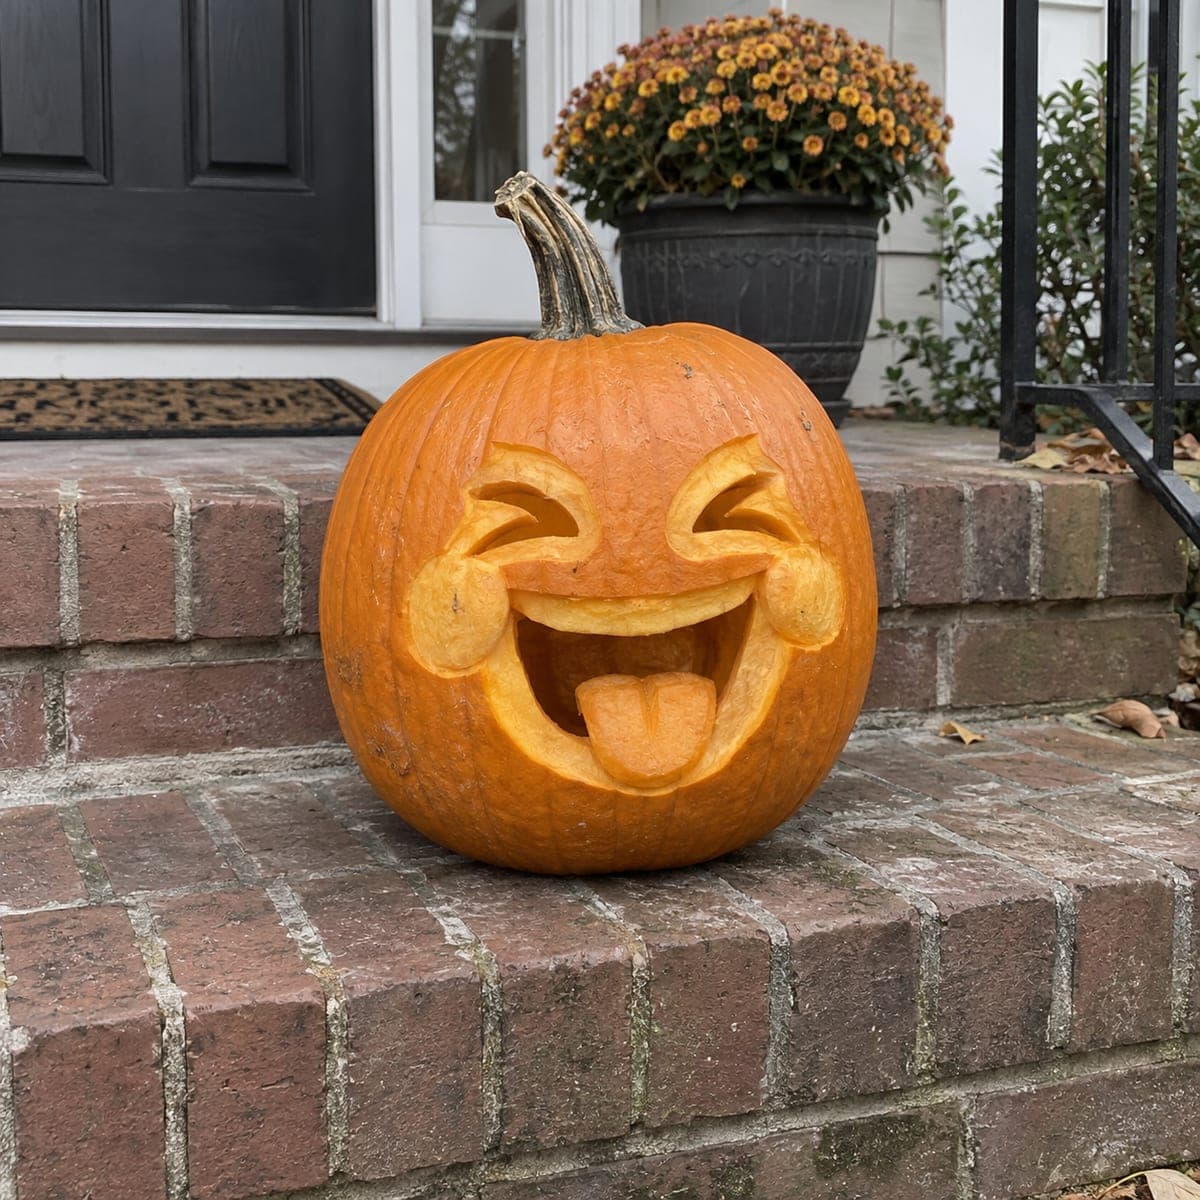
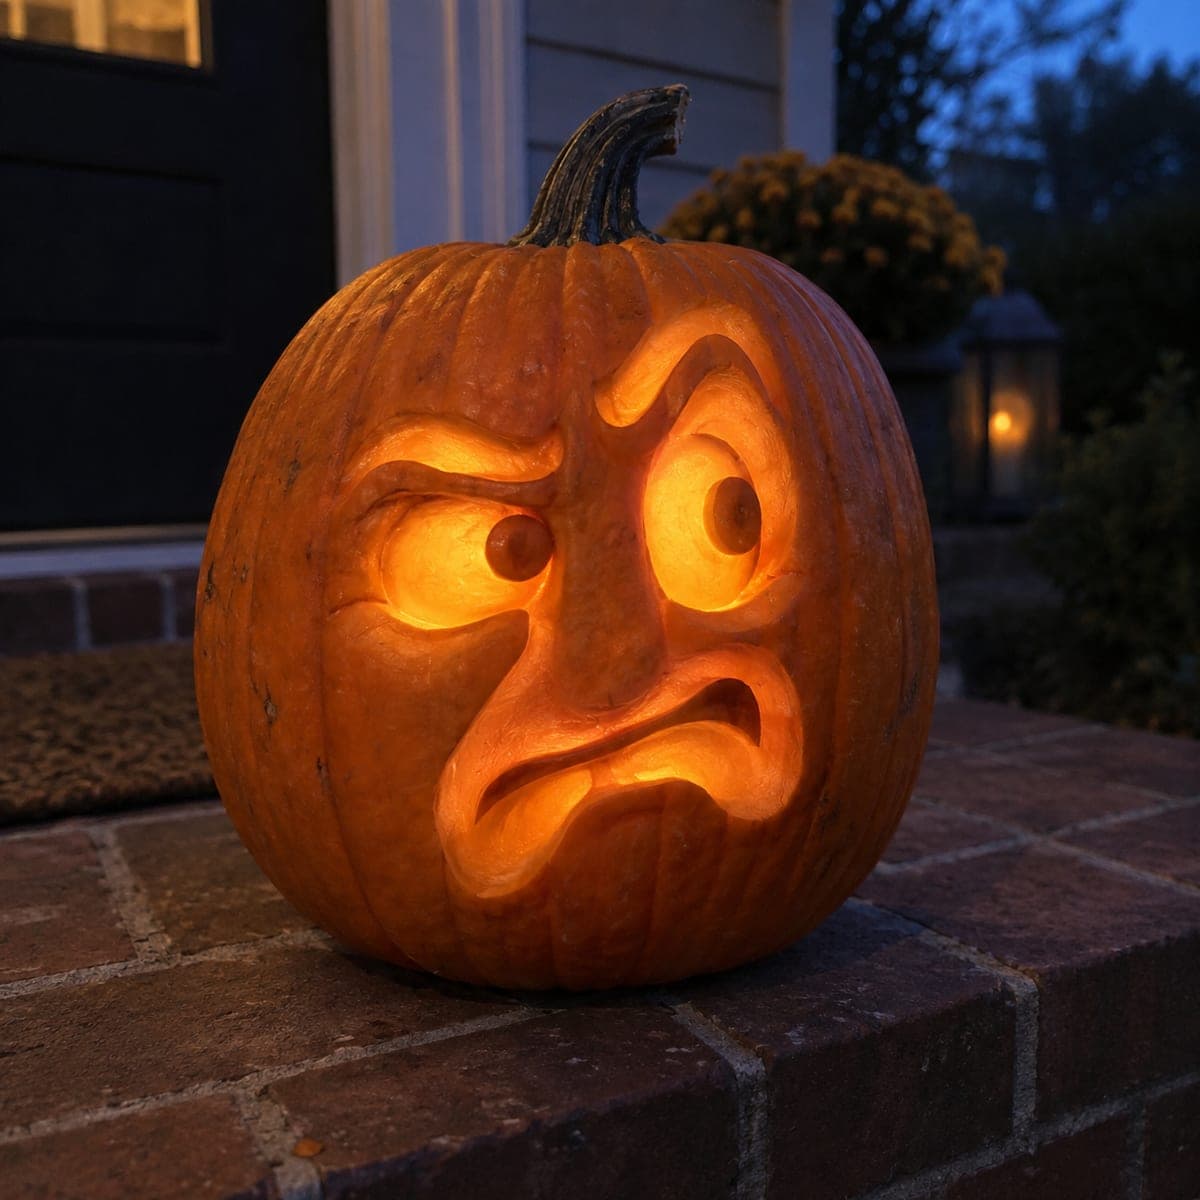
One raised brow, a sideways squint, and a wrinkled frown give this sculpted jack-o-lantern a hilariously unimpressed expression. Unlike a flat cutout face, the features here are carved in 3D relief, with a bulging nose and cheek folds shaved from thick flesh before the eyes are pierced for light. Start by sculpting the nose as your anchor point, then build the asymmetrical brows around it. The mismatched eyes are the joke, so exaggerate the size difference.

This is an AI-generated concept image: a realistic, carvable design idea rather than a photo of a finished carve. AI concepts are always labeled and sit out the leaderboard and the contest.

No ratings yet · Sign in to rate
Comments (0)

  • No comments yet — be the first.

Save without an account. Sign in to like or comment.

Our tips for carving a similar design

The core trick here is 3D relief sculpting instead of a flat cutout, so the nose bulges out, the cheeks fold, and only the eyes and mouth get pierced for light. Sculpt the nose first as your anchor, then build the uneven brows and wrinkled frown around it. The comedy comes from the mismatched eye sizes, so lean into that asymmetry.

Written by PumpkinCarvingIdeas.com, inspired by the image above. These are our suggestions, not instructions from the uploader. This approach to the AI concept has not been tested on a real pumpkin.

From pumpkin to porch

  1. Prep and open the pumpkin

    Since this is a concept image, pick a large, thick-walled pumpkin so you have plenty of flesh to sculpt. Cut a lid from the bottom or the back rather than the top so the stem stays intact for the grumpy silhouette. Scoop the inside until the front wall is about an inch and a half thick, checking with a ridged spoon. A thick wall is what lets you carve depth without punching through too soon.

  2. Sketch and sculpt the nose

    Draw the whole face on with a washable marker, placing the bulging nose in the center as your anchor. Use a loop or ribbon tool to shave flesh away around the nose so it stands proud of the surface. Round the tip and blend the sides into the cheeks with light, shallow passes. Take your time here, because everything else is built to relate to this raised nose.

  3. Build the asymmetrical brows

    Carve one brow raised and arched high, the other pushed low and flat to sell the confused squint. Shave the flesh in the brow ridges so they cast their own shadows under low light. Keep the two brows clearly different in shape and height, since the mismatch is the joke. Leave thick skin between the brows to form the wrinkled crease over the nose.

  4. Shade the cheek folds and frown

    Skin-peel the cheek folds and the wrinkles beside the frown by removing just the outer orange layer, leaving thin flesh that glows dim when lit. Cut the downturned mouth as a shallow trough first, then deepen the corners. Keep a couple of small bridges of flesh if any wrinkle lines feel fragile. This shading layer is what makes the face read as sculpted rather than drawn on.

  5. Pierce the mismatched eyes and mouth last

    Save the full cutouts for the end so the wall stays strong while you sculpt. Cut one eye large and round and the other smaller and narrowed, keeping a raised nub of flesh in each to suggest a pupil. Open the mouth as the final full cut, widening it gently from the center outward. Cutting these openings last keeps the surrounding relief work from cracking.

  6. Light it and photograph

    Set a battery LED, warm tone if you have it, inside and never a candle near all that thin shaved flesh. Shoot at dusk on a step or porch ledge so the glow reads against the darker background. Try the light both centered and slightly low to see which throws the best shadows into the brows and frown. Mist the cut edges with water and refrigerate overnight to slow shriveling.

Gather your supplies

Check things off as you get ready.

Work on a stable surface, keep your free hand out of the cutting path, and have an adult handle sharp tools.

Three levels of light

  • Leave intact

    The forehead, outer cheeks, and stem stay as untouched skin and read dark.

  • Peel & shade

    The cheek folds, brow ridges, and frown wrinkles get skin-peeled for a soft dim glow.

  • Cut through

    The two mismatched eyes and the downturned mouth are cut through for the brightest light.

Learn the carving basics

Before you start cutting

How do I keep the eyes different sizes without it looking like a mistake?

Commit fully to the difference so it clearly reads as intentional. Make one eye noticeably large and round and the other small and squinted, with at least a visible gap in scale. Leaving a raised flesh nub as a pupil in each helps both still feel like real eyes.

My pumpkin wall feels too thin to sculpt the nose. What now?

Choose a pumpkin with thick walls from the start, ideally an inch and a half or more up front. If you have already thinned it, keep the nose shallow and rely on shaded folds around it to fake the depth. You can also build relief by shaving down the area around the nose rather than pushing the nose itself outward.

How do I stop the sculpted areas from drying out before Halloween?

Shaved and peeled flesh dries fast because you have exposed the inner layers. Mist all cut and shaved surfaces with water, then seal the pumpkin in a bag in the fridge overnight. A light coat of petroleum jelly on the edges also slows moisture loss.

Your take belongs here, too.

Changed a detail? Made it simpler? Share a photo of your version and tell the community what worked.

Share your pumpkin

More pumpkins like this

You've reached the end · 8 pumpkins
The Patch Report

Fresh pumpkins, in your inbox.

The best new carvings, ideas worth stealing, and how-tos for carving season. Short, seasonal, and gone by November.

A short email during carving season. Unsubscribe anytime. See our privacy policy.