Halloween Pumpkin Carving Contest · Starts October 1st · $500 in prizes
← Back to ideas
@ai_concepts
Jul 24, 2026

Facepalm Grump 3D Sculpted Pumpkin FaceAI
0

Facepalm Grump 3D Sculpted Pumpkin Face

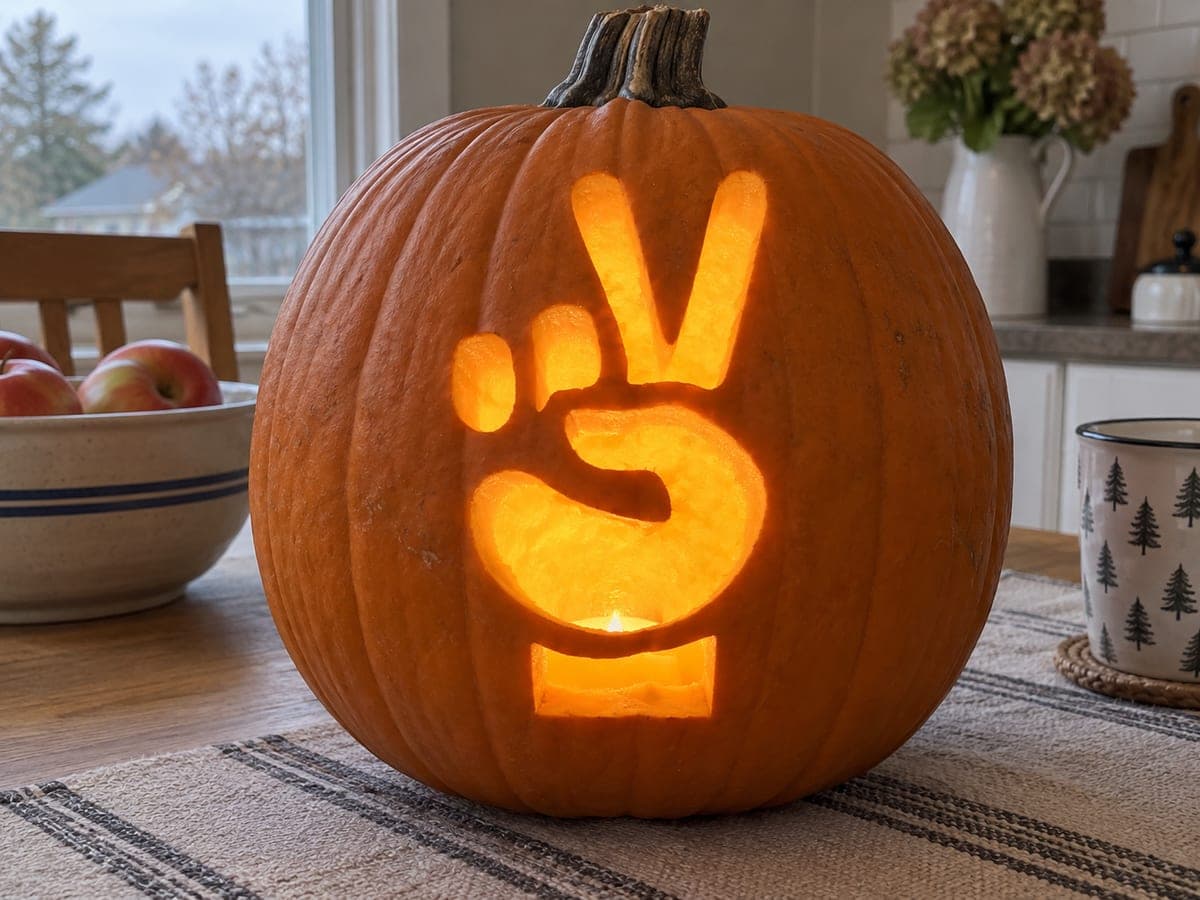
An exasperated old man face is sculpted deep into this pumpkin, eyes squeezed shut while a full carved hand presses against his forehead in a permanent facepalm. Every wrinkle, knuckle, and frown line is shaped in the flesh with clay ribbon tools, no cut-through pieces at all. Rough out the big forms of hand and nose first, then refine wrinkles once proportions look right. Guaranteed conversation starter at any pumpkin carving contest.

This is an AI-generated concept image: a realistic, carvable design idea rather than a photo of a finished carve. AI concepts are always labeled and sit out the leaderboard and the contest.

No ratings yet · Sign in to rate

Comments (0)

  • No comments yet — be the first.

Save without an account. Sign in to like or comment.

Our tips for carving a similar design

This design lives entirely in the flesh, with no cut-through openings at all. The core trick is relief sculpting: you shave away pumpkin skin and pulp at different depths so light passing through the thinned wall shapes the wrinkled face and the hand pressing against the forehead. Plan it as two overlapping forms, the raised hand in front and the sunken frowning face behind it.

Written by PumpkinCarvingIdeas.com, inspired by the image above. These are our suggestions, not instructions from the uploader. This approach to the AI concept has not been tested on a real pumpkin.

From pumpkin to porch

  1. Pick a big, thick-walled pumpkin and open the back

    Choose a large pumpkin with a smooth, deep front face and few ribs so you have a broad canvas. Cut a rounded access hole in the back, not the top, so the front stays uninterrupted. Scoop the inside and scrape the front wall down to a fairly even thickness of about an inch. A thinner, uniform wall glows more evenly once your LED is inside.

  2. Transfer and rough out the big forms

    Sketch or transfer two shapes onto the front: the full hand covering the upper left, and the exasperated face with squeezed-shut eyes, nose, and frowning mouth. Use a wide ribbon or loop tool to knock down the broad low areas first, like the cheeks and the gaps between fingers. Keep the hand and nose standing proud as the highest raised forms. Do not chase details yet, just get the proportions and depth reading right.

  3. Shape the hand and knuckles

    Sculpt each finger as a rounded ridge with a shallow valley between it and the next, tapering toward the fingertips. Round the knuckles into gentle bumps and let a couple of fingers drape down over the brow. Keep every finger connected to the palm and to the pumpkin surface so nothing is fragile or free-floating. Sculpting in relief like this means no bridges to worry about since you never cut through the wall.

  4. Carve the face and wrinkles

    Deepen the eye sockets into shadowed creases so the eyes read as clenched shut. Build the nose as a raised form, then carve the deep frown lines from nose to mouth and the downturned lips below. Use a fine detail tool for forehead wrinkles and the folds around the eyes, working shallow lines that catch light. Step back often and check the grump reads from a few feet away.

  5. Tune the glow with skin-peeling

    Now control brightness by how far you thin each area. Peel the skin off the raised hand and nose so those forms glow a soft orange, and shave the deepest wrinkles and eye creases thinner still so they read brightest. Leave the outer border of untouched orange skin around the whole scene as a dark frame. Hold a light behind the wall as you go to see the values develop.

  6. Light it and photograph

    Set a battery LED puck inside, warm white or amber, and aim it toward the front wall. Test in a dark room and shave any spots that stay too dark. Mist the carved surface with water and refrigerate between showings to slow shrinking. Photograph it soon after carving, since sculpted relief loses crisp detail fastest as the pumpkin dries.

Gather your supplies

Check things off as you get ready.

Work on a stable surface, keep your free hand out of the cutting path, and have an adult handle sharp tools.

Three levels of light

  • Leave intact

    The outer ring of untouched orange skin framing the whole scene stays dark.

  • Peel & shade

    The raised hand, fingers, and nose are peeled to skin depth for a soft orange glow.

  • Cut through

    Nothing is cut through; the deepest wrinkles and eye creases are shaved thinnest for the brightest areas.

Learn the carving basics

Before you start cutting

There are no cut-through holes, so how does it light up?

All the light comes from thinning the wall to different depths, not from open cuts. Skin-peeled areas glow dim orange and the thinnest wrinkles glow brightest, while untouched skin stays dark. An LED behind an even one-inch wall makes these value differences pop.

How do I keep the fingers from looking flat or breaking off?

Because this is relief sculpting, the fingers are ridges attached to the palm and the pumpkin surface, so nothing can snap off like a cut piece would. Give each finger a rounded top and a shallow shadow valley beside it to create depth. Vary the height slightly so overlapping fingers read clearly.

Should I sculpt the wrinkles or the big shapes first?

Always rough out the large forms first: the overall hand, nose, brow, and mouth masses. Get those proportions and depths right before adding any fine lines. If you carve wrinkles too early you will likely shave them away while adjusting the big shapes.

Your take belongs here, too.

Changed a detail? Made it simpler? Share a photo of your version and tell the community what worked.

Share your pumpkin

More pumpkins like this

You've reached the end · 8 pumpkins
The Patch Report

Fresh pumpkins, in your inbox.

The best new carvings, ideas worth stealing, and how-tos for carving season. Short, seasonal, and gone by November.

A short email during carving season. Unsubscribe anytime. See our privacy policy.