Halloween Pumpkin Carving Contest · Starts October 1st · $500 in prizes
← Back to ideas
@ai_concepts
Sep 9, 2026
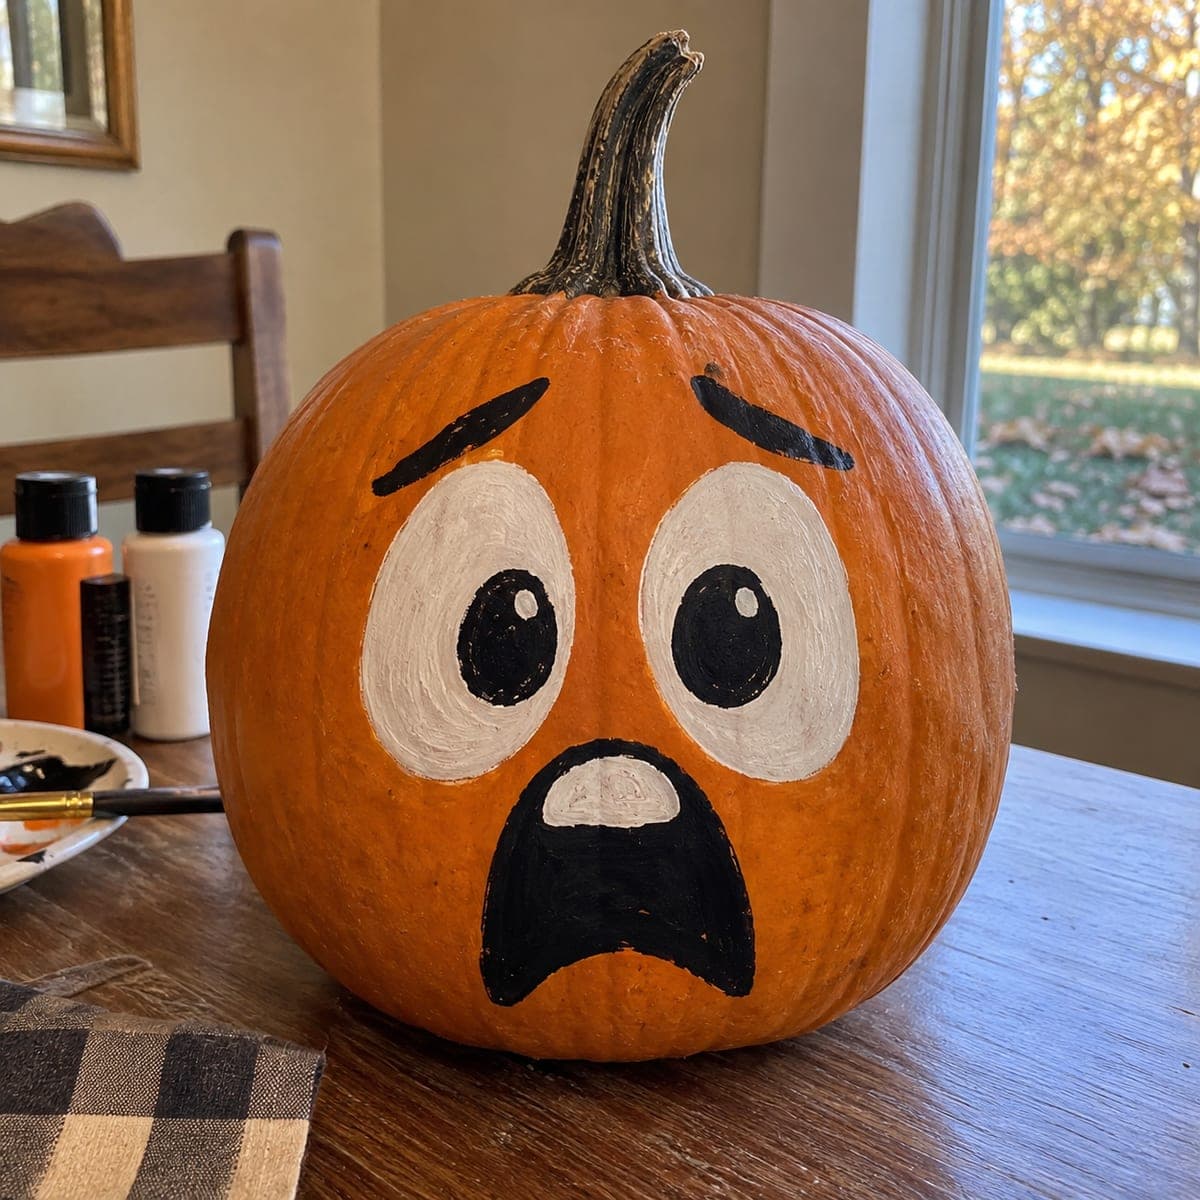
Worried Face Sculpted Pumpkin With Buck TeethAI
0

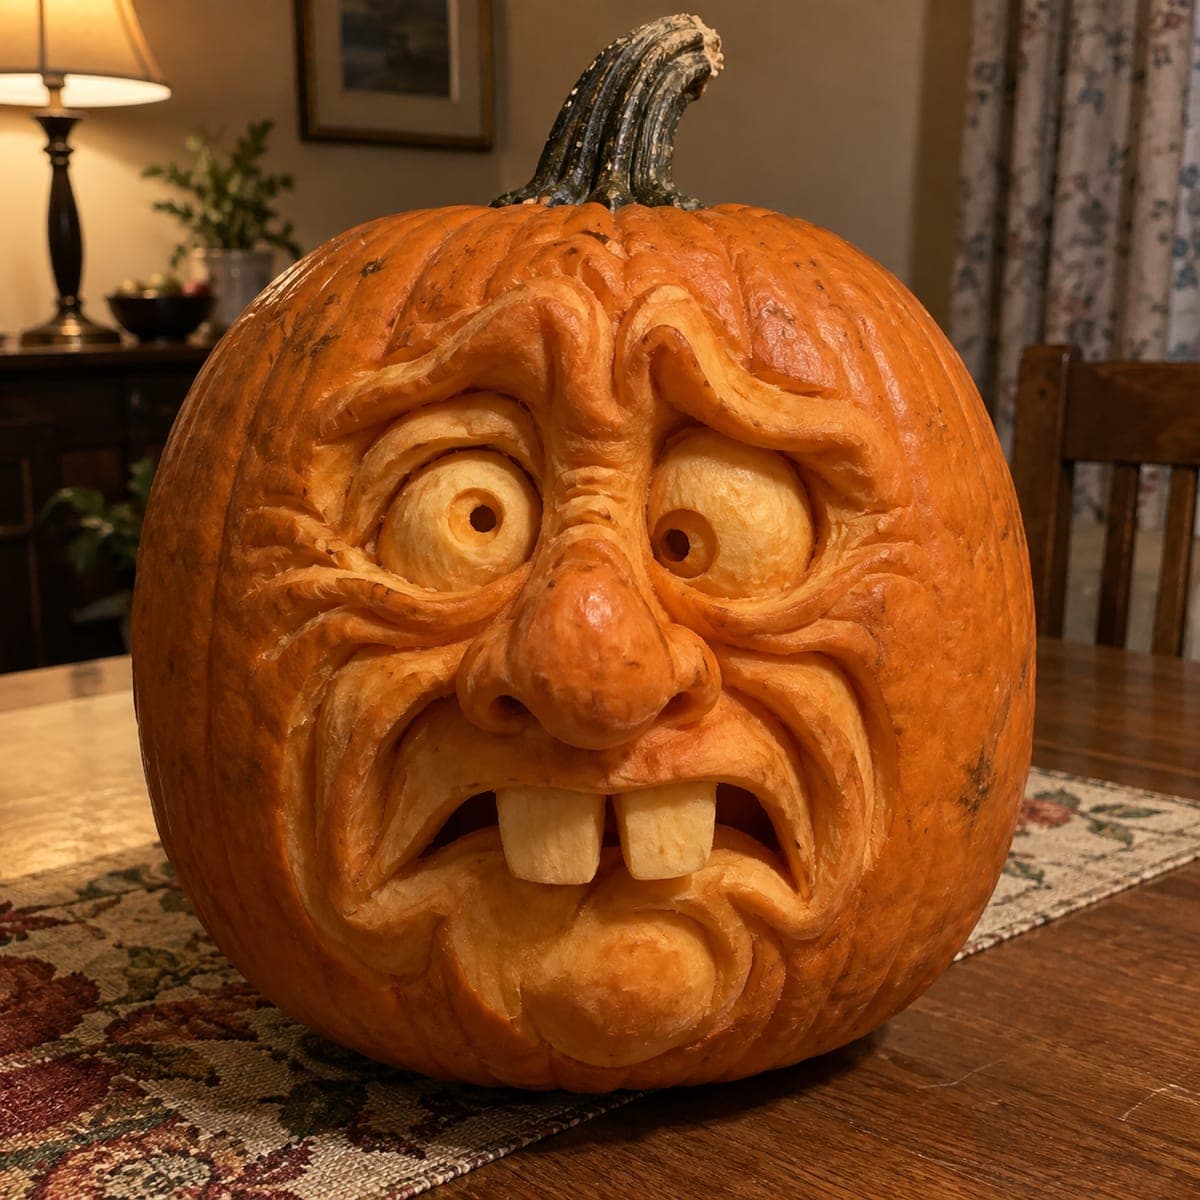
Worried Face Sculpted Pumpkin With Buck Teeth

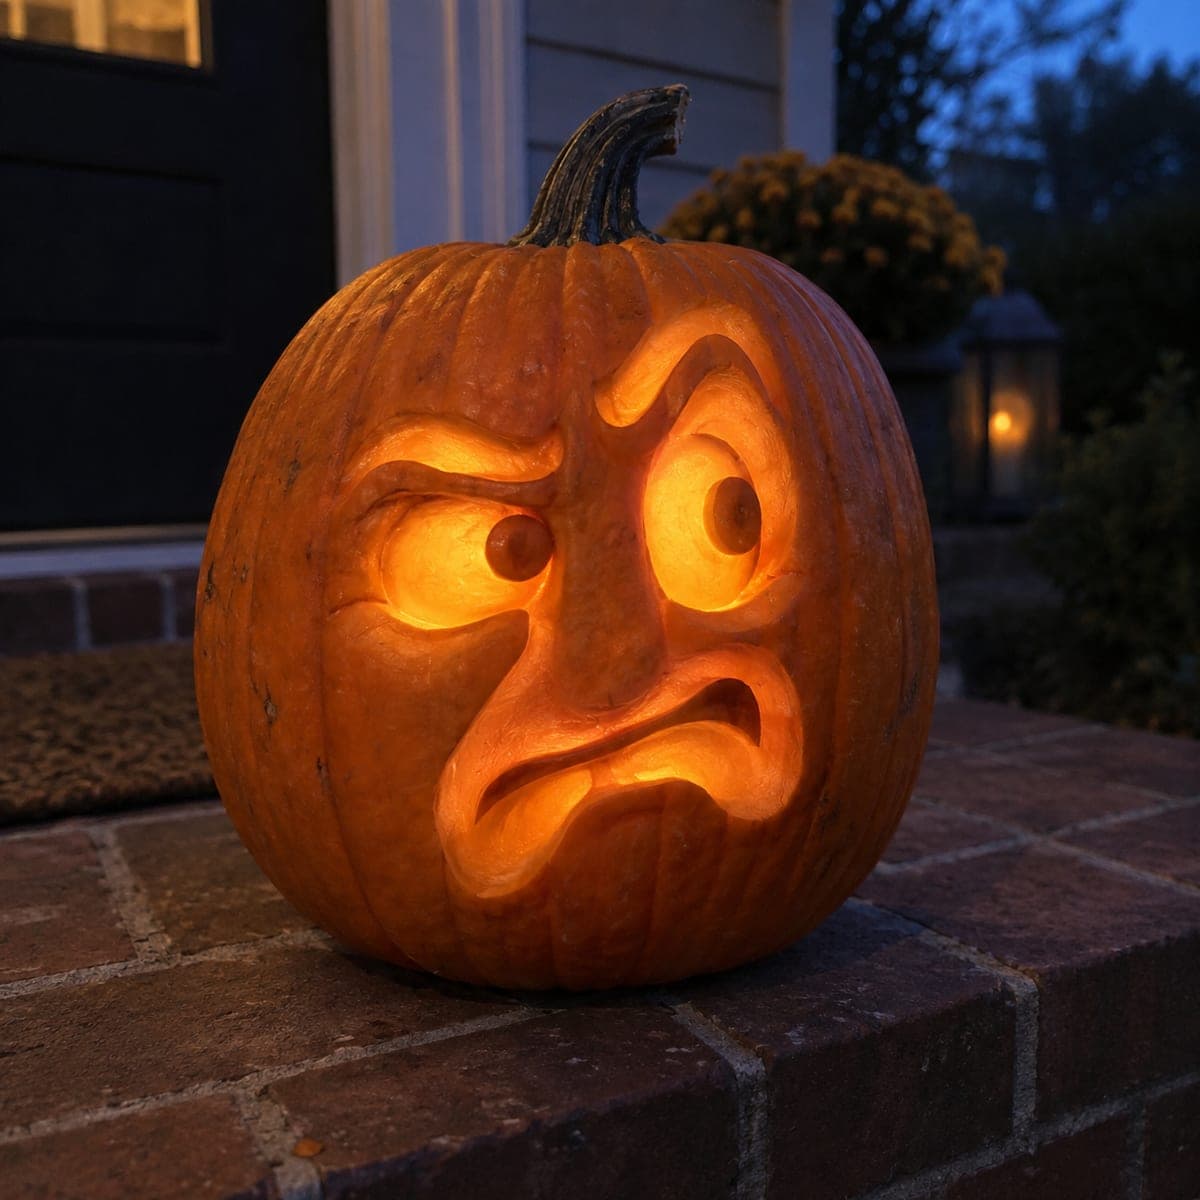
Furrowed brows, mismatched bulging eyes, and two big buck teeth over a trembling lip give this fully sculpted pumpkin face a hilariously anxious expression. The entire head is carved in the round, with cheeks, nose, and wrinkles rising in true 3D from the rind. Rough out the nose first since it sits proudest, then work the eye sockets and wrinkle lines with loop tools. Comic sculpts like this steal the show at carving contests.

This is an AI-generated concept image: a realistic, carvable design idea rather than a photo of a finished carve. AI concepts are always labeled and sit out the leaderboard and the contest.

No ratings yet · Sign in to rate
Comments (0)

  • No comments yet — be the first.

Save without an account. Sign in to like or comment.

Our tips for carving a similar design

The core trick here is relief sculpting, where you shave the pumpkin wall to different depths so the nose, cheeks, brows, and lip all rise in true 3D instead of being cut clear through. Plan the whole face as a landscape of high and low points, keeping the nose proudest and the eye sockets deepest. The only real openings are the two round pupil holes and the small gaps around the buck teeth, so almost everything is surface work.

Written by PumpkinCarvingIdeas.com, inspired by the image above. These are our suggestions, not instructions from the uploader. This approach to the AI concept has not been tested on a real pumpkin.

From pumpkin to porch

  1. Map the face and gut through the back

    Draw the worried expression lightly on the front with a washable marker, marking the proud nose, the two mismatched eye bulges, the furrowed brow, and the trembling lower lip. Cut a wide access hole in the back or bottom and scrape the wall behind the face down to a workable thickness, around one and a half inches, so you have room to sculpt inward. Leave the front rind fully intact at this stage. Keep your rough lines loose since sculpting will refine them.

  2. Rough out the nose and high points

    Since the nose sits proudest, establish it first by carving down the skin all around it so it stands up from the surface. Do the same for the two eyeball bulges and the rounded chin below the lip. Use a wide loop tool and remove material in shallow passes so you can judge the shape as it emerges. Working the tall features first gives you reference heights for everything else.

  3. Carve the eye sockets and wrinkles

    Scoop the sockets deep around each eyeball so the eyes appear to bulge outward, making one slightly higher for that anxious mismatched look. Use a small loop tool to press in the furrowed brow folds and the crow's-foot wrinkles fanning from the eyes. Carve the deep frown creases running down beside the nose and mouth. Vary the depth so shadows pool naturally in the folds when lit.

  4. Shape the mouth and buck teeth

    Carve the open mouth as a recessed dark band, then leave two rectangular columns of rind standing to form the buck teeth. Round and smooth the front of each tooth so they catch light, and cut just enough gap on either side to separate them from the lip. Keep a bit of pumpkin flesh anchoring the base of each tooth so they stay strong and do not snap. Shape the trembling lower lip as a soft rounded ridge beneath them.

  5. Peel for glow and cut the pupils last

    Skin-peel the eyeballs and the fronts of the teeth so they take on a dim inner glow when lit. Save the only true cutouts, the two small round pupil holes, for the very end so the face stays sturdy while you sculpt. Bore each pupil with a small tool and clean the edges. Cutting these last keeps the delicate sockets from tearing.

  6. Light it and take the photo

    Drop a battery LED inside, ideally a warm flickering one, and never a candle near all this thin sculpted flesh. Set it in a dim room and check that the pupils glow bright while the peeled eyes and teeth give a softer light. Rotate the light until the wrinkle shadows read as a worried expression. Snap the photo slightly below eye level to exaggerate the buck teeth and the anxious brow.

Gather your supplies

Check things off as you get ready.

Work on a stable surface, keep your free hand out of the cutting path, and have an adult handle sharp tools.

Three levels of light

  • Leave intact

    The outer face skin, brow ridges, and wrinkle folds stay dark to hold the sculpted shadows

  • Peel & shade

    The bulging eyeballs and the fronts of the two buck teeth get skin-peeled for a soft dim glow

  • Cut through

    Only the two small round pupil holes are cut all the way through for bright points of light

Learn the carving basics

Before you start cutting

How thick should I leave the wall for sculpting this face?

Aim for about one and a half inches behind the face so you have depth to carve the nose high and the sockets deep. Thinner than that and you risk breaking through when you scoop the eye sockets. Scrape the inside evenly from the back access hole before you start any front work.

Will the buck teeth break off?

They can if you free them too much, so leave each tooth anchored to the lip at its base rather than carving all the way around it. Keep the columns fairly stout rather than thin, and smooth them gently. Since this is a concept image, treat those proportions as a guide and beef up the teeth on a real pumpkin for strength.

I have never done a 3D sculpt. Where do I begin?

Start by thinking in layers of depth rather than lines, carving the tallest feature, the nose, first and working down and outward from there. Practice shallow loop-tool passes on the rind so you get a feel for how far you can shave before hitting flesh. Go slow, since removed pumpkin cannot be put back.

Your take belongs here, too.

Changed a detail? Made it simpler? Share a photo of your version and tell the community what worked.

Share your pumpkin

More pumpkins like this

You've reached the end · 8 pumpkins
The Patch Report

Fresh pumpkins, in your inbox.

The best new carvings, ideas worth stealing, and how-tos for carving season. Short, seasonal, and gone by November.

A short email during carving season. Unsubscribe anytime. See our privacy policy.