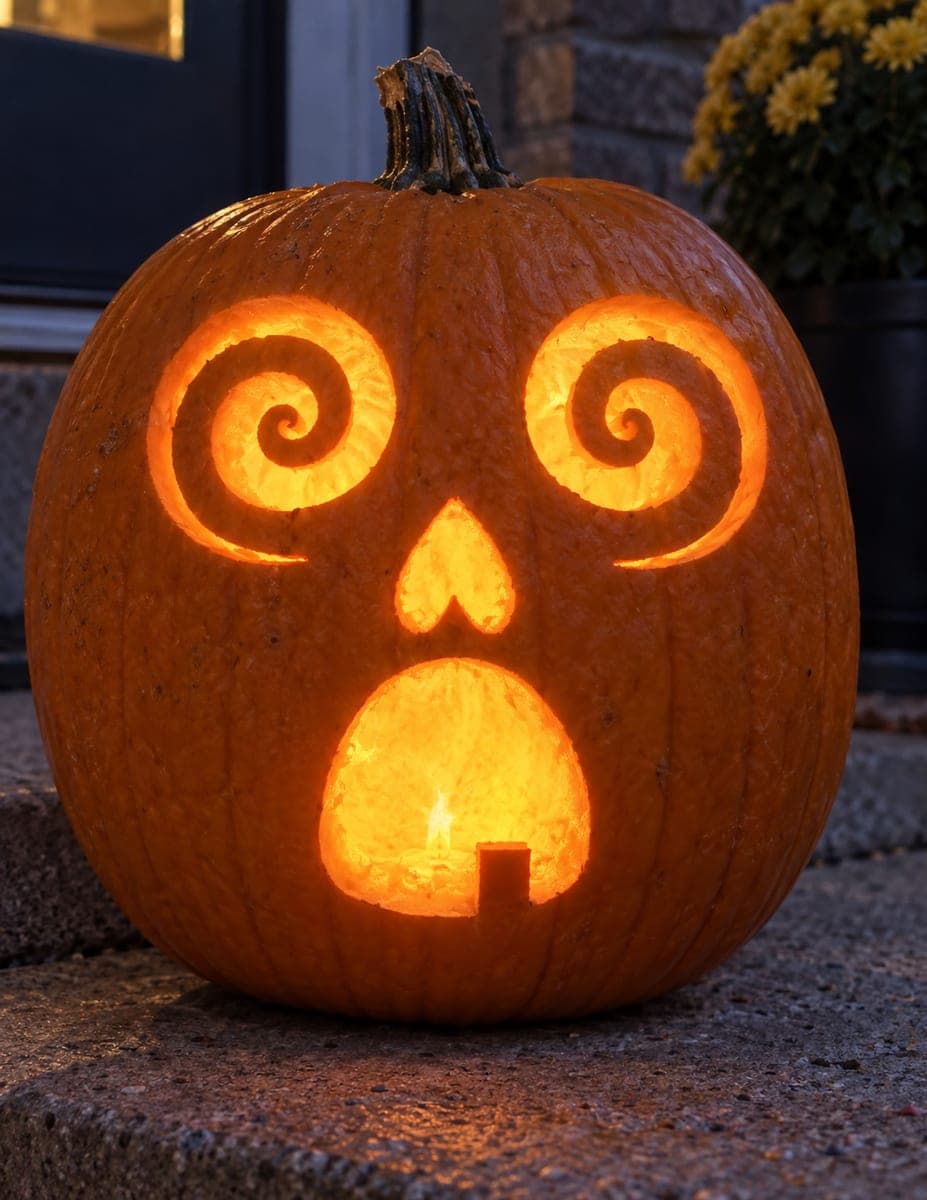
Halloween Pumpkin Carving Contest · Starts October 1st · $500 in prizes
← Back to ideas
@ai_concepts
Aug 2, 2026

Laughing Three-Dimensional Face Pumpkin SculptureAI
0

Laughing Three-Dimensional Face Pumpkin Sculpture

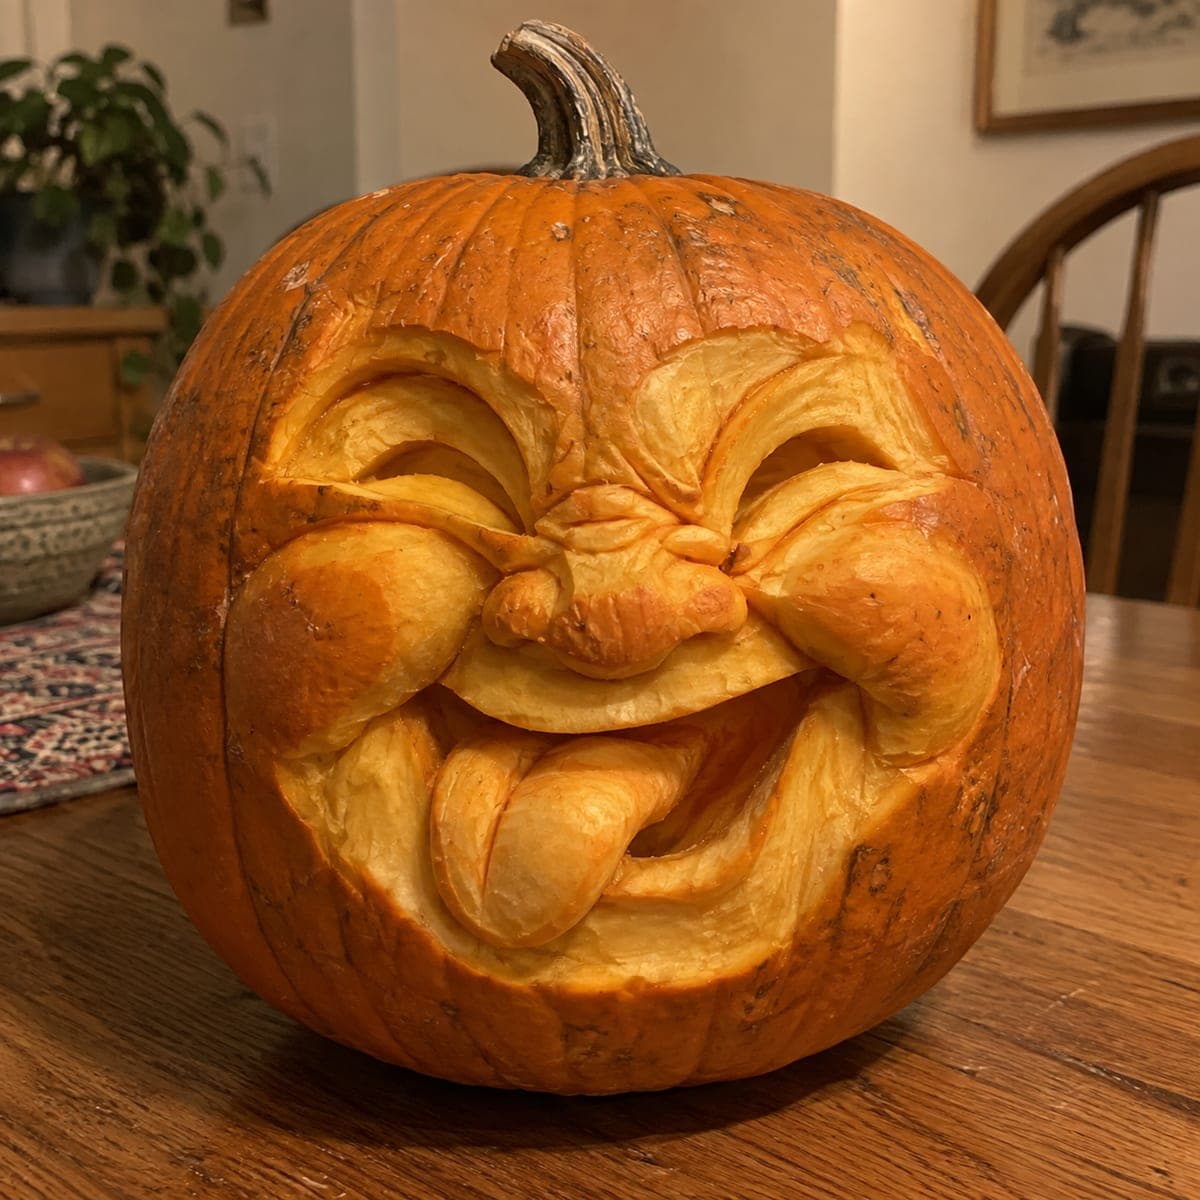
This laughing pumpkin face is sculpted in full three dimensions, with puffed cheeks, squinting eyes, and a wide-open mouth cradling a real candle. Deep knife work rounds every form, and the thin-shaved eyelids and teeth glow warmly at dusk. Rough out the features with a paring knife, then smooth the curves with a spoon or clay rib. Set the votive in the mouth on a bed of foil to protect the flesh.

This is an AI-generated concept image: a realistic, carvable design idea rather than a photo of a finished carve. AI concepts are always labeled and sit out the leaderboard and the contest.

No ratings yet · Sign in to rate
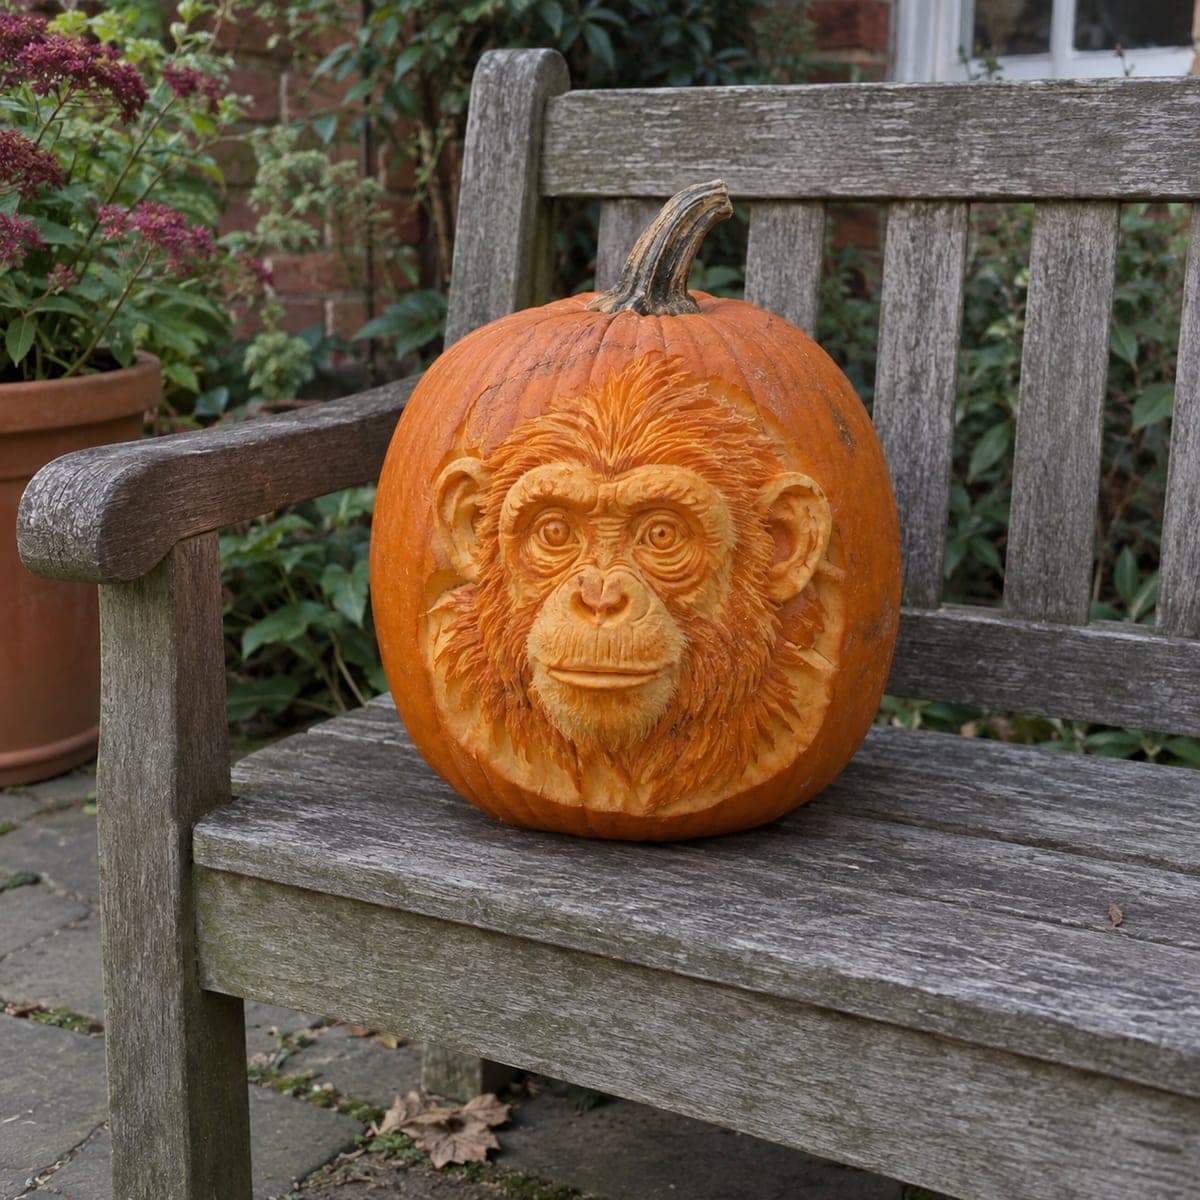
Comments (0)

  • No comments yet — be the first.

Save without an account. Sign in to like or comment.

Our tips for carving a similar design

The trick here is relief sculpting rather than flat cutting, so you carve into the pumpkin wall at different depths instead of punching straight through it. Puffed cheeks, squinting eyes, and heavy brows are all rounded forms shaved from the flesh, while only the mouth opening and eye slits are fully cut through for light. Plan for a thick, ripe pumpkin so you have plenty of wall to sculpt without breaking through.

Written by PumpkinCarvingIdeas.com, inspired by the image above. These are our suggestions, not instructions from the uploader. This approach to the AI concept has not been tested on a real pumpkin.

From pumpkin to porch

  1. Pick a big pumpkin and open the base

    Choose a large, evenly round pumpkin with a thick wall, since sculpting eats into the flesh. Cut an access hole in the bottom rather than the top so the stem stays intact and the pumpkin sits flat. Scoop the inside clean and thin the front wall to about an inch and a half where the face will be. An adult should handle all the cutting.

  2. Draw and rough out the face

    Sketch the whole grin in marker first: two squinting eyes, a rounded nose, puffed cheeks, and the wide open smile. With a small paring knife, score the outlines only, cutting shallow so you do not go through the wall yet. This gives you a map before any deep work begins. Step back often to check that both cheeks feel balanced.

  3. Sculpt the rounded forms

    Now shave the flesh back around the brows, cheeks, and nose so each shape stands proud of the surface. Use a loop tool, spoon, or clay rib to round every edge into a smooth curve, working slowly and lowering broad areas before defining details. Leave the nose and cheeks thickest so they stay strong and catch light softly. Keep the brow ridges connected to the surrounding flesh so nothing snaps off.

  4. Shade the eyelids and teeth

    Skin-peel the thin eyelid slivers and the row of teeth by scraping off just the orange skin to reveal the pale flesh underneath. Shave these areas thin enough to glow but leave a little thickness so they hold their shape. Keep the teeth as one connected band or leave small bridges between them rather than free cuts. This is the shading step that makes the face come alive at dusk.

  5. Cut the openings last

    Once all the sculpting is done, cut fully through the two eye slits and the open mouth. Save the mouth for last since it is the biggest hole and weakens the front wall. Angle your knife slightly inward so the light spills out toward the viewer. Trim the inside lip of the mouth thin from behind so it glows warmly.

  6. Light it and photograph at dusk

    Skip the open flame and set a battery LED tea light or two inside for safe, steady glow. If you want the candle-in-the-mouth look from the image, use a flameless LED votive resting on a small square of foil to keep the flesh clean. Photograph just after sunset when the blue sky still lingers behind the warm glow. Mist the cut edges with water and refrigerate overnight to keep the face fresh.

Gather your supplies

Check things off as you get ready.

Work on a stable surface, keep your free hand out of the cutting path, and have an adult handle sharp tools.

Three levels of light

  • Leave intact

    The outer cheeks, forehead, and brow ridges keep their skin and stay dark to read as rounded, shadowed forms.

  • Peel & shade

    The thin eyelids, the crease under each eye, and the row of teeth are skin-peeled for a soft mid glow.

  • Cut through

    The two eye slits and the wide open mouth are cut all the way through for the brightest light.

Learn the carving basics

Before you start cutting

How thick should I leave the front wall for sculpting?

Aim for about an inch and a half so you have room to carve valleys and leave raised cheeks and nose. Thinner than that and the puffed forms lose their depth and can tear. A dense, freshly picked pumpkin holds detail far better than a soft one.

Can I really put a candle in the mouth like the picture?

For safety, use a flameless LED votive instead of a real flame, especially resting near the lower lip. If you want that seated-candle look, set the LED on a small square of foil inside the mouth. It gives the same warm pool of light without any scorching or fire risk.

How do I keep the teeth from breaking?

Do not cut all the way around each tooth. Instead, skin-peel the tooth band and leave small bridges of flesh connecting the teeth to the lip above and below. Those bridges keep the row strong while still letting light glow through the thinned skin.

Your take belongs here, too.

Changed a detail? Made it simpler? Share a photo of your version and tell the community what worked.

Share your pumpkin

More pumpkins like this

You've reached the end · 8 pumpkins
The Patch Report

Fresh pumpkins, in your inbox.

The best new carvings, ideas worth stealing, and how-tos for carving season. Short, seasonal, and gone by November.

A short email during carving season. Unsubscribe anytime. See our privacy policy.