Halloween Pumpkin Carving Contest Β· Starts October 1st Β· $500 in prizes
← Back to ideas
@ai_concepts
Sep 13, 2026
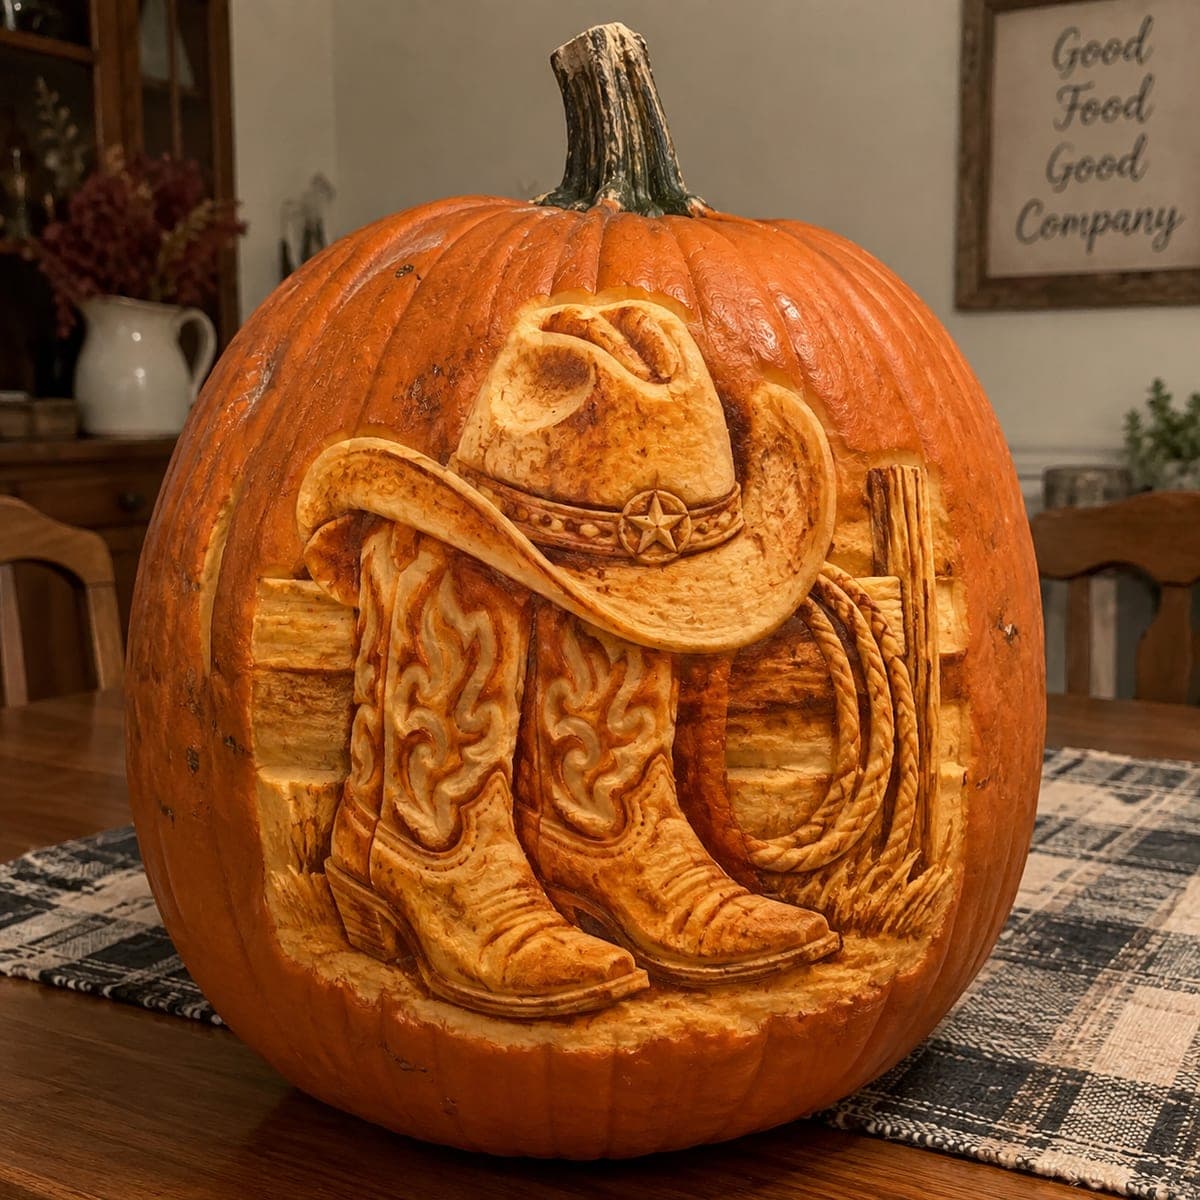
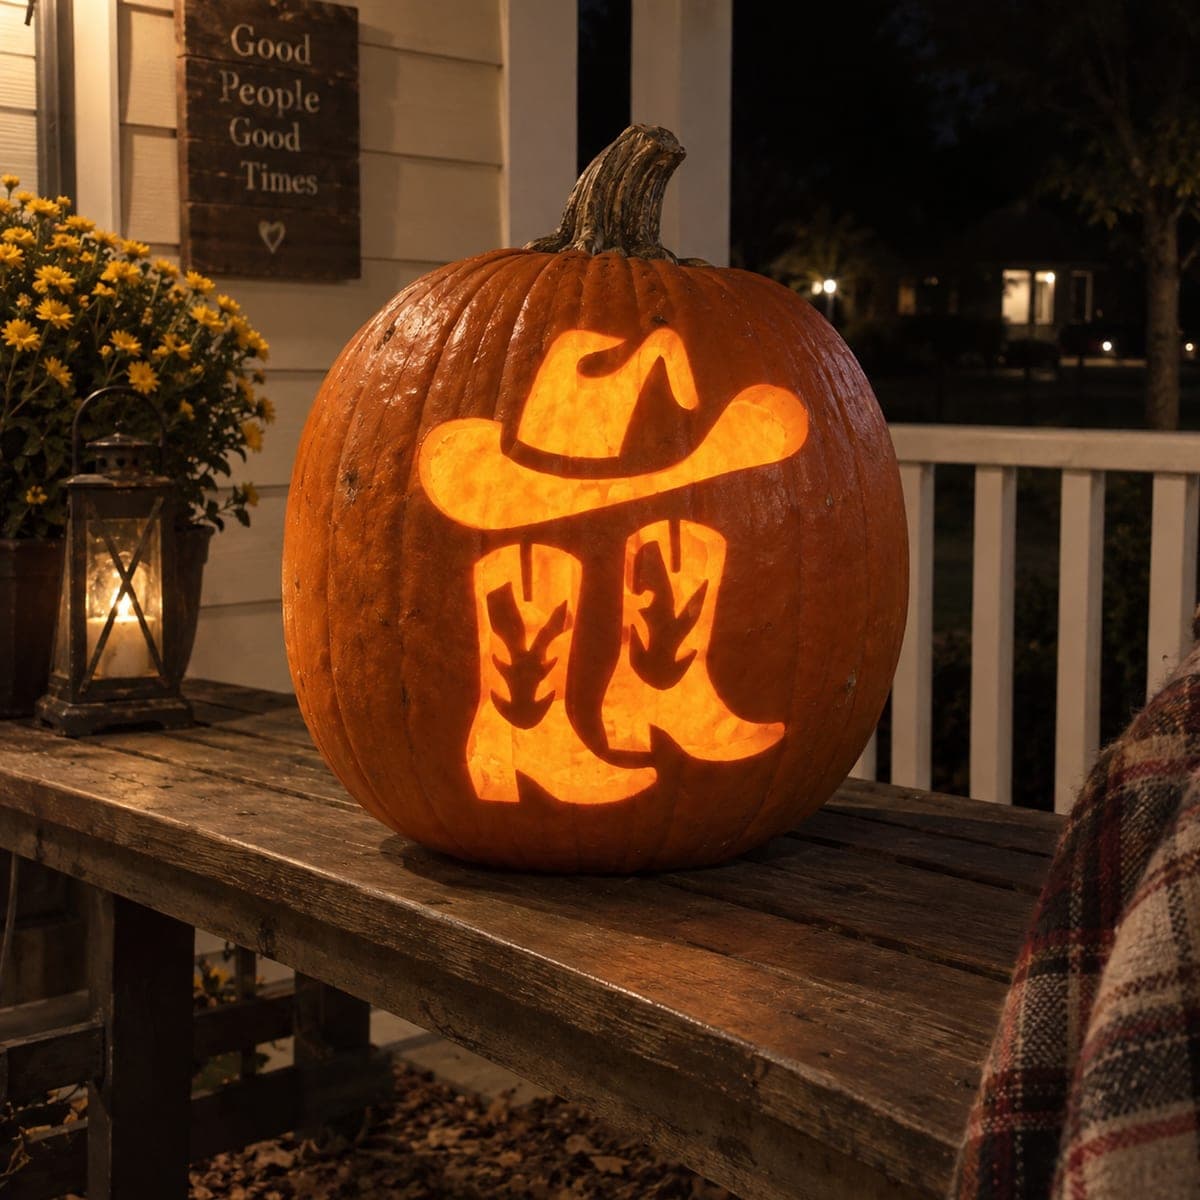
Cowboy Boots and Hat Sculpted Western PumpkinAI
0

Cowboy Boots and Hat Sculpted Western Pumpkin

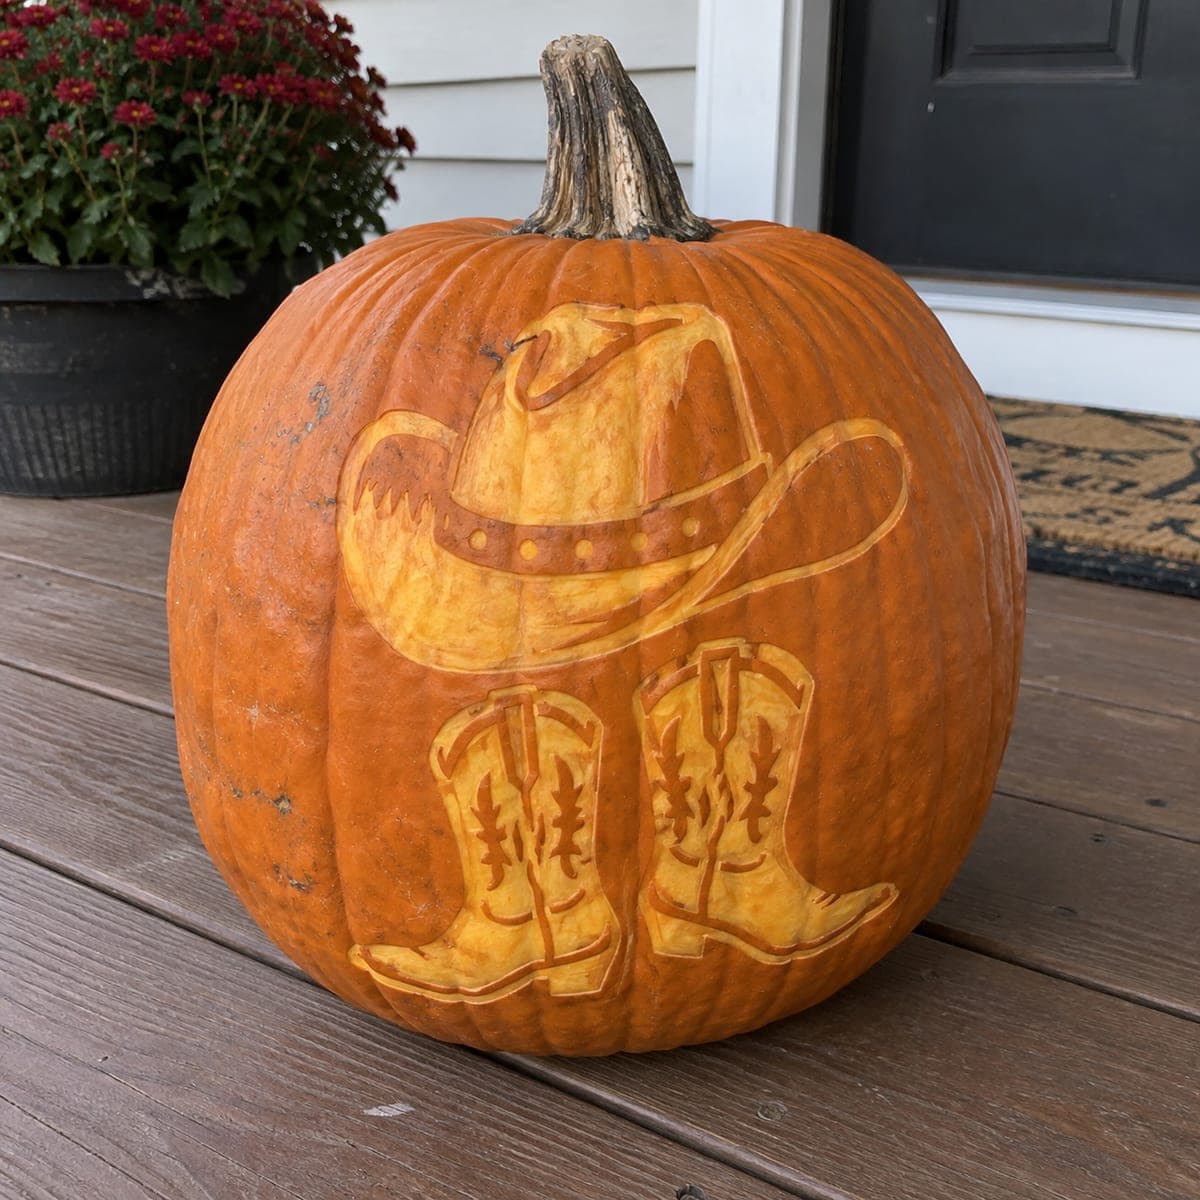
A pair of tooled cowboy boots stands against fence rails beneath a star-buckled hat, with a coiled lariat rope hanging alongside, all sculpted in deep relief on one oversized pumpkin. The western scrollwork on the boot shafts is incised with a V-tool after the main shapes are rounded. Establish the fence background depth first so the boots and hat clearly sit in front. Perfect for a ranch wedding, barn dance, or country-themed fall porch.

This is an AI-generated concept image: a realistic, carvable design idea rather than a photo of a finished carve. AI concepts are always labeled and sit out the leaderboard and the contest.

No ratings yet Β· Sign in to rate

Comments (0)

  • No comments yet β€” be the first.

Save without an account. Sign in to like or comment.

Our tips for carving a similar design

This design is built entirely from surface relief rather than cut-through openings, so the trick is layering depth: the fence rails sit deepest, the boots and hat come forward, and thin shading brings out the tooled scrollwork. Since this is an AI concept image and no real pumpkin exists, the notes below describe how you could carve a similar scene on a large, thick-walled pumpkin. Skin-peeling and shaving do all the work, so plan your depths before you touch a blade.

Written by PumpkinCarvingIdeas.com, inspired by the image above. These are our suggestions, not instructions from the uploader. This approach to the AI concept has not been tested on a real pumpkin.

From pumpkin to porch

  1. Pick a big pumpkin and transfer the scene

    Choose an oversized pumpkin with a broad, fairly flat front face and thick walls, which gives you room to sculpt without breaking through. Clean the front but leave the guts mostly intact, since relief carving needs solid flesh behind the design. Tape your stencil down and trace the outlines of the boots, hat, rope, and fence rails with a poker or transfer tool. Step back and check that the whole scene fits comfortably before you start cutting.

  2. Set the fence background depth first

    Using a ribbon or loop tool, shave down the background around and between the fence rails so the rails read as separate boards. Keep this layer the deepest part of your scene so everything else can sit in front of it. Work slowly and check your wall thickness often, stopping well before you reach the hollow center. Leaving the background lower instantly makes the boots and hat pop forward.

  3. Rough out the boots and hat as raised masses

    Peel the skin off the boots, hat, and coiled rope, then round their edges with a shaving tool so they look three dimensional. Slightly undercut the outlines of the boots and hat brim so shadows form beneath them and they separate from the background. Keep the hat brim thick where it overlaps the boot tops so it stays strong. Take your time rounding the toes and heels, since gentle curves catch the light best.

  4. Incise the scrollwork and rope detail

    With a small V-tool, carve the western scrollwork into the boot shafts using shallow, controlled strokes. Add the stitch lines, heel stacks, and the twist of the coiled lariat the same way. For the star buckle on the hat band, outline the star and shave a shallow recess around it so it stands slightly proud. Keep these cuts shallow, since they are meant to catch light, not punch through.

  5. Shade with graduated skin peeling

    Vary your depth to create tone: leave a little skin for the darkest accents, peel to a thin layer for mid glow, and shave nearly to the wall for the brightest highlights. Feather the transitions so the boot leather and hat felt look smooth. Wipe away shavings and hold a light behind or beside the pumpkin to preview how the tones read. Refine any flat spots that look muddy.

  6. Light it and photograph

    Set a battery LED puck or string inside, since an open flame can scorch thin relief and dry it out fast. Warm white light suits this rustic scene and mimics the glow in the concept image. Rub the cut surfaces with a little petroleum jelly to slow browning and keep the detail crisp for a few days. Shoot photos in a dim room at dusk for the best contrast.

Gather your supplies

Check things off as you get ready.

Work on a stable surface, keep your free hand out of the cutting path, and have an adult handle sharp tools.

Three levels of light

  • Leave intact

    Untouched skin holds the darkest accents, like the deep shadows under the hat brim and the seams between fence rails.

  • Peel & shade

    Thinly peeled skin gives the boot leather, hat felt, and rope their warm mid glow.

  • Cut through

    There are no full cutouts here; the brightest points are spots shaved nearly to the wall on the boot highlights and star buckle.

Learn the carving basics

Before you start cutting

Do I need to cut all the way through anywhere?

No, this is a pure relief design, so nothing should be cut through to the hollow. All the depth comes from shaving skin and flesh to different levels. Keep a solid wall behind everything so the sculpture stays strong.

How do I keep the thin scrollwork from looking messy?

Round and smooth the boot shafts fully before you incise anything, then use a sharp V-tool with light, even pressure. Practice the scroll pattern on the back of the pumpkin or a spare one first. Shallow, confident strokes read cleaner than deep, hesitant ones.

Which parts should sit forward and which should stay back?

The fence rails belong deepest, in the background layer. The boots and hat come forward as the main subjects, with the hat brim overlapping the boot tops. Undercutting the front shapes slightly makes those depth differences obvious under light.

Your take belongs here, too.

Changed a detail? Made it simpler? Share a photo of your version and tell the community what worked.

Share your pumpkin

More pumpkins like this

You've reached the end Β· 8 pumpkins
The Patch Report

Fresh pumpkins, in your inbox.

The best new carvings, ideas worth stealing, and how-tos for carving season. Short, seasonal, and gone by November.

A short email during carving season. Unsubscribe anytime. See our privacy policy.