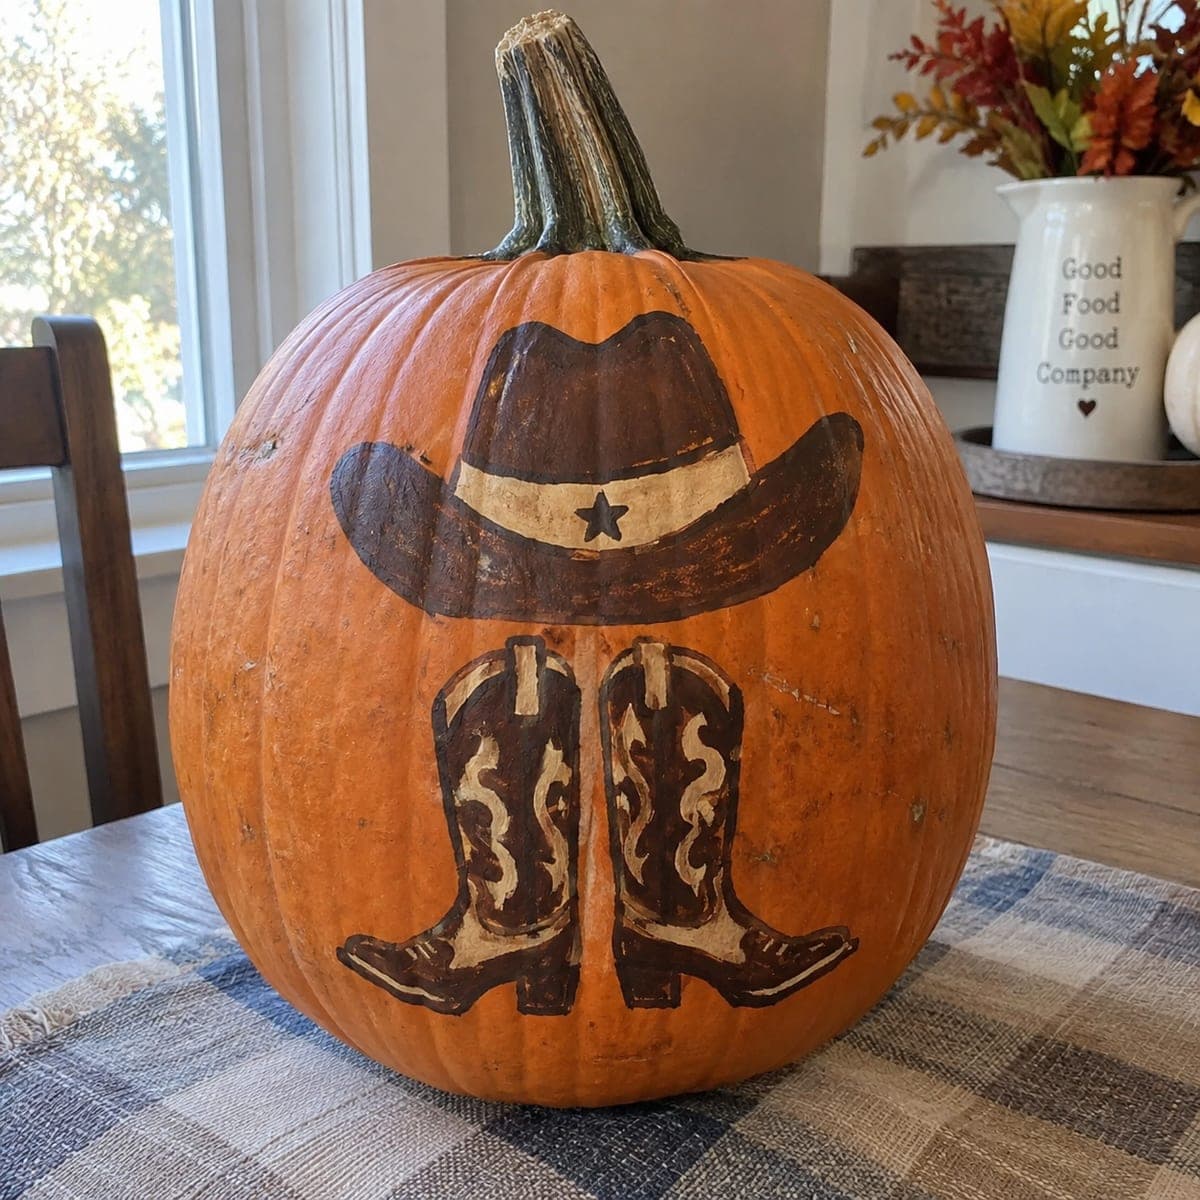
Western charm takes over this no-carve pumpkin, with a painted cowboy hat sporting a star on its band above a pair of stitched leather boots. Brown, cream, and black acrylics build the design, and the decorative bootstitching is added with a fine brush once the base coats dry. Paint the hat and boot silhouettes first, then layer the lighter tooling details on top. A fun pumpkin idea for ranch weddings, rodeo fans, or Texas porches.
This is an AI-generated concept image: a realistic, carvable design idea rather than a photo of a finished carve. AI concepts are always labeled and sit out the leaderboard and the contest.
The whole look rides on layering, dark silhouettes first, then lighter tooling and stitching brushed on top once the base is dry. Block in the hat and both boots as flat brown shapes, let them set, then add the cream band, star, and curling stitch lines with a fine brush. Because nothing gets cut, this design stays sturdy and lasts, so it works as a painted keeper rather than a lit lantern.
Written by PumpkinCarvingIdeas.com, inspired by the image above. These are our suggestions, not instructions from the uploader. This approach to the AI concept has not been tested on a real pumpkin.
From pumpkin to porch
1
Prep and sketch
Wipe the pumpkin clean and dry so paint grabs the skin. Pick a smooth front panel and lightly pencil the hat across the upper third with the two boots below it. Keep the boot tops just under the hat brim so the pieces read as one grouping. Step back and check the spacing before any paint goes down.
2
Block the dark silhouettes
Load a medium flat brush with brown acrylic and fill the full hat shape and both boot shapes as solid color. Let the natural orange stay bright around the edges so the shapes pop. Two thin coats look better than one thick one, and they dry more evenly. Give this layer time to fully dry before moving on so the top details do not smear.
3
Add the light bands and inlays
Switch to cream or off-white paint and a smaller brush. Lay in the hat band across the crown and the pale panels inside the boot fronts and shafts. Keep these lighter areas clean and slightly inset from the brown edges so a thin dark border remains. Let it dry before the fine work.
4
Brush the stitching and star
With a fine liner brush and steady pressure, add the curling boot stitch lines and the seam details in cream. Paint the small star centered on the hat band, then outline the band and brim edges in black to sharpen everything. Rest your painting hand on the table to keep lines smooth. Wipe mistakes fast with a damp cloth before they set.
5
Seal and stage
Once fully dry, a light coat of matte acrylic sealer helps the design shrug off dew on a porch. Set the pumpkin on a plaid runner or wood tray for that ranch feel. Snap your photo in daylight since this is a painted piece, not a lit one. Keep it out of hard rain to protect the acrylic.
Gather your supplies
Check things off as you get ready.
Work on a stable surface, keep your free hand out of the cutting path, and have an adult handle sharp tools.
Three levels of light
Leave intact
The bare orange skin around the hat and boots stays untouched as the background.
Peel & shade
If you adapt this to a lantern, lightly peel the cream band, star, and boot stitching for a soft glow.
Cut through
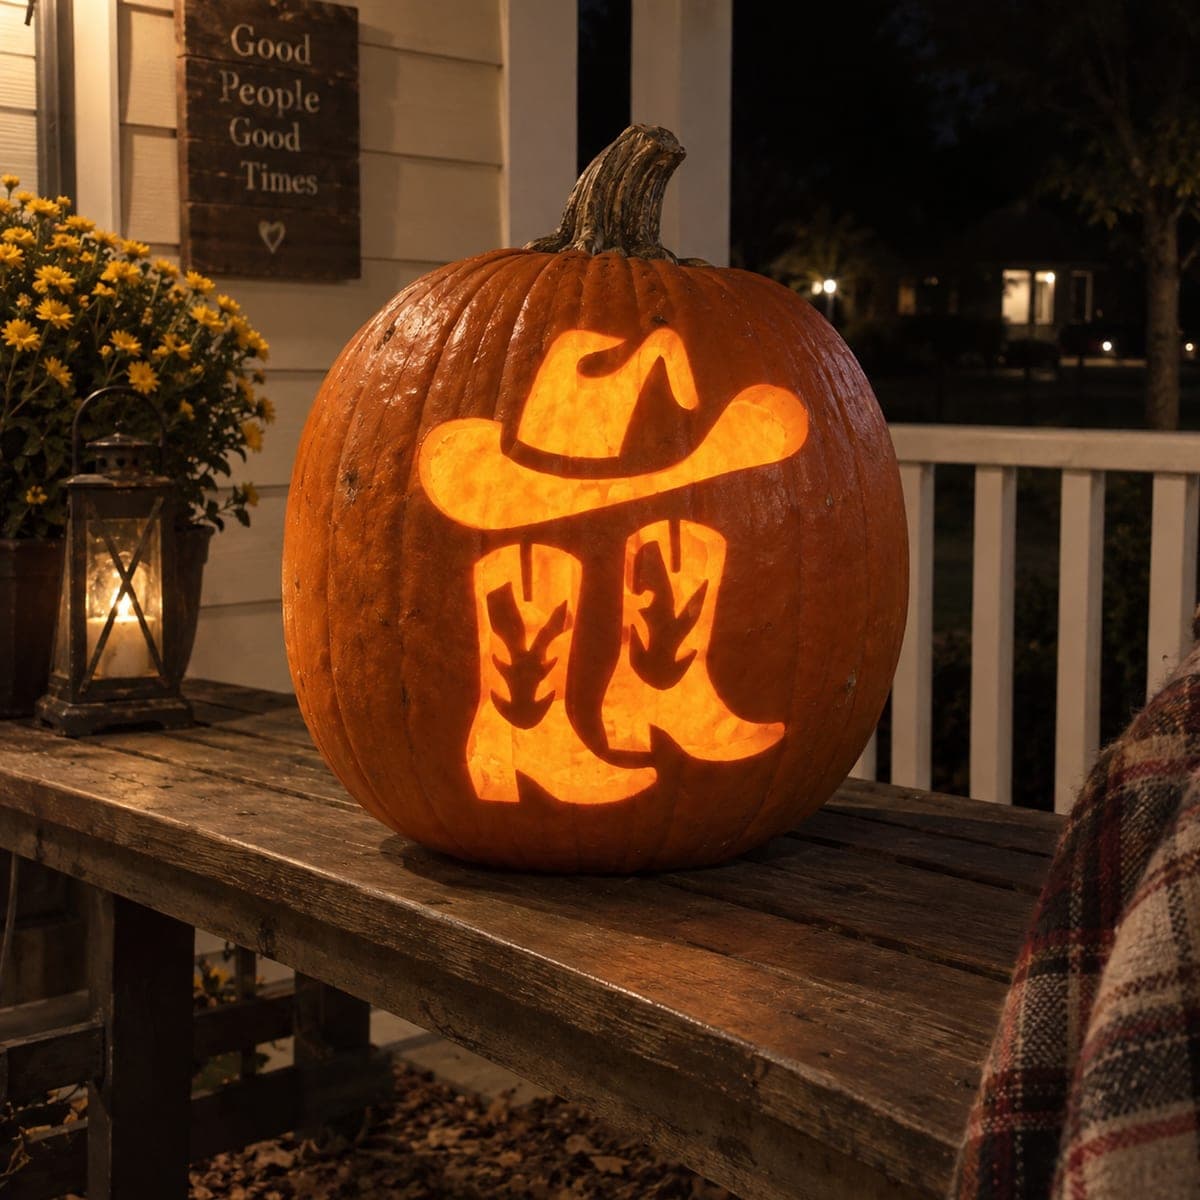
Reserve full cutouts for a single accent like the star if you want one bright point of light.
Since this is a painted design, do I need to hollow the pumpkin?
No, this is a no-carve project, so you can leave it whole and solid. That actually helps it last longer since there is no cut opening to soften and collapse. Just clean and dry the surface well so the acrylic sticks.
How do I keep the fine boot stitching from smearing?
Let each color layer dry completely before adding the next one. The dark silhouette, then the cream panels, then the stitch lines should each set fully. Use a fine liner brush with a light touch and rest your hand on the table for control.
Can I turn this into a glowing carved version instead?
Yes, you could translate the paint into light levels on a real pumpkin. Peel the cream band, star, and stitch lines for a dim glow and leave the brown silhouette as untouched skin. Keep any cutouts small and bridged so the shapes stay attached, and use an LED light rather than a candle.
Your take belongs here, too.
Changed a detail? Made it simpler? Share a photo of your version and tell the community what worked.
 AI
AI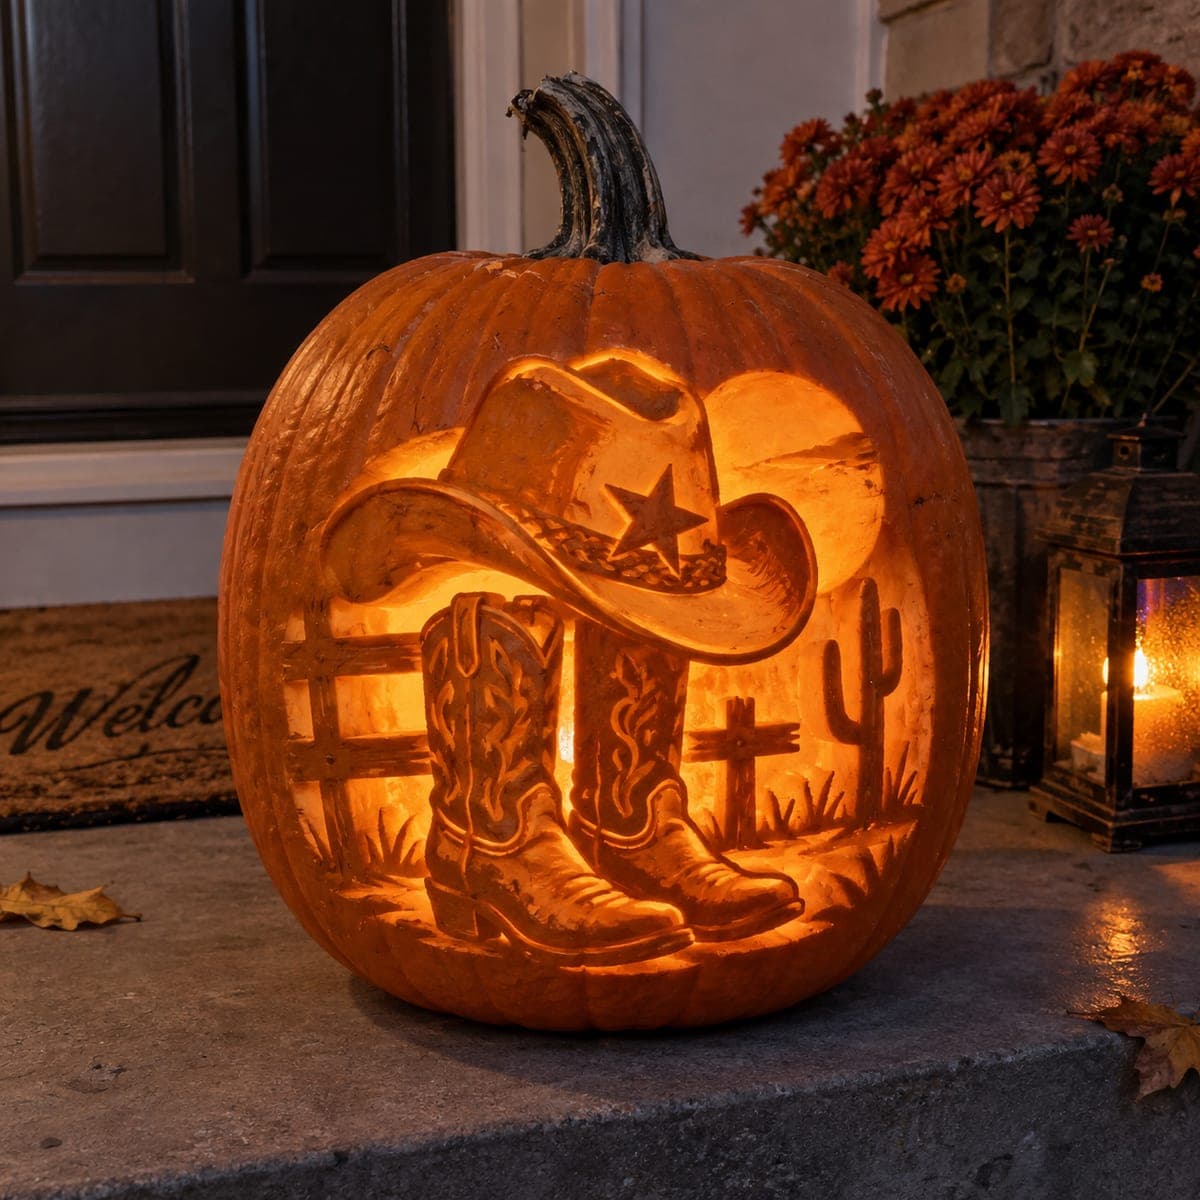





Comments (0)