Halloween Pumpkin Carving Contest · Starts October 1st · $500 in prizes
← Back to ideas
@ai_concepts
Jul 11, 2026
Curious Cow Portrait Glowing Pumpkin CarvingAI
0

Curious Cow Portrait Glowing Pumpkin Carving

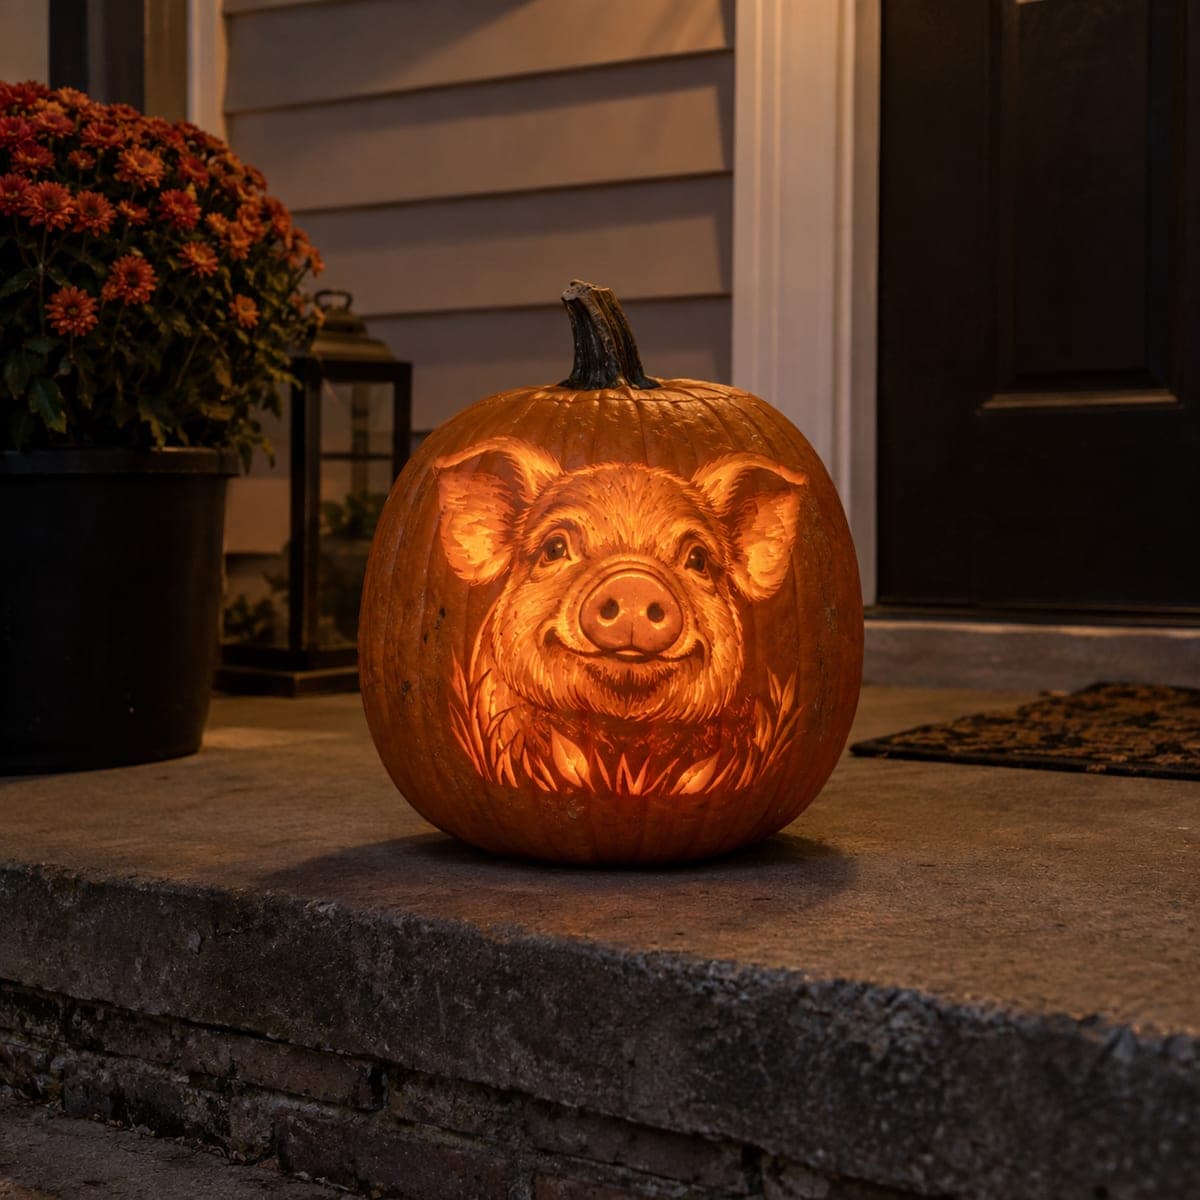
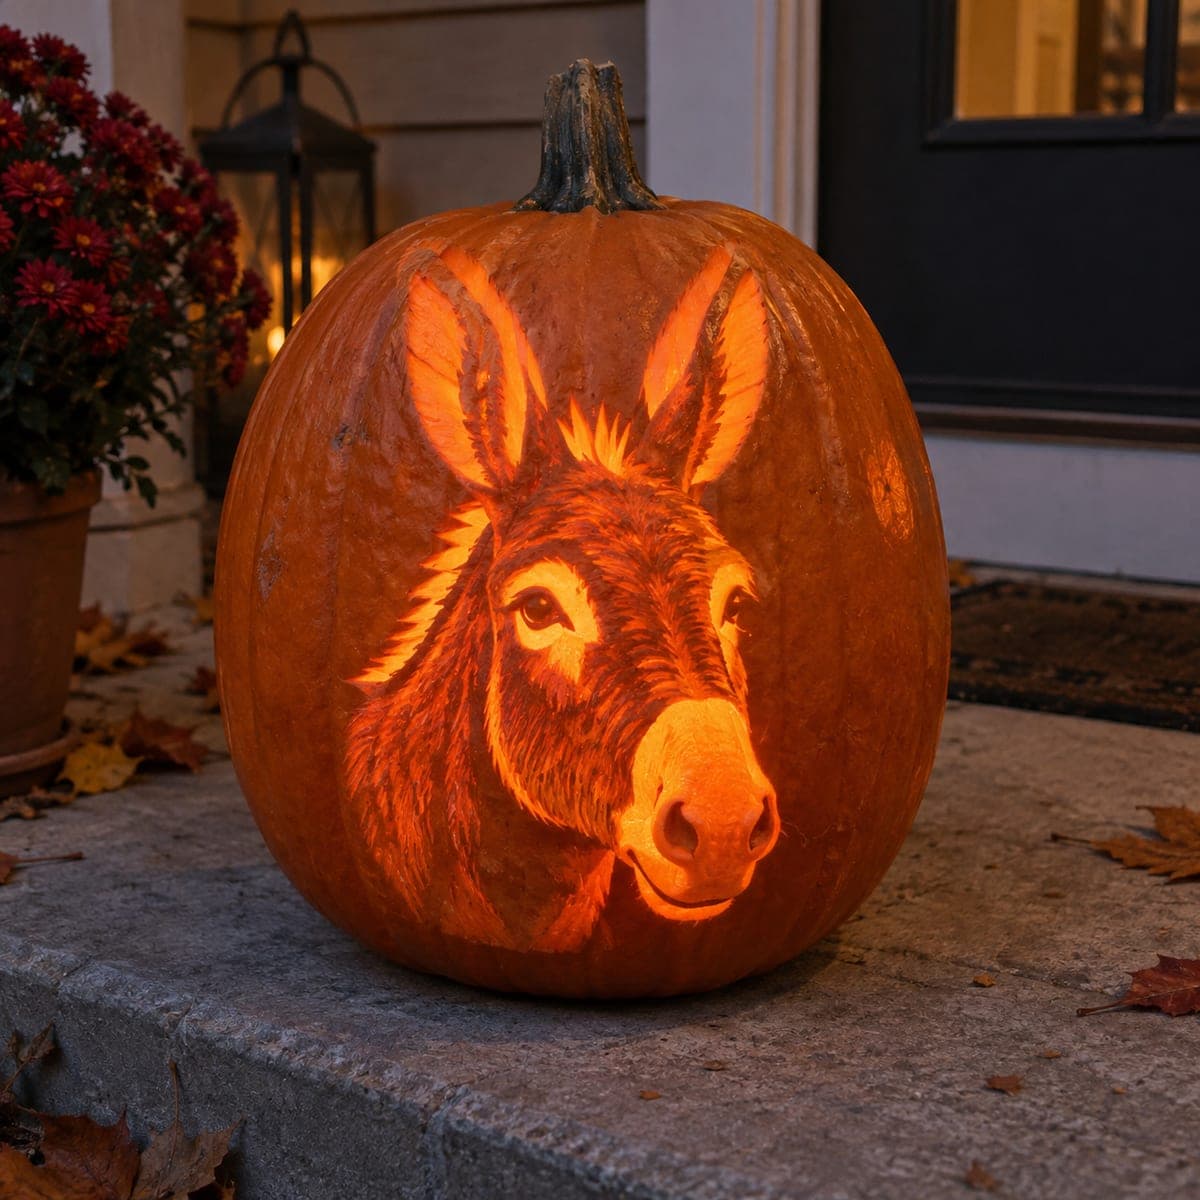
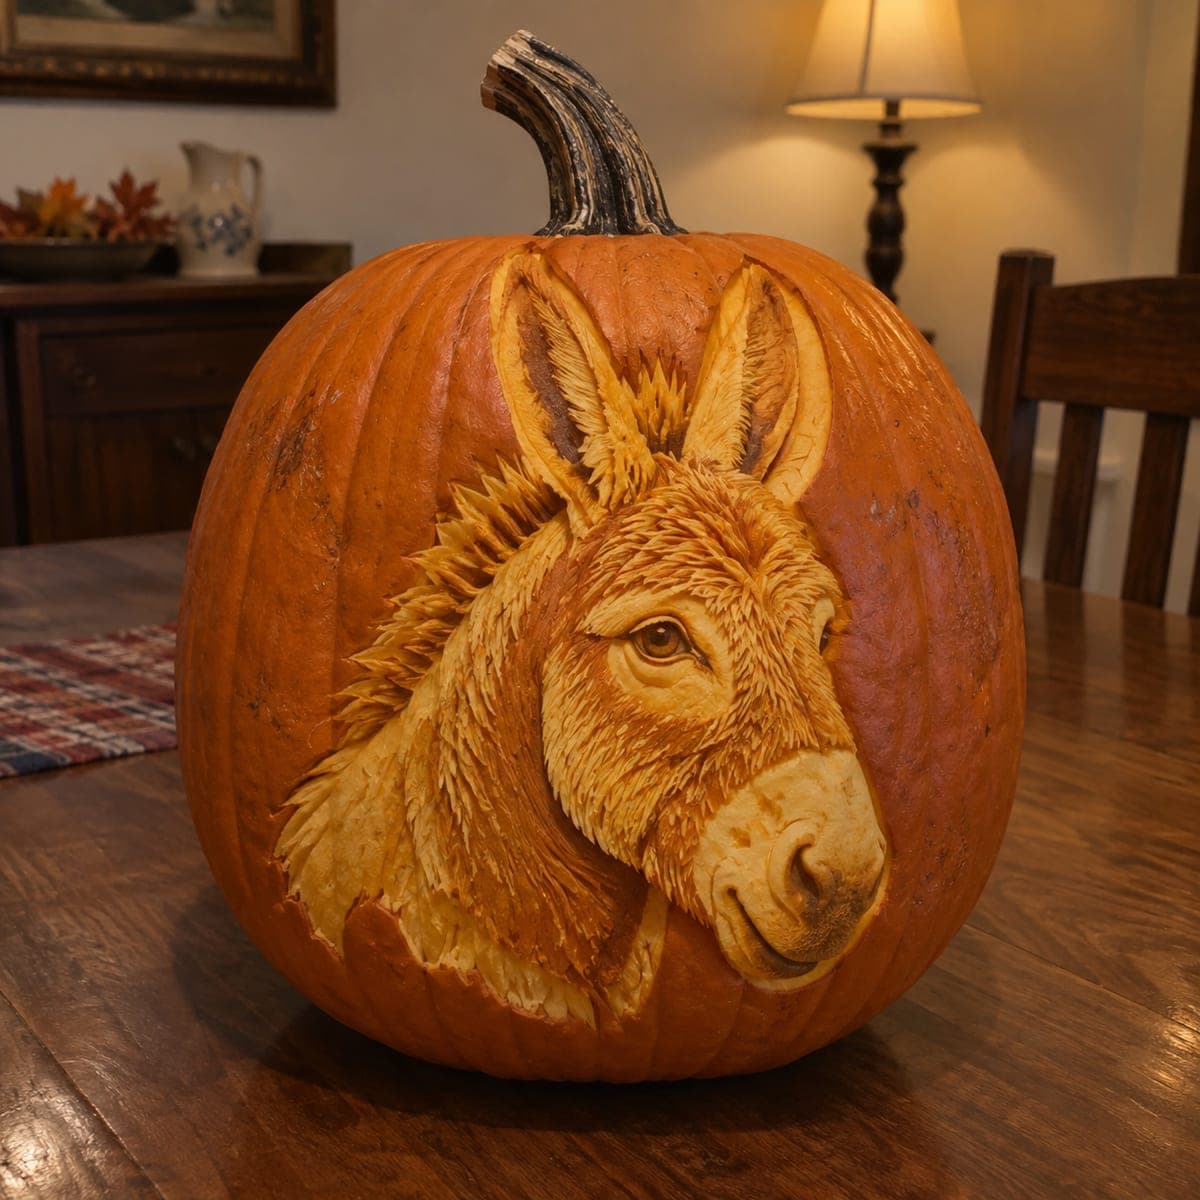
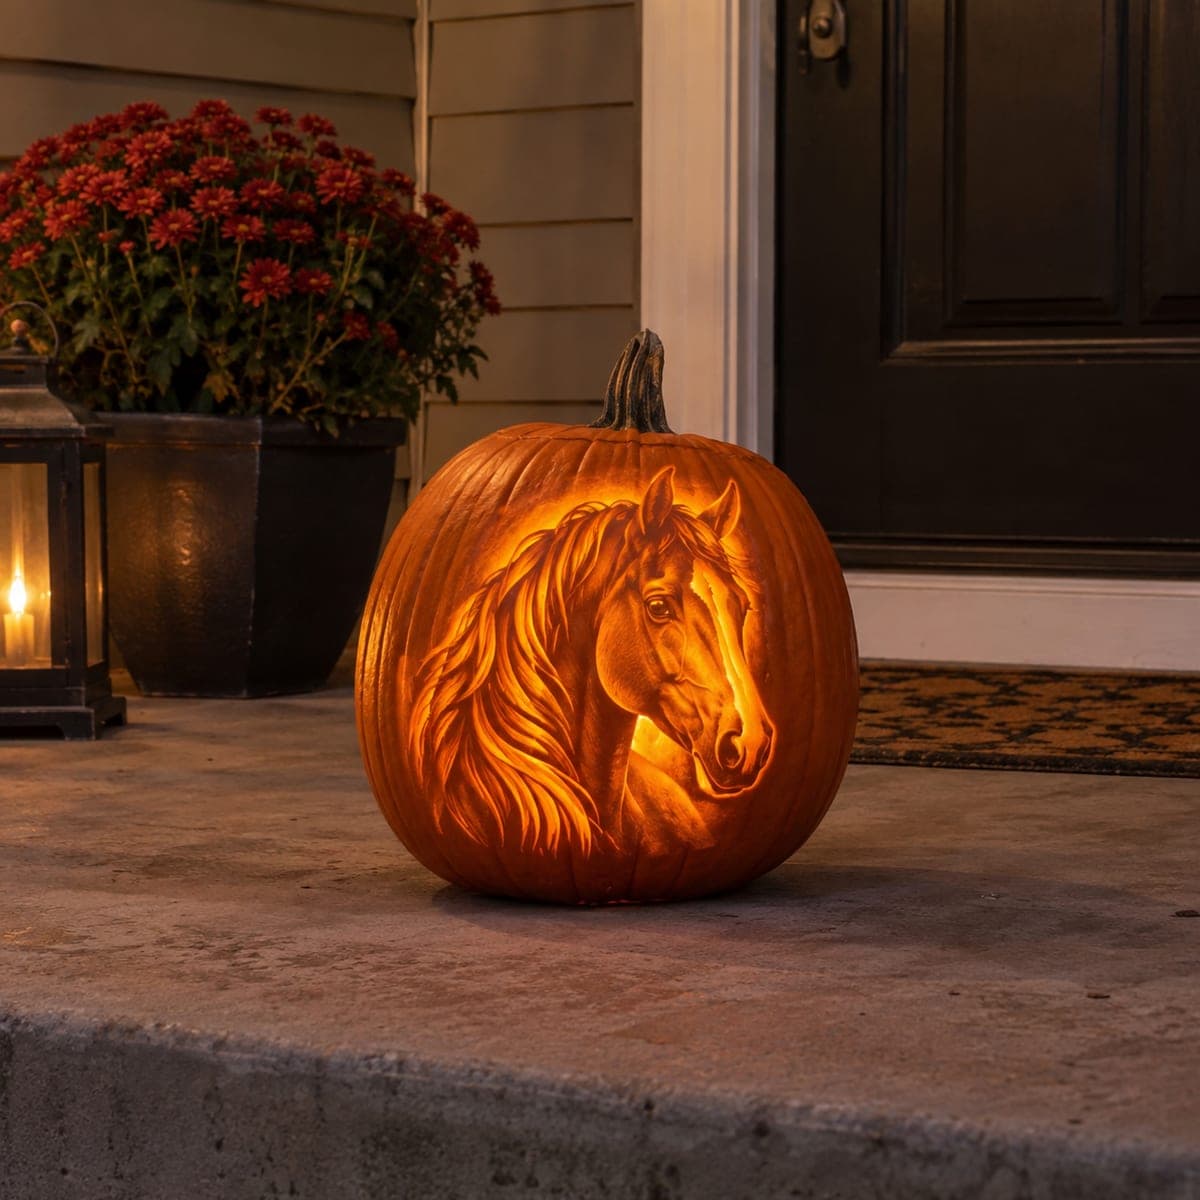
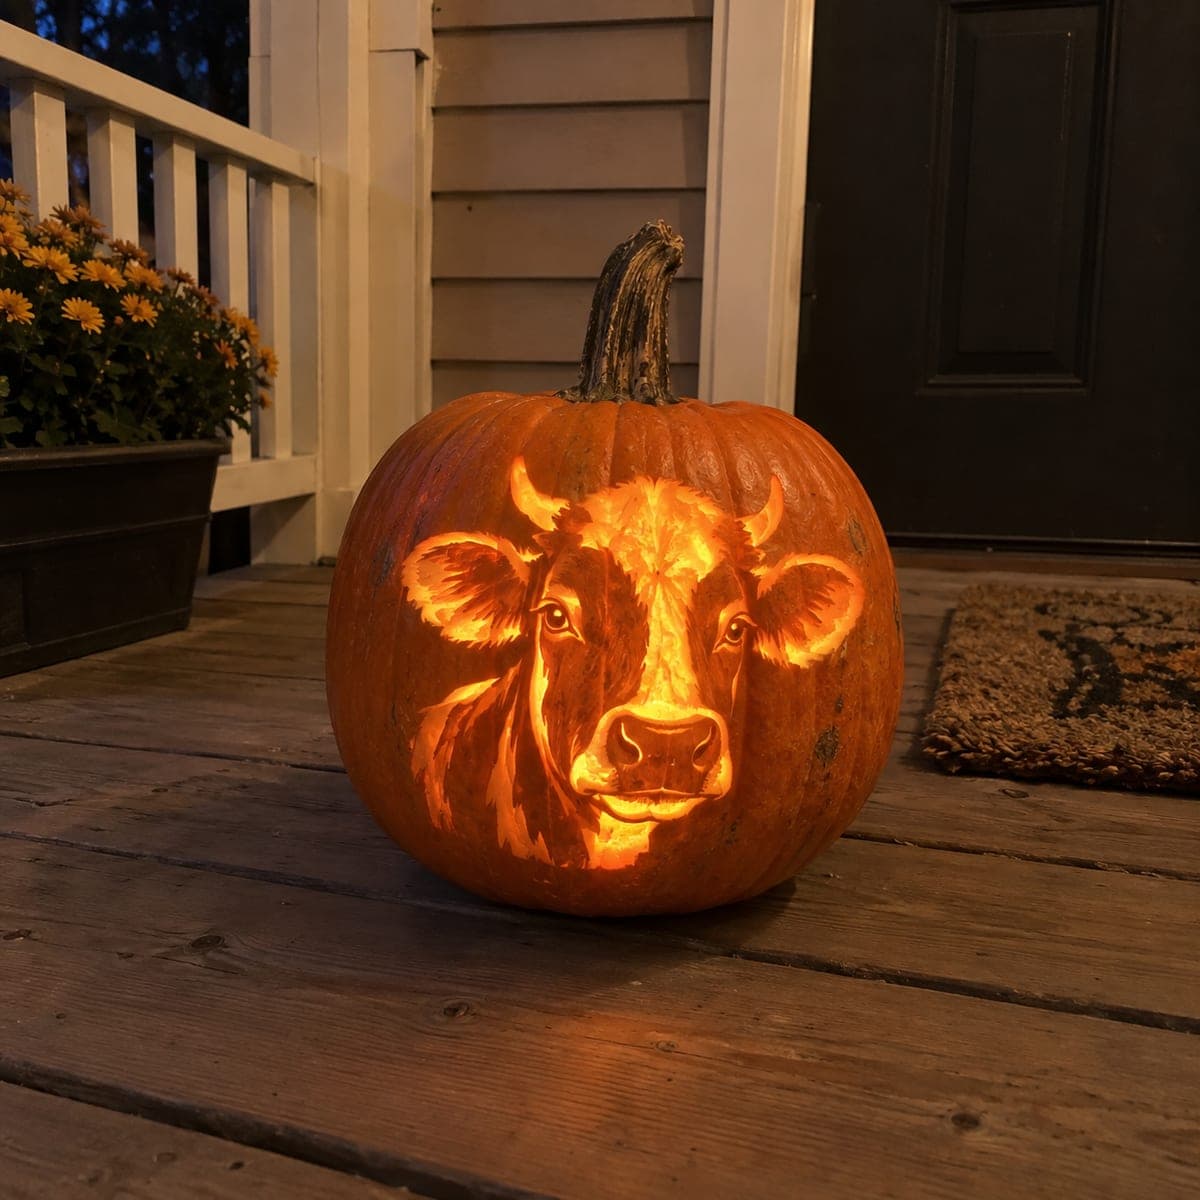
A curious cow with short horns and big soft ears gazes out of this etched pumpkin, glowing warmly on a farmhouse porch. Layered shading makes the face round and lifelike, with the muzzle and forehead blaze carved deepest for the brightest glow. Start from the eyes and work outward so the expression lands before you commit to the outline. A charming pumpkin carving idea for dairy country and county-fair fans alike.

This is an AI-generated concept image: a realistic, carvable design idea rather than a photo of a finished carve. AI concepts are always labeled and sit out the leaderboard and the contest.

No ratings yet · Sign in to rate
Comments (0)

  • No comments yet — be the first.

Save without an account. Sign in to like or comment.

Our tips for carving a similar design

This design leans on layered skin-peeling rather than full cutouts, so the cow's face reads as rounded and lifelike. The core trick is treating the pumpkin like a scratchboard: the deepest, brightest areas are the muzzle and forehead blaze, while the ears and jaw stay dimmer for contrast. Plan your values first, then carve from the eyes outward so the expression sets before you commit to the outer edges.

Written by PumpkinCarvingIdeas.com, inspired by the image above. These are our suggestions, not instructions from the uploader. This approach to the AI concept has not been tested on a real pumpkin.

From pumpkin to porch

  1. Prep the pumpkin and mount the pattern

    Pick a tall, round pumpkin with a smooth flat face for the portrait. Cut a lid from the bottom or back so the front stays uninterrupted, then scrape the inside wall down to about one inch where the face will sit. Tape the cow stencil flat and poke transfer dots along the eyes, muzzle, ears, and blaze. An adult should handle all cutting tools throughout.

  2. Establish the eyes first

    Start with the eyes so the gaze lands before anything else. Use a fine detail blade or a small gouge to shave the shine and shape of each eye, keeping the darkest skin for the pupils. Step back and check that both eyes point the same way. Getting this right early keeps the whole face feeling curious and alert.

  3. Peel the bright blaze and muzzle

    Skin-peel the forehead blaze and the muzzle down to a thin, even layer so these areas glow the strongest. Work in gentle passes, removing a little skin at a time and checking thickness by holding the pumpkin to a light. Round the edges of the muzzle so it looks soft rather than flat. These are your brightest zones, so make them the deepest peel without cutting all the way through.

  4. Shade the ears, cheeks, and jaw

    Build the softer values on the ears and lower face with a lighter peel, leaving more skin than the muzzle. Vary your depth to suggest fur direction and the roundness of the cheeks. Leave the outer ear rims and shadowed jaw as untouched skin so they stay dark and frame the face. This range of values is what makes the portrait feel three dimensional.

  5. Add the horns and final accents

    Keep the short horns as lightly peeled shapes with bridges of skin left intact so nothing thin snaps off. Refine the nostrils and the line of the mouth with your smallest tool. If you want a few pinpoints of full brightness, save any tiny true cutouts for last so the surrounding surface stays strong while you work.

  6. Light it and photograph

    Drop in a battery LED puck, warm white looks best for this cozy glow. Set the pumpkin on a porch step at dusk and check that the muzzle and blaze read as the brightest spots. Rotate the light or add a second LED if the lower face looks dim. Snap your photo while there is still a little blue in the sky for that farmhouse mood.

Gather your supplies

Check things off as you get ready.

Work on a stable surface, keep your free hand out of the cutting path, and have an adult handle sharp tools.

Three levels of light

  • Leave intact

    Outer ear rims, shadowed jaw, and dark pupils stay as untouched skin

  • Peel & shade

    Ears, cheeks, and fur areas get a light skin-peel for a soft mid glow

  • Cut through

    Save any tiny true cutouts, like nostril highlights, for the brightest accents

Learn the carving basics

Before you start cutting

This is shown as a concept image, so can a real pumpkin actually glow like this?

Yes, a portrait like this is achievable with skin-peeling, which is a real and common technique. The trick is variable depth rather than open cutouts, so the whole face lights up softly. Just keep the deepest peels thin but not pierced so the surface holds together.

How do I keep the horns from breaking off?

Carve the short horns as shaded, peeled shapes instead of cutting fully around them. Leave bridges of skin connecting them to the surrounding surface so they stay supported. Thin free-standing horns would be fragile, so shading them in reads well and lasts longer.

My shading looks flat. How do I get the rounded, lifelike look?

Build at least three values: dark untouched skin, a mid peel, and a deep bright peel. Follow the direction of the fur and round the edges between values rather than leaving hard lines. Check your work against a light often, since the glow reveals depth you cannot see in daylight.

Your take belongs here, too.

Changed a detail? Made it simpler? Share a photo of your version and tell the community what worked.

Share your pumpkin

More pumpkins like this

You've reached the end · 8 pumpkins
The Patch Report

Fresh pumpkins, in your inbox.

The best new carvings, ideas worth stealing, and how-tos for carving season. Short, seasonal, and gone by November.

A short email during carving season. Unsubscribe anytime. See our privacy policy.