Halloween Pumpkin Carving Contest · Starts October 1st · $500 in prizes
← Back to ideas
@ai_concepts
Sep 14, 2026
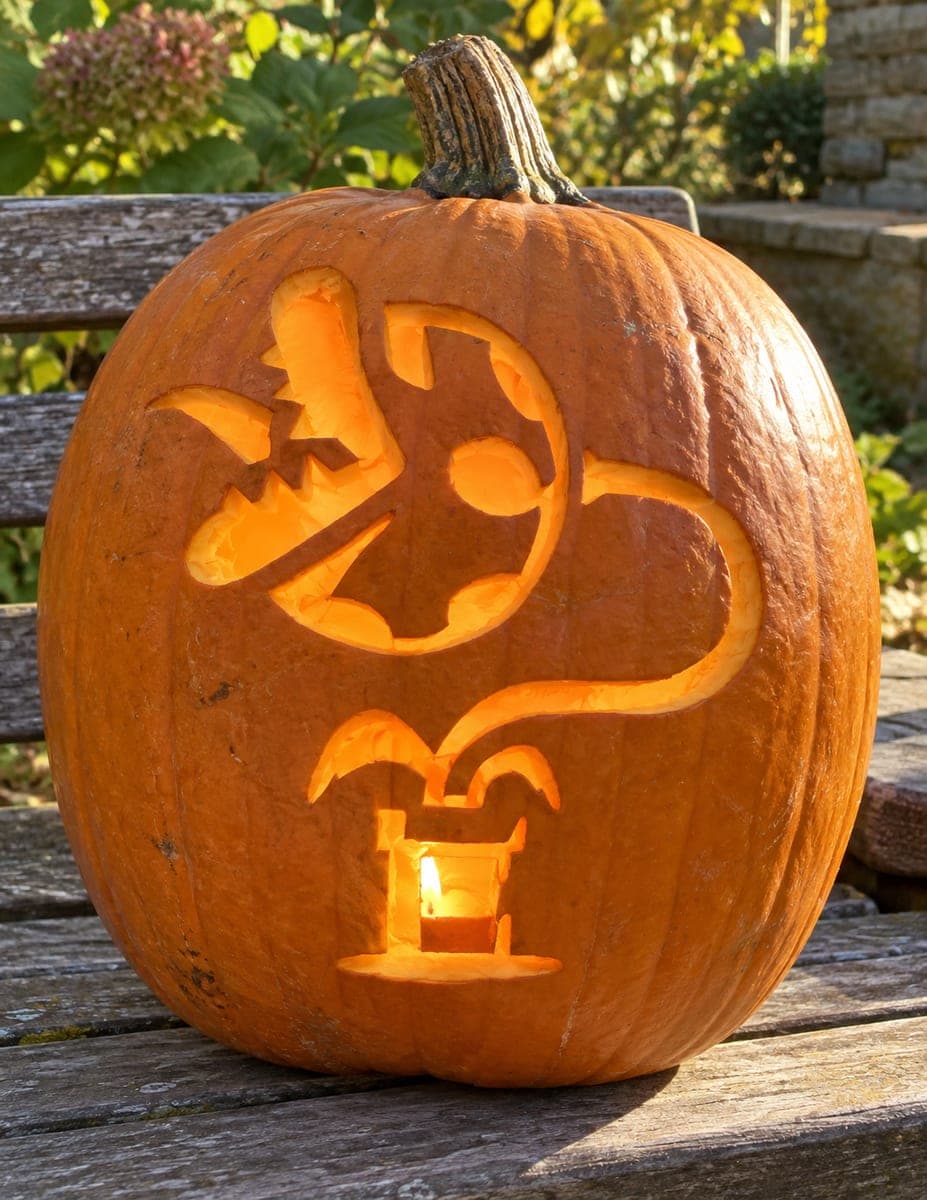
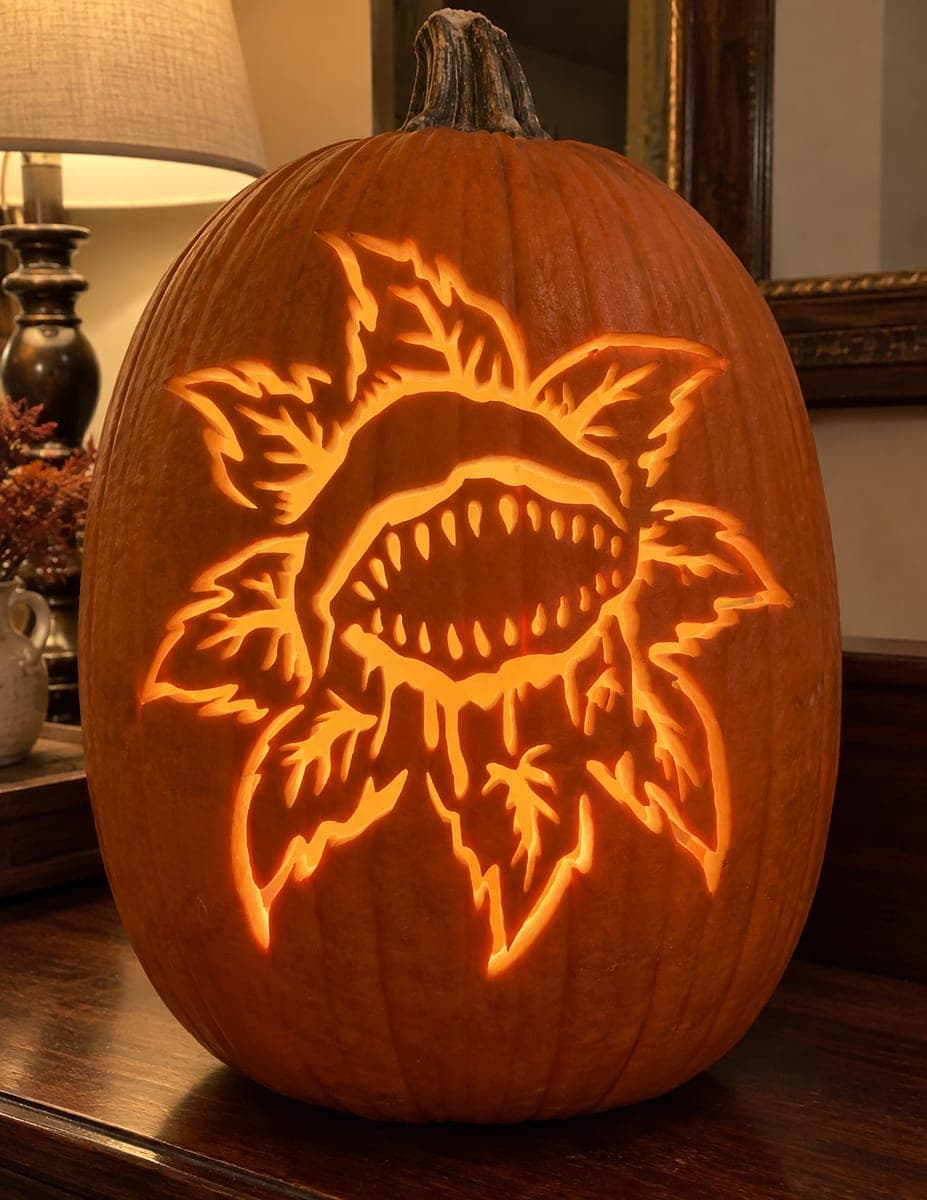
Curving Carnivorous Plant PumpkinAI
0

Curving Carnivorous Plant Pumpkin

A small witch figure wearing a pointed hat rides a broomstick that arcs across the upper portion of the pumpkin, above a circular moon shape with an open toothy mouth carved into its lower curve. The two-part composition cuts through the pumpkin wall entirely, letting light pour from the round mouth and the negative space around the witch's broom. Carve the broom handle as a complete arc before cutting out the moon circle below it so the handle remains braced by the surrounding wall until the moon opening is finished.

This is an AI-generated concept image: a realistic, carvable design idea rather than a photo of a finished carve. AI concepts are always labeled and sit out the leaderboard and the contest.

No ratings yet · Sign in to rate

Comments (0)

  • No comments yet — be the first.

Save without an account. Sign in to like or comment.

Our tips for carving a similar design

This concept leans on one bold silhouette trick: a carnivorous plant with a toothy mouth up top, a long curving stem, and a little pot at the base, all read as full cutouts against dark skin. The plan is to cut the small pot and stem details first while the wall is still strong, then open the big mouth last so nothing sags. Because this is an AI concept and no real pumpkin exists, treat it as a blueprint for how you could carve a similar plant of your own.

Written by PumpkinCarvingIdeas.com, inspired by the image above. These are our suggestions, not instructions from the uploader. This approach to the AI concept has not been tested on a real pumpkin.

From pumpkin to porch

  1. Prep and transfer the design

    Pick a tall pumpkin with a smooth front panel wide enough for the whole plant to curve across it. Cut a lid from the bottom or the back rather than the top so the stem stays intact, and scrape the inside wall down to about one inch where you plan to carve. Tape your printed pattern on and poke the outlines with a pin or awl. Keep the mouth, stem, and pot lined up top to bottom before you commit.

  2. Shade the leaves and stem first

    Before any full cutouts, use a lino or ribbon tool to peel just the skin off the curving stem and any leaf shapes. This gives you a soft dim glow that separates the plant from the dark background. Work slowly and keep the peeled areas shallow and even. Leaving these as peels instead of cutouts also keeps the wall strong for the bigger openings to come.

  3. Cut the pot and small details

    Carve the little flowerpot opening near the base first, using a fine saw with short controlled strokes. Keep the corners crisp and remove the plug gently so the surrounding wall stays supported. Do the same for any small gaps along the stem. Cutting these compact shapes early means the pumpkin is still rigid while you handle detail work.

  4. Carve the stem arc, then open the mouth

    Cut the curving stem line as a complete arc while the wall around it is still solid, so the handle of the curve stays braced. Only after that arc is finished should you open the large round mouth below it. Cut the mouth outline last and pop the piece free in sections rather than all at once. Save any teeth by leaving small skin bridges so thin points do not snap.

  5. Clean edges and test the light

    Run your tool back along every cut to bevel the inside edge outward, which lets more light escape and brightens the openings. Wipe away loose pulp and check that the peeled leaves and stem glow softly while the mouth and pot read bright. Drop in an LED puck or battery tea light, never a real flame, since the thin plant shapes and dry edges are easy to scorch. Adjust any spots that look muddy.

  6. Preserve and photograph

    Coat all cut edges and peeled areas with a thin layer of petroleum jelly to slow drying and keep the mouth from curling. Set the pumpkin somewhere dark and shoot from straight on so the tall plant silhouette reads clearly. A slightly slow exposure captures the dim leaf glow next to the bright mouth. Refresh the LED batteries before each night out.

Gather your supplies

Check things off as you get ready.

Work on a stable surface, keep your free hand out of the cutting path, and have an adult handle sharp tools.

Three levels of light

  • Leave intact

    The background skin around the plant and the dark body of the stem edges stay untouched for contrast.

  • Peel & shade

    The curving stem and any leaf shapes get their skin peeled for a soft dim orange glow.

  • Cut through

    The round toothy mouth and the little flowerpot opening are cut all the way through for the brightest light.

Learn the carving basics

Before you start cutting

How do I keep the long curving stem from breaking?

Carve the stem as a shaded peel rather than a full cutout wherever you can, since peeled skin leaves the wall intact and strong. If part of the stem must be an opening, cut its full arc before you open the large mouth below it so the surrounding wall braces the curve. Leaving small bridges at tight bends also stops thin sections from snapping.

Should the mouth teeth be cut all the way through?

You can cut the mouth opening through and simply leave the teeth as attached points along the edge. Keep each tooth wide at its base so it has enough support and will not crack. If a tooth looks too thin, connect it to the mouth edge with a small skin bridge instead of a full cut.

The concept shows a flame inside the pot. Is that safe?

Use a battery LED or a flameless tea light instead of a real candle. The thin plant shapes, peeled areas, and dry cut edges scorch and curl easily near an open flame. An LED also gives a steadier, brighter glow through the mouth and pot without the fire risk.

Your take belongs here, too.

Changed a detail? Made it simpler? Share a photo of your version and tell the community what worked.

Share your pumpkin

More pumpkins like this

You've reached the end · 8 pumpkins
The Patch Report

Fresh pumpkins, in your inbox.

The best new carvings, ideas worth stealing, and how-tos for carving season. Short, seasonal, and gone by November.

A short email during carving season. Unsubscribe anytime. See our privacy policy.