Halloween Pumpkin Carving Contest · Starts October 1st · $500 in prizes
← Back to ideas
@ai_concepts
Sep 25, 2026
Dimple-Pattern Golf Ball and Tee Glowing PumpkinAI
0

Report this carving

Tell us what is wrong. Reports are private.

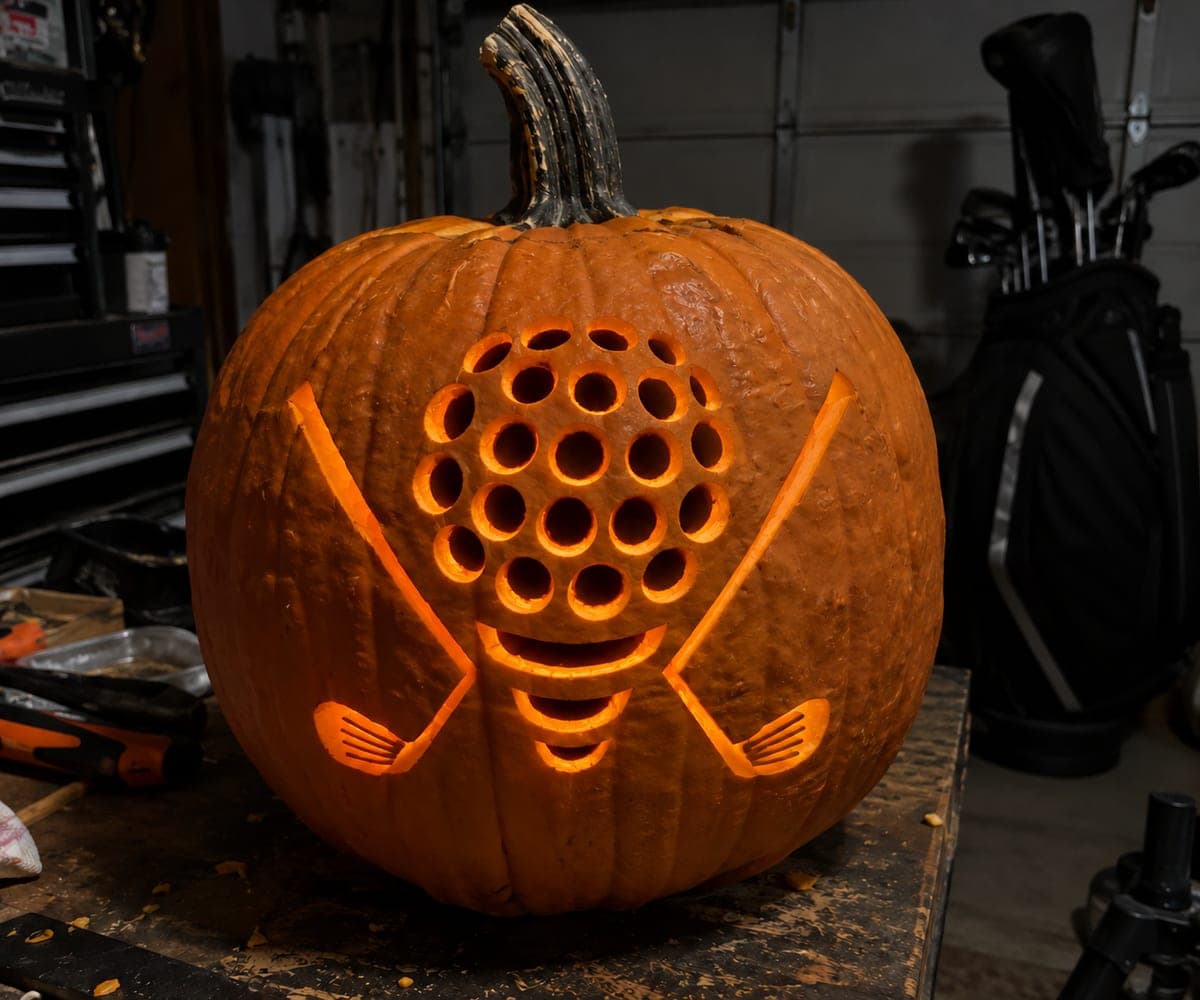
Dimple-Pattern Golf Ball and Tee Glowing Pumpkin

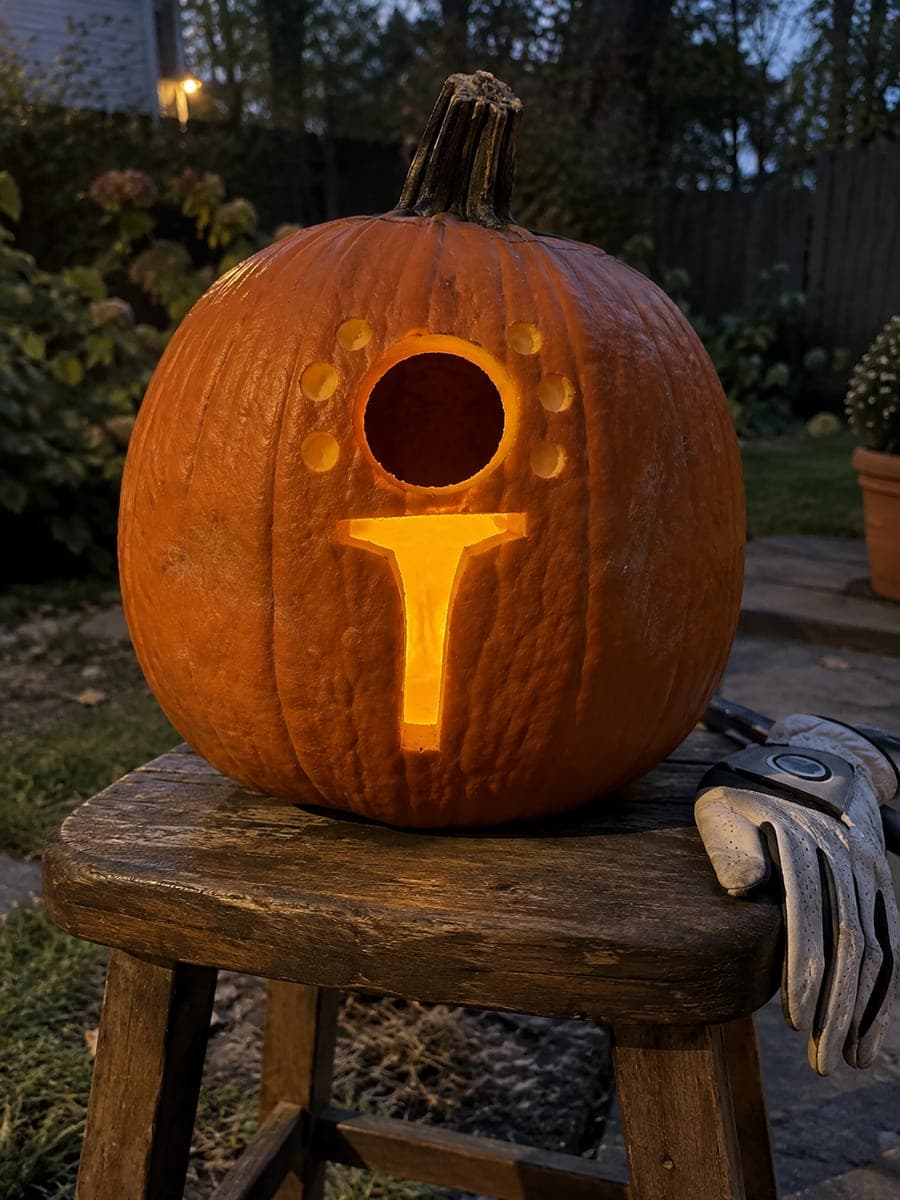
Separate round dimple holes and a tee aperture arranged around a golf ball disk make this intermediate golf pumpkin carving idea a step up from the basic cutout. The outer ball circle and grass marks are kept as shallow backed carvings so the disk holds together. Pin-transfer the dimple positions carefully so they ring the ball evenly. A warm LED inside makes each small dimple hole glow like a constellation of lights.

No ratings yet · Sign in to rate
Comments (0)

  • No comments yet — be the first.

Save without an account. Sign in to like or comment.

Our tips for carving a similar design

Individual round dimple holes ring the ball and a tee aperture sits below it, while the outer ball circle and grass marks are scored rather than cut so the disk holds together. The design's magic is in the cluster of evenly spaced dimple holes, which require careful pre-marking to ring the ball symmetrically.

From pumpkin to porch

  1. Prep and hollow

    Cut the entry hole from the base and hollow the interior. Scrape the inner wall evenly to three-quarters of an inch across the entire face. The many small dimple holes require thin, consistent rind for the best light effect.

  2. Mark the ball and tee

    Draw the large ball disk boundary with a round template and mark the tee aperture directly below. Then mark the dimple hole positions around the outside of the disk, spacing them evenly. A compass set to the dimple radius and walked around the circle ensures consistent spacing.

  3. Score the outer ball circle and grass marks

    Before cutting any through-holes, score the outer ball circle and the small grass marks with a V-tool. This separates the design area from the surrounding rind visually and keeps the disk shape defined even though it will not be cut through.

  4. Punch the dimple holes

    Use a small round punch or a narrow circular bit at low drill speed to cut each dimple hole. Work around the ring of dimples in a sequence of opposing pairs rather than going in a circle. Each hole should be clean and consistently sized.

  5. Cut the tee aperture

    Use a narrow detail blade to cut the tee opening below the ball disk. The tee is isolated from the dimple ring by broad rind, so cutting it last does not affect the stability of the disk section.

  6. Light and display

    A warm LED inside makes each dimple hole glow like a ring of stars around the dimmer backed disk center. Place the pumpkin on a railing or step at dusk for the full effect, where the individual dots are clearly visible from across a yard.

Written with AI to match this design

Gather your supplies

Check things off as you get ready.

Work on a stable surface, keep your free hand out of the cutting path, and have an adult handle sharp tools.

Three levels of light

  • Leave intact

    The broad outer rind and the solid ball disk center remain dark.

  • Peel & shade

    The outer ball circle and grass marks are shallow backed scores with a soft ambient glow.

  • Cut through

    Each individual dimple hole and the tee aperture are cut fully through for distinct point-of-light glow.

Learn the carving basics

Before you start cutting

How many dimple holes should I aim for?

Between ten and sixteen holes evenly spaced around the ball disk reads convincingly as a golf ball pattern. More than twenty holes risks thinning the rind too much in the disk zone. Start with a ring of twelve holes equally spaced and add a second inner ring only if the rind thickness comfortably allows it.

My dimple holes look oval rather than round. What went wrong?

Oval holes usually mean the punch or drill bit was held at an angle rather than perpendicular to the curved rind surface. Hold the tool straight up, perpendicular to the surface at the specific point you are drilling, not perpendicular to the floor. Adjust your grip as you move around the curved face.

Can I leave the ball disk flat without the scored outer circle?

You can, but the scored outer ball circle helps the design read as a ball shape rather than a random ring of holes. Without it, the visual reference for the disk boundary is lost and the design may look less intentional. The scored line takes only a minute and adds significant clarity.

Your take belongs here, too.

Changed a detail? Made it simpler? Share a photo of your version and tell the community what worked.

Share your pumpkin

More pumpkins like this

You've reached the end · 8 pumpkins
The Patch Report

Fresh pumpkins, in your inbox.

The best new carvings, ideas worth stealing, and how-tos for carving season. Short, seasonal, and gone by November.

A short email during carving season. Unsubscribe anytime. See our privacy policy.