The 2026 contest winners are inGrand Prize, People's Choice and Most Creative, all crowned.
@ai_concepts
Sep 25, 2026
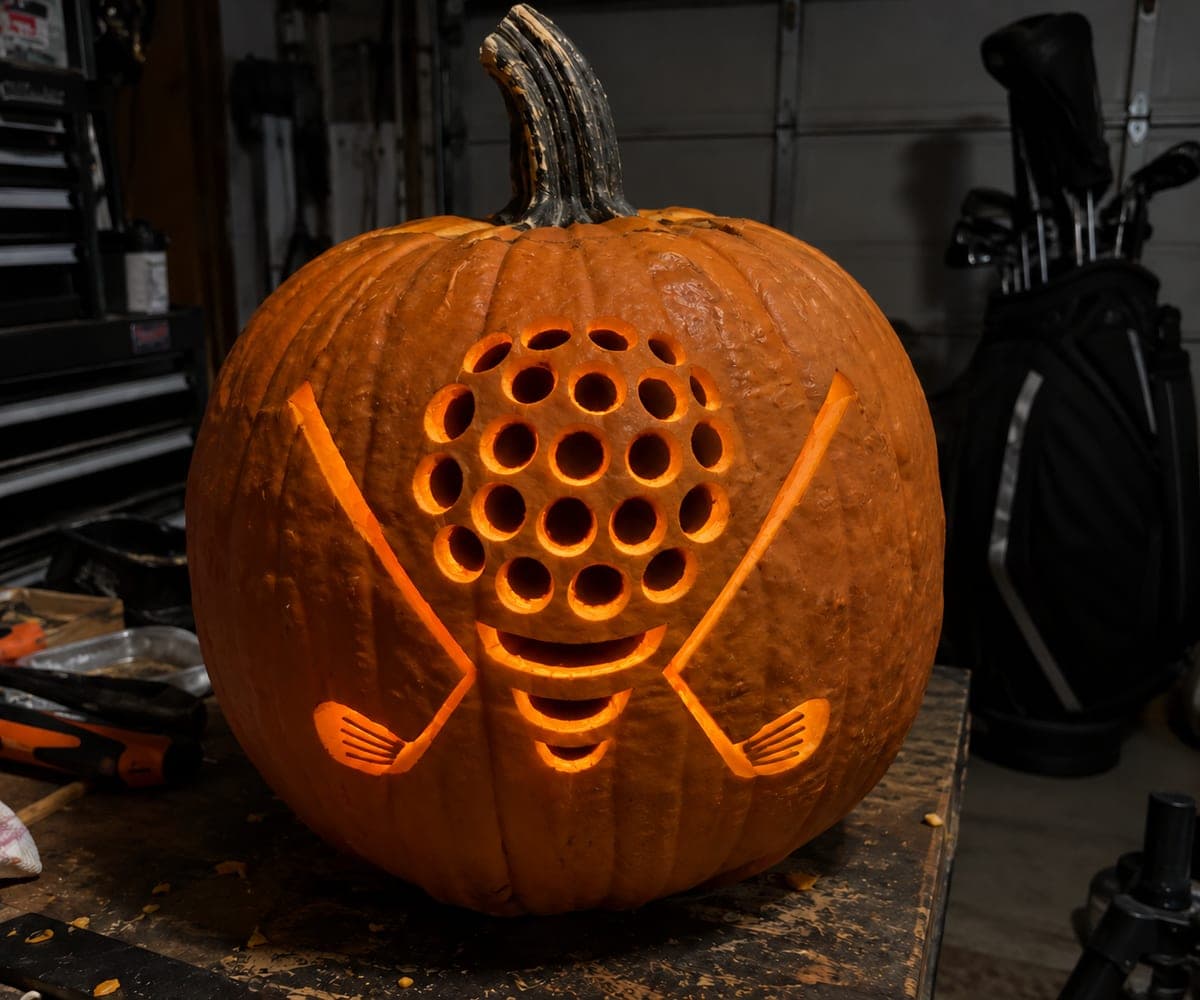
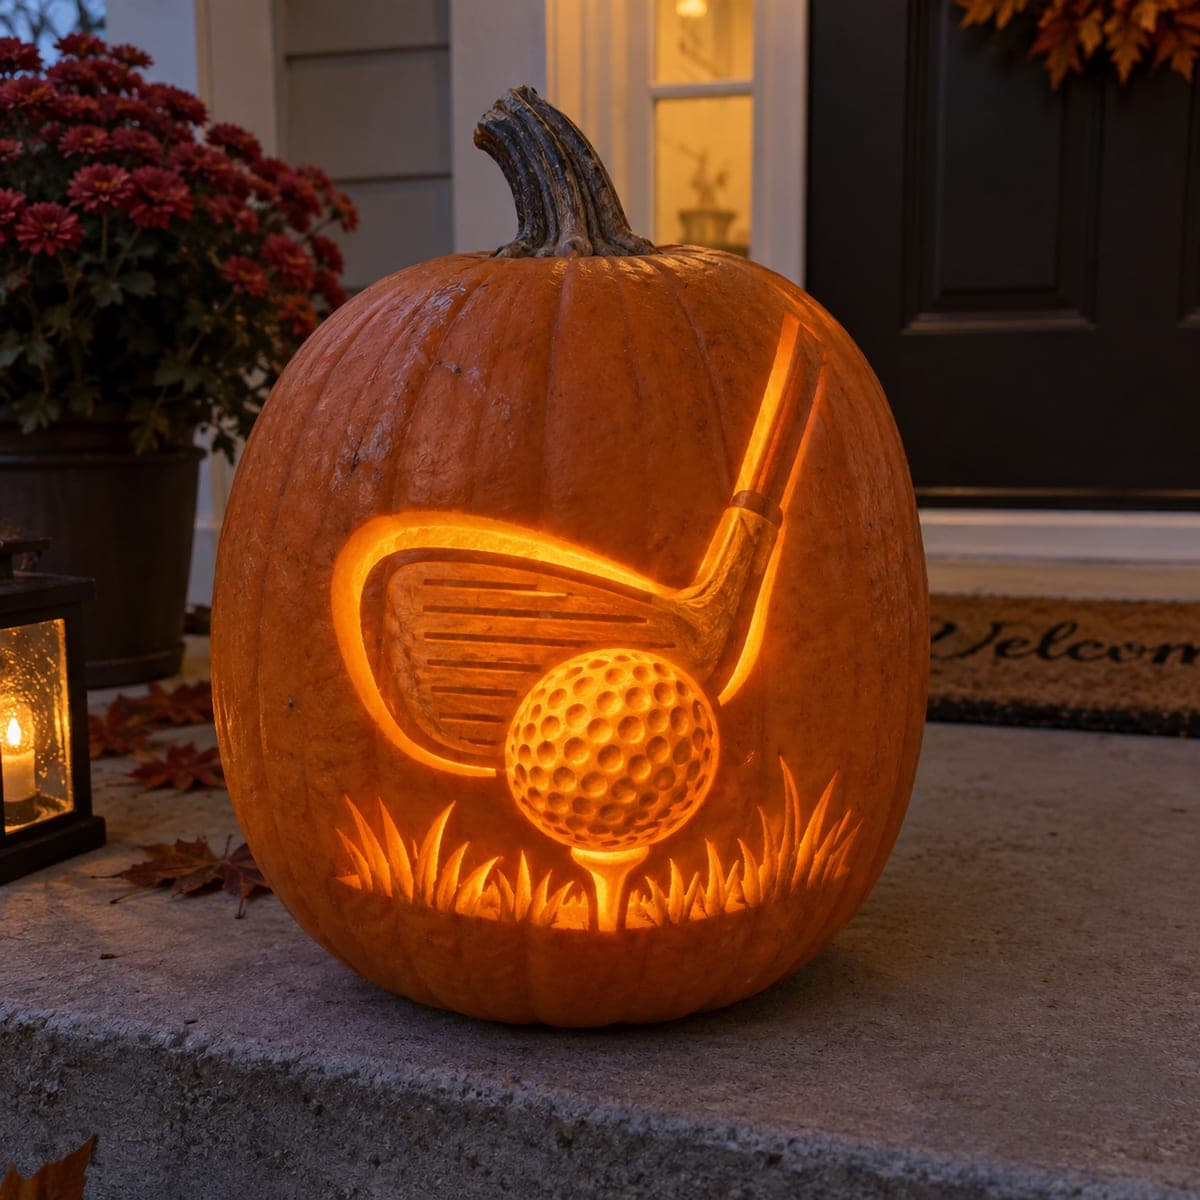
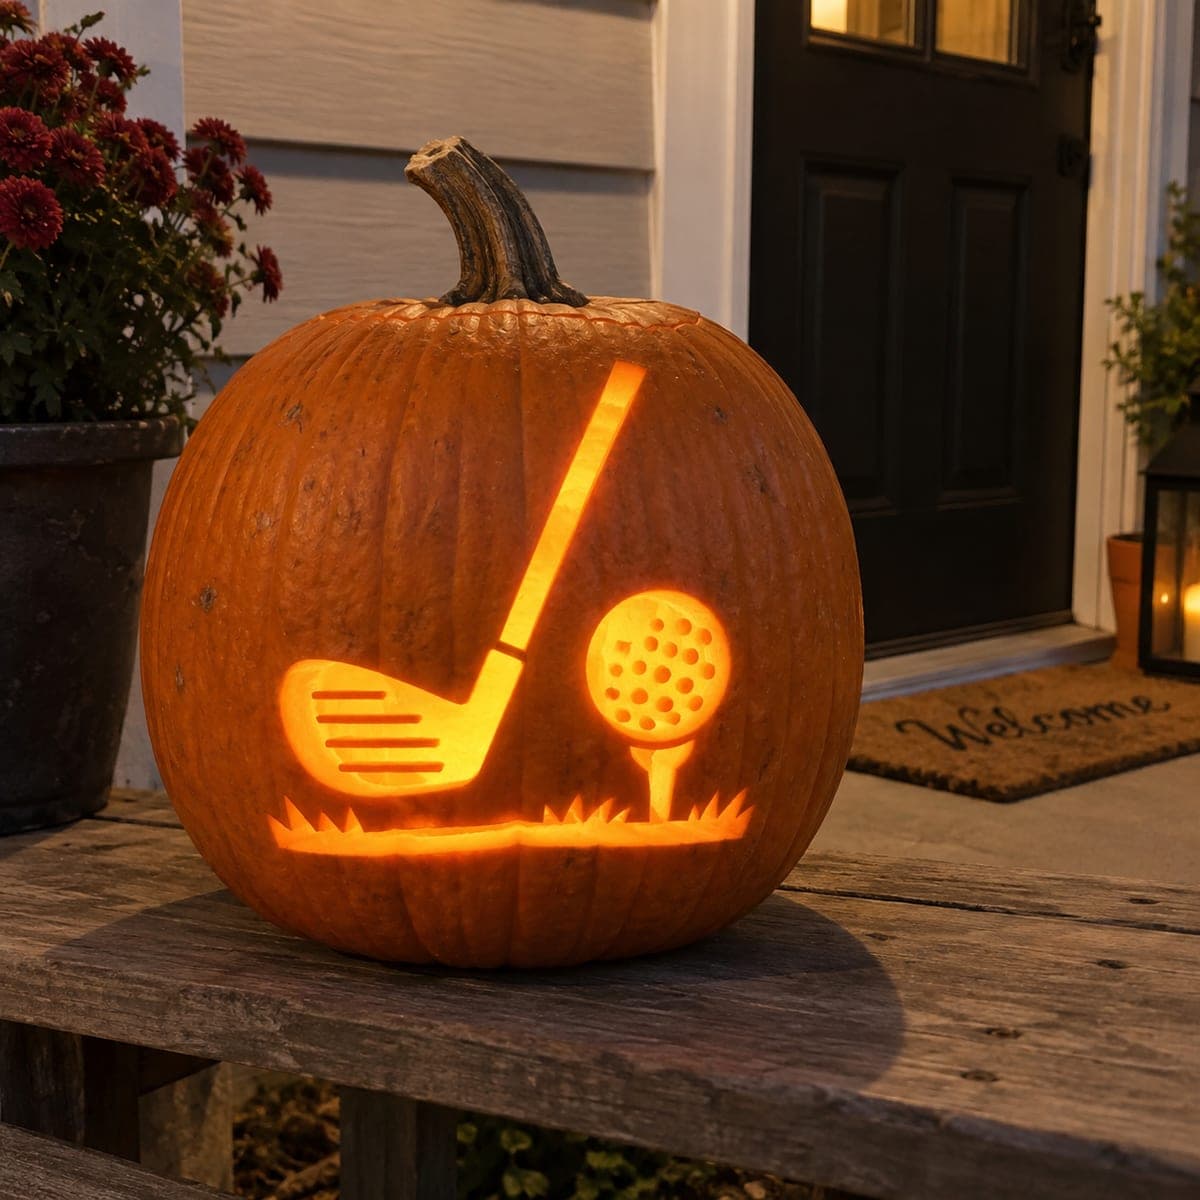
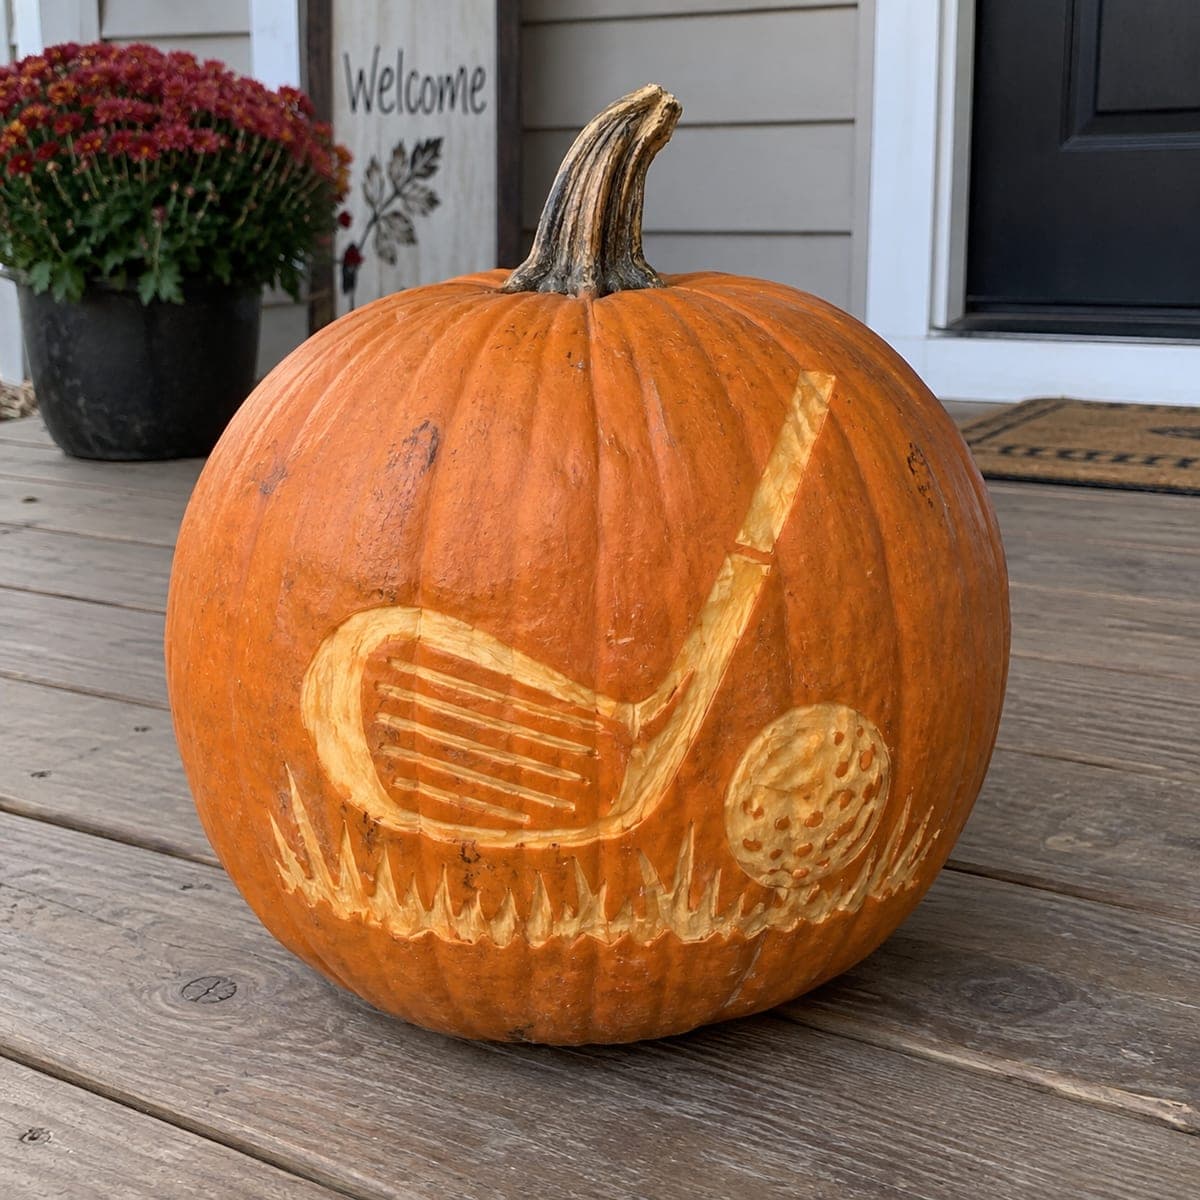
Dimpled Drive Golf Ball PumpkinAI
0

Report this carving

Tell us what is wrong. Reports are private.

Dimpled Drive Golf Ball Pumpkin

An open circular dimple cluster and three curved fairway slots create a visually rich expert golf pumpkin carving idea with a substantial rind web holding every element in place. Golf club shapes remain as shallow-scored backing details rather than full cuts, preserving the shell for the more demanding dimple and slot sections. Work the curved slots first using a thin flexible blade, then punch the dimple holes with a small round tool for consistent sizing. Lit at night, the layered design reads beautifully from across a driveway.

No ratings yet · Sign in to rate
ExpertSportsArtisticClassic Cutout
golfsportsartisticgolf-balldimplefairway-slotgolf-clubglowing

Save this design for carving night, then share a photo of your own jack-o'-lantern once it's glowing.

Comments (0)

  • No comments yet. Be the first.

Our tips for carving a similar design

An open circular dimple cluster and three curved fairway slots are the main through-cuts, supported by a substantial rind web that keeps every element connected. Golf club shapes are scored shallowly on the surface rather than cut through, preserving the shell's strength for the more demanding slot and dimple work. Curved slot cuts require a thin, flexible blade rather than a rigid saw.

From pumpkin to porch

  1. Plan the rind web before cutting anything

    Print your expert template and identify every rind web bridge before touching the pumpkin. Map the bridges in a third marker color so none are accidentally cut during the main carving. The rind web is the backbone of this design: losing a bridge mid-project requires careful repair with toothpicks and glue.

  2. Hollow and thin the wall

    Cut from the base and hollow the interior thoroughly, scraping the inner wall to a consistent three-quarters of an inch. With curved slots and closely spaced dimple holes, a uniform wall thickness is critical for even light transmission across the whole design.

  3. Transfer your full template

    Tape and prick every element: the curved slot outlines, the circular dimple cluster boundary, individual dimple positions, and golf club detail lines. Remove your template and connect the dots with two marker colors: one for through-cuts, another for shallow scored details.

  4. Cut the curved fairway slots

    Use a thin, flexible pumpkin blade for the three curved slots. Flex the blade gently to follow the curve rather than trying to pivot a rigid blade. Cut one long edge of each slot first, then the second, meeting cleanly at both ends. Keep the blade perpendicular to avoid undercutting.

  5. Punch the circular dimple cluster

    Work the dimple holes with a small round punch in a pattern that moves from the outer ring inward. Leave at least half an inch of rind between each hole. Check the rind web bridges remain intact after every four or five holes.

  6. Score the golf club details and display

    Use a narrow V-tool to score the golf club shaft and head shapes in shallow backed lines. Insert a bright wide-angle LED and step back to view the full composition from five feet away, where the layered depth of the curved slots and dimple cluster reads best.

Written with AI to match this design

Gather your supplies

Check things off as you get ready.

Work on a stable surface, keep your free hand out of the cutting path, and have an adult handle sharp tools.

Three levels of light

  • Leave intact

    All rind web bridges and the outer shell border remain solid and dark.

  • Peel & shade

    Golf club shaft and head detail lines are shallow backed scores.

  • Cut through

    The circular dimple cluster holes and all three curved fairway slots are cut fully through.

Learn the carving basics

Before you start cutting

How do I cut a curved slot without cracking the rind?

Use a thin, flexible blade and flex it slightly with your finger against the spine so it tracks the curve as you push forward. Pre-score the curved line with a craft knife first to create a guide groove, then follow it with the carving blade in short forward strokes. Never force a rigid blade around a tight curve.

How close together can the dimple holes be?

Leave at least half an inch of rind between adjacent holes. Closer spacing increases the risk of the thin rind between holes cracking under the pressure of cutting. If your template has holes closer than that, widen the circular dimple cluster slightly so each hole has adequate surrounding rind.

The scored golf club lines are barely visible from across the room. Is that normal?

Yes, backed score lines read more subtly than through-cuts, especially on an unlit pumpkin. When a bright LED is inside, the thinner rind in scored areas glows more noticeably. If the scored lines are still too faint, deepen them slightly with a second gouge pass to thin the shell further without cutting through.

Your take belongs here, too.

Changed a detail? Made it simpler? Share a photo of your version and tell the community what worked.

Share your pumpkin

Want more designs like this? Browse our full library of pumpkin carving ideas, or pick a free printable stencil. Every pattern and template in our own collection is free to print at home.

More pumpkins like this

You've reached the end · 8 pumpkins
The Patch Report

Fresh pumpkins, in your inbox.

The best new carvings, ideas worth stealing, and how-tos for carving season. Short, seasonal, and gone by November.

A short email during carving season. Unsubscribe anytime. See our privacy policy.