Halloween Pumpkin Carving Contest Β· Starts October 1st Β· $500 in prizes
← Back to ideas
@ai_concepts
Aug 15, 2026
Golf Club and Ball Pumpkin Carving for GolfersAI
0

Golf Club and Ball Pumpkin Carving for Golfers

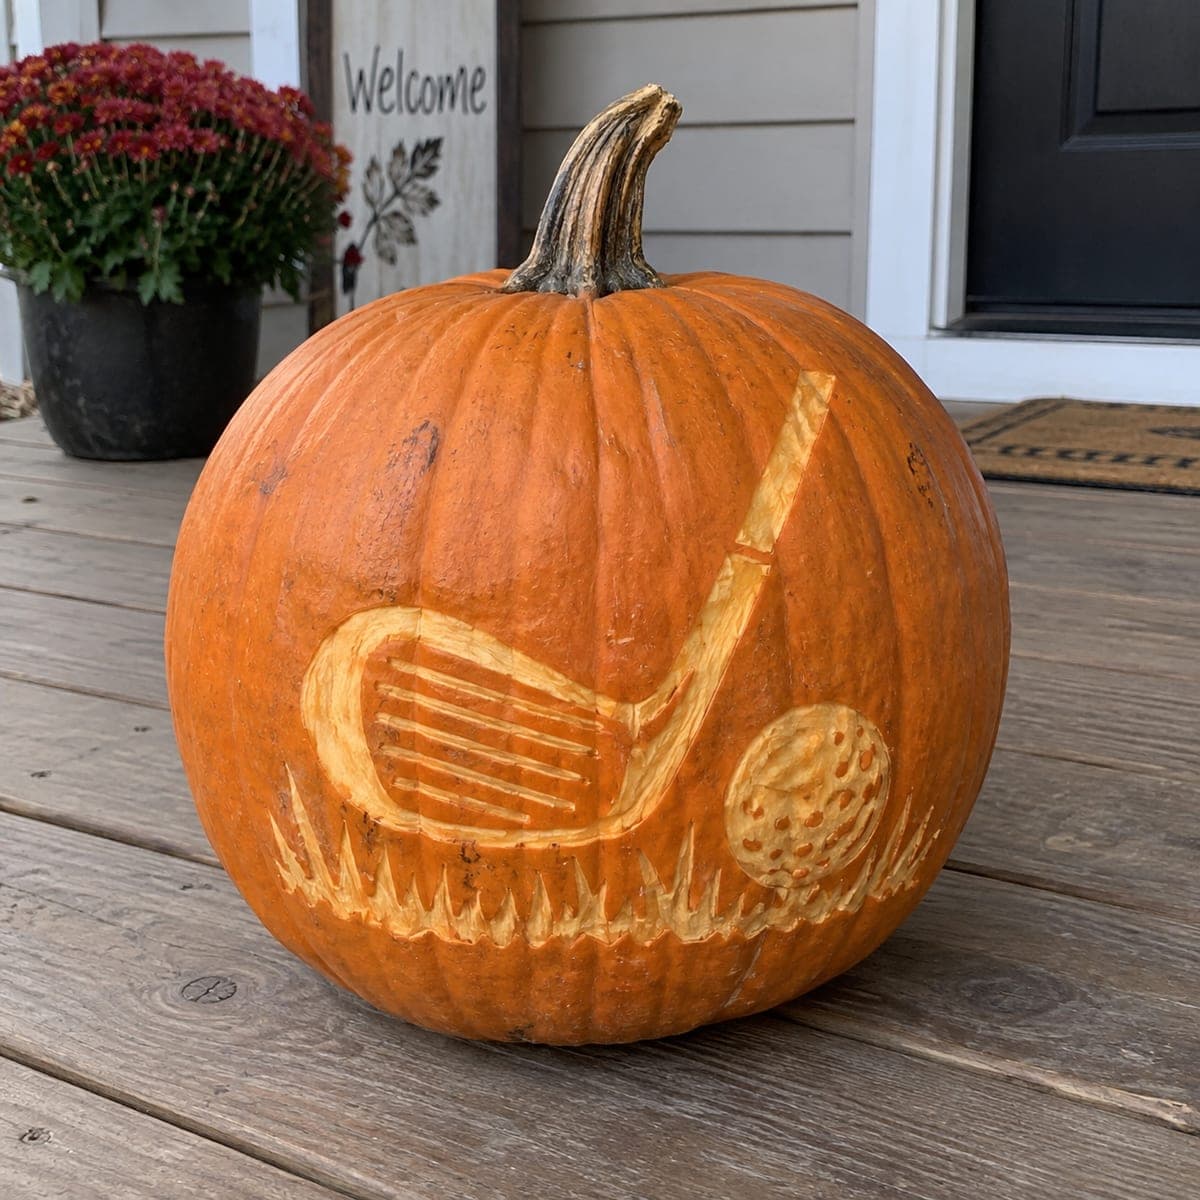
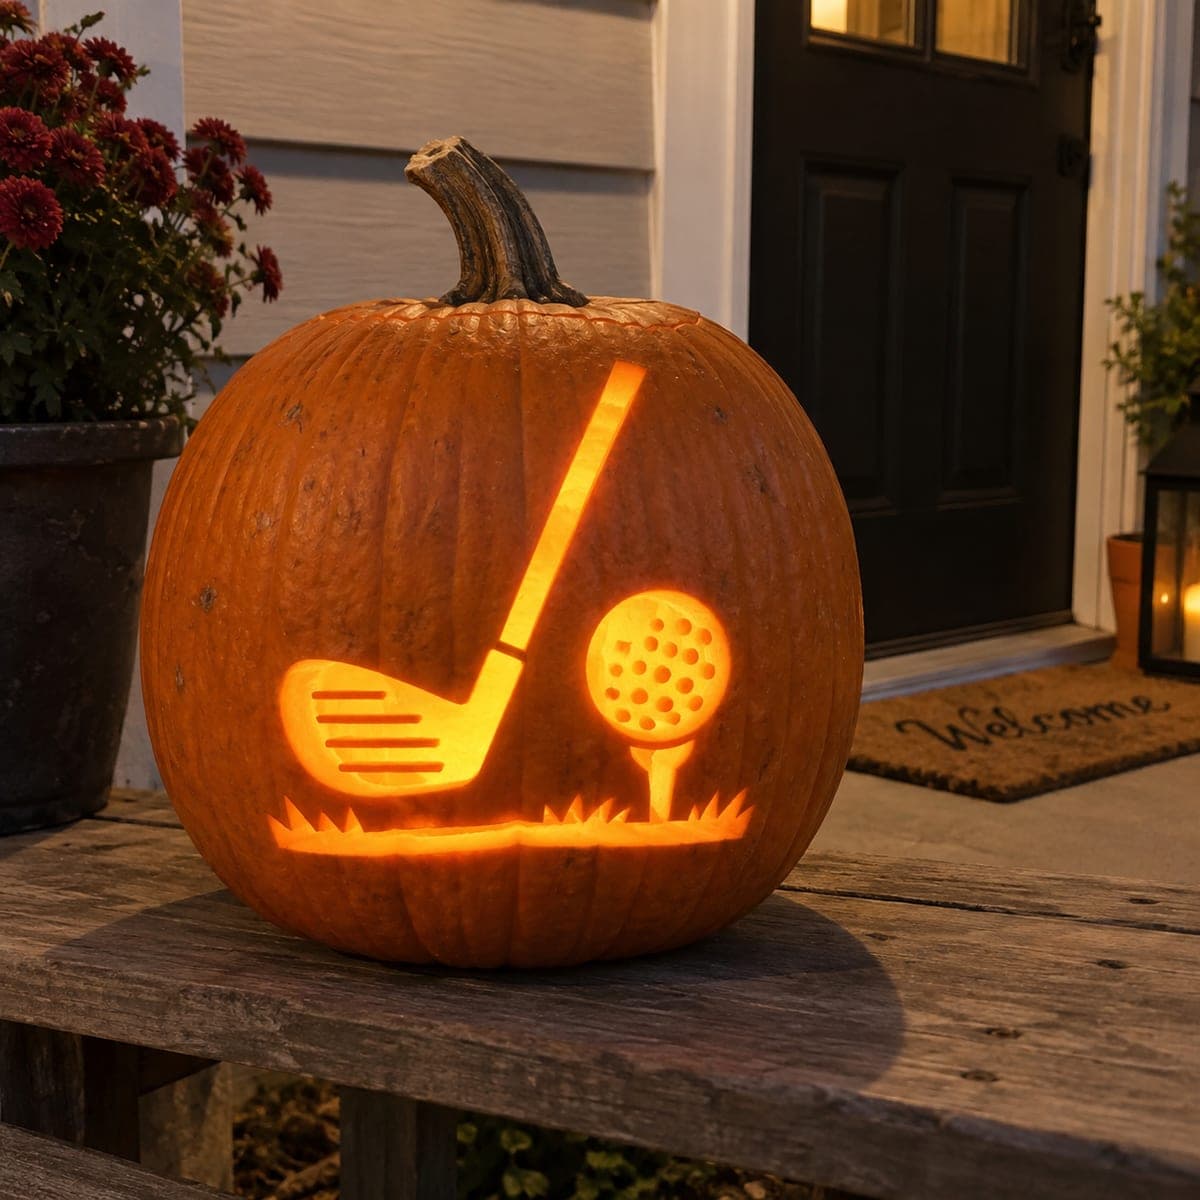
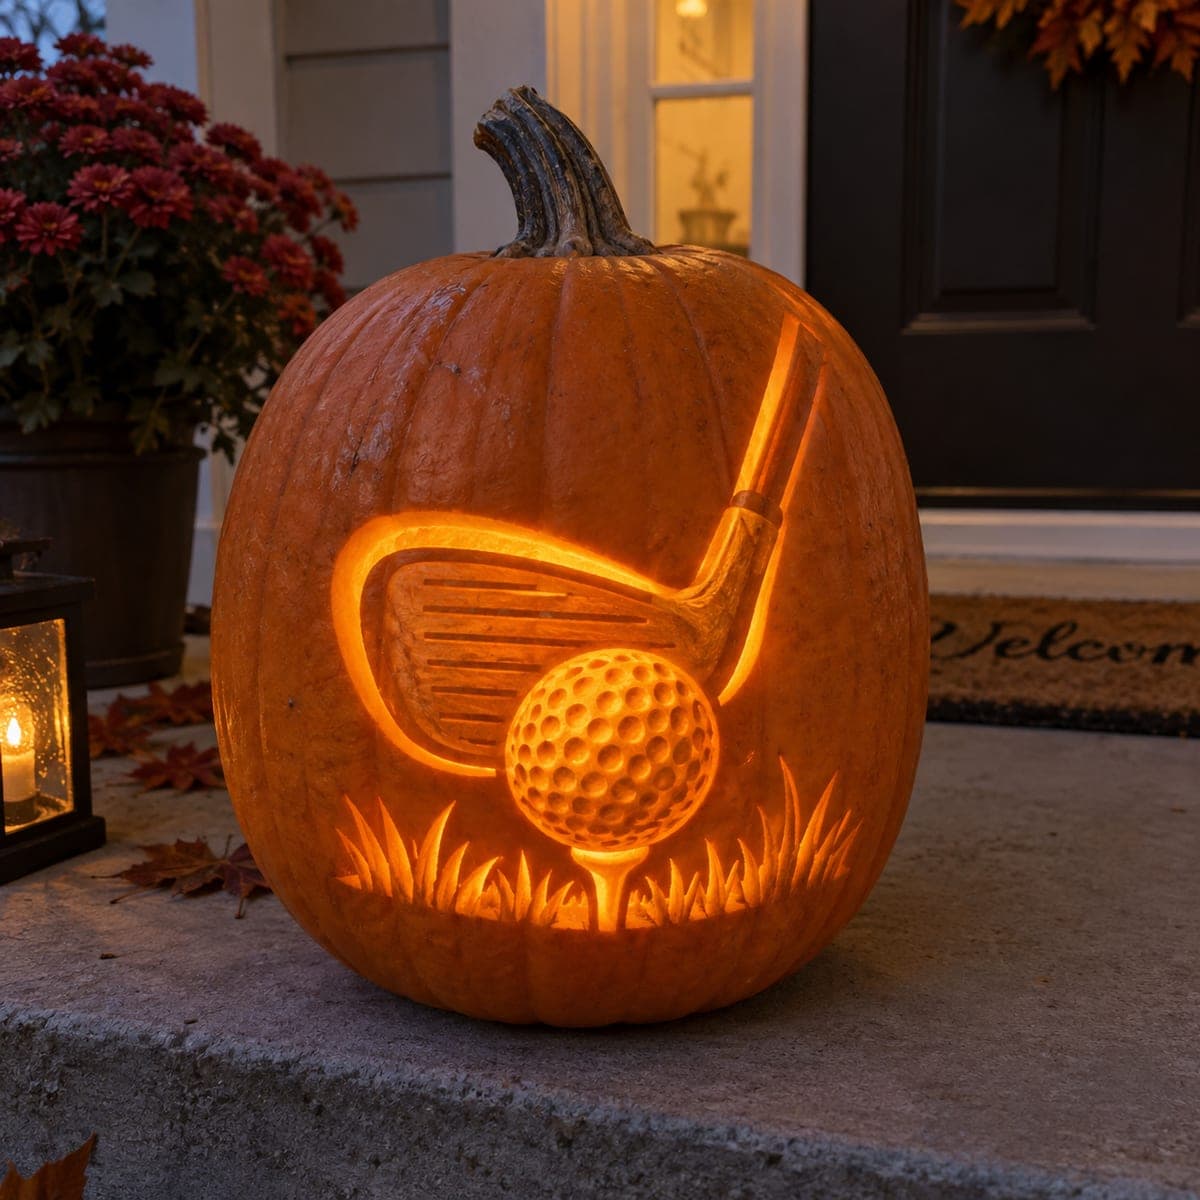
A golf iron lines up behind a dimpled ball on a tee in this pumpkin carving made for the golfer on your street. The clubface grooves and ball dimples are etched at shallow depth while the grass is cut deeper, so everything glows at different intensities. Use a small gouge for the dimples, working in rows to keep them even. Display it beside the door with a putter for a fun photo op.

This is an AI-generated concept image: a realistic, carvable design idea rather than a photo of a finished carve. AI concepts are always labeled and sit out the leaderboard and the contest.

No ratings yet Β· Sign in to rate

Comments (0)

  • No comments yet β€” be the first.

Save without an account. Sign in to like or comment.

Our tips for carving a similar design

The core trick here is depth control: the clubface grooves and ball dimples are etched shallow so they glow soft, while the grass and outlines are cut through for bright light. Plan the club head, ball on a tee, and grass line before you touch a blade so the whole scene stays balanced. Since this is a concept image, treat it as a target look you can build toward at your own pace.

Written by PumpkinCarvingIdeas.com, inspired by the image above. These are our suggestions, not instructions from the uploader. This approach to the AI concept has not been tested on a real pumpkin.

From pumpkin to porch

  1. Prep the pumpkin and transfer the design

    Pick a tall pumpkin with a smooth, wide face so the club and ball have room. Cut a lid from the bottom or the back rather than the top, then scoop the wall on the carving side down to about one inch so light passes through evenly. Tape your stencil flat and poke the outlines with a pin or transfer tool, spacing the dots close on the tight curves of the ball and club. Mark which areas are etch, which are peel, and which cut all the way through.

  2. Score the main outlines first

    Using a small saw blade, lightly score the outer edges of the club head, shaft, ball, and tee without cutting through yet. This gives you clean borders to shade against. Keep the shaft as a solid connected shape so it stays strong down its full length. Work slowly on the curved club face, letting the blade follow the line instead of forcing it.

  3. Etch the dimples and clubface grooves

    Switch to a small gouge or loop tool and scoop the skin off the ball in even rows to create the dimple texture, keeping each scoop shallow so it glows dim orange. Do the clubface grooves as short parallel etched lines, working top to bottom for consistent spacing. Take breaks and step back to check that the rows stay level. Shallow and even beats deep and rushed here.

  4. Peel the club body and shaft for a mid glow

    Remove just the outer skin on the club head and shaft so they read as a warm, medium glow rather than a bright cutout. This keeps the metal look soft and separates it from the fully cut areas. Leave a thin band of untouched skin around the grooves so they stand out. Rinse away shavings to see your true brightness as you go.

  5. Cut the grass and outline gaps last

    Save the full cutouts for the end so the pumpkin stays rigid while you do the detailed work. Cut through the blades of grass along the bottom and any thin outline gaps around the club and ball, angling the blade slightly outward so light spreads. Keep small bridges of skin between grass blades so nothing snaps off. Clear all the plugs and smooth the cut edges.

  6. Light it and stage the photo

    Set a battery LED light or two inside, never a candle, and aim one toward the etched ball to make the dimples pop. Set the pumpkin by the door and lean a real putter beside it for the golfer photo op. Check the glow after dark and add a second light if the top of the club looks dim. Mist the cut edges and refrigerate overnight if you carve early.

Gather your supplies

Check things off as you get ready.

Work on a stable surface, keep your free hand out of the cutting path, and have an adult handle sharp tools.

Three levels of light

  • Leave intact

    The untouched pumpkin skin around the grooves and between grass blades stays dark for contrast.

  • Peel & shade

    The club head, shaft, ball dimples, and clubface grooves are etched thin for a soft dim glow.

  • Cut through

    The grass blades and the thin outline gaps around the club and ball are cut through for the brightest light.

Learn the carving basics

Before you start cutting

How do I keep the ball dimples even?

Work them in horizontal rows with a small gouge, matching the depth of the first scoop for all the rest. Lightly pencil a grid on the ball before you start so the rows line up. Go shallow, since deep dimples lose their dotted look and can blow out into one bright patch.

Will the long club shaft stay strong?

Yes, if you keep it as a peeled or etched shape rather than a full cutout. Removing only the skin leaves the pumpkin wall intact so the shaft cannot snap. Only cut all the way through the thin outline gaps beside it, not the shaft itself.

What order keeps the pumpkin from cracking?

Do all the shallow etching and peeling first while the shell is still solid and supportive. Save the grass and any full outline cutouts for the very last step. This keeps the face rigid so your detailed dimple and groove work does not shift or crack.

Your take belongs here, too.

Changed a detail? Made it simpler? Share a photo of your version and tell the community what worked.

Share your pumpkin

More pumpkins like this

You've reached the end Β· 8 pumpkins
The Patch Report

Fresh pumpkins, in your inbox.

The best new carvings, ideas worth stealing, and how-tos for carving season. Short, seasonal, and gone by November.

A short email during carving season. Unsubscribe anytime. See our privacy policy.