Halloween Pumpkin Carving Contest · Starts October 1st · $500 in prizes
← Back to ideas
@ai_concepts
Sep 13, 2026
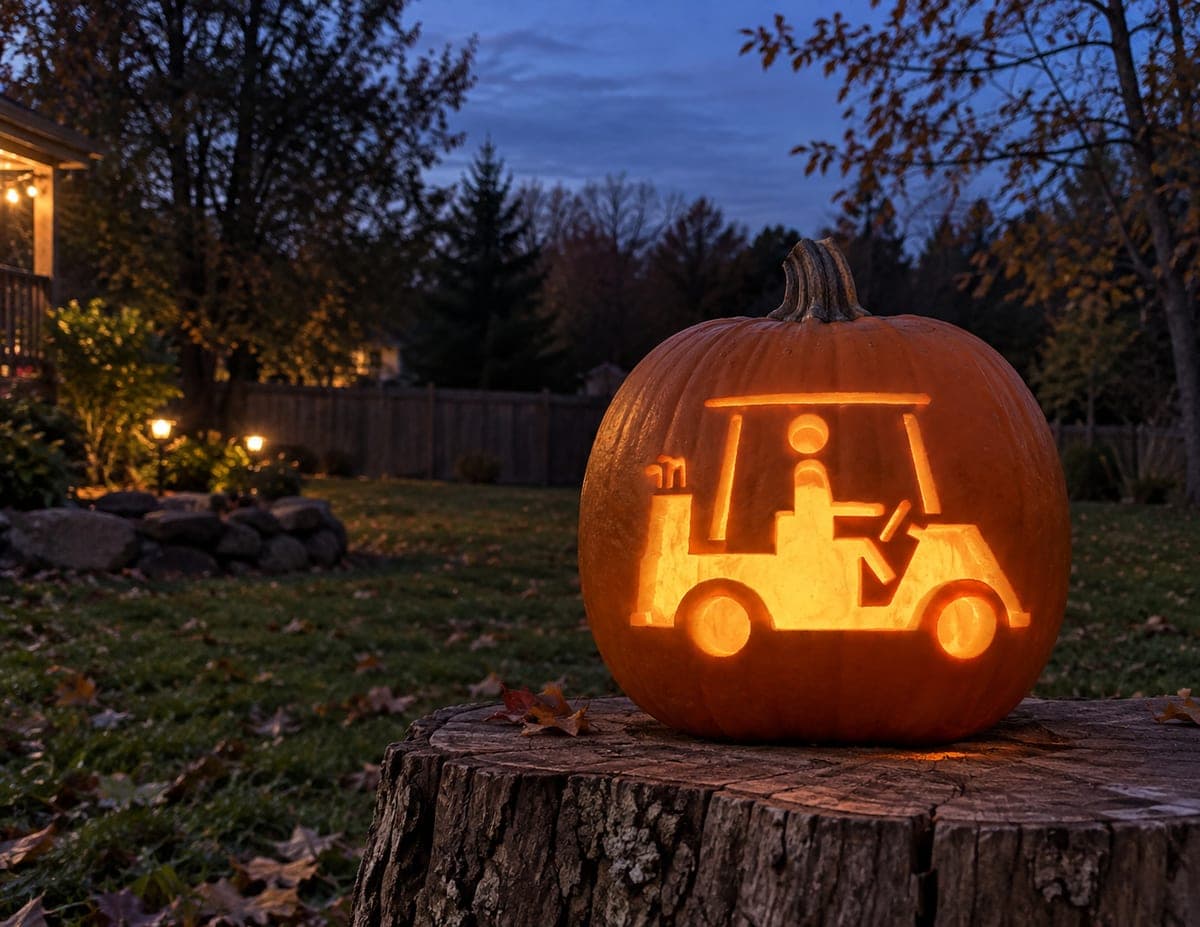
Golfer Mid-Swing Etched Pumpkin SceneAI
0

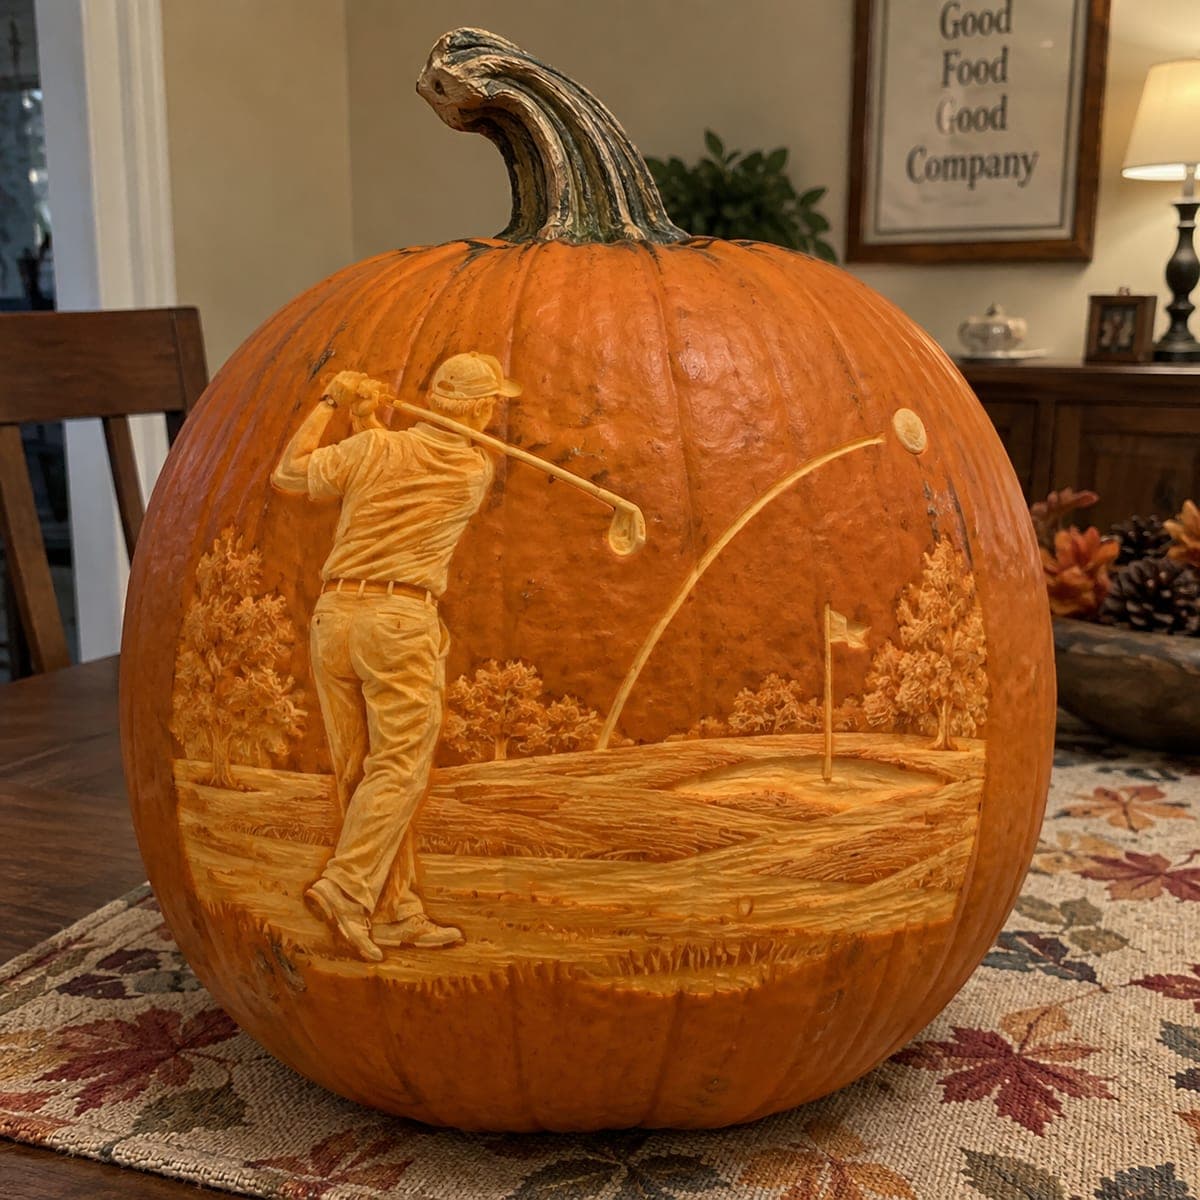
Golfer Mid-Swing Etched Pumpkin Scene

A golfer finishes his swing while the ball arcs toward a distant flag in this remarkable etched pumpkin scene, complete with textured trees, rough, and fairway. The whole picture is shaded relief work, carved at varying depths with loop tools and gouges over many hours. Study the values before you cut, carving the lightest areas deepest, and display it indoors where side lighting shows the texture.

This is an AI-generated concept image: a realistic, carvable design idea rather than a photo of a finished carve. AI concepts are always labeled and sit out the leaderboard and the contest.

No ratings yet · Sign in to rate
Comments (0)

  • No comments yet — be the first.

Save without an account. Sign in to like or comment.

Our tips for carving a similar design

This is a shaded relief scene where almost nothing is cut clean through the shell. The core trick is treating the pumpkin skin like a value scale, scraping the flesh to different depths so the lightest highlights on the golfer, ball, and fairway glow while the darkest areas keep their orange skin. Since this is an AI concept image, think of it as a target look you could build over several patient sessions with loop tools.

Written by PumpkinCarvingIdeas.com, inspired by the image above. These are our suggestions, not instructions from the uploader. This approach to the AI concept has not been tested on a real pumpkin.

From pumpkin to porch

  1. Pick a big, smooth pumpkin and prep it

    Choose a large pumpkin with a broad, even face and skin free of deep ribs or blemishes, since flat wall space is where relief carving shines. Cut a lid or a bottom access hole and hollow the front wall down to a workable thickness, around one inch. A thinner, even wall lets the light pass evenly through your peeled areas later. Wipe the surface clean and let it come to room temperature before you draw.

  2. Transfer the scene and map your values

    Tape your golfer stencil to the face and poke or trace the main outlines: the figure, the club, the arcing ball, the flag, the tree line, and the fairway bands. Before cutting, mark which zones are lightest, mid, and darkest, because the plan matters more than the knife work here. Remember the rule for this piece: the lightest areas get carved deepest. Sketch light pencil notes right on the skin so you never lose track.

  3. Skin the mid-tone background first

    Use a broad loop tool to peel the skin off the fairway, rough, and distant tree area, leaving a smooth dim layer that will glow soft orange. Work in shallow, even passes and keep the surface consistent so the background reads as one calm plane. Add horizontal drag marks in the fairway and short stippling in the trees for texture. Save the figure and sharpest highlights for later so you do not thin them by accident.

  4. Carve the golfer and club in relief

    Switch to smaller loop and gouge tools to shape the golfer, going deeper on his shirt, cap, and forward leg where the brightest light should fall. Leave the club shaft and the thin ball arc line as raised, mostly untouched ridges so they stay strong and do not crumble. Round the edges of the figure gently so it looks three dimensional rather than stamped. Take breaks and step back often to check that your light and dark shapes still read from a few feet away.

  5. Deepen the highlights and add fine texture

    Go back into the very brightest spots, the ball, the cap, the flag, and the edge of the fairway, and scrape those the thinnest for maximum glow. Add grass strokes, tree stippling, and pant folds with a fine detail tool while the flesh is still firm. If you want one small true cutout, the golf ball can be pierced clean through for a bright pinpoint, but keep it tiny so the wall stays strong. Everything else should stay as peeled relief.

  6. Light it and photograph the texture

    Set a warm LED puck or a small string of LEDs inside, never a candle, since relief carvings dry out and the low heat protects your thin peeled areas. Place a second light off to one side, because raking side light is what makes all that texture pop into shadow and highlight. Display it indoors away from drafts to slow the drying. Mist it lightly and bag it in the fridge overnight between showings to keep the detail crisp.

Gather your supplies

Check things off as you get ready.

Work on a stable surface, keep your free hand out of the cutting path, and have an adult handle sharp tools.

Three levels of light

  • Leave intact

    The darkest background sky, deep shadow under the trees, and the golfer's shaded back keep their untouched skin.

  • Peel & shade

    The fairway, rough, tree line, and most of the golfer's body get skin-peeled for a mid orange glow.

  • Cut through

    Only the tiny golf ball, if anything, is cut fully through for a single bright point of light.

Learn the carving basics

Before you start cutting

Do I need to cut all the way through anywhere?

Almost never on this design. It is a shaded relief scene, so nearly everything is skin peeling at different depths rather than open cutouts. At most you might pierce the small golf ball clean through for a bright accent, but leaving even that as thin peeled skin is safer for the wall.

How do I keep the thin club and ball arc from breaking?

Leave them as raised ridges of original skin instead of carving them as thin islands. Carve the flesh away around them so they stand proud, which keeps them anchored to the surrounding wall. Avoid undercutting their edges, since that is what makes slim details snap.

Why does the caption say carve the lightest areas deepest?

In relief carving, the thinner the wall, the more light passes through and the brighter it looks. So your brightest highlights, like the ball and cap, need the deepest scraping, while darker zones stay near the surface. Planning your values before you cut keeps this backwards logic from tripping you up.

Your take belongs here, too.

Changed a detail? Made it simpler? Share a photo of your version and tell the community what worked.

Share your pumpkin

More pumpkins like this

You've reached the end · 8 pumpkins
The Patch Report

Fresh pumpkins, in your inbox.

The best new carvings, ideas worth stealing, and how-tos for carving season. Short, seasonal, and gone by November.

A short email during carving season. Unsubscribe anytime. See our privacy policy.