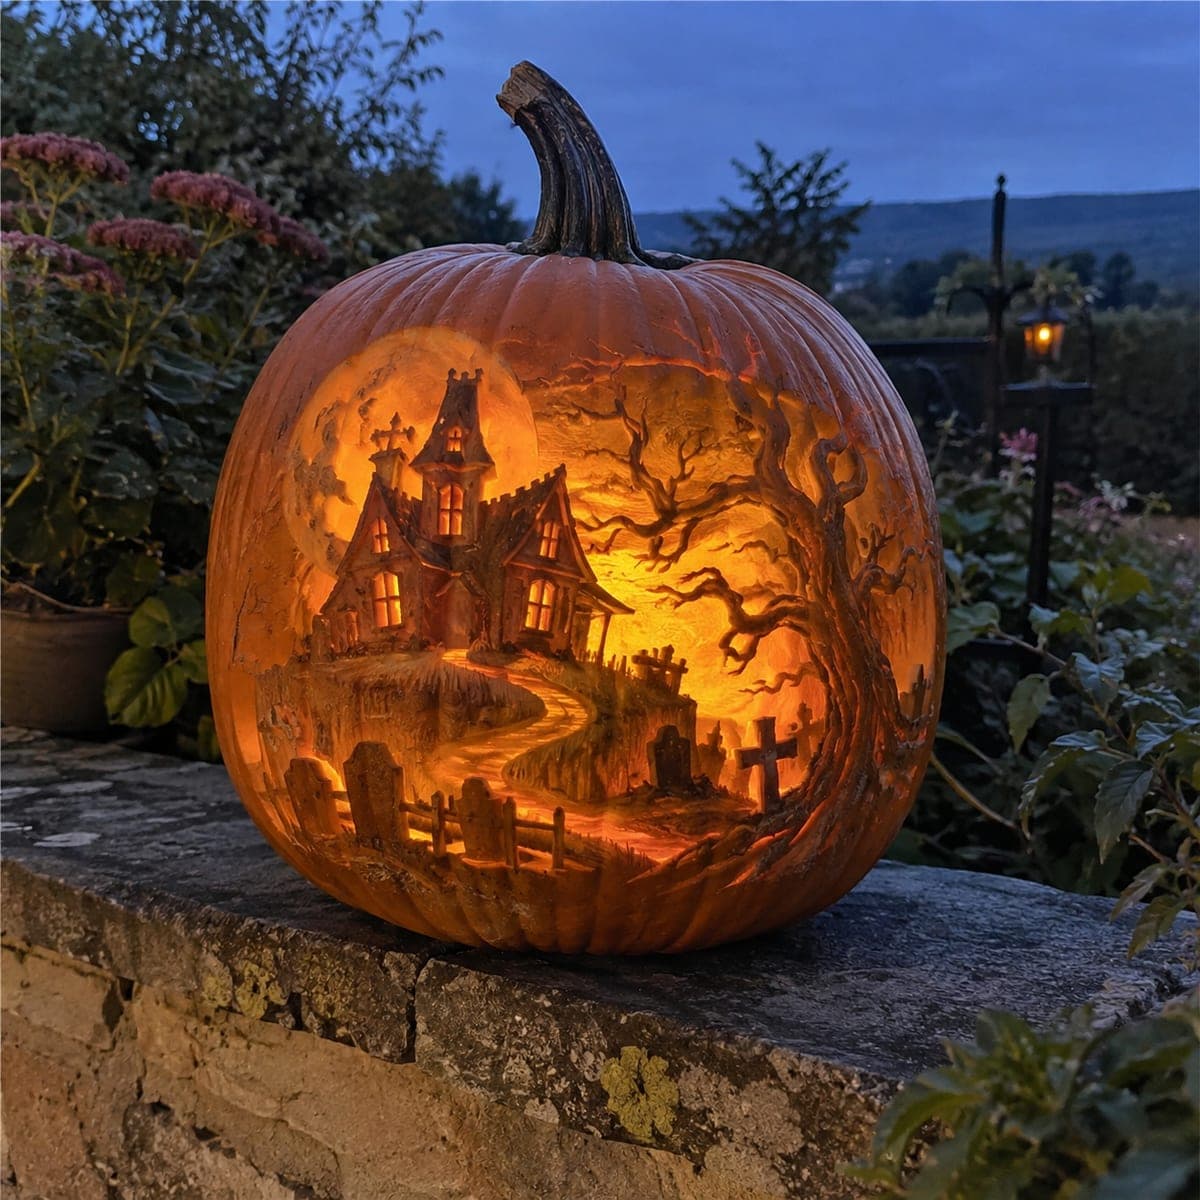
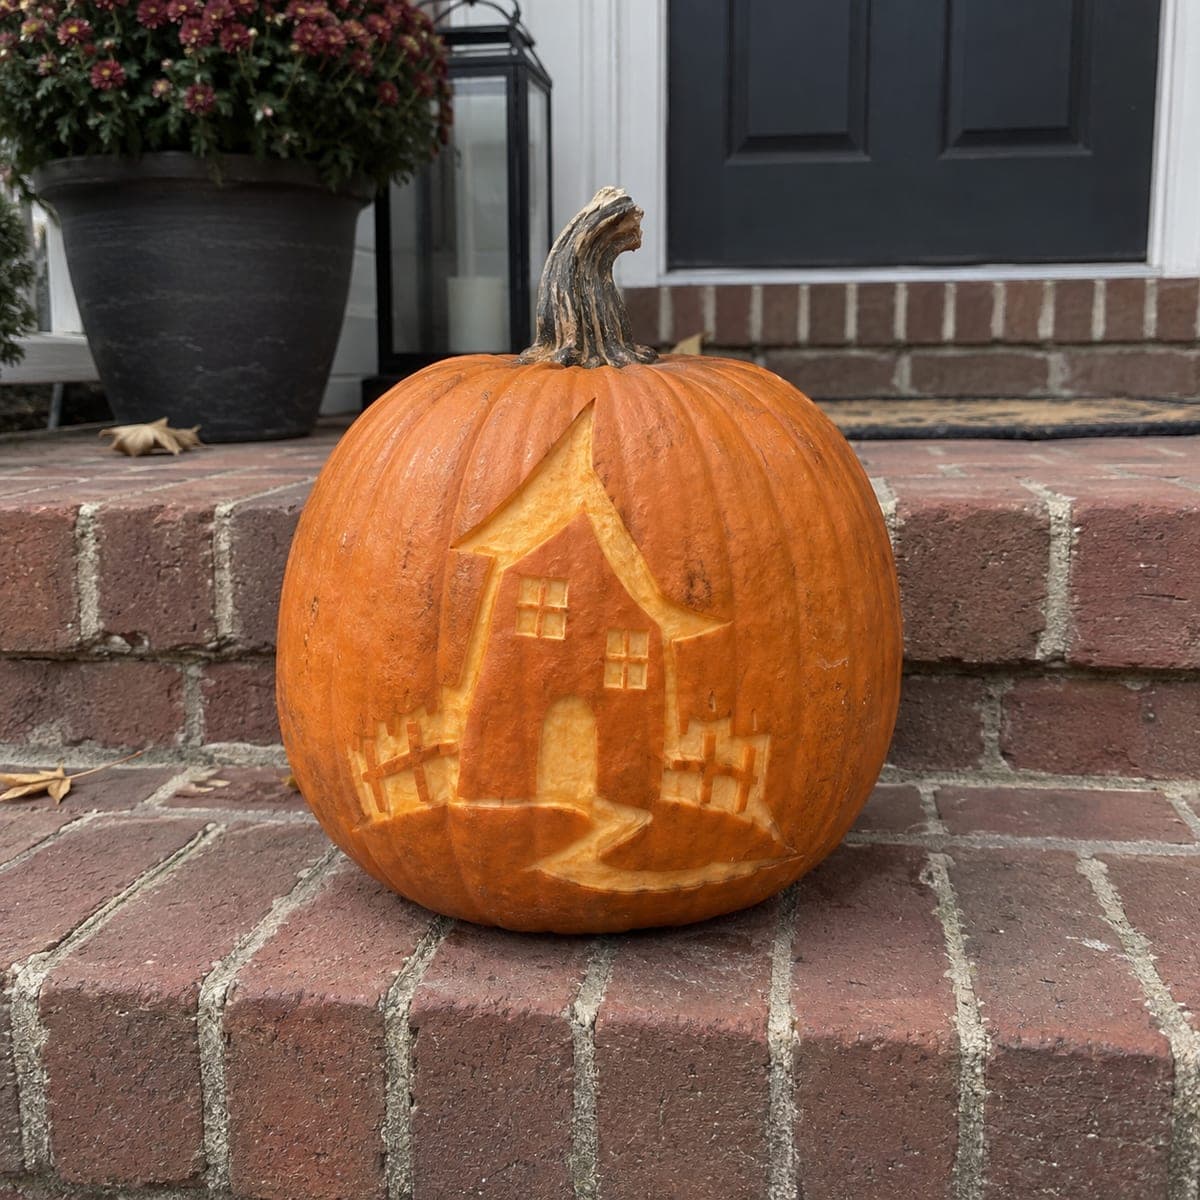
A full haunted house scene wraps this pumpkin: a crooked Victorian mansion glows above a winding path, ringed by gnarled trees, tombstones, and a fence, all carved at cascading depths. The blazing windows and moon are the thinnest cuts, while the trees stay near full thickness to frame the light. Plan it in three layers (bright, mid, dark) before touching a blade, and carve the brightest layer first. This is a weekend project for a patient expert, and worth every hour.
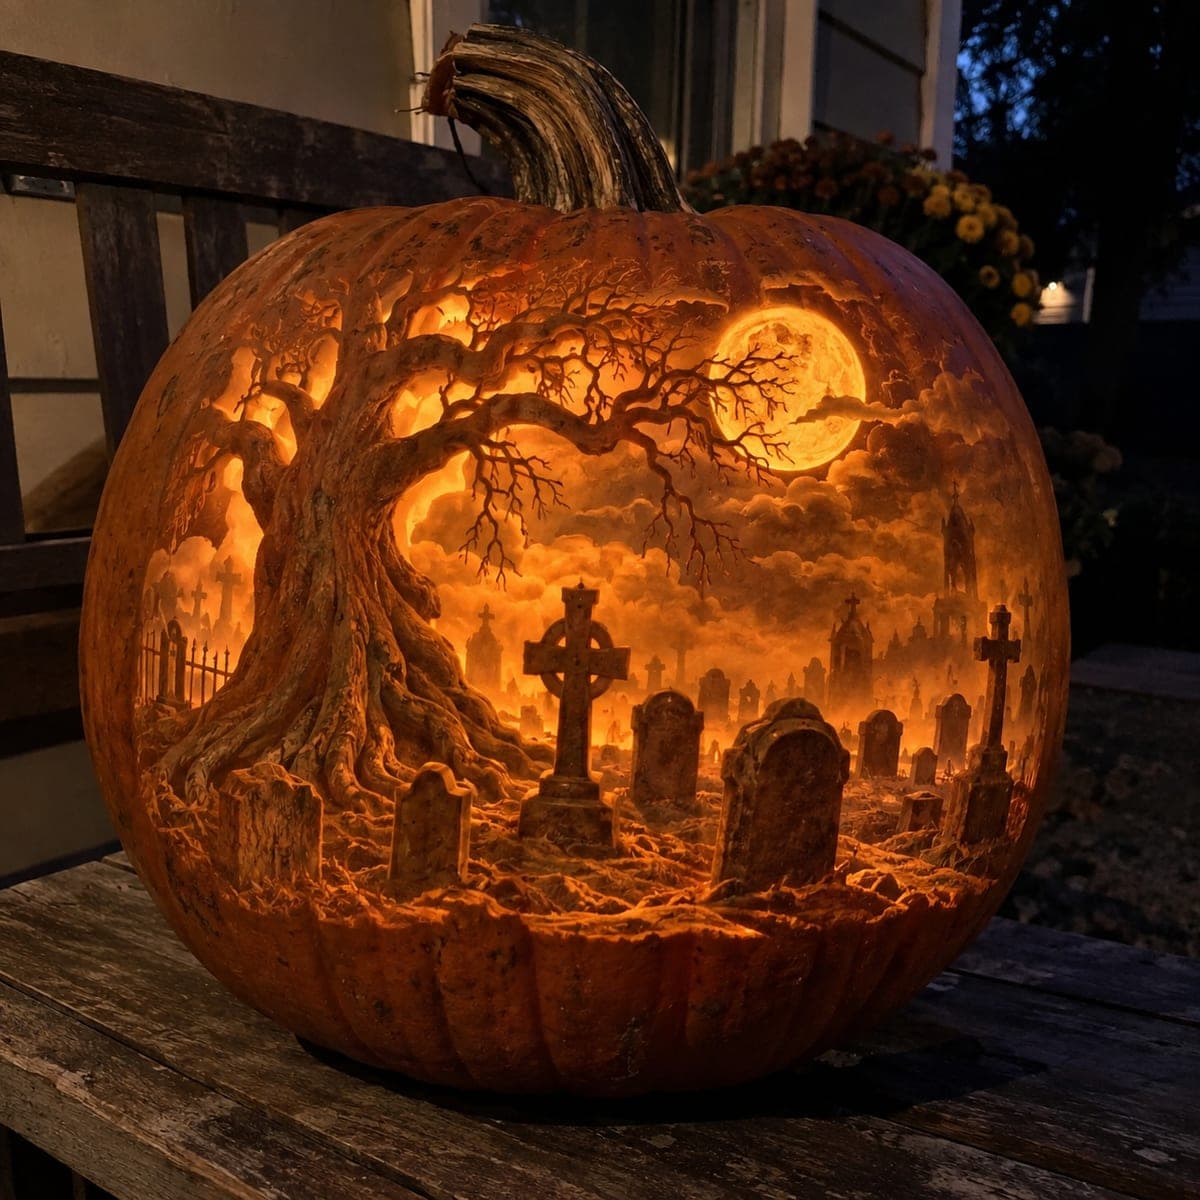
This is an AI-generated concept image: a realistic, carvable design idea rather than a photo of a finished carve. AI concepts are always labeled and sit out the leaderboard and the contest.
The core trick here is relief carving at three depths so a single light source reads as a full night scene. A crooked mansion sits against a glowing moon on the left, framed by twisted trees, tombstones, and a low fence, with a lit path pulling the eye through the middle. Map every element as bright, mid, or dark before you cut, then work from the brightest openings outward so you never undercut a detail you still need.
Written by PumpkinCarvingIdeas.com, inspired by the image above. These are our suggestions, not instructions from the uploader. This approach to the AI concept has not been tested on a real pumpkin.
From pumpkin to porch
1
Plan and transfer the three layers
Since this is an AI concept and no real pumpkin exists, start by choosing a large, tall pumpkin with a smooth flat face for the scene. Sketch or tape a stencil that clearly marks three zones: windows and moon as brightest, path and ground as mid, trees and fence as dark. Use a poker or pin to dot the outlines onto the skin. Color code your zones so you never confuse a peel area with a full cutout.
2
Hollow and thin the carving wall
Cut a lid from the bottom, not the top, so the stem and the crooked chimney stay intact. Scoop the inside and thin only the front carving wall to roughly one inch so the peeled areas will glow evenly. Keep the rest of the shell thick for strength since this design carries a lot of detail. Scrape until the wall feels even to the touch.
3
Cut the brightest openings first
Carve the mansion windows and the full moon all the way through, since these are your thinnest, brightest cuts. Keep each window small and leave thin bridges of skin between the panes so the muntins hold and do not collapse. Cut the moon as one clean disk behind the house. Do the smallest windows before the larger ones so your hand stays steady on the delicate work.
4
Peel the mid glow areas
Skin-peel the winding path, the ground, and the sky around the moon to let a dim orange glow show through. Vary how deep you peel so the path reads brighter than the surrounding grass. Use a gouge or ribbon tool and check often against a light to judge the glow. Peel gradually, because you can always remove more but cannot put skin back.
5
Shade the trees, tombstones, and fence
Leave the twisted trees, tombstones, and fence near full thickness so they stay dark and frame the light. Etch fine bark texture and branch lines with a shallow V-tool for detail without cutting through. Scratch a soft grain into the tombstones and fence rails. These dark silhouettes are what make the scene feel like a graveyard at night, so keep them crisp against the peeled areas.
6
Light it and photograph
Drop in a battery LED, warm white or amber, never a candle, since the thin wall and fine details are fragile. Rotate the light to find the angle that makes the windows and moon pop. Wipe cut edges and coat exposed areas with petroleum jelly to slow drying. Shoot at dusk against a dark background to catch the full glow, as in the concept image.
Gather your supplies
Check things off as you get ready.
Work on a stable surface, keep your free hand out of the cutting path, and have an adult handle sharp tools.
Three levels of light
Leave intact
The twisted trees, tombstones, and low fence stay untouched and dark to frame the scene.
Peel & shade
The winding path, ground, and sky around the moon are skin-peeled for a soft mid glow.
Cut through
The mansion windows and the full moon are cut through for the brightest light.
How do I keep the tiny mansion windows from breaking?
Cut each window small and leave thin skin bridges between the panes to act as muntins. Carve the smallest windows first while your blade and hand are freshest. If a bridge feels weak, widen it slightly rather than risk the whole wall crumbling.
Why carve the bright layer before the dark trees?
The windows and moon are your thinnest cuts, so doing them first keeps the wall strong while you work the delicate openings. Once big openings exist, the shell flexes and fine work gets riskier. The trees stay near full thickness, so they are the sturdiest part and can wait until last.
How do I get the trees to read as dark shapes?
Leave them at nearly full pumpkin thickness so almost no light passes through. Etch only shallow bark and branch texture with a V-tool for detail. The contrast between these solid silhouettes and the peeled glow behind them is what sells the nighttime graveyard feel.
Your take belongs here, too.
Changed a detail? Made it simpler? Share a photo of your version and tell the community what worked.
 AI
AI
Comments (0)