Halloween Pumpkin Carving Contest · Starts October 1st · $500 in prizes
← Back to ideas
@ai_concepts
Sep 11, 2026
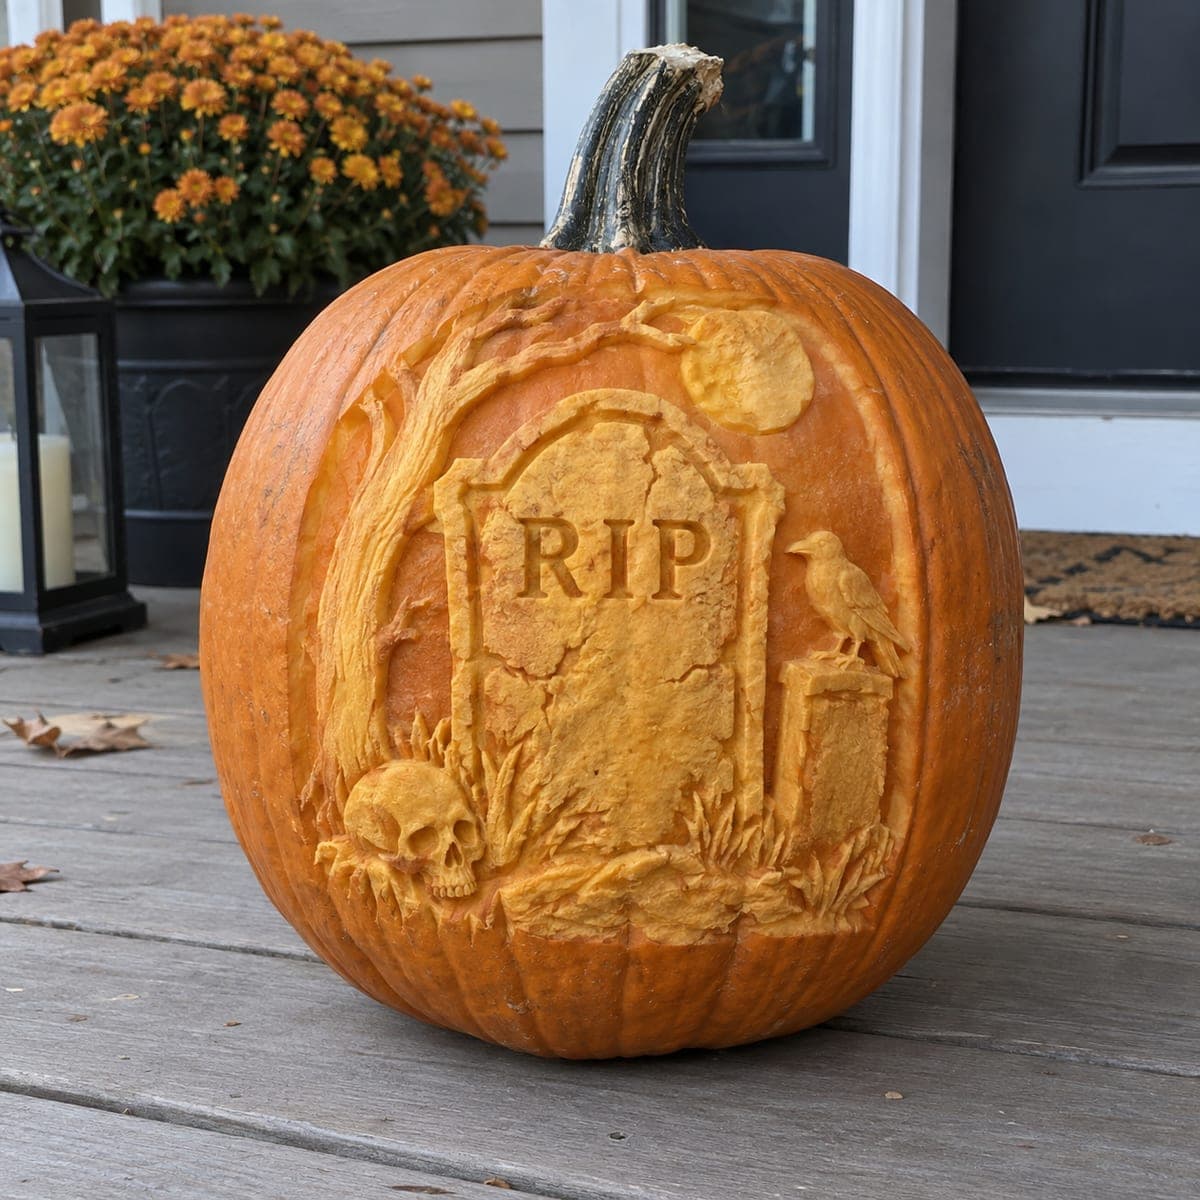
RIP Tombstone Graveyard Scene Relief PumpkinAI
0

RIP Tombstone Graveyard Scene Relief Pumpkin

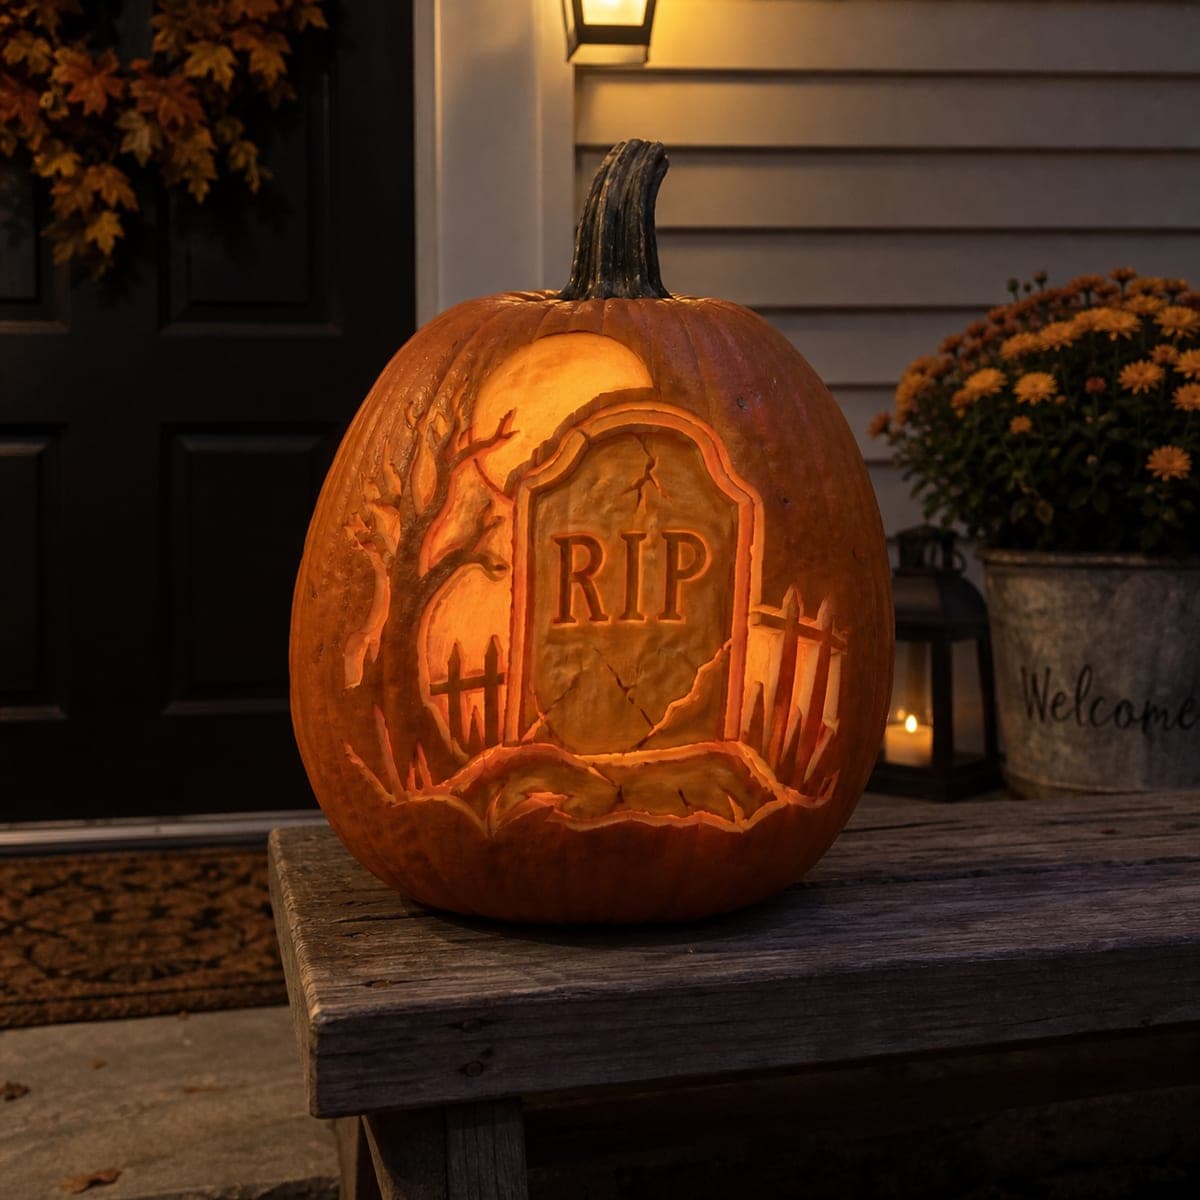
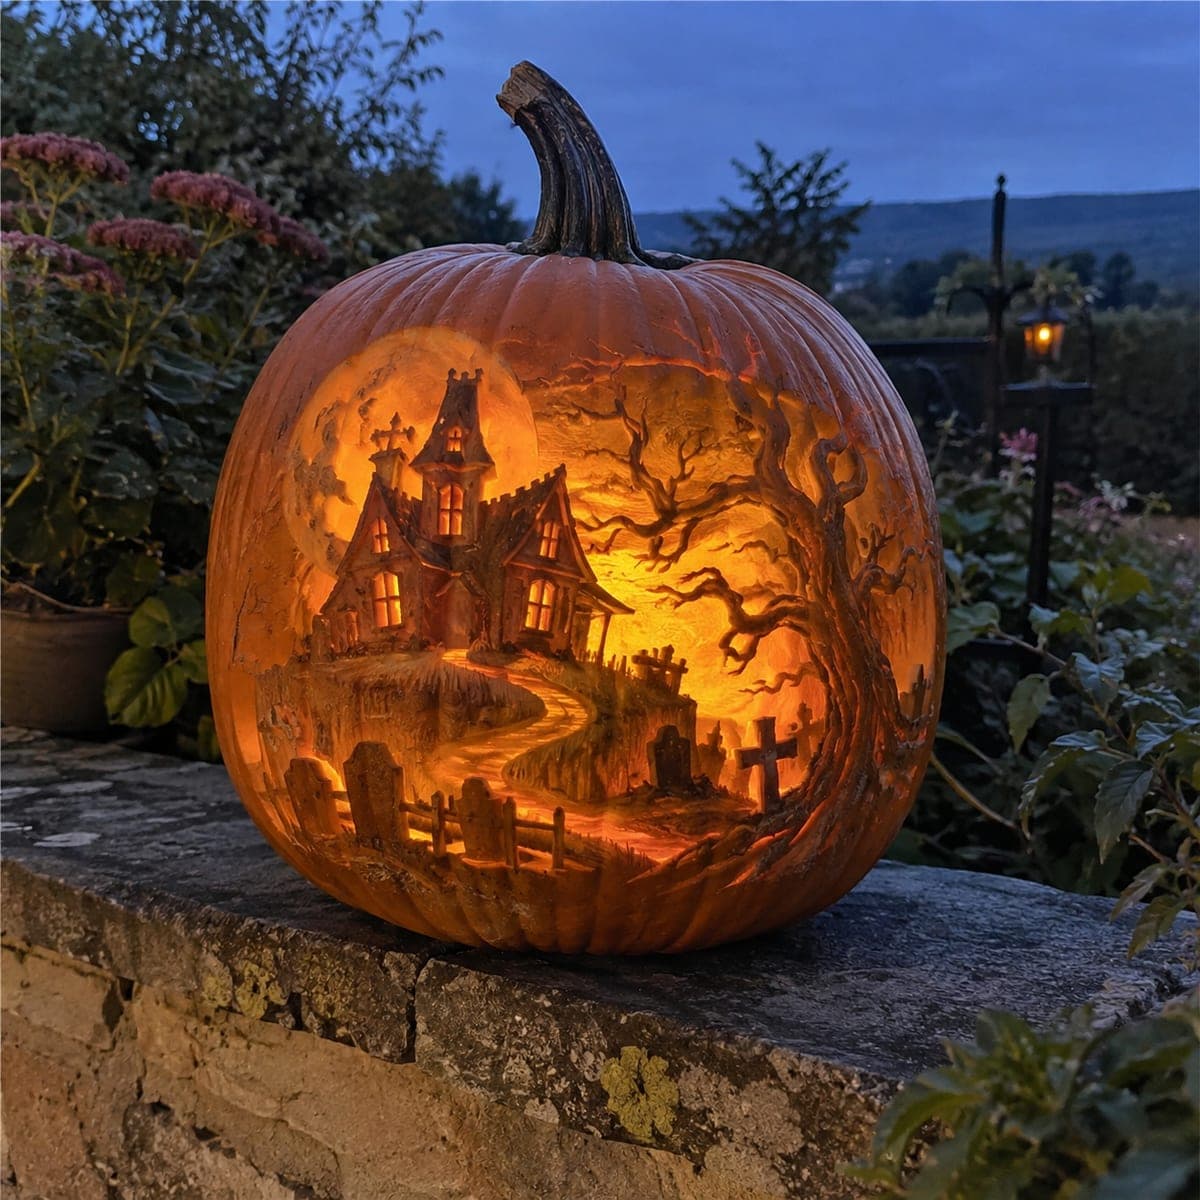
A full graveyard unfolds across this pumpkin: an RIP headstone under a bare tree, a crow perched on a stone pillar, a skull half-buried in the grass, and a moon overhead. Everything is relief-carved, with the background pumpkin skin left intact so the scene reads like sculpture in daylight, no interior light required. Rough out the big shapes with a knife before refining the lettering and grass with a V-gouge.

This is an AI-generated concept image: a realistic, carvable design idea rather than a photo of a finished carve. AI concepts are always labeled and sit out the leaderboard and the contest.

No ratings yet · Sign in to rate
Comments (0)

  • No comments yet — be the first.

Save without an account. Sign in to like or comment.

Our tips for carving a similar design

The core trick here is relief carving: instead of cutting all the way through, you peel and shade the pumpkin skin at different depths so the graveyard reads like a raised sculpture in daylight. The background stays as untouched skin, the tree and tombstone sit slightly proud, and the deepest shadows go where you want contrast. Plan the whole scene first so the headstone, crow pillar, skull, and moon each get their own depth layer.

Written by PumpkinCarvingIdeas.com, inspired by the image above. These are our suggestions, not instructions from the uploader. This approach to the AI concept has not been tested on a real pumpkin.

From pumpkin to porch

  1. Pick a sturdy pumpkin and transfer the scene

    Choose a large, evenly shaped pumpkin with a smooth face and firm skin, since relief work needs surface to carve into. Since this is an inspiration concept and no real pumpkin exists, you are building a similar scene from scratch. Tape your stencil flat over the front and poke or trace the main outlines: tombstone, tree, crow and pillar, skull, moon, and the grass line. Leave the pumpkin whole and do not cut a lid, because relief carving keeps the shell intact for strength.

  2. Score all the outlines first

    With a detail knife, lightly score along every traced line to lock in the borders of each shape. This gives you clean edges to carve up to and keeps one area from bleeding into another. Work slowly around the RIP lettering and the crow, since those are the smallest shapes and easiest to overcut. Keep the pumpkin steady on a towel and always cut away from your hand.

  3. Rough out the big shapes with skin removal

    Switch to a ribbon or scoop tool and start peeling the outer skin off the background around the tombstone, moon, and tree so those subjects stand slightly raised. Remove skin in shallow, even passes rather than digging deep in one spot. The goal is layers: leave the tombstone and moon highest, drop the background behind them a little lower. Step back often to check that the raised shapes still read clearly.

  4. Build depth and shadow

    Now carve deeper in the recesses to create shadow: behind the tree branches, under the tombstone arch, and around the skull so it looks half-buried in grass. Shave the tombstone face thin enough to glow faintly while leaving cracks and edges thicker for contrast. Keep the crow and the pillar as attached raised islands, carving around them rather than under them so nothing snaps off. Rounded scoops read as soft moonlit surfaces, sharp cuts read as hard stone.

  5. Refine lettering, grass, and fine texture

    Take a small V-gouge and cut the RIP letters as clean recessed grooves, going slow so the serifs stay crisp. Use the same gouge for the grass blades, the bare tree branches, and the feather texture on the crow, keeping strokes shallow and tapered. Add fine cracks to the tombstone and a little texture to the skull for realism. Brush away shavings often so you can see your actual depth.

  6. Light it and photograph

    Because this is a relief scene, it reads best in daylight or with a light aimed at the front, not a light inside. Set it on a porch and use a small LED spotlight or the low afternoon sun to rake across the surface and pop the shadows. Skip candles entirely; a battery LED is safer and will not scorch the thin tombstone area. Mist the cut surfaces with water and rub on a little petroleum jelly to slow browning, then take your photo the same day for the sharpest detail.

Gather your supplies

Check things off as you get ready.

Work on a stable surface, keep your free hand out of the cutting path, and have an adult handle sharp tools.

Three levels of light

  • Leave intact

    The background sky, distant ground, and the darkest recesses behind the tree stay as untouched skin for depth.

  • Peel & shade

    The tombstone face, moon, crow, pillar, and skull get skin peeled at varying depths for the soft raised glow.

  • Cut through

    Reserve any full cutouts for the deepest shadow accents only, such as narrow gaps under the tombstone arch, since this design is meant to be seen lit from the front.

Learn the carving basics

Before you start cutting

Do I really carve this without cutting all the way through?

Mostly yes. This is a relief design, so the effect comes from peeling and shading the skin at different depths rather than making open holes. You can add a few deep cuts for the darkest shadows, but keep the shell intact so the scene reads as a raised sculpture in daylight.

How do I keep the crow and pillar from breaking off?

Treat them as attached raised islands and carve around them, never under them. Leave a solid base of pumpkin flesh beneath the crow so it stays connected to the pillar and the pillar stays connected to the wall of the pumpkin. Work these small shapes last, after the surrounding areas are already lowered.

Will this last as long as a regular carved pumpkin?

Relief carving actually holds up a bit longer because the shell stays whole, but the thin peeled areas still dry and brown. Mist the cut surfaces with water, rub on a thin coat of petroleum jelly, and store it somewhere cool overnight. Plan to display and photograph it within a day or two of carving for the crispest detail.

Your take belongs here, too.

Changed a detail? Made it simpler? Share a photo of your version and tell the community what worked.

Share your pumpkin

More pumpkins like this

You've reached the end · 8 pumpkins
The Patch Report

Fresh pumpkins, in your inbox.

The best new carvings, ideas worth stealing, and how-tos for carving season. Short, seasonal, and gone by November.

A short email during carving season. Unsubscribe anytime. See our privacy policy.