Halloween Pumpkin Carving Contest · Starts October 1st · $500 in prizes
← Back to ideas
@ai_concepts
Sep 25, 2026
Easy Art the Clown Terrifier Pumpkin CarvingAI
0

Report this carving

Tell us what is wrong. Reports are private.

Easy Art the Clown Terrifier Pumpkin Carving

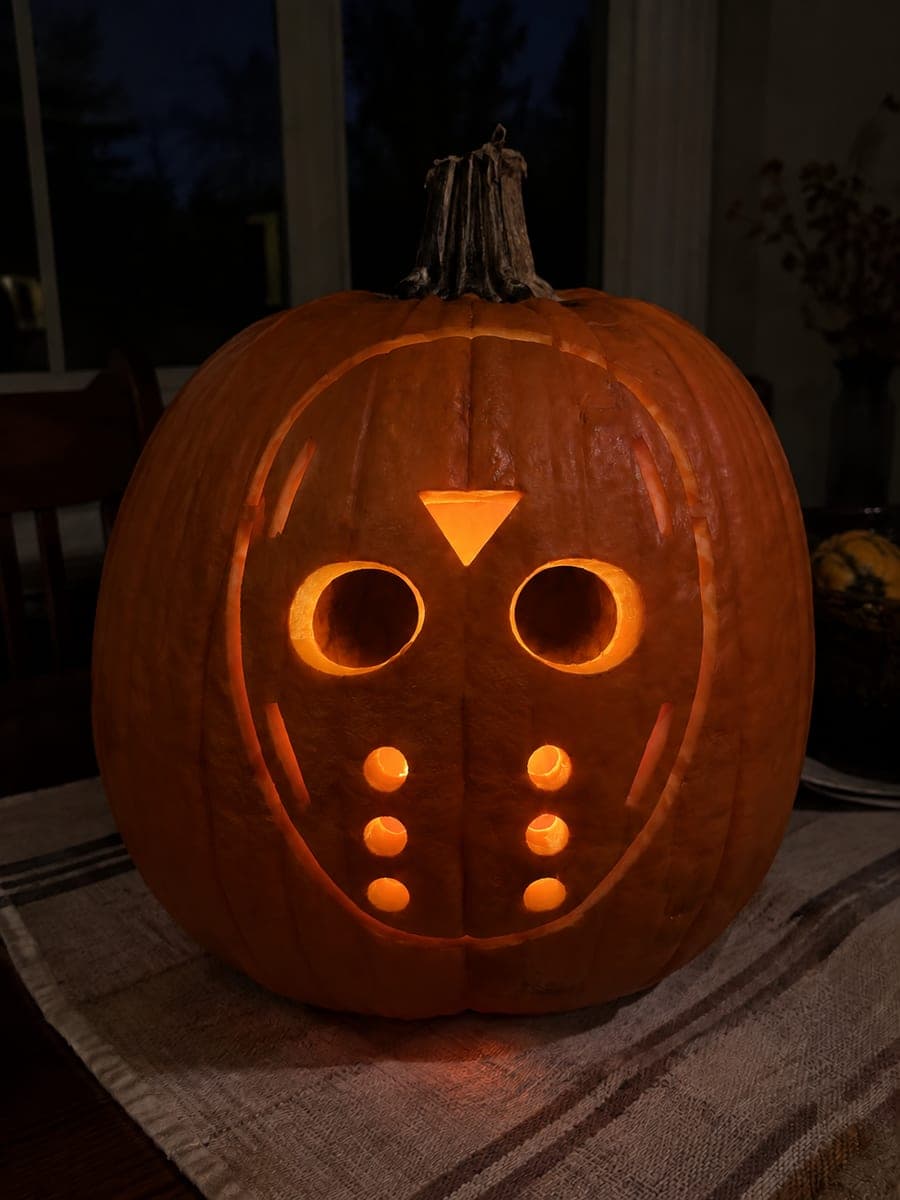
Art the Clown's angular eyes and broad grin pierce a pumpkin in this easy terrifier pumpkin carving idea, with block teeth rooted to the lip, broad connected cheek and nose rind, and a hat silhouette added as an empty cutout above the face. Brows, teardrop accents, and contour lines are scored shallow to complete the look without weakening the rind. Begin with the hat cutout at the top before moving to the face to establish overall proportions. A warm amber bulb inside illuminates the open mouth and teardrop engravings for a deeply unsettling effect.

No ratings yet · Sign in to rate

Comments (0)

  • No comments yet — be the first.

Save without an account. Sign in to like or comment.

Our tips for carving a similar design

This easy Art the Clown design combines a top hat silhouette cutout with fully open angular eye holes and a broad block-toothed grin, using the wide connected cheek and nose rind as the structural anchor throughout. Brows, teardrop accents, and contour lines are scored shallow to complete the portrait without weakening the rind. Cutting the hat cutout first establishes the overall height of the composition before committing to the face proportions below.

From pumpkin to porch

  1. Hollow and prepare

    Cut a back or bottom opening and hollow the pumpkin clean, leaving about 1 inch of wall on the front face. A thick front wall is especially important in this design because the hat cutout removes a significant section of the upper rind in one step. Dry the interior thoroughly before starting the design transfer.

  2. Transfer the design

    Center the Art the Clown template on the front face, placing the hat silhouette at the very top and the grin in the lower third. Perforate the outline with a stylus, marking both hollow areas and shallow-scoring zones in separate patterns. The broad cheek and nose rind between all openings should measure at least 1.5 cm everywhere.

  3. Cut the hat silhouette

    Carve the top hat shape as a fully open cutout using a thin pumpkin saw, working around the outer brim and crown line. The hat silhouette sits above the face proper, so this cut does not compromise the face rind below it. Remove the hat piece in one or two segments and set it aside.

  4. Carve the eyes and grin

    Cut the two angular eye holes, keeping each cut angular and sharp-cornered to match Art the Clown's distinctive look. For the grin, cut the outer lip line and then the gaps between the block teeth, working from the outer corners inward. Keep each block tooth rooted to the upper lip in one connected strip.

  5. Score brows, teardrops, and contour

    Use a linoleum cutter or V-gouge to score the arched brow lines above the eyes, the teardrop shapes below them, and any cheek contour lines. Keep all scoring to one-third of the rind depth. Brow and teardrop lines are most effective when carved as clean defined channels rather than rough scratches.

  6. Light and photograph

    Insert a warm amber LED and check the display in a dark room. The teardrop scoring and brow lines should glow softly against the dark face rind. For the best photo, use a single warm backlight and shoot from slightly below so the hat silhouette frames the glowing face above.

Written with AI to match this design

Gather your supplies

Check things off as you get ready.

Work on a stable surface, keep your free hand out of the cutting path, and have an adult handle sharp tools.

Three levels of light

  • Leave intact

    Broad cheek and nose rind, hat crown, and forehead, staying dark to frame the glowing elements

  • Peel & shade

    Scored brow furrows, teardrop marks, and cheek contour lines, glowing softly at mid-level

  • Cut through

    Open hat silhouette at the top, angular eye holes, and the block-toothed grin, all blazing with full light

Learn the carving basics

Before you start cutting

How do I keep the block teeth from breaking when I cut the grin?

Each block tooth is a small rectangle that stays connected along its top edge to the upper lip strip. Cut the lower grin line first across the full width, then cut the vertical lines between each tooth from the lower cut upward to the upper lip. This sequence means you are always cutting toward a solid edge rather than through a free-standing thin piece.

The hat silhouette has a long thin brim line. How do I cut it without cracking?

Use a very thin detail saw and make slow, deliberate cuts along the brim line rather than trying to saw quickly. Longer cuts through thin rind sections benefit from multiple gentle passes rather than one forceful stroke. If the brim is especially long, cut from each end toward the center so neither end becomes a lever against the other.

Can I add Art the Clown's white face makeup look to the carved pumpkin?

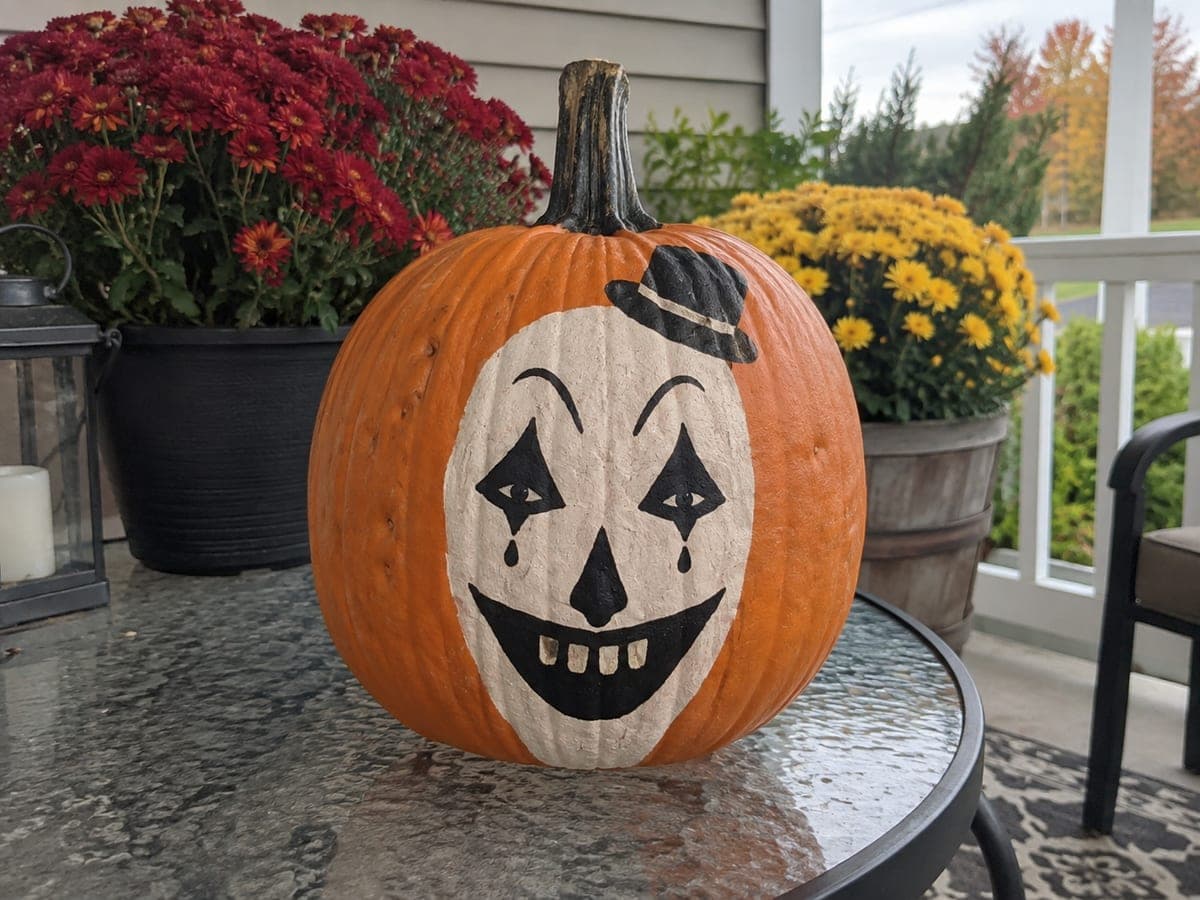
Yes, after carving you can brush a thin coat of white or pale cream acrylic paint over the retained face rind between the openings. Let the carved edges stay natural orange to contrast with the painted surface. This two-tone effect adds the black-and-white clown palette without interfering with the glow.

Your take belongs here, too.

Changed a detail? Made it simpler? Share a photo of your version and tell the community what worked.

Share your pumpkin

More pumpkins like this

You've reached the end · 8 pumpkins
The Patch Report

Fresh pumpkins, in your inbox.

The best new carvings, ideas worth stealing, and how-tos for carving season. Short, seasonal, and gone by November.

A short email during carving season. Unsubscribe anytime. See our privacy policy.