Halloween Pumpkin Carving Contest · Starts October 1st · $500 in prizes
← Back to ideas
@ai_concepts
Sep 25, 2026
Easy Jason Voorhees Hockey Mask PumpkinAI
0

Report this carving

Tell us what is wrong. Reports are private.

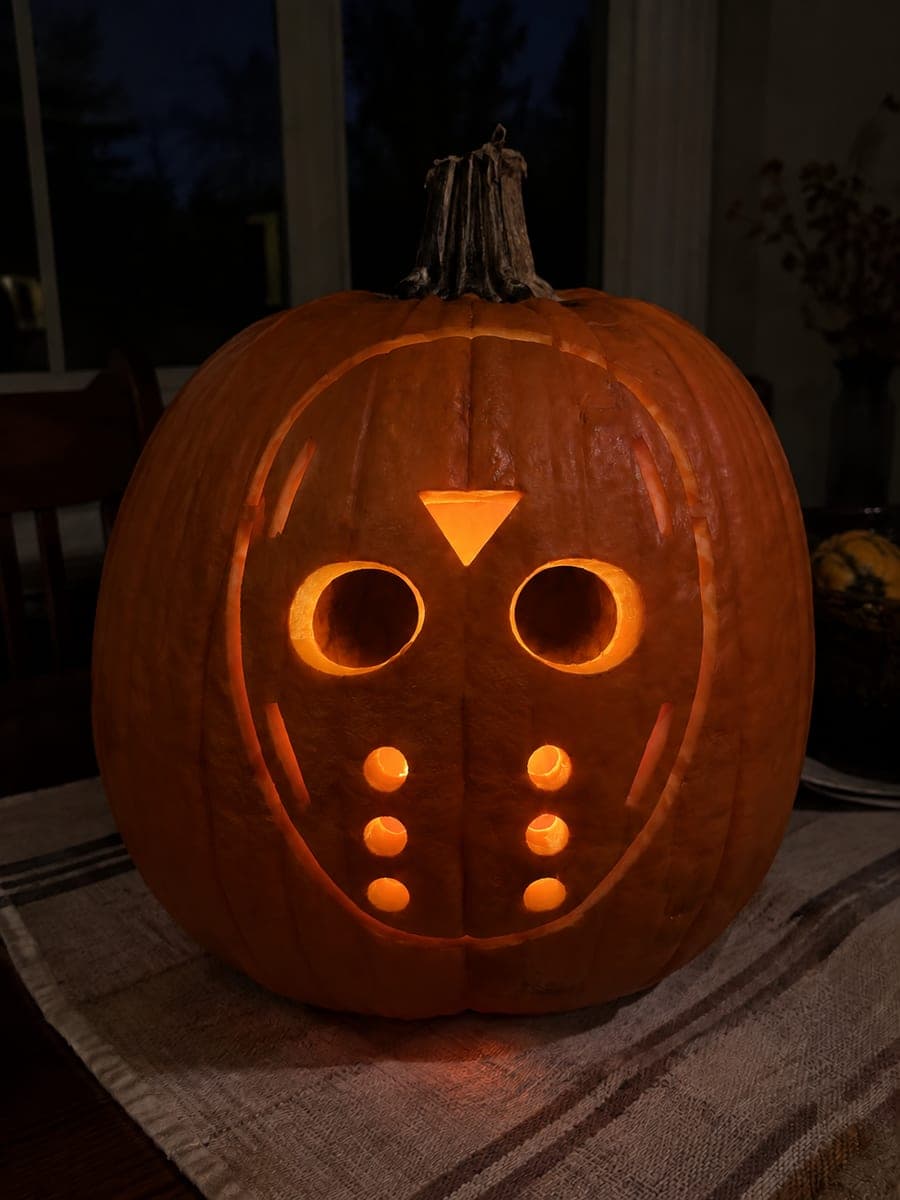
Easy Jason Voorhees Hockey Mask Pumpkin

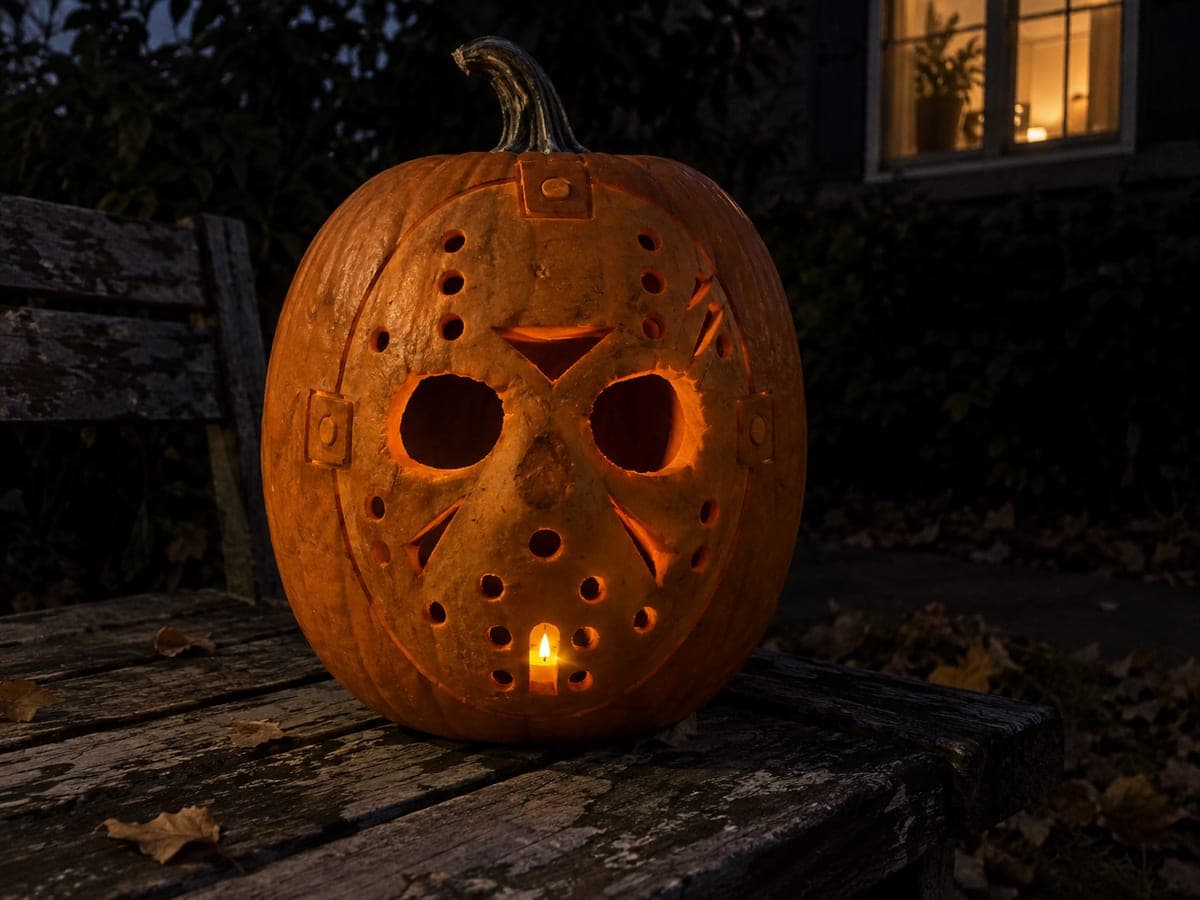
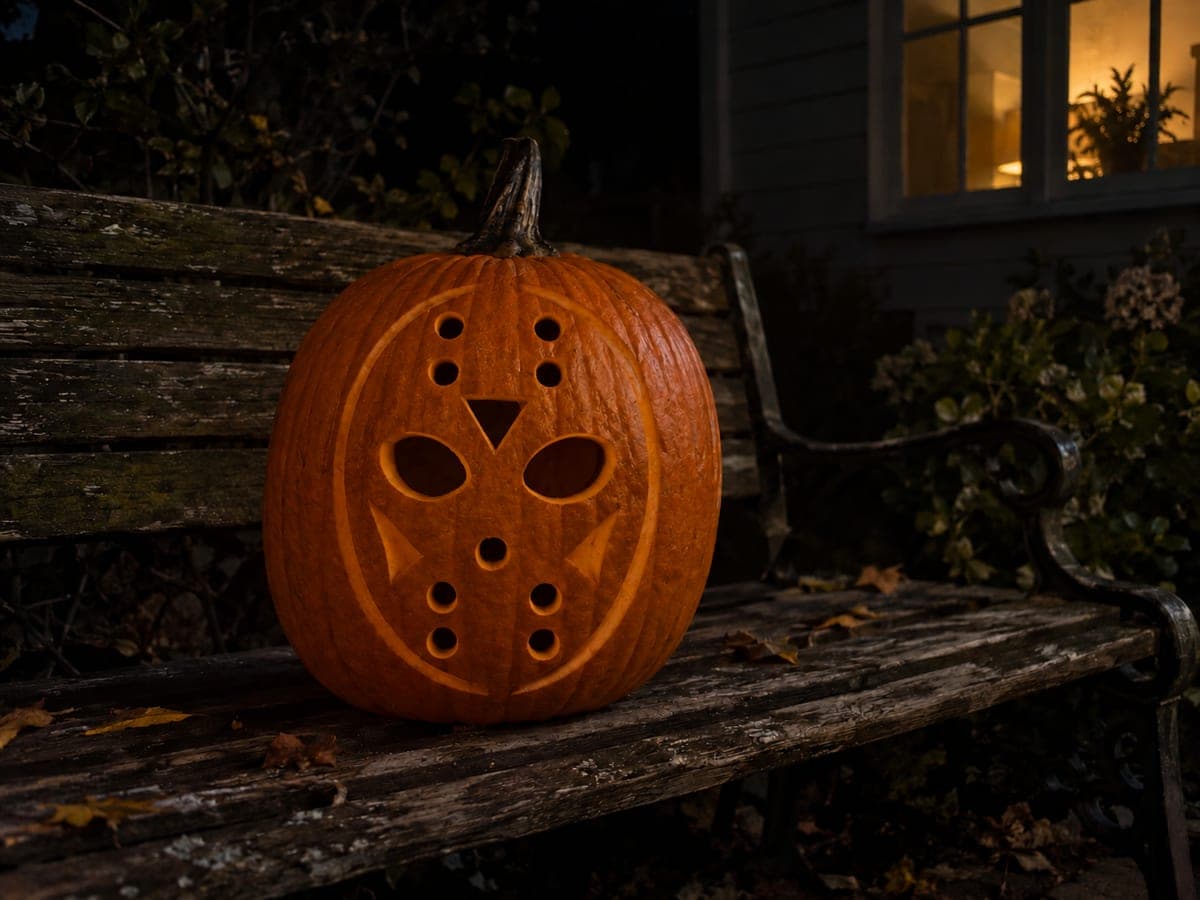
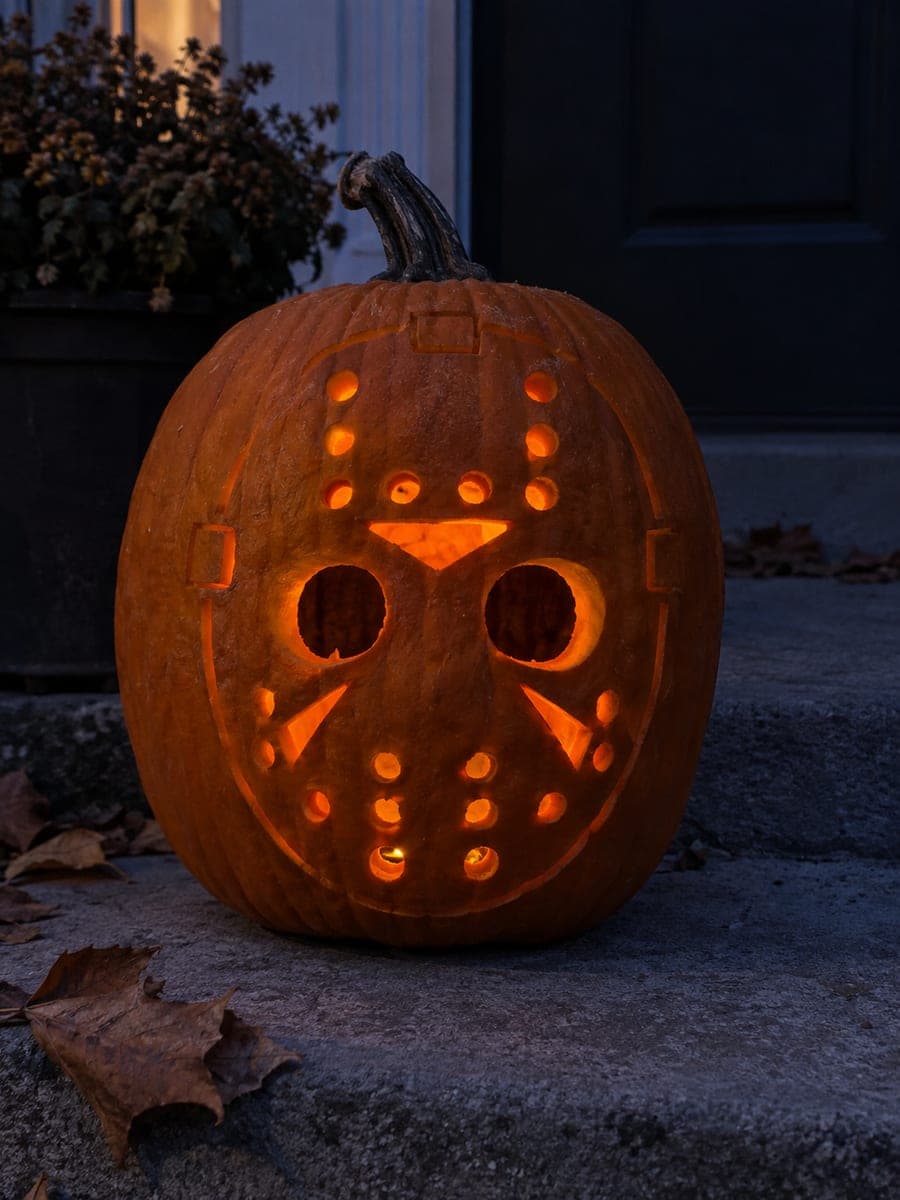
Jason Voorhees's hockey mask glows through a pumpkin with open eye sockets and separated vent holes set against a broad retained rind in this easy jason voorhees pumpkin carving idea, with mask border, straps, and triangle accents kept as shallow-backed carvings. The wide connected rind makes this a structurally sound design even for first-time carvers working with the vent details. Cut the eye sockets first, then the vent holes, before scoring the surface accents with a small V-gouge. Add a battery-powered flickering candle inside to mimic the unstable lighting of a horror film setting.

No ratings yet · Sign in to rate
Comments (0)

  • No comments yet — be the first.

Save without an account. Sign in to like or comment.

Our tips for carving a similar design

Wide open eye sockets and cleanly separated vent holes are the light sources, while the oval mask border, strap lines, and triangle chevron accents stay as shallow-backed scoring. The broad connected rind between every opening makes this one of the most structurally forgiving horror designs at easy difficulty. Score the surface detail before cutting any holes so the rind stays firm throughout.

From pumpkin to porch

  1. Gut and transfer the design

    Clean the pumpkin and transfer the hockey mask design with a pin tool. Mark the oval mask border, both eye sockets, all vent holes, the strap positions, and chevron accent lines. Use different pin densities for scored versus cut-through elements so you can identify them at a glance.

  2. Score the oval border

    Using a V-gouge, score the oval mask border as a continuous shallow groove at one-third rind depth. Keep the stroke width and depth consistent all the way around. This border defines the mask's edge visually without removing structural rind.

  3. Score the straps and chevron accents

    Score the strap lines and triangle chevron accents as shorter, parallel shallow grooves. The straps run from the edge of the mask toward the outer rind and the chevron accents sit on the forehead area. Keep all scoring at one-third depth and work with confident single strokes.

  4. Cut the eye socket openings

    Use a thin pumpkin saw to cut the two eye sockets as elongated oval or rounded-rectangle shapes. Cut each socket's outer edge first, then the inner curve, and push the piece through from inside to free it. Keep the bridge between the sockets at least half an inch.

  5. Cut the vent holes

    Cut each vent hole individually. Vent holes are small rounded squares or circles, so use a narrow detail blade and cut in a small loop for each one. Push each plug through from outside. Space the holes to match the template and confirm at least a half-inch of rind between each hole.

  6. Light with a flickering candle and display

    Insert a battery-powered flickering LED candle inside the pumpkin. The flickering effect mimics the unstable lighting common in horror movie settings. Display on a step or ledge where viewers can see the scored strap details as well as the glowing vent holes.

Written with AI to match this design

Gather your supplies

Check things off as you get ready.

Work on a stable surface, keep your free hand out of the cutting path, and have an adult handle sharp tools.

Three levels of light

  • Leave intact

    The broad central mask rind between openings and all outer rind outside the scored border remain dark.

  • Peel & shade

    The scored oval border, strap lines, and chevron accents glow as faint shallow grooves.

  • Cut through

    Both eye sockets and all vent holes are cut fully through.

Learn the carving basics

Before you start cutting

How do I keep the vent holes evenly spaced without a template?

Mark the vent hole centers with a pin tool before cutting, using a ruler to measure equal spacing between them. Three equally spaced holes in a horizontal row is a common hockey mask pattern. Mark all holes first, step back to check they look balanced, then cut. It is much easier to adjust a pin mark than a cut hole.

Can I use a drill bit for the vent holes instead of a saw?

A half-inch spade bit on a handheld drill creates very clean, round vent holes and is faster than sawing for this step. Drill from the outside inward, holding the pumpkin still on a non-slip mat. Clear the plug from inside the pumpkin before drilling adjacent holes. This is a very effective approach for beginners who find circular sawing difficult.

The scored chevrons are hard to see in daylight. Will they show at night?

Scored grooves become significantly more visible at night when the light inside the pumpkin creates contrast between the full-depth rind and the shallower grooves. If you want them more visible in daylight, go slightly deeper on a second scoring pass, staying under half the rind depth. You can also apply a light wash of dark paint into the grooves, wipe the surface clean, and let the paint settle into the scored lines for contrast.

Your take belongs here, too.

Changed a detail? Made it simpler? Share a photo of your version and tell the community what worked.

Share your pumpkin

More pumpkins like this

You've reached the end · 8 pumpkins
The Patch Report

Fresh pumpkins, in your inbox.

The best new carvings, ideas worth stealing, and how-tos for carving season. Short, seasonal, and gone by November.

A short email during carving season. Unsubscribe anytime. See our privacy policy.