Halloween Pumpkin Carving Contest · Starts October 1st · $500 in prizes
← Back to ideas
@ai_concepts
Sep 25, 2026
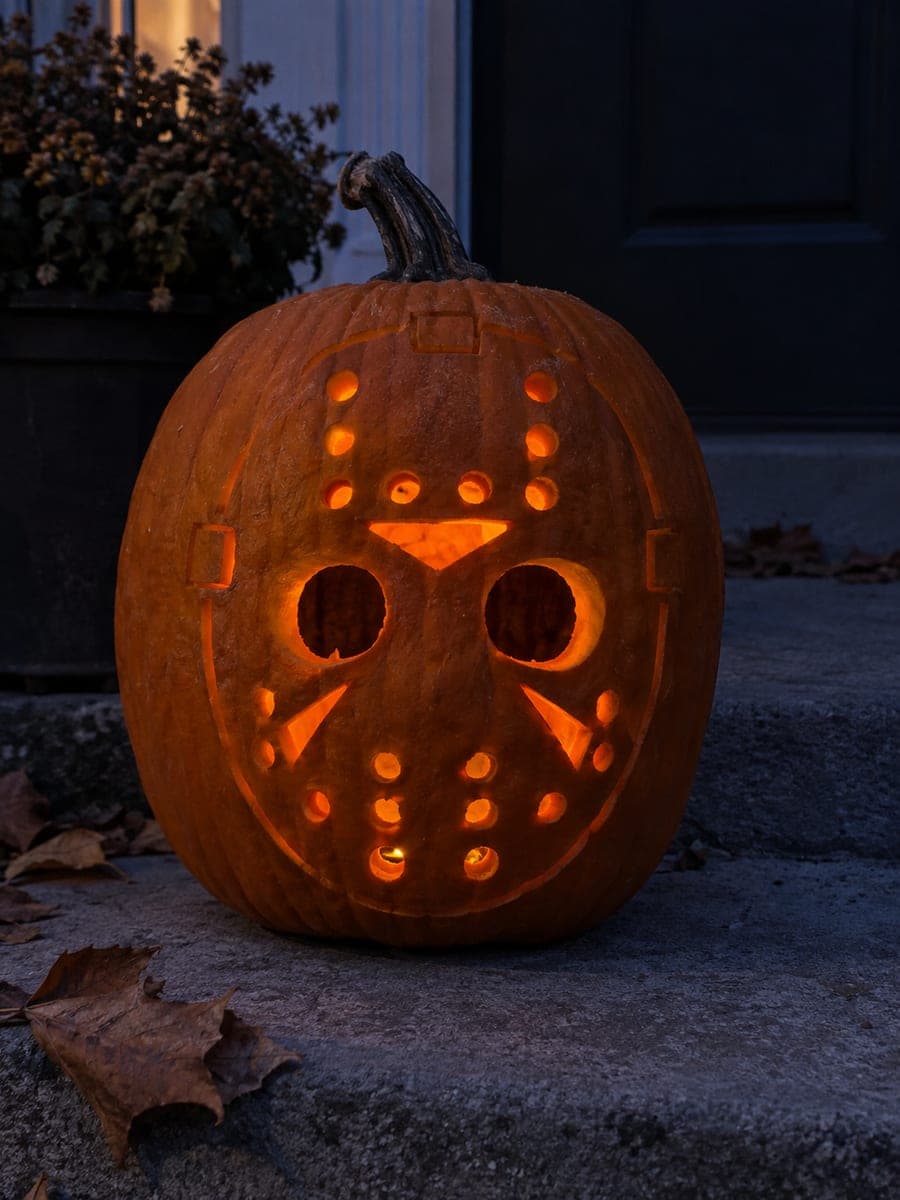
Hard Jason Voorhees Jack-O-Lantern Hockey MaskAI
0

Report this carving

Tell us what is wrong. Reports are private.

Hard Jason Voorhees Jack-O-Lantern Hockey Mask

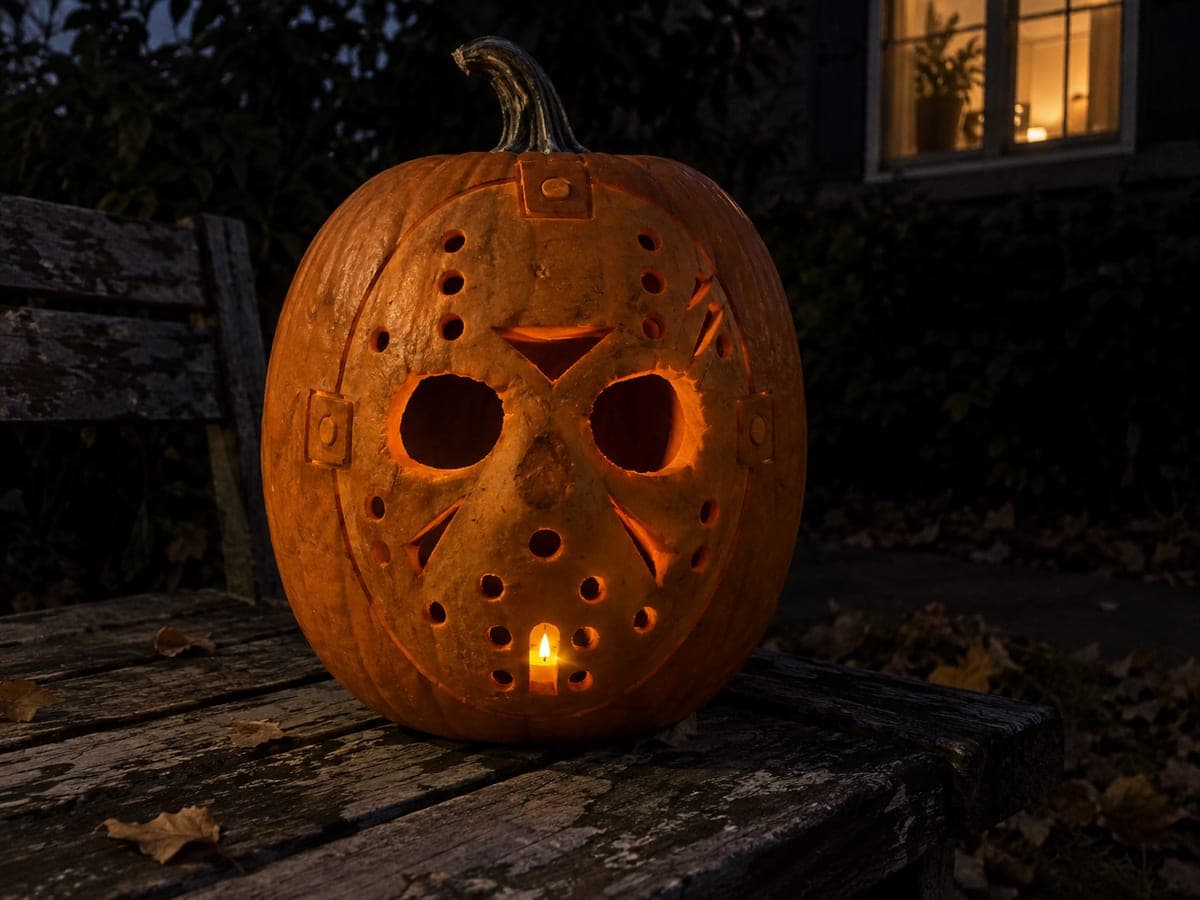
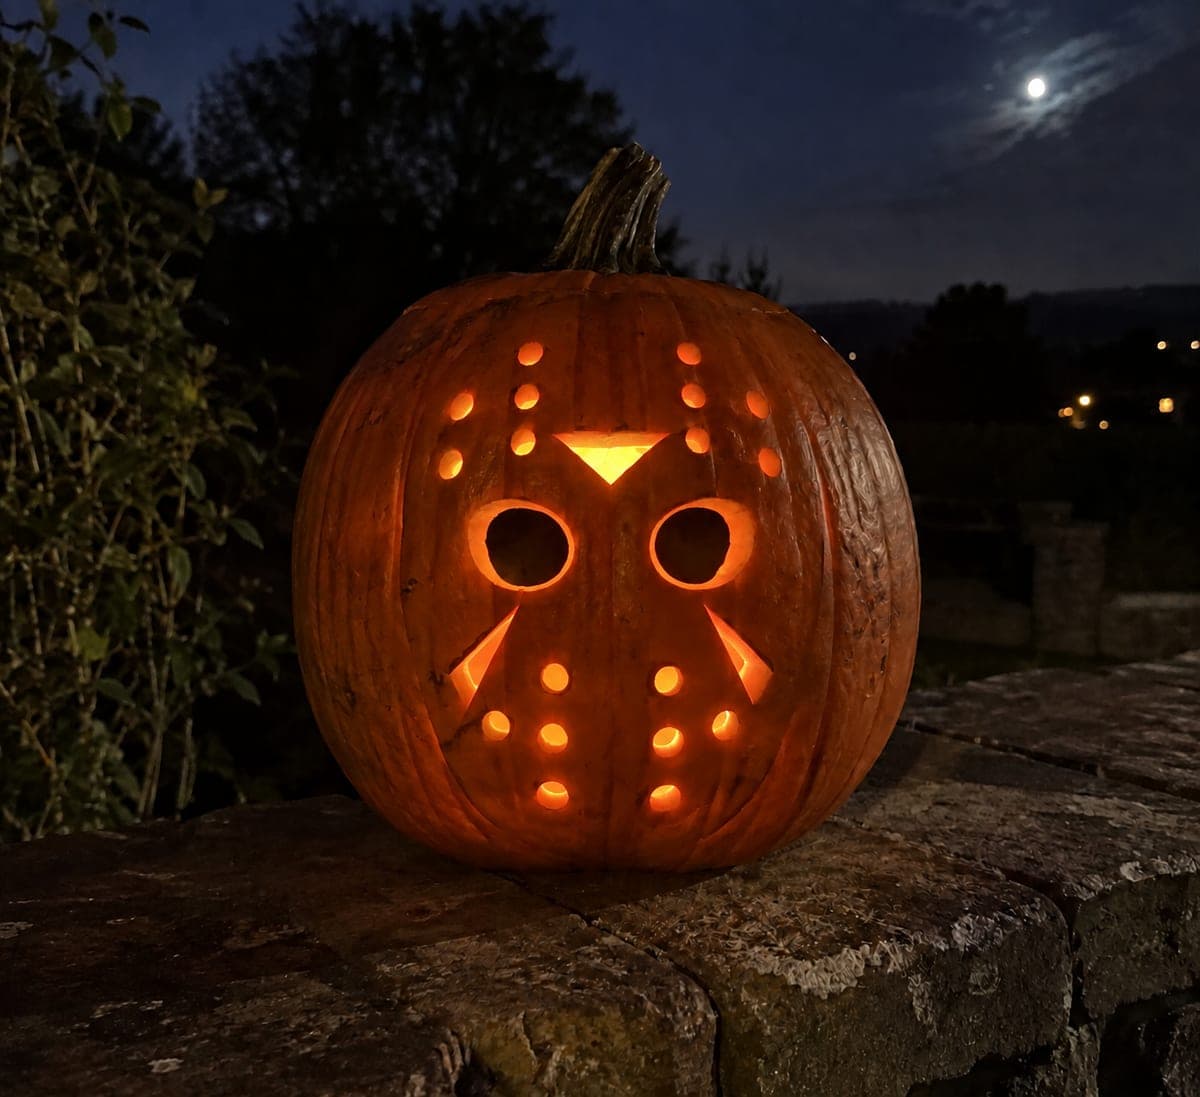
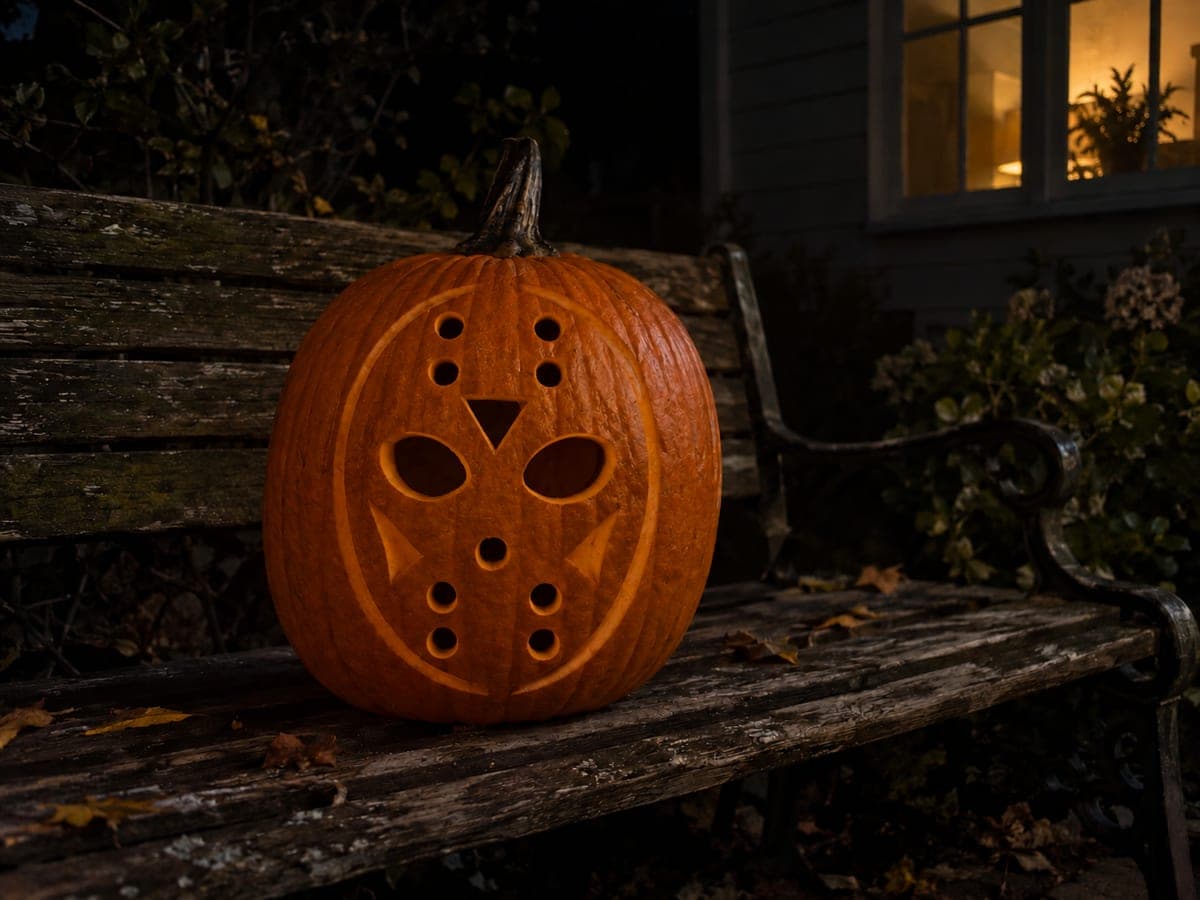
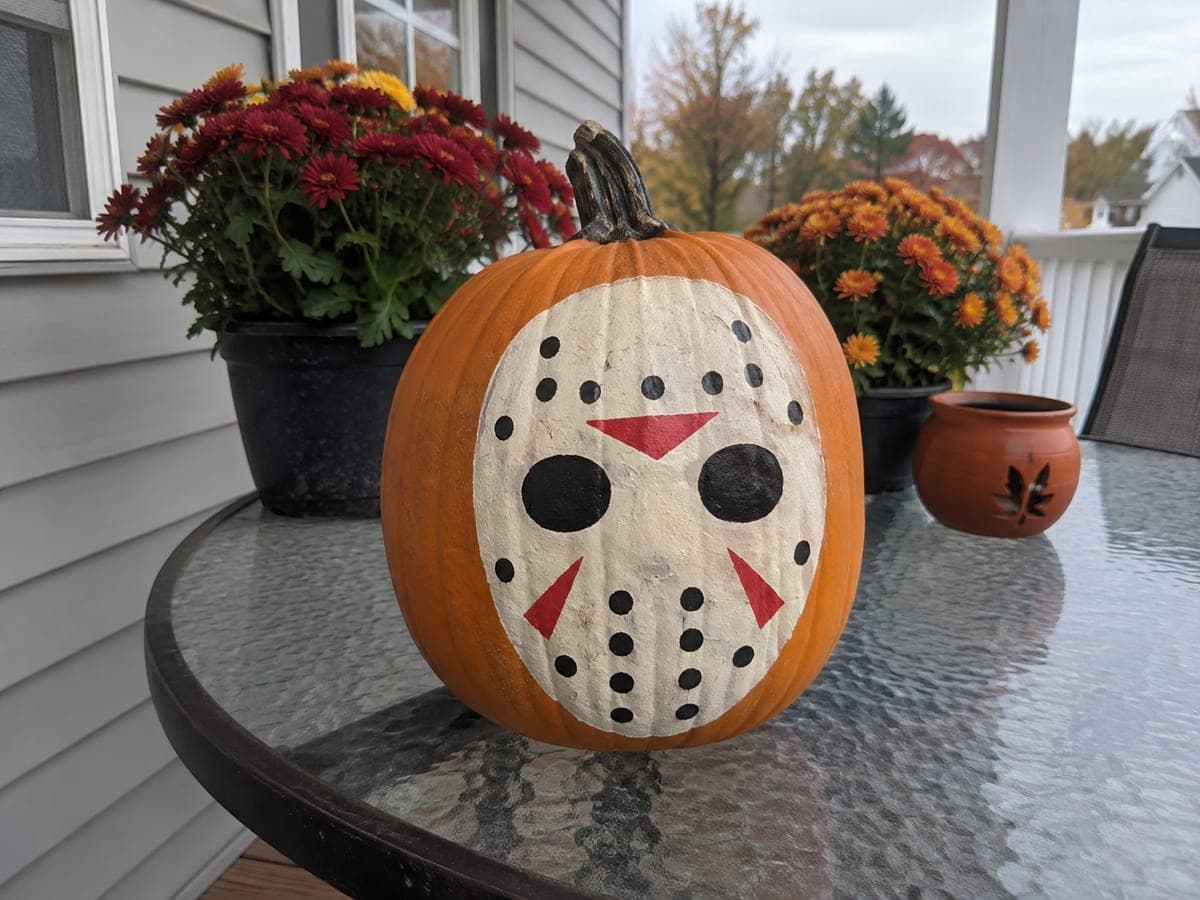
A hard jason voorhees pumpkin carving idea takes the hockey mask further with more detailed scoring for the mask's straps, border chevrons, and surface imperfections alongside the fully open eye sockets and separated vent holes. Maintaining a broad connected rind between every cut is critical at this detail level to prevent cracking during the engraving work. Carve the open apertures first to release pressure from the rind, then work the shallow detail from the outer edges of the mask inward. Dim orange candlelight inside throws the scored lines into strong relief for a frightening display.

No ratings yet · Sign in to rate
Comments (0)

  • No comments yet — be the first.

Save without an account. Sign in to like or comment.

Our tips for carving a similar design

The hard version builds on the intermediate hockey mask by layering more extensive strap scoring, border chevron details, and surface imperfections alongside the open eye sockets and vent holes. Maintaining a broad connected rind between every cut is the central challenge. Carve all open apertures first to release rind tension, then work the surface engraving from the outer edges inward.

From pumpkin to porch

  1. Gut and transfer the annotated design

    Clean the pumpkin and transfer the full design with a pin tool, annotating each element as hollow or scored and noting the intended depth of each scored zone. A wax pencil is helpful for marking depth levels directly on the rind before you begin.

  2. Cut the eye sockets

    Cut both eye sockets first using a thin pumpkin saw. These are the largest apertures and releasing their area first reduces rind tension for the rest of the work. Confirm the bridge between sockets is at least half an inch and the rind around each socket is clean and intact.

  3. Cut all vent holes

    Cut each vent hole individually with a narrow blade. On the hard version, vent holes may be arranged in multiple rows rather than a single horizontal line. Cut all holes in one row before moving to the next and verify spacing against the template after the first row.

  4. Score the oval border and chevrons

    Score the mask border and forehead chevron shapes at one-third to one-half rind depth, deeper than the easy and intermediate versions for greater visual contrast. Chevron points should meet cleanly. The harder border scoring also extends slightly into the cheek areas.

  5. Score the strap lines and surface imperfections

    Score strap lines from the mask edge outward in long single strokes. Add short irregular score marks to suggest dents, cracks, and surface wear on the mask face. Keep imperfection marks irregular and non-repeating, as systematic marks look intentional rather than worn.

  6. Light with orange candlelight and display

    Dim orange candlelight, whether real or from a warm amber LED, deepens the shadows in the scored chevrons and strap lines and gives the mask a menacing, campfire quality. Display outdoors on a step with a single light source inside and photograph from straight on for the full effect.

Written with AI to match this design

Gather your supplies

Check things off as you get ready.

Work on a stable surface, keep your free hand out of the cutting path, and have an adult handle sharp tools.

Three levels of light

  • Leave intact

    Broad rind connections between apertures, solid mask face between scored zones, and outer surrounding rind remain dark.

  • Peel & shade

    Oval border, chevron scoring, strap lines, and surface imperfection marks glow as multi-depth warm grooves.

  • Cut through

    Eye sockets and all vent holes are cut fully through.

Learn the carving basics

Before you start cutting

How do I make the surface imperfection marks look random rather than deliberate?

Vary the length, angle, and depth of each mark. Avoid parallel lines and repeating patterns. Work across the mask face in different directions, as if damage came from multiple angles over time. Short, irregular chops with a V-gouge at varying depths look most convincing. Step back frequently to check that no pattern is forming.

At this level, how do I avoid accidentally cutting through rind while scoring near open holes?

Keep all scored lines at least a quarter-inch away from any cut-through edge. Scoring up to the edge of a hole thins the rind at exactly the point where it is already under the most stress. If a design element requires a scored line near a hole, reduce that line's depth to one-quarter rind thickness rather than the standard one-third.

The strap lines extend toward the outer pumpkin rind. How far should they go?

Strap lines can extend to the outer edge of the oval border groove and then stop, or they can continue slightly past it as if the strap disappears around the side of the mask. Either reads correctly. Do not continue strap lines more than half an inch past the border or they begin to look like unrelated scratches rather than mask hardware.

Your take belongs here, too.

Changed a detail? Made it simpler? Share a photo of your version and tell the community what worked.

Share your pumpkin

More pumpkins like this

You've reached the end · 8 pumpkins
The Patch Report

Fresh pumpkins, in your inbox.

The best new carvings, ideas worth stealing, and how-tos for carving season. Short, seasonal, and gone by November.

A short email during carving season. Unsubscribe anytime. See our privacy policy.