Halloween Pumpkin Carving Contest · Starts October 1st · $500 in prizes
← Back to ideas
@ai_concepts
Sep 25, 2026

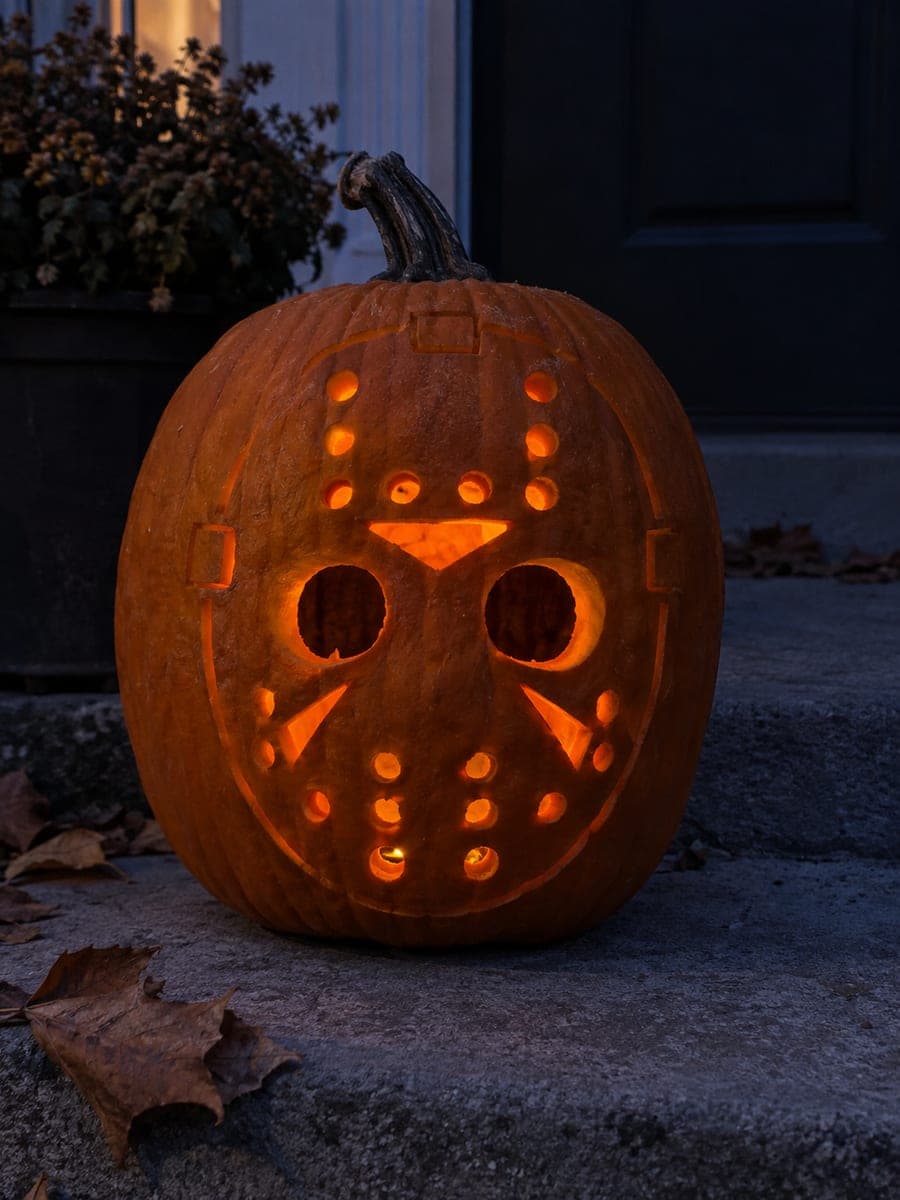
Expert Jason Voorhees Pumpkin Full Mask DetailAI
0

Report this carving

Tell us what is wrong. Reports are private.

Expert Jason Voorhees Pumpkin Full Mask Detail

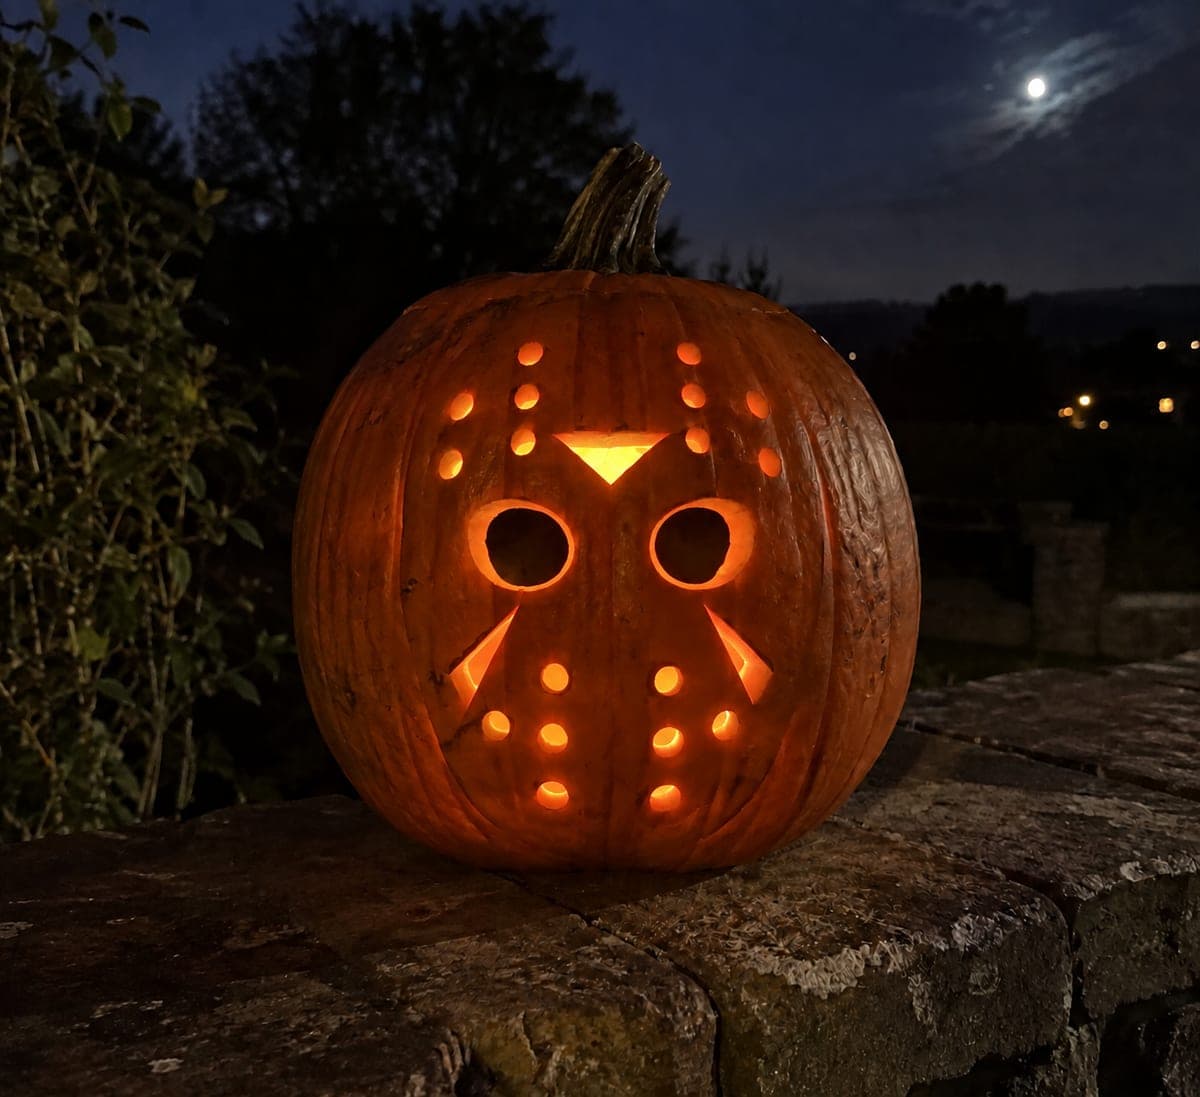
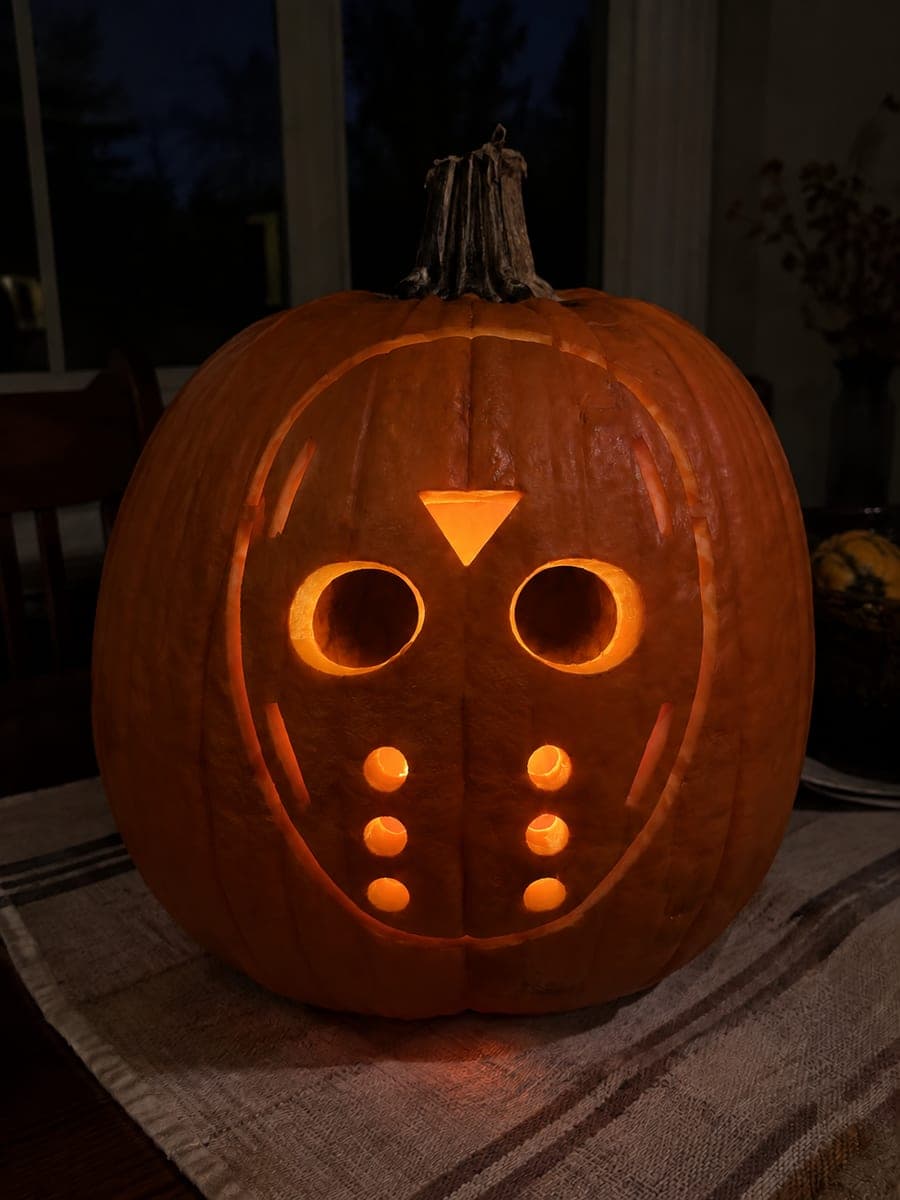
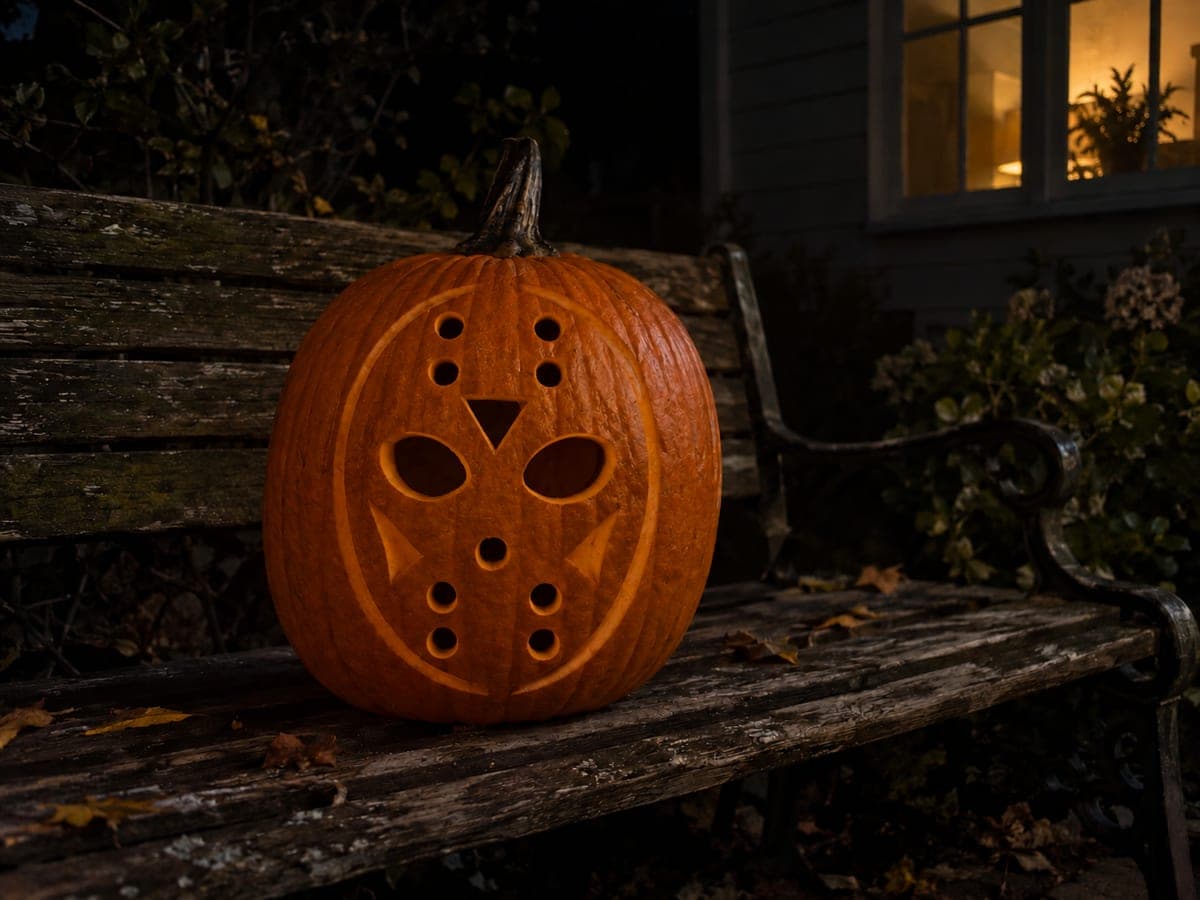
At expert level this jason voorhees pumpkin carving idea achieves a highly detailed hockey mask portrait with open eye sockets and vent holes plus extensive shallow-backed scoring for every strap, chevron, border crack, and surface texture across the entire mask face. Broad rind connections around each aperture are the only thing holding the design together at this complexity. Plan the depth zones with a wax pencil before cutting, and work all hollow openings before touching the surface engraving. Photograph the finished piece with a single direct light source from inside to capture all the layered detail.

No ratings yet · Sign in to rate
Comments (0)

  • No comments yet — be the first.

Save without an account. Sign in to like or comment.

Our tips for carving a similar design

Every aperture, every strap, every crack, and every surface texture on the entire mask face is represented here, with hollow eye sockets and vent holes providing the core light and extensive shallow scoring covering every other surface zone. Broad rind connections around each aperture are what hold the design together at this level of complexity. All hollows precede all surface work.

From pumpkin to porch

  1. Choose the right pumpkin and depth-map the design

    Select a large pumpkin with walls at least one and a quarter inches thick. Create a detailed depth map on paper assigning every scoring zone a depth level before transferring to the pumpkin. Transfer with both pin tool and wax pencil annotations so depth levels are visible while working.

  2. Cut all hollow apertures

    Cut the eye sockets and all vent holes completely before beginning any scoring. Check every bridge for adequate width after each cut. Having all apertures open first allows the rind to reach its final structural state before you begin the extensive engraving.

  3. Score the primary border and major chevrons

    Score the outer oval border and the major forehead chevrons at their deepest planned level first. These are the design's primary geometric elements and getting them right sets the tone for the detail work that follows. Use a straightedge guide for the chevron arms to keep angles consistent.

  4. Score all strap lines and secondary chevrons

    Score every strap line extending from the mask edge and every secondary chevron in detail. Strap lines should vary slightly in depth to suggest dimensional straps rather than flat lines. Score secondary chevrons at a slightly shallower depth than the primaries for visual layering.

  5. Score crack lines, border imperfections, and texture

    Add crack lines as irregular branching scored marks across the mask face. Border imperfections are small nicks and chips along the oval border scored at shallow depth. Surface texture can be added as a very light repeated stippling with the corner of a V-gouge across the face zones between deeper scored elements.

  6. Light, photograph, and preserve

    Place a single direct LED inside and photograph from directly in front with no other light source. The single interior light reveals all the layered scoring simultaneously. Apply petroleum jelly to all surfaces after photography and refrigerate between display sessions.

Written with AI to match this design

Gather your supplies

Check things off as you get ready.

Work on a stable surface, keep your free hand out of the cutting path, and have an adult handle sharp tools.

Three levels of light

  • Leave intact

    Aperture bridges, chevron peak rind at full depth, and outer rind frame remain completely dark.

  • Peel & shade

    The entire mask face outside apertures carries layered scoring from light texture marks to deep border grooves, all glowing at graduated intensities.

  • Cut through

    Eye sockets and all vent holes are cut fully through for full brightness.

Learn the carving basics

Before you start cutting

How do I keep the extensive scoring from making the rind too fragile to handle?

Never score below half the rind depth anywhere on the design, even in areas that call for maximum contrast. The bottom half of the rind remains the structural backbone. Work the pumpkin flat on a non-slip mat rather than holding it, so rind flex is minimized. Avoid pressing or gripping the carved face from the outside during any stage of the work.

My scored crack lines look too clean and straight. How do I make them look like real damage?

Real cracks are irregular in width and depth along their length and often branch into smaller hairline cracks at their ends. Score the main crack line with a narrow V-gouge, then add two or three short branching marks at the end of each crack, barely a quarter-inch long. Vary your pressure along each stroke so the groove depth fluctuates slightly.

Should I attempt surface stippling texture and if so how?

Surface stippling adds subtle depth to the flat mask areas and is worth attempting on a large pumpkin with thick walls. Use the very corner of a V-gouge and press it repeatedly into the rind at a very shallow depth, creating a field of tiny irregular dots. Work one small section at a time and check the effect under your work light after each section. Stop if the rind begins to feel soft or fragile.

Your take belongs here, too.

Changed a detail? Made it simpler? Share a photo of your version and tell the community what worked.

Share your pumpkin

More pumpkins like this

You've reached the end · 8 pumpkins
The Patch Report

Fresh pumpkins, in your inbox.

The best new carvings, ideas worth stealing, and how-tos for carving season. Short, seasonal, and gone by November.

A short email during carving season. Unsubscribe anytime. See our privacy policy.