Halloween Pumpkin Carving Contest · Starts October 1st · $500 in prizes
← Back to ideas
@ai_concepts
Sep 25, 2026
Hockey Mask Horror Movie Pumpkin CarvingAI
0

Report this carving

Tell us what is wrong. Reports are private.

Hockey Mask Horror Movie Pumpkin Carving

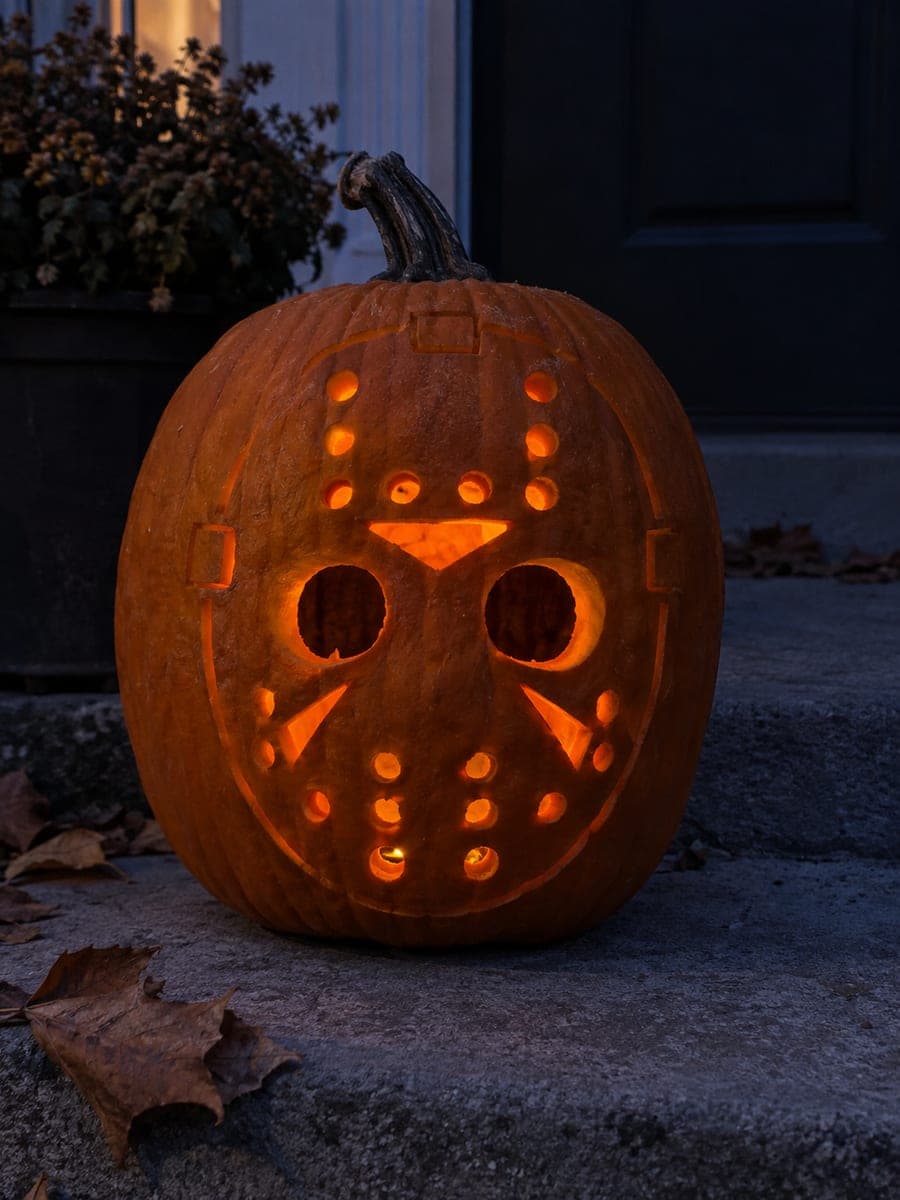
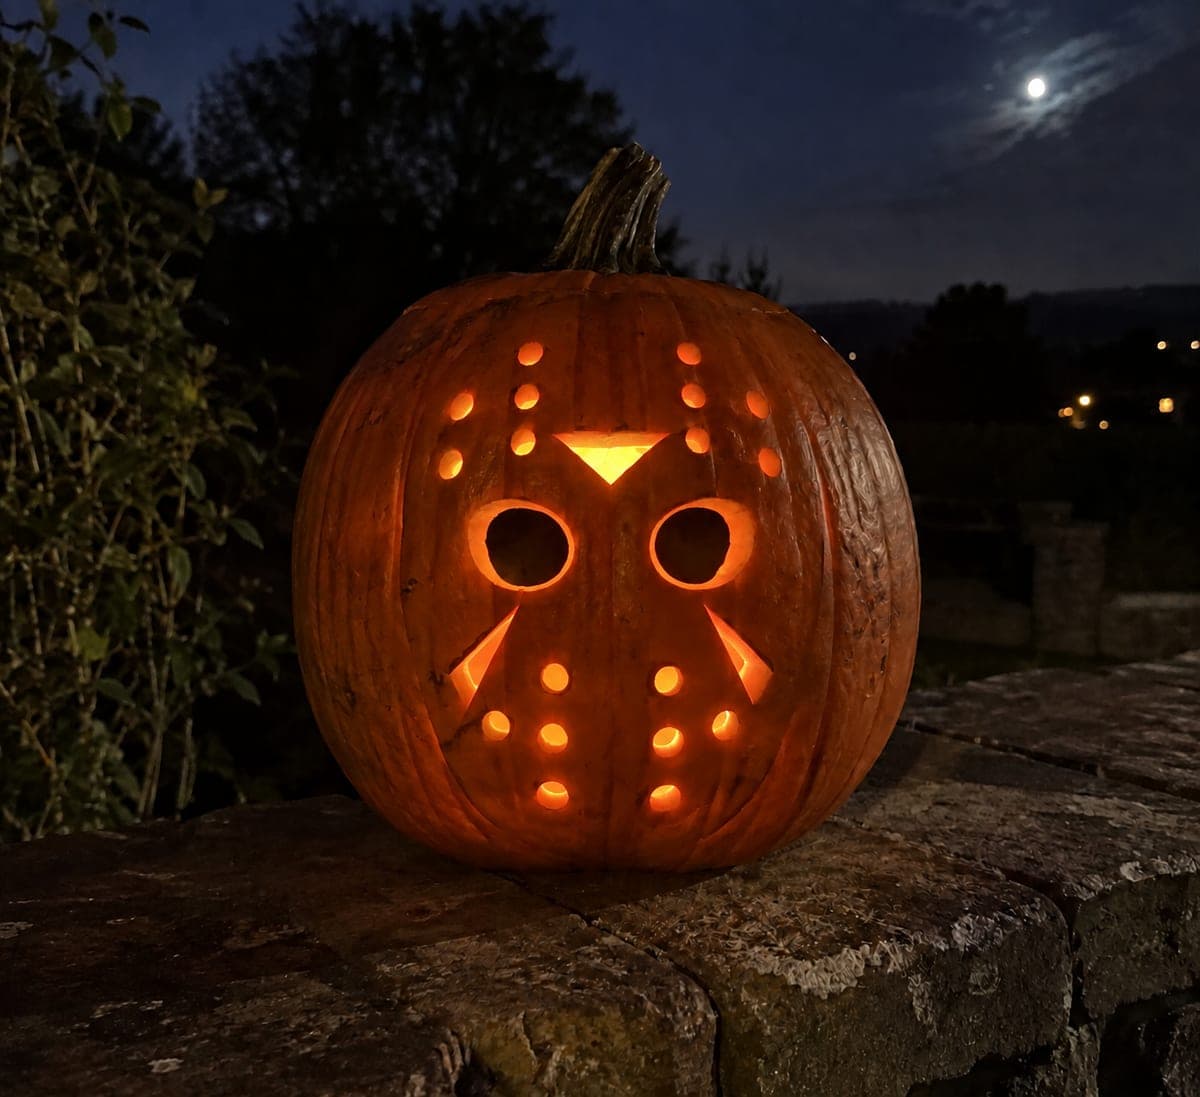
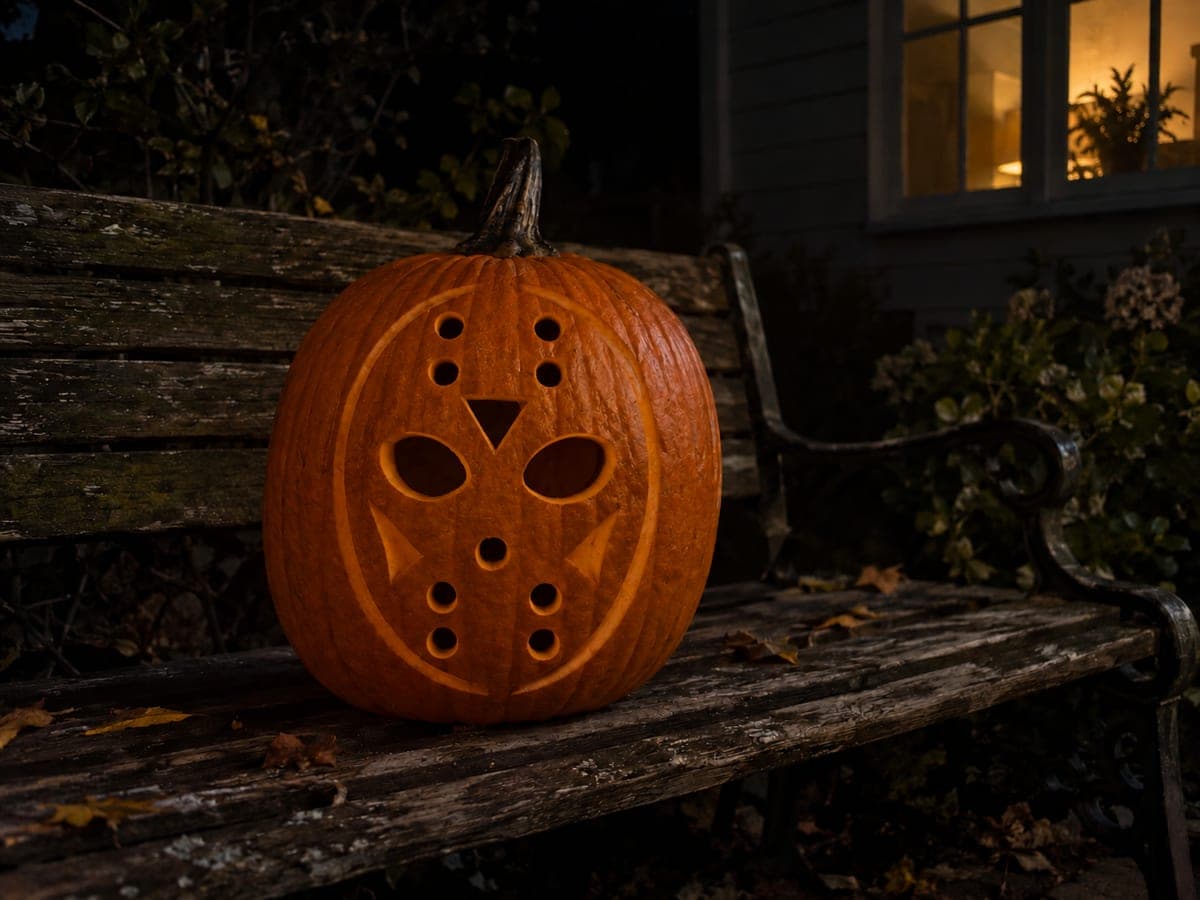
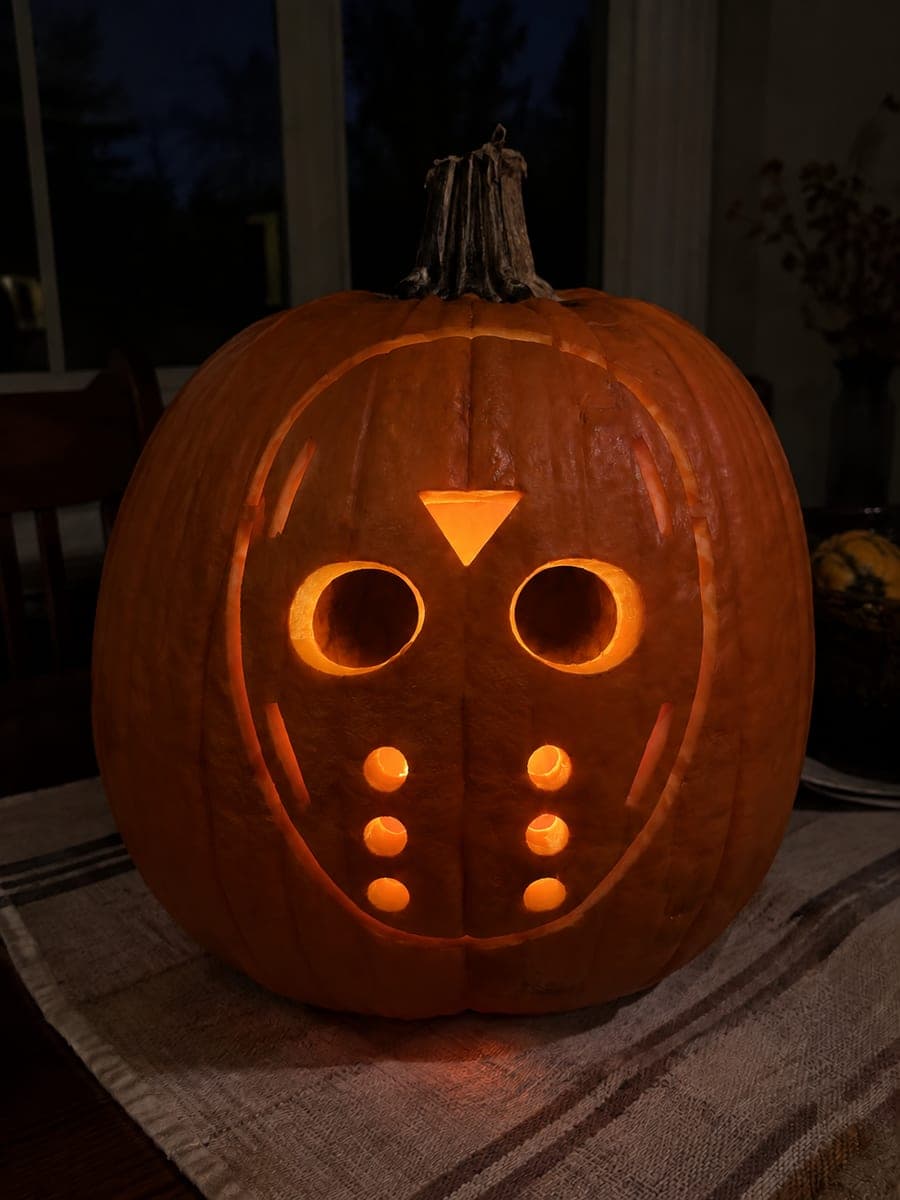
Jason Voorhees's hockey mask comes to life here with open eye slots, a forehead triangle, and vent holes cut fully through in this medium horror movie pumpkin carving idea, while the oval border and cheek accents are kept as shallow-backed grooves. The shallow detail work gives the mask its grid-like surface texture without risking structural failure. Score the border and cheek grooves before cutting the holes, so the rind stays stable during the finer work. A pale-white LED bulb inside reinforces the cold, clinical feel of the mask.

No ratings yet · Sign in to rate
Comments (0)

  • No comments yet — be the first.

Save without an account. Sign in to like or comment.

Our tips for carving a similar design

The hockey mask design uses fully open eye slots and vent holes for its primary light, while the oval border and cheek accent grooves are kept as shallow-backed scoring that gives the mask its clinical, grid-like texture. The shallow work comes first to keep the rind stable, then the open apertures follow.

From pumpkin to porch

  1. Gut and transfer the design

    Clean and gut the pumpkin, thinning the inner wall behind the carving area to about three-quarters of an inch. Transfer the full hockey mask design with a pin tool, marking the oval border, eye slots, forehead triangle, all vent holes, and cheek accent positions. Differentiate scored lines from cut-through shapes in your markings.

  2. Score the oval border

    Using a V-gouge, score the oval mask border as a shallow continuous groove around the perimeter of the design. Keep the depth at about one-third through the rind. This border defines the mask's edge and gives it its characteristic clinical shape without cutting the mask free.

  3. Score the cheek accent grooves

    Score the cheek accent lines inside the mask oval as short, parallel shallow grooves. These represent the vertical vent lines on the cheek section of the hockey mask. Work from top to bottom in consistent strokes and keep all grooves the same depth.

  4. Cut the eye slots

    The eye slots are elongated ovals or rounded rectangles. Use a narrow detail blade to cut each one fully through the rind. Cut the long edges first, then the short curved ends. Push the pieces through from outside to free them cleanly.

  5. Cut the forehead triangle and vent holes

    Cut the forehead triangle as three straight-sided cuts meeting at a point. Then cut each vent hole individually as a small circle or rounded square. Work from the inside of the design outward on each hole, and keep holes at least a half-inch apart so the connecting rind stays strong.

  6. Light with a pale LED and display

    Insert a cool white or pale blue LED light inside the pumpkin. Warm candles work but a cooler light reinforces the clinical, menacing quality of the hockey mask design. Display against a light-colored wall so the scored border and cheek grooves are visible in reflected light.

Written with AI to match this design

Gather your supplies

Check things off as you get ready.

Work on a stable surface, keep your free hand out of the cutting path, and have an adult handle sharp tools.

Three levels of light

  • Leave intact

    The oval mask face, surrounding rind outside the border, and solid cheek sections between grooves remain dark.

  • Peel & shade

    The scored oval border and cheek accent grooves glow softly as shallow backed grooves.

  • Cut through

    The two eye slots, forehead triangle, and all vent holes are cut fully through.

Learn the carving basics

Before you start cutting

How do I keep the cheek scoring lines parallel and evenly spaced?

Mark the spacing with a ruler and pin tool before scoring. Poke a light dot at the start and end of each planned groove, then connect the dots with your gouge in a single smooth stroke. Using a small piece of cardboard as a spacer held between lines as you work can help maintain consistent gaps.

The forehead triangle is very small. How do I cut its three sharp corners cleanly?

Score each corner intersection with a pin tool before cutting so you have a precise stopping point. Saw each side of the triangle to the corner mark, pull the blade out, and approach each corner from the other side. Do not try to pivot the blade at the corner tip, as this can crack the rind. A sharp craft knife works well for the corners.

Should I score the border before or after cutting the eye slots?

Score the border first. Scoring before cutting keeps the rind under even tension, making the groove cleaner and more consistent. Once you cut the eye slots, the rind loses some structural rigidity, which can cause a scoring tool to wander. Establish all scored lines first, then make your through-cuts.

Your take belongs here, too.

Changed a detail? Made it simpler? Share a photo of your version and tell the community what worked.

Share your pumpkin

More pumpkins like this

You've reached the end · 8 pumpkins
The Patch Report

Fresh pumpkins, in your inbox.

The best new carvings, ideas worth stealing, and how-tos for carving season. Short, seasonal, and gone by November.

A short email during carving season. Unsubscribe anytime. See our privacy policy.