Halloween Pumpkin Carving Contest · Starts October 1st · $500 in prizes
← Back to ideas
@ai_concepts
Sep 25, 2026
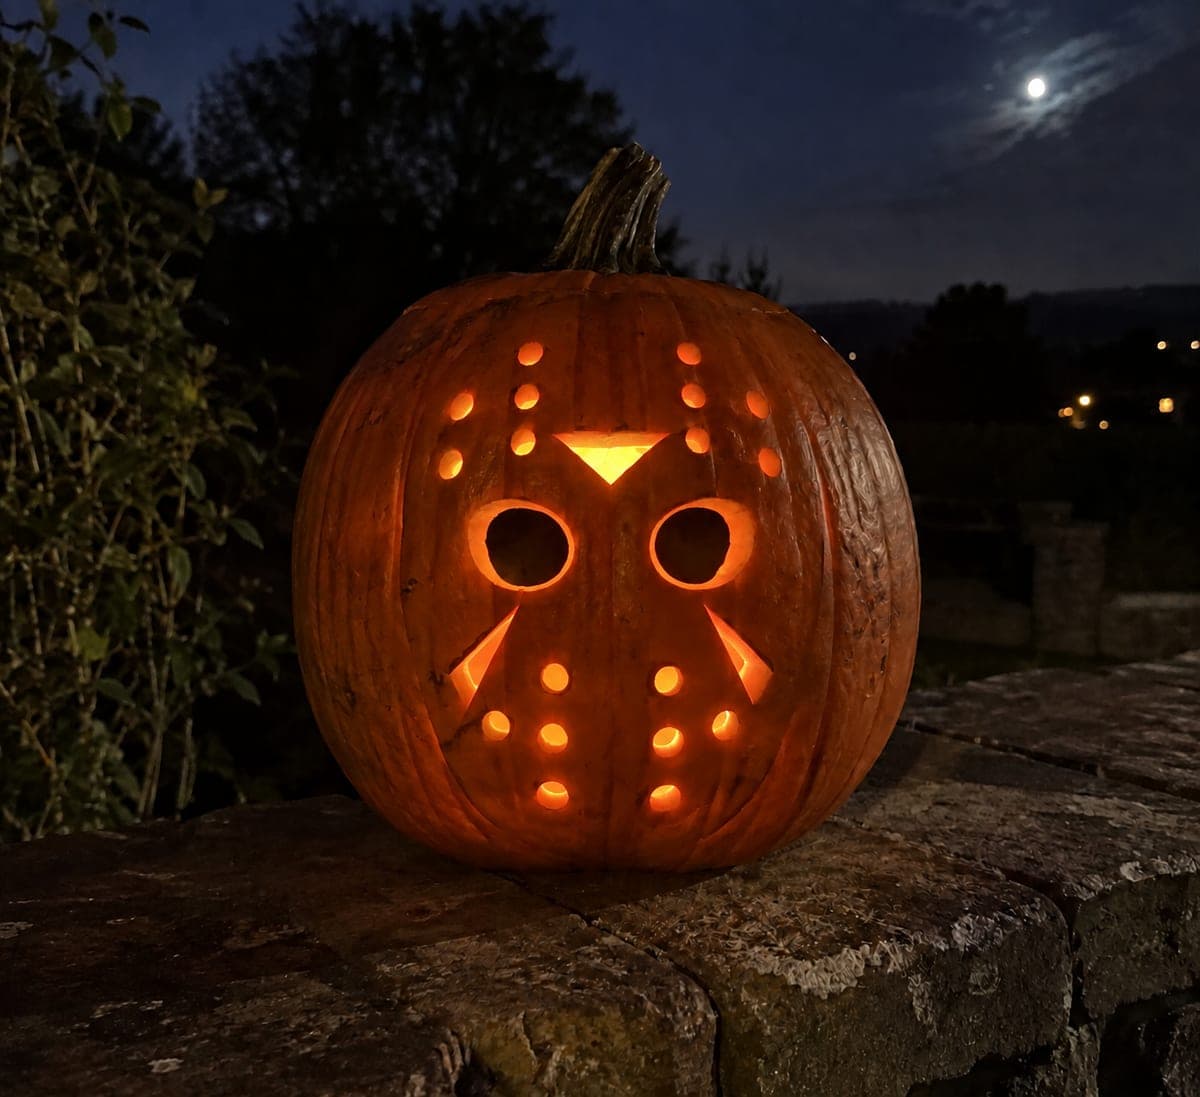
Jason Voorhees Mask With Chevron Pumpkin CarvingAI
0

Report this carving

Tell us what is wrong. Reports are private.

Jason Voorhees Mask With Chevron Pumpkin Carving

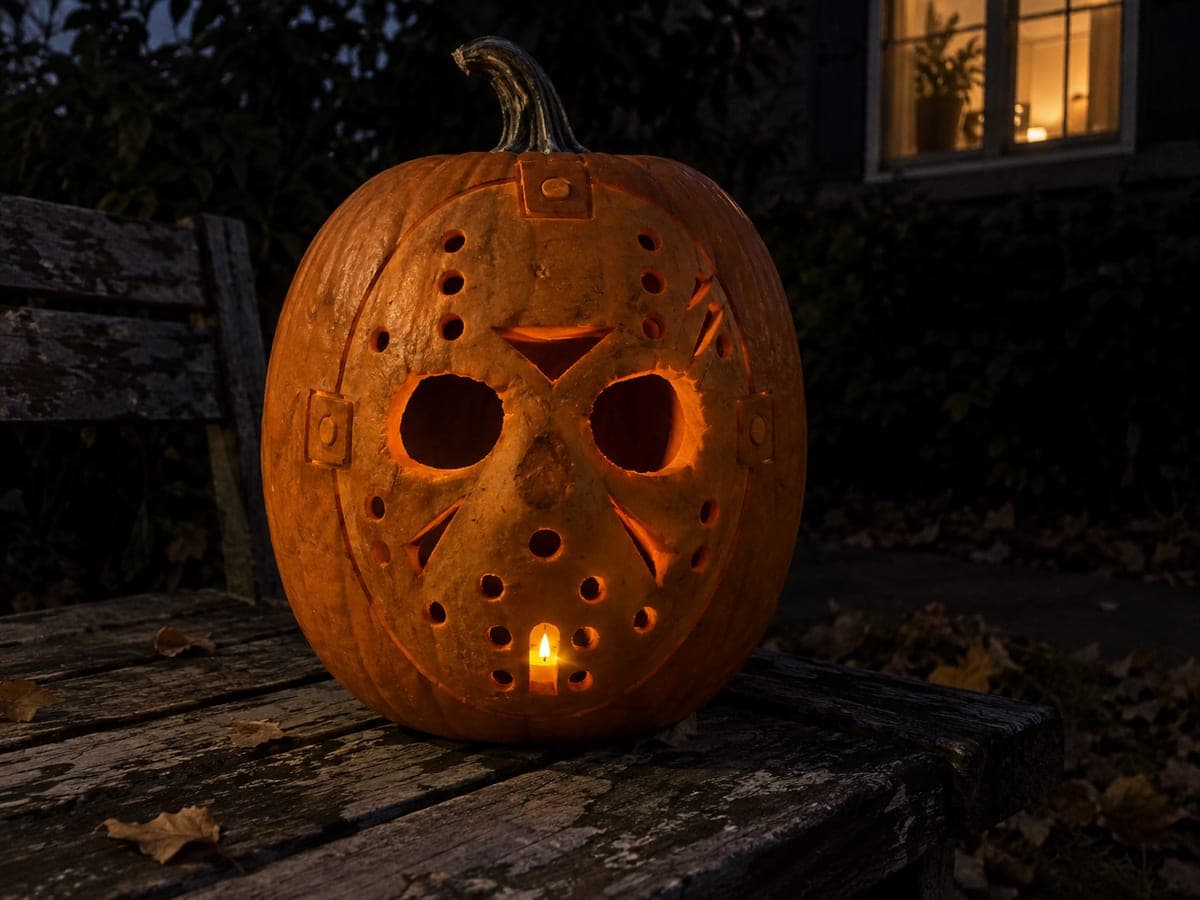
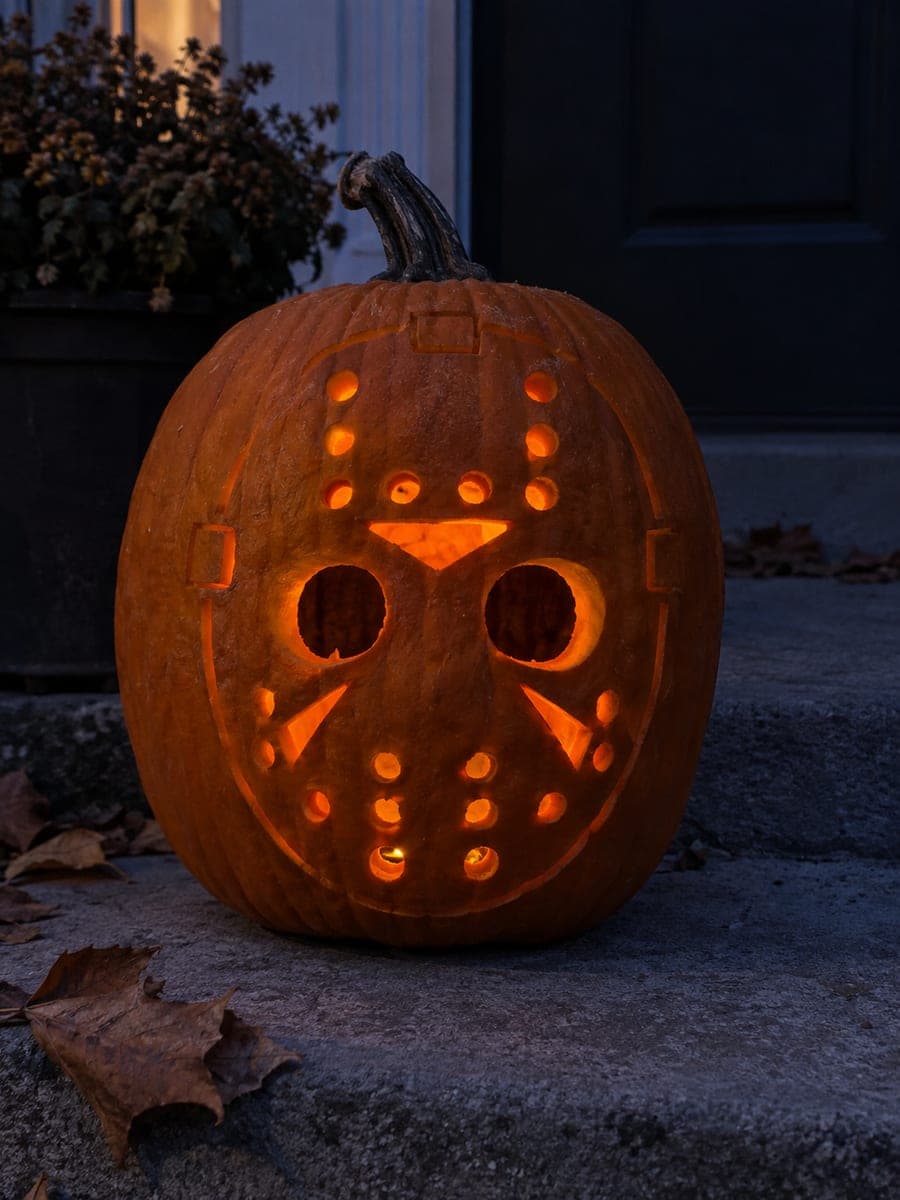
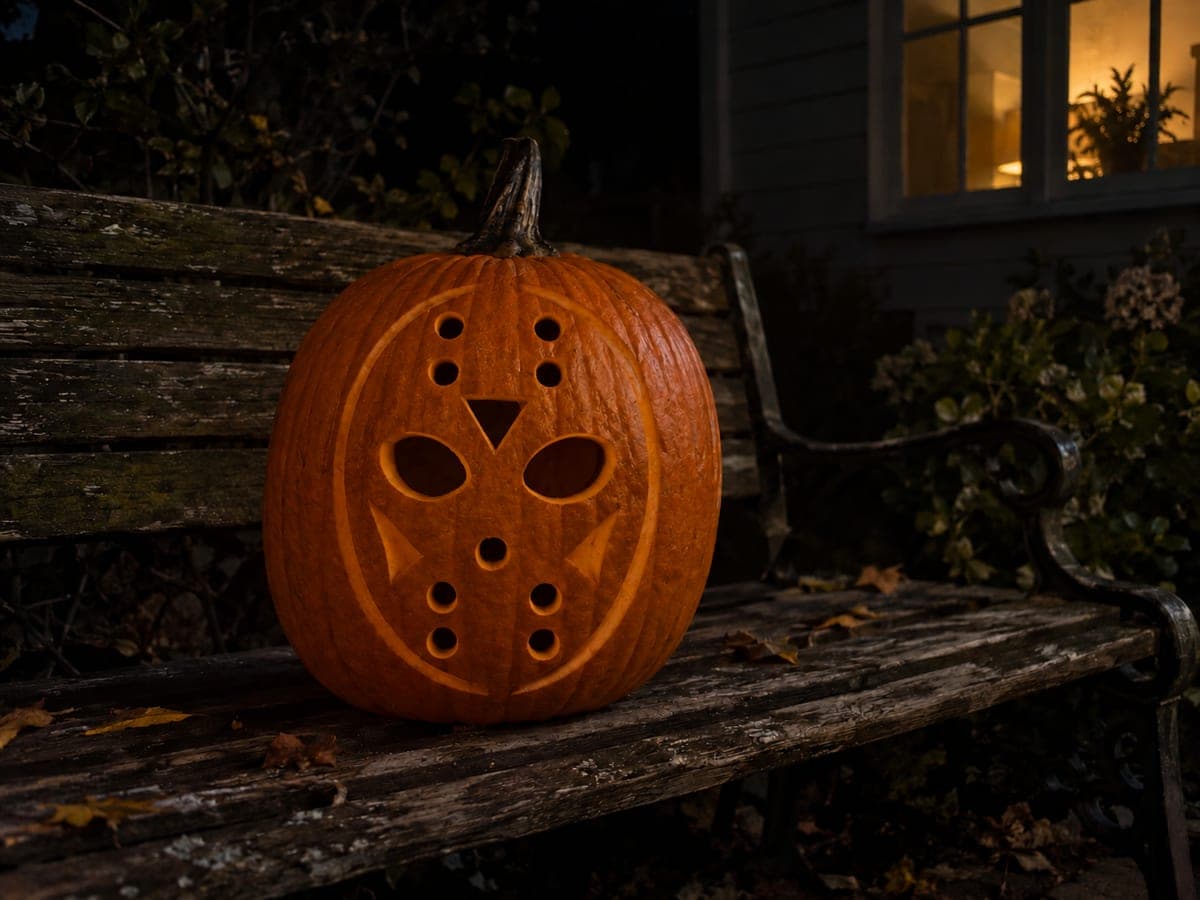
This intermediate jason voorhees pumpkin carving idea adds more defined chevron accents and border details to the classic hockey mask, with eye sockets and vent holes fully open and the chevron shapes, mask border, and straps rendered as shallow-backed engravings on the broad retained rind. The chevron scoring is what gives this version its recognizable character beyond just the eye holes. Score the border and chevron lines before cutting the vent holes, so you can see the full mask composition during construction. Pale cool LED lighting inside reinforces the clinical horror aesthetic.

No ratings yet · Sign in to rate
Comments (0)

  • No comments yet — be the first.

Save without an account. Sign in to like or comment.

Our tips for carving a similar design

The intermediate hockey mask adds more defined chevron shapes and cleaner border scoring to the standard open eye sockets and vent holes, giving the mask its recognizable personality. Score the border and all chevron lines before opening any holes so you can assess the full mask composition while the rind is still solid and easy to work.

From pumpkin to porch

  1. Prep and transfer the full design

    Clean and gut the pumpkin and transfer the full design, including the oval border, eye sockets, vent holes, strap lines, and chevron shapes. Mark chevron positions clearly since they are closely spaced and easy to confuse during carving.

  2. Score the oval border

    Score the oval mask border as a consistent shallow groove all the way around, using a V-gouge at one-third rind depth. Use a smooth, continuous stroke for each curved section rather than overlapping short strokes.

  3. Score the chevron and strap detail

    Score the chevron shapes on the forehead area and the strap lines from the mask edge outward. Chevrons require two intersecting strokes meeting at a point. Practice the angle on the back of the pumpkin first so you know exactly how to approach the intersection without overshooting. Score straps as single straight lines at one-third depth.

  4. Cut the eye sockets

    After all scoring is complete, cut the two eye sockets using a thin pumpkin saw. Verify the bridge between them is intact. If any scored line runs close to a socket edge, cut the socket first and clean up the scoring junction after.

  5. Cut the vent holes

    Cut the vent holes individually with a narrow blade, keeping each one cleanly round or square as the design specifies. Check the spacing against the template after cutting the first row to ensure you are on track.

  6. Cool white lighting and display

    Use a pale cool white or blue-tinted LED light inside for the best clinical horror effect. Display against a dark background and photograph from slightly above to capture both the chevron scoring and the vent hole pattern in a single frame.

Written with AI to match this design

Gather your supplies

Check things off as you get ready.

Work on a stable surface, keep your free hand out of the cutting path, and have an adult handle sharp tools.

Three levels of light

  • Leave intact

    Broad rind between all openings, outer rind outside the border, and solid chevron peak rind remain dark.

  • Peel & shade

    Oval border, chevron scoring, and strap lines glow as shallow grooves at mid-tone.

  • Cut through

    Eye sockets and all vent holes are cut fully through.

Learn the carving basics

Before you start cutting

How do I carve a clean chevron point without the two strokes overlapping messily?

Score each arm of the chevron as a separate stroke, starting from the outermost point and pulling the gouge toward the center tip. Stop each stroke exactly at the tip point rather than pushing through it. The two strokes should meet cleanly at the tip without a visible crossing point. Practice on the pumpkin back first.

What is the difference in appearance between this intermediate version and the easy version?

The intermediate version has more defined and numerous chevron shapes plus a more fully developed oval border with consistent groove depth throughout. At night, the added scoring creates a more complete and recognizable hockey mask pattern with visible structural detail beyond just the eye and vent openings.

I scored too deep in one spot and can see light through it. What can I do?

If the accidental deep spot is small, you can fill it from the inside with a small piece of petroleum-jelly-coated pumpkin skin cut from the lid or back, pressing it firmly against the interior rind. It will not be perfectly invisible but it will block light through the spot. Alternatively, you can incorporate it as an additional intentional vent hole if the design allows.

Your take belongs here, too.

Changed a detail? Made it simpler? Share a photo of your version and tell the community what worked.

Share your pumpkin

More pumpkins like this

You've reached the end · 8 pumpkins
The Patch Report

Fresh pumpkins, in your inbox.

The best new carvings, ideas worth stealing, and how-tos for carving season. Short, seasonal, and gone by November.

A short email during carving season. Unsubscribe anytime. See our privacy policy.