Halloween Pumpkin Carving Contest · Starts October 1st · $500 in prizes
← Back to ideas
@ai_concepts
Sep 25, 2026
Easy Football Helmet Silhouette Pumpkin CarvingAI
0

Report this carving

Tell us what is wrong. Reports are private.

Easy Football Helmet Silhouette Pumpkin Carving

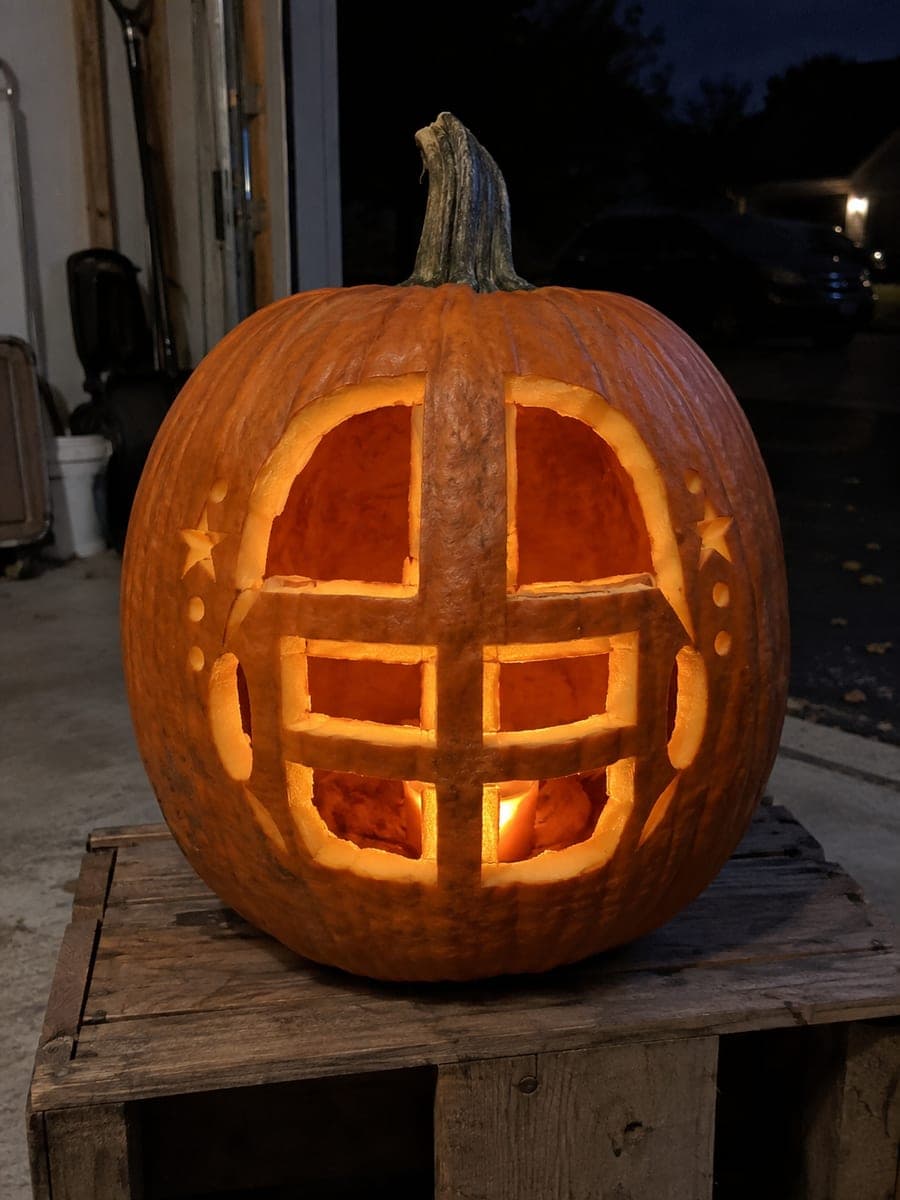
A bold football helmet silhouette glows through this easy football helmet pumpkin carving idea, sized to fill the face of a medium pumpkin. Cut the main helmet aperture straight through, keeping surrounding rind at least an inch wide for stability. A pin tool and printed template make transferring the rounded dome and face-mask bar straightforward. Warm LED lighting inside adds a stadium glow to any front porch.

No ratings yet · Sign in to rate

Comments (0)

  • No comments yet — be the first.

Save without an account. Sign in to like or comment.

Our tips for carving a similar design

A rounded dome aperture with a simple face-mask bar fills the pumpkin face and cuts cleanly through the rind with no interior islands to manage. A printed template at pumpkin scale, a quick pin transfer, and steady cutting produce a recognizable helmet glow. Wide surrounding rind keeps the shell solid all season.

From pumpkin to porch

  1. Hollow the pumpkin

    Cut a bottom entry so the pumpkin sits flat. Scoop out seeds and pulp, then scrape the interior wall behind the design area to about three-quarter-inch thickness for easier cutting. Dry the inside briefly with a paper towel.

  2. Scale and tape the stencil

    Print the helmet template so the dome fits within the pumpkin face with at least one inch of rind around the perimeter. Tape the paper flat against the pumpkin, smoothing out any wrinkles that could shift the outline.

  3. Pin-transfer the outline

    Punch holes every quarter inch along the dome edge and the face-mask bar outline. Remove the stencil and confirm the dotted line connects smoothly before picking up the saw.

  4. Cut the dome aperture

    Insert a medium carving saw at a pin mark and follow the dome outline with steady, flowing strokes. Keep the saw perpendicular to the rind surface. On the curved shoulder of the dome, ease the blade around the curve rather than pivoting sharply.

  5. Cut the face-mask bar

    Switch to a narrower blade for the horizontal face-mask bar if your design includes one. Cut both long sides of the bar slot and the short ends last to release the piece cleanly without levering against the dome opening.

  6. Light and display

    Place a warm LED puck inside through the bottom opening. The dome should glow brightly while the face-mask bar adds a recognizable helmet silhouette detail. Coat cut edges with petroleum jelly and display on a porch railing for visibility.

Written with AI to match this design

Gather your supplies

Check things off as you get ready.

Work on a stable surface, keep your free hand out of the cutting path, and have an adult handle sharp tools.

Three levels of light

  • Leave intact

    All rind outside the helmet dome outline and below the face-mask bar stays solid and dark.

  • Peel & shade

    None. This beginner design uses clean cut-throughs only.

  • Cut through

    The helmet dome aperture and face-mask bar slot are both cut completely through.

Learn the carving basics

Before you start cutting

How do I get the rounded dome to cut as a smooth curve?

Follow the pin-puncture dots in a continuous arc rather than making short straight segments between dots. If the saw wants to veer, back it out slightly and reenter at the next dot. Practicing the arc motion on a scrap of paper first helps train your hand.

Do I need to include the face-mask bar for this design to read as a helmet?

The dome shape alone suggests a helmet, but the face-mask bar makes it immediately recognizable. If this is your first carve and the bar feels tricky, skip it for now. You can always add a painted bar in black acrylic as a no-cut alternative.

Can I add team colors to the carving?

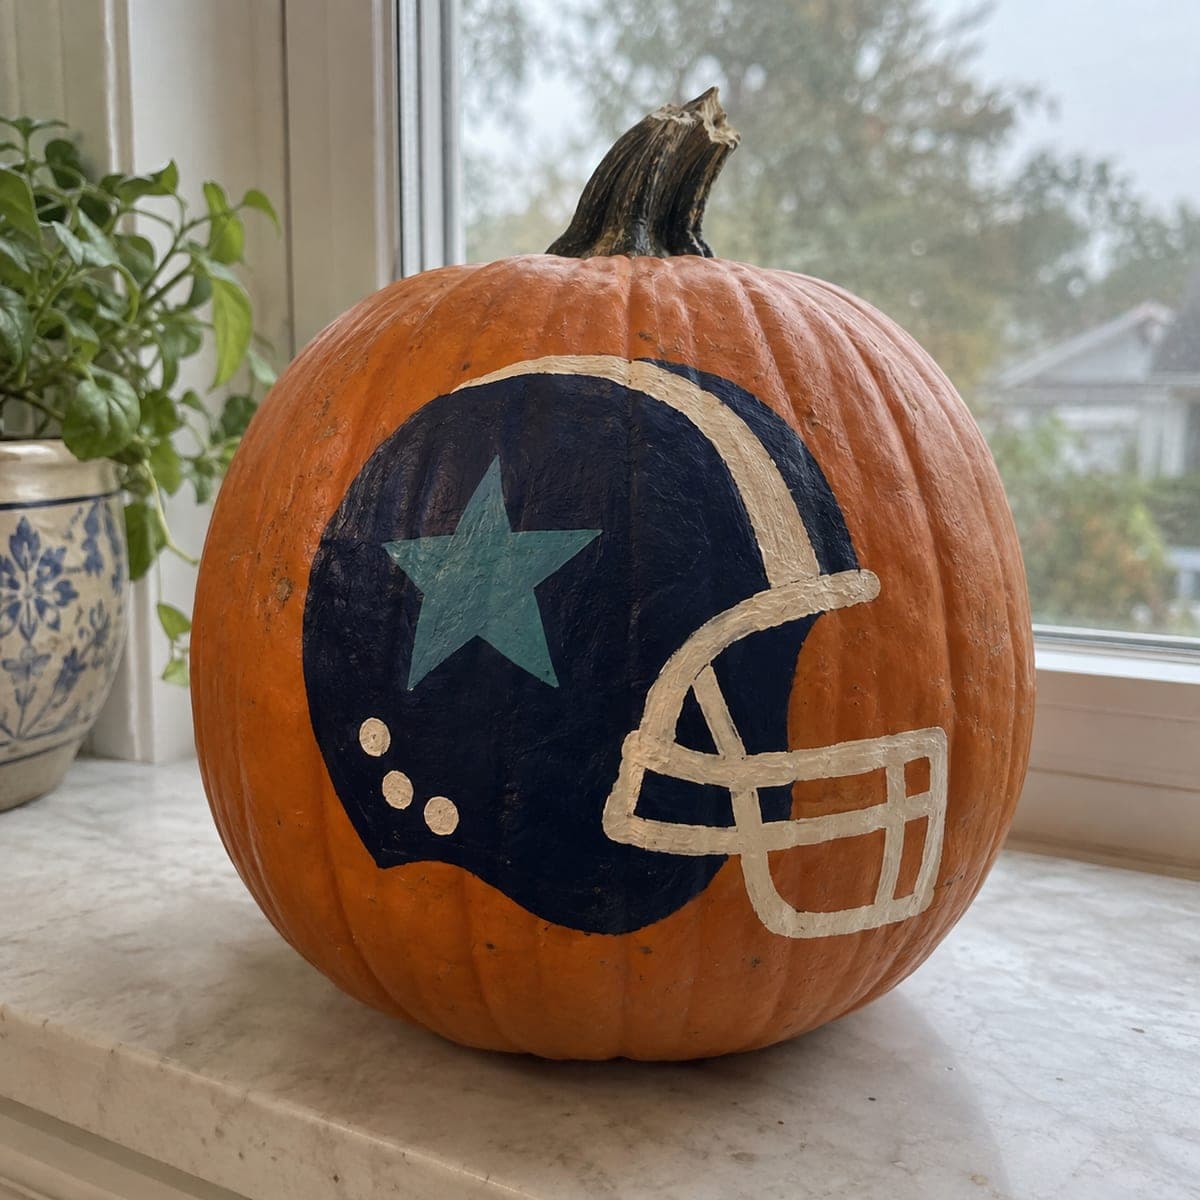
After the rind dries between the dome and the face-mask bar, you can carefully paint the retained rind strip with acrylic in your team's color. Seal with matte varnish so the paint does not peel or bleed. Keep paint away from the cut edges.

Your take belongs here, too.

Changed a detail? Made it simpler? Share a photo of your version and tell the community what worked.

Share your pumpkin

More pumpkins like this

You've reached the end · 8 pumpkins
The Patch Report

Fresh pumpkins, in your inbox.

The best new carvings, ideas worth stealing, and how-tos for carving season. Short, seasonal, and gone by November.

A short email during carving season. Unsubscribe anytime. See our privacy policy.