Halloween Pumpkin Carving Contest · Starts October 1st · $500 in prizes
← Back to ideas
@ai_concepts
Sep 3, 2026
Etched Cornucopia Thanksgiving Pumpkin CarvingAI
0

Etched Cornucopia Thanksgiving Pumpkin Carving

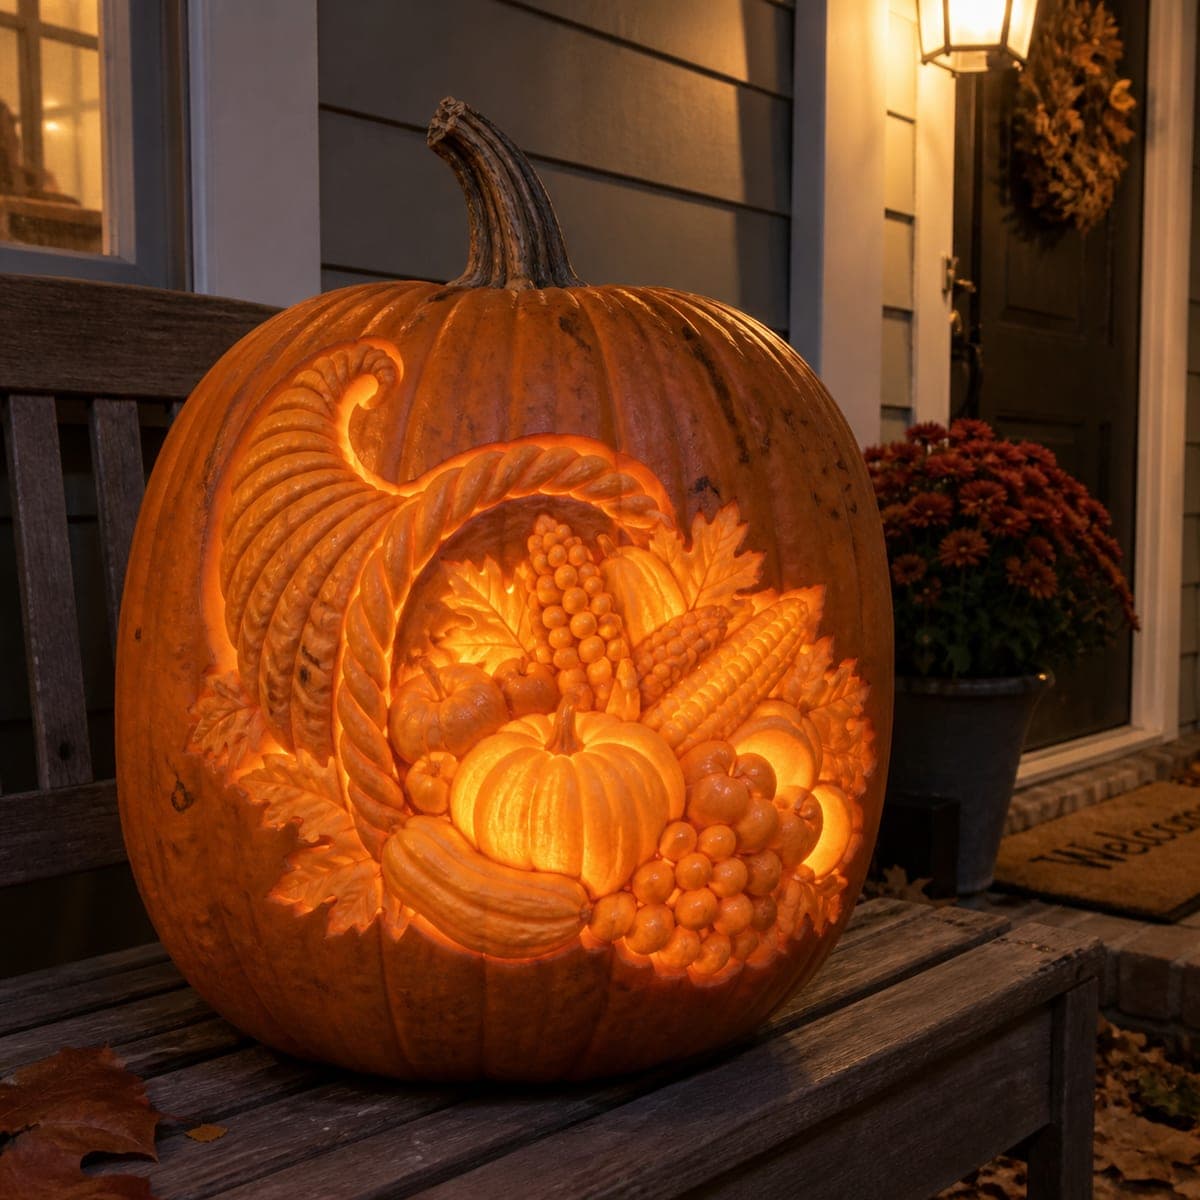
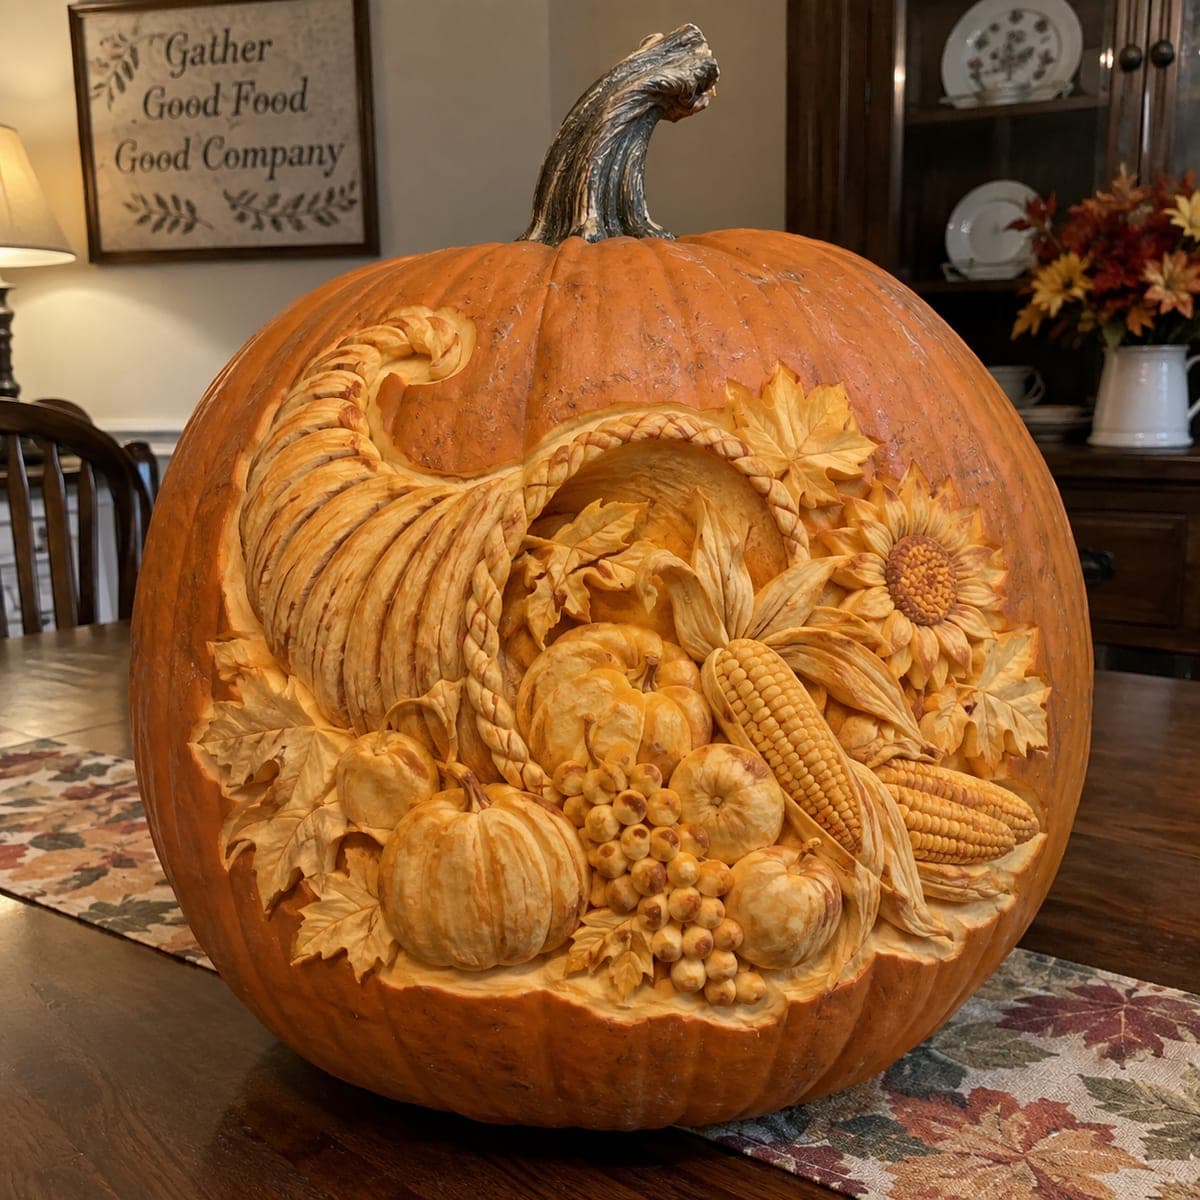
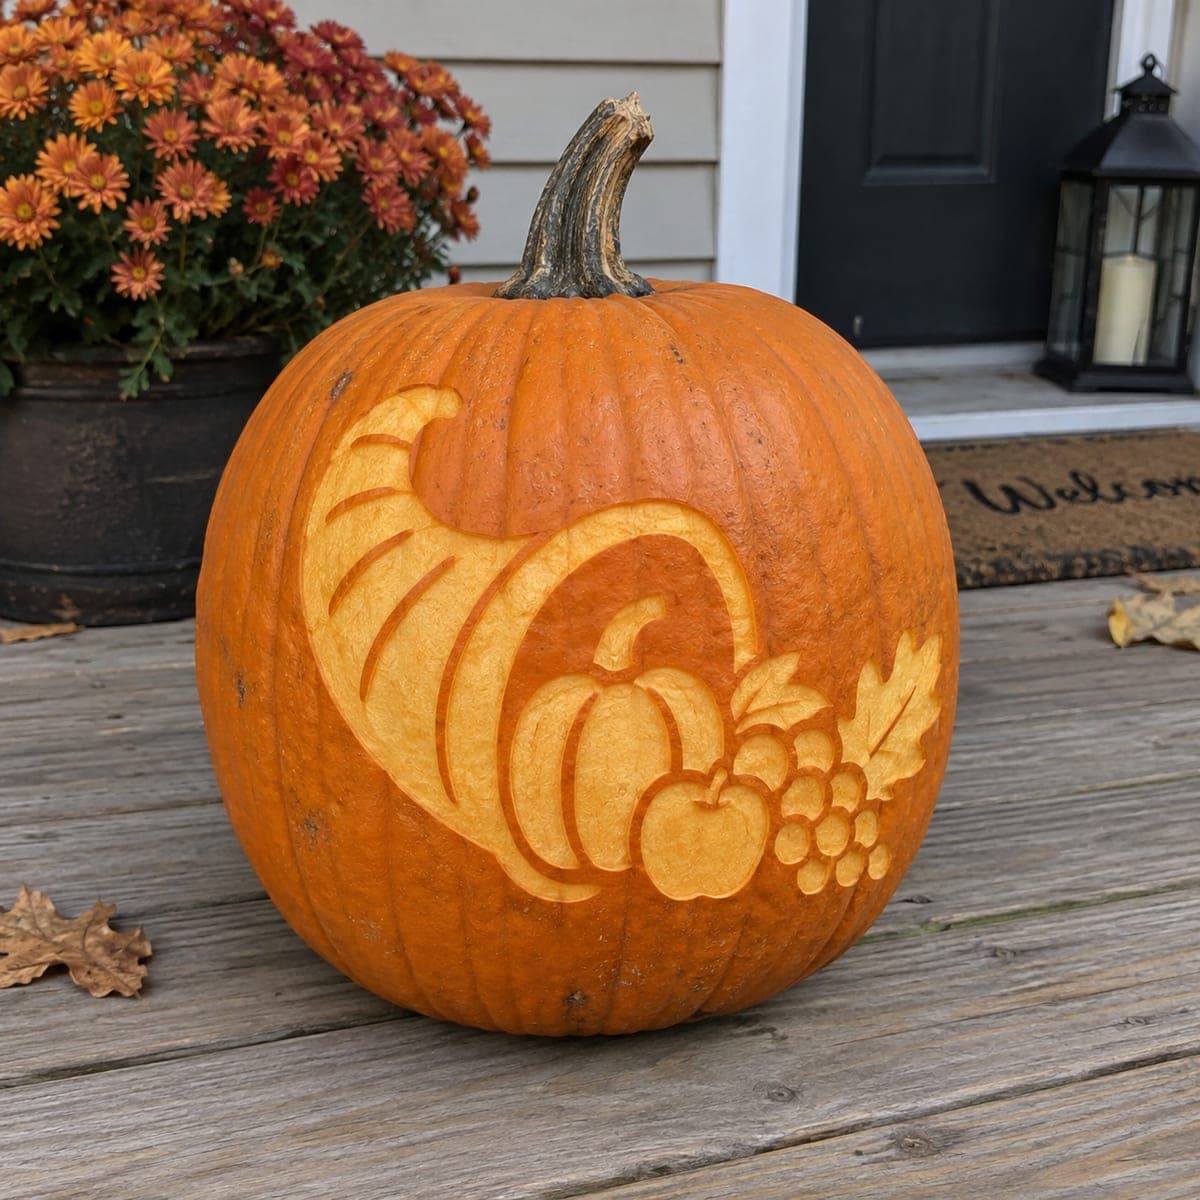
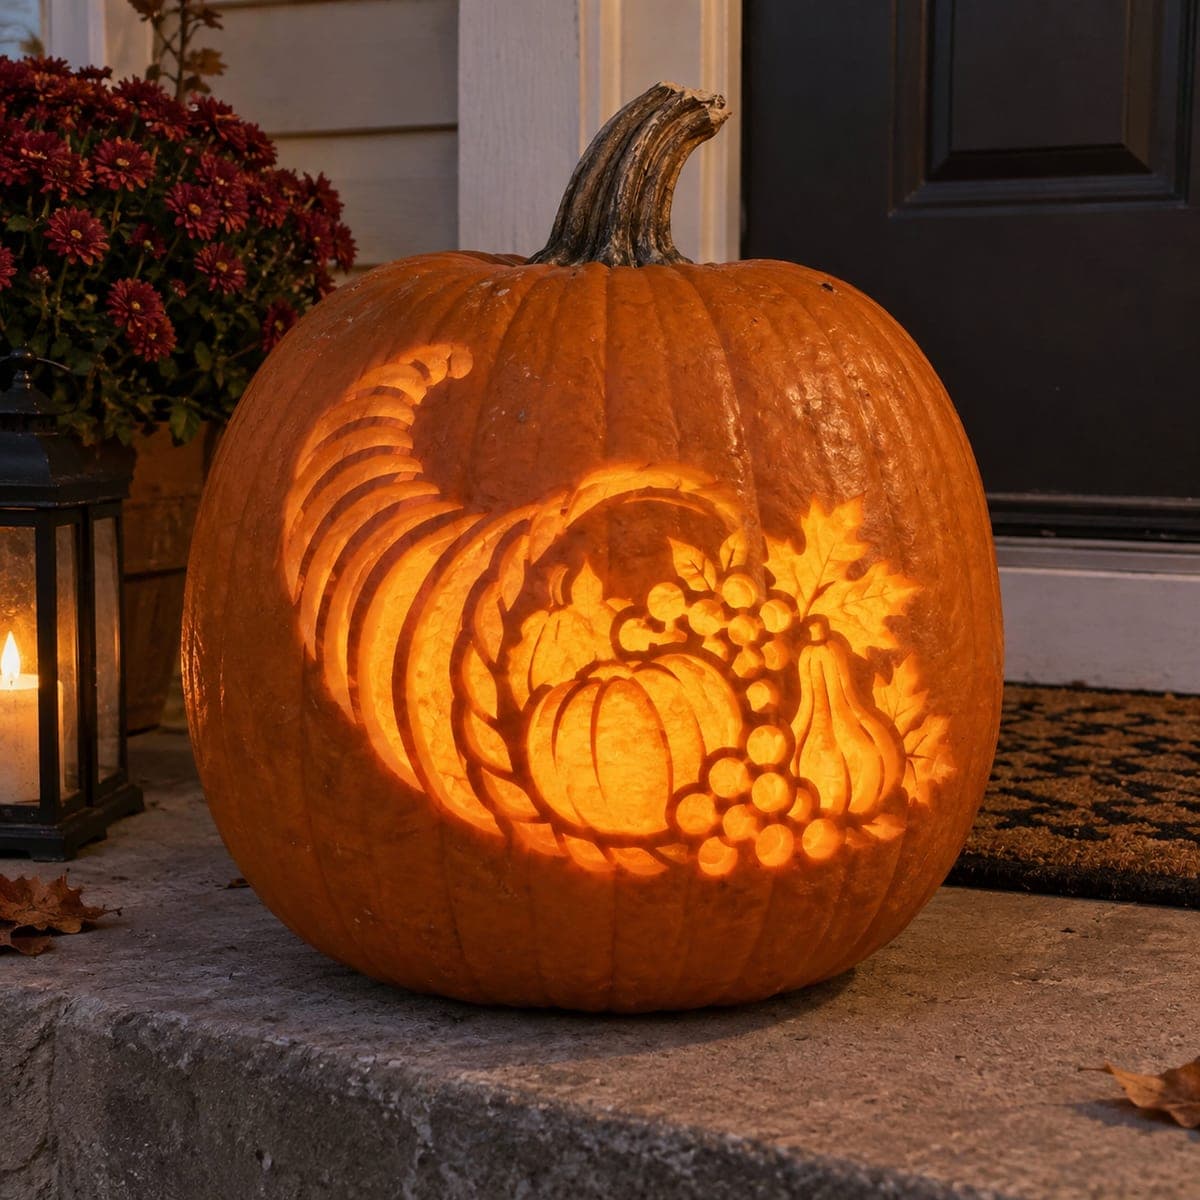
A horn of plenty overflowing with a small pumpkin, apple, grapes, and maple leaves is etched into the surface of this Thanksgiving pumpkin. Only the skin is peeled away, so the pale flesh forms the design against the orange rind without any pierced cuts. Trace the outline with a pencil, score it with a knife tip, then lift the skin inside the lines with a linoleum gouge. It displays well unlit by the front door all through November.

This is an AI-generated concept image: a realistic, carvable design idea rather than a photo of a finished carve. AI concepts are always labeled and sit out the leaderboard and the contest.

No ratings yet · Sign in to rate
Comments (0)

  • No comments yet — be the first.

Save without an account. Sign in to like or comment.

Our tips for carving a similar design

The whole design leans on one trick: no cuts pass through the wall of the pumpkin. Instead you peel away only the skin so the pale flesh reads as a soft glowing shape against the darker orange rind. Trace the cornucopia and its spilling fruit, score every line with a knife tip, then lift the skin inside the lines with a shallow gouge for an even, matte-lit picture that holds up all month.

Written by PumpkinCarvingIdeas.com, inspired by the image above. These are our suggestions, not instructions from the uploader. This approach to the AI concept has not been tested on a real pumpkin.

From pumpkin to porch

  1. Pick a smooth face and prep

    Choose a tall pumpkin with a broad, blemish-free front, since every scratch shows in an etched design. Wipe it clean and dry it well. Because this is a surface treatment, you do not need to gut it or cut a lid unless you plan to add a light later. Set it on a towel at table height so you can work comfortably.

  2. Transfer the pattern

    Tape your cornucopia stencil flat against the front, easing small pleats around the curve so nothing distorts. Trace every outline with a pencil or a poking tool, marking the horn, the small pumpkin, the apple, the grape cluster, and the maple leaves. Peel the paper and check that all the shapes read clearly. Redraw any faint spots by hand before you touch a blade.

  3. Score the outlines

    With the tip of a small, sharp knife, score along every traced line about an eighth of an inch deep. Cut only the skin and a little of the flesh, never through the wall. These score lines act as clean stopping walls so the peeled areas end crisply. Keep the blade angled slightly away from the shapes you want to keep dark, and let an adult handle all the sharp work.

  4. Peel the skin inside the shapes

    Switch to a linoleum gouge or a loop tool and lift the skin away inside each scored outline, working down to the pale flesh. Keep the depth shallow and even so the whole area glows the same tone. Peel the horn first, then the fruit and leaves, pausing to brush away shavings and check for uneven patches. Leave narrow rind ridges between the horn's ribs and around each fruit so the shapes stay separated.

  5. Refine the shading and edges

    Go back over the peeled zones and smooth any ragged spots so the light spreads softly across the flesh. Sharpen the score lines that separate the pumpkin, apple, and grapes so each stays distinct. If a grape or leaf tip looks muddy, redefine its outline with the knife tip. The goal is clean edges and one consistent pale surface.

  6. Seal, place, and photograph

    Rub the peeled areas with a thin coat of petroleum jelly to slow drying and keep the flesh bright for days. Set the pumpkin by the front door where daylight rakes across the etched surface. If you want a soft nighttime glow you could tuck a small battery LED behind it, since the unpierced design shows best in ambient light. Snap a photo in the morning sun when the shading looks richest.

Gather your supplies

Check things off as you get ready.

Work on a stable surface, keep your free hand out of the cutting path, and have an adult handle sharp tools.

Three levels of light

  • Leave intact

    The orange rind around the design and the ridges between the horn ribs and fruit stay untouched and dark.

  • Peel & shade

    The entire cornucopia, small pumpkin, apple, grapes, and maple leaves are skin-peeled to a soft pale glow.

  • Cut through

    Nothing is cut through on this design, which keeps the picture intact and durable.

Learn the carving basics

Before you start cutting

Do I need to hollow out the pumpkin for an etched design like this?

Not for the etching itself, since none of the cuts pass through the wall. If you want a faint nighttime glow you can scoop the inside thinner and add a battery LED, but the design mainly reads by daylight. Many carvers leave it solid and display it unlit.

How do I keep the fruit shapes from blurring together?

Leave a thin strip of untouched rind along every score line that separates the pumpkin, apple, and grape cluster. Those dark ridges are what make each fruit stand apart against the peeled flesh. Peel right up to the line but not across it.

How long will an etched pumpkin last on the porch?

Peeled flesh dries and darkens faster than an intact rind, so expect a few good days to a week. Coat the exposed areas with petroleum jelly and keep the pumpkin out of direct afternoon sun to stretch that. If it starts to dull, a light re-peel of the surface can freshen the glow.

Your take belongs here, too.

Changed a detail? Made it simpler? Share a photo of your version and tell the community what worked.

Share your pumpkin

More pumpkins like this

You've reached the end · 8 pumpkins
The Patch Report

Fresh pumpkins, in your inbox.

The best new carvings, ideas worth stealing, and how-tos for carving season. Short, seasonal, and gone by November.

A short email during carving season. Unsubscribe anytime. See our privacy policy.