Halloween Pumpkin Carving Contest · Starts October 1st · $500 in prizes
← Back to ideas
@ai_concepts
Sep 4, 2026
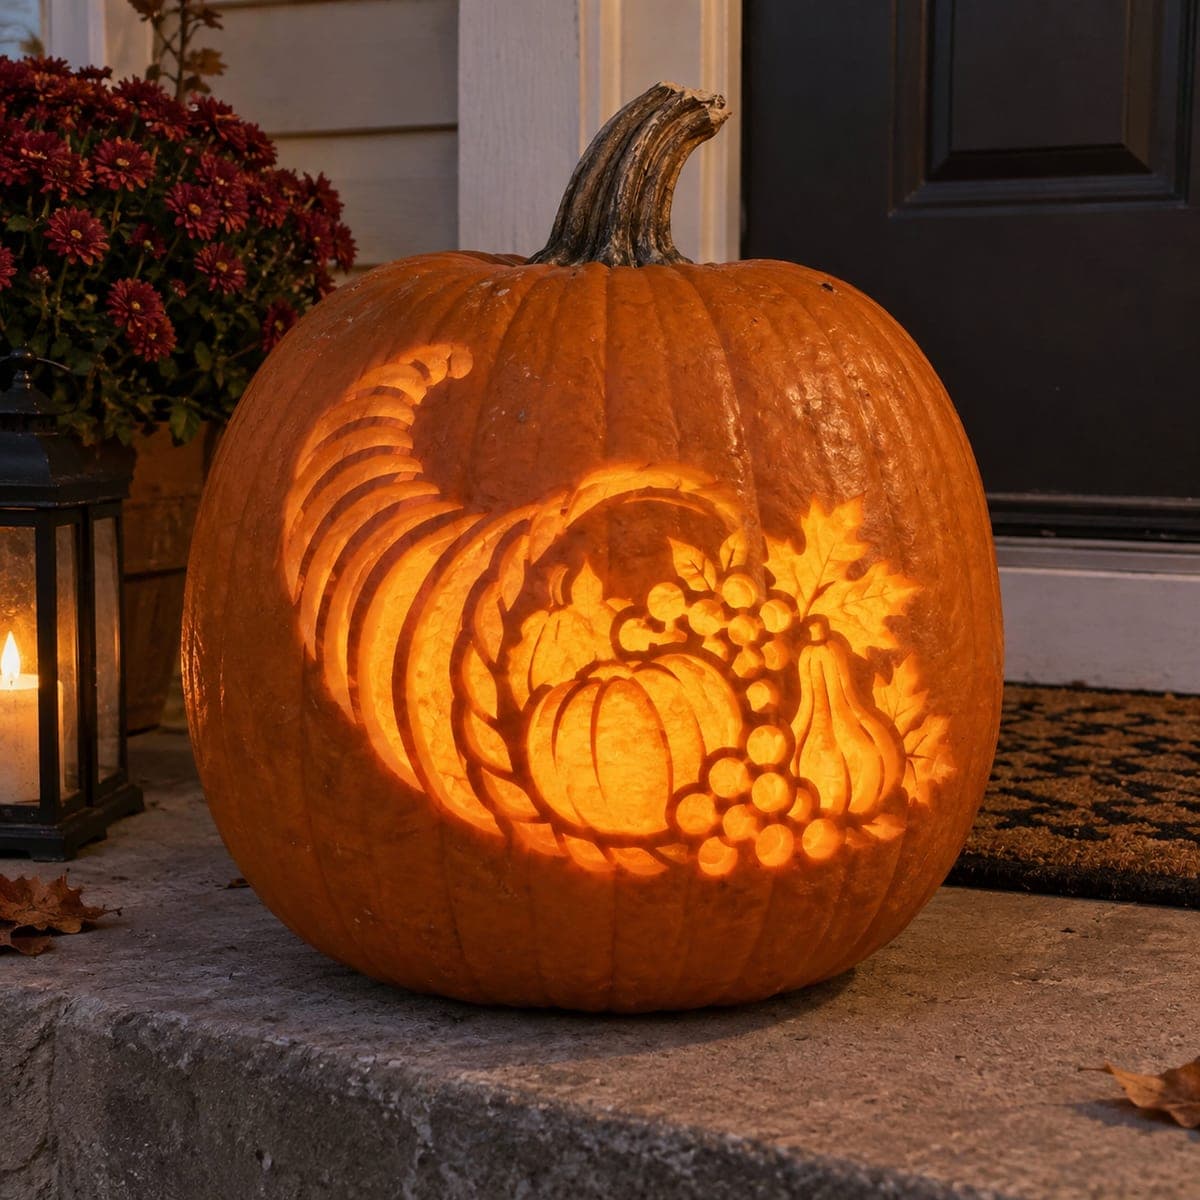
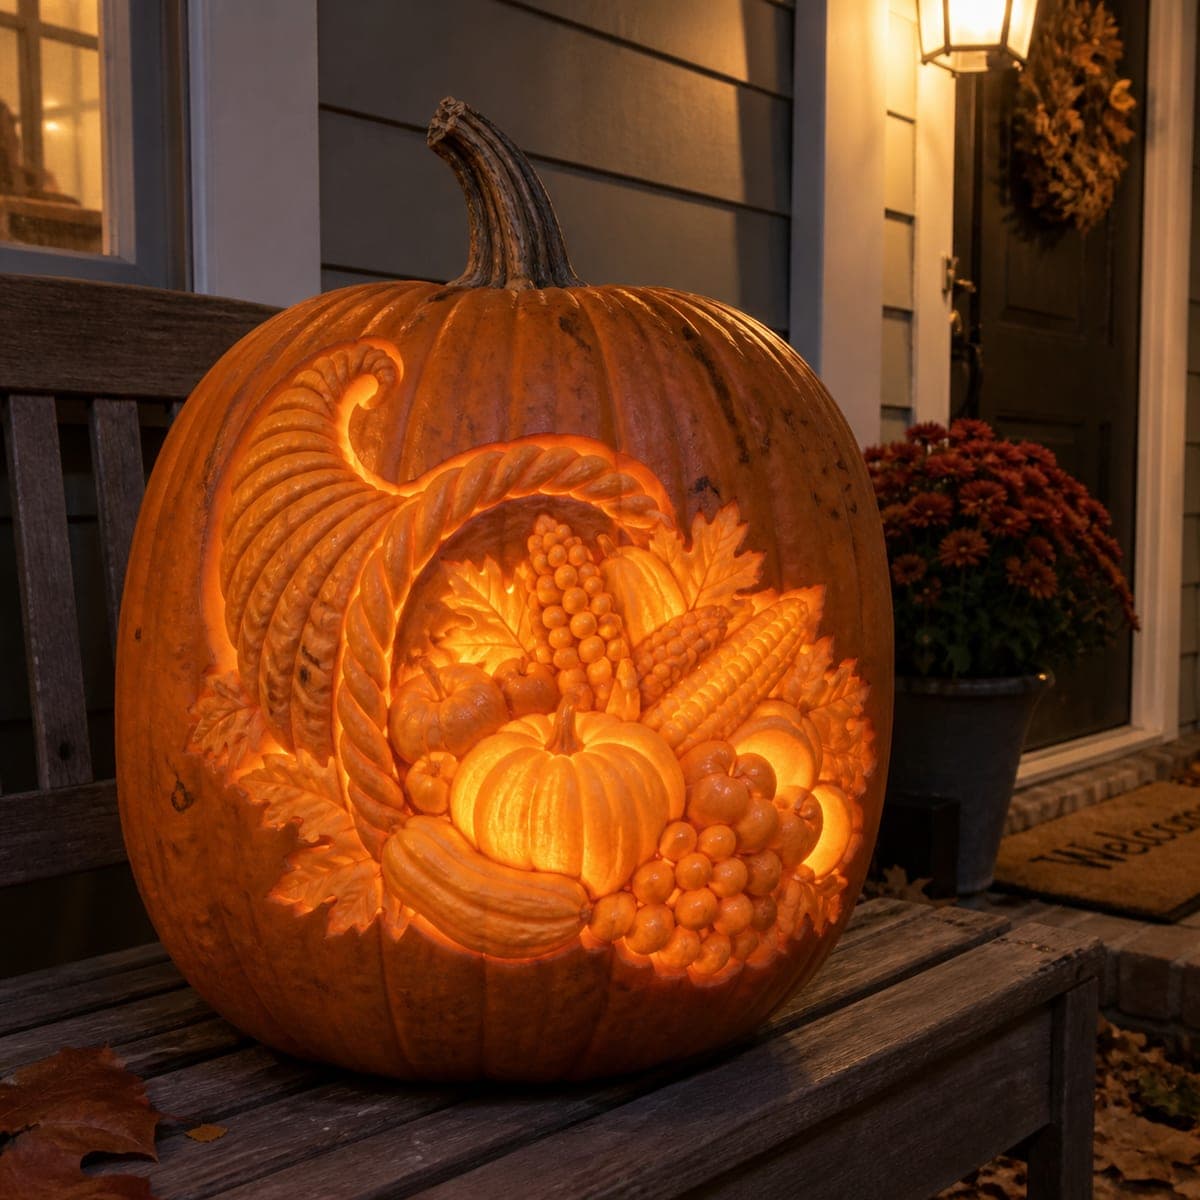
Harvest Cornucopia Etched Thanksgiving PumpkinAI
0

Harvest Cornucopia Etched Thanksgiving Pumpkin

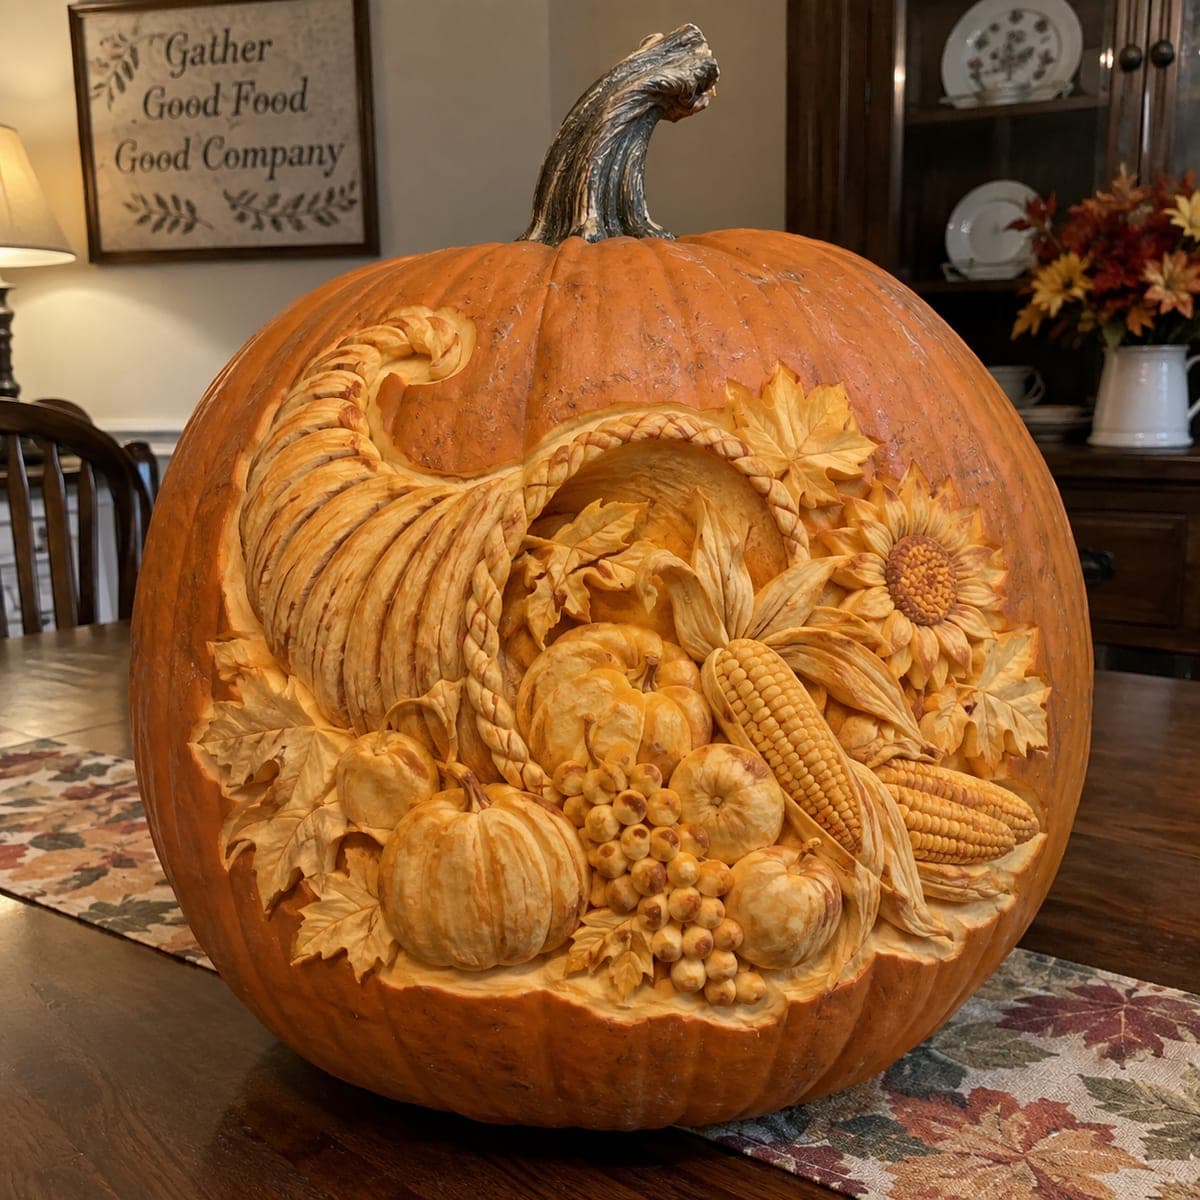
A woven cornucopia spills grapes, a small pumpkin, gourds, and maple leaves across this etched design, an elegant harvest centerpiece that carries your porch from Halloween into Thanksgiving. The basket's ribbed horn is carved in alternating peeled bands to mimic wicker, while the fruit glows at different intensities based on carving depth. Transfer a printed pattern with pin pricks, etch the fruit thinnest for maximum glow, and light it with a warm LED.

This is an AI-generated concept image: a realistic, carvable design idea rather than a photo of a finished carve. AI concepts are always labeled and sit out the leaderboard and the contest.

No ratings yet · Sign in to rate
Comments (0)

  • No comments yet — be the first.

Save without an account. Sign in to like or comment.

Our tips for carving a similar design

This design leans almost entirely on shading, meaning you scrape away skin to different depths rather than cutting all the way through. The core trick is the woven horn, which reads as wicker because it is carved in alternating peeled bands with thin ribs of skin left between them. Plan the fruit as your brightest area and the outer basket weave as your dimmest, so the whole scene glows in soft layers.

Written by PumpkinCarvingIdeas.com, inspired by the image above. These are our suggestions, not instructions from the uploader. This approach to the AI concept has not been tested on a real pumpkin.

From pumpkin to porch

  1. Pick a sturdy pumpkin and clean the wall

    Choose a large pumpkin with a broad, smooth face and a flat resting base. Cut a lid from the bottom or the back rather than the top so the stem stays intact for looks. Scrape the inside wall behind your design area down to about one inch thick using a loop tool. A thinner, even wall makes shading glow evenly and keeps the etching predictable.

  2. Transfer the pattern with pin pricks

    Print the cornucopia stencil sized to fit the pumpkin face and tape it flat, snipping darts around the edges so it hugs the curve. Poke closely spaced pin holes along every outline, including the fruit, leaves, and each band of the woven horn. Peel the paper away and connect the dots lightly with a pencil or washable marker. Take your time here since a clear map makes the shading far easier.

  3. Etch the fruit thinnest for the brightest glow

    Start with the grapes, small pumpkin, and gourds using a ribbon or loop tool to scrape the skin and a shallow layer of flesh away. Go deepest on the fruit so light pushes through strongest, leaving these shapes the brightest. Round the edges of the grapes and pumpkin ribs slightly so they look three dimensional. Work slowly and check your depth often against a backlight or lamp.

  4. Carve the woven horn in alternating bands

    Peel every other band of the cornucopia horn to a medium depth, leaving the ribs between them as untouched skin. This alternating rhythm is what fakes the wicker weave, so keep the bands even and the skin ribs thin but intact. Do not cut through these ribs since they hold the pattern together. Feather the ends of each band where they curl toward the mouth of the horn.

  5. Shade the leaves and background depths

    Etch the maple leaves at a lighter, shallower depth than the fruit so they glow softer and sit behind the arrangement. Leave the outer basket outline and any deep shadow areas as untouched skin to frame the scene. If you want a few pinpoint highlights, you may cut fully through on just one or two tiny grape gaps, but keep those openings small. Step back and adjust any spot that looks too flat.

  6. Light it warm and photograph at dusk

    Set a warm white LED puck or a battery tea light cluster inside, since a real flame is a fire risk and dulls quickly. Prop the light so it sits behind the fruit for the strongest center glow. Rub the cut edges with a little petroleum jelly to slow drying, and mist the etched areas if they start to pale. Shoot your photo at dusk on the step for that soft harvest look.

Gather your supplies

Check things off as you get ready.

Work on a stable surface, keep your free hand out of the cutting path, and have an adult handle sharp tools.

Three levels of light

  • Leave intact

    The outer basket outline, the thin ribs between the woven bands, and the deep background shadows stay as untouched skin.

  • Peel & shade

    The woven horn bands, maple leaves, and most fruit are peeled to varying depths for a mid to bright glow.

  • Cut through

    Only one or two tiny gaps between grapes are cut fully through for pinpoint highlights, if you want them at all.

Learn the carving basics

Before you start cutting

How do I make the horn actually look woven?

The weave illusion comes from contrast, not from cutting through. Peel every other band to a medium depth and leave the skin rib between each one dark and intact. Keep the bands roughly the same width and let them curve with the horn so the eye reads it as wicker.

This is a lot of shading. Will it dry out before Thanksgiving?

Etched pumpkins are all surface, so they do dry and shrink faster than fully cut ones. Rub petroleum jelly on the scraped areas, keep it cool and out of direct sun, and mist it if it starts to pale. Even so, plan on carving close to when you want it displayed, and treat it as a week-long piece rather than a month-long one.

Do I need to cut all the way through anywhere?

Almost never on this design. The glow comes from thin, evenly scraped skin, so keep the fruit deepest and the leaves shallower. If you want a couple of tiny bright sparks, you can cut fully through one or two small grape gaps, but cut those last and keep them tiny so the wall stays strong.

Your take belongs here, too.

Changed a detail? Made it simpler? Share a photo of your version and tell the community what worked.

Share your pumpkin

More pumpkins like this

You've reached the end · 8 pumpkins
The Patch Report

Fresh pumpkins, in your inbox.

The best new carvings, ideas worth stealing, and how-tos for carving season. Short, seasonal, and gone by November.

A short email during carving season. Unsubscribe anytime. See our privacy policy.