Halloween Pumpkin Carving Contest · Starts October 1st · $500 in prizes
← Back to ideas
@ai_concepts
Aug 16, 2026
Thanksgiving Cornucopia Harvest Pumpkin CarvingAI
0

Thanksgiving Cornucopia Harvest Pumpkin Carving

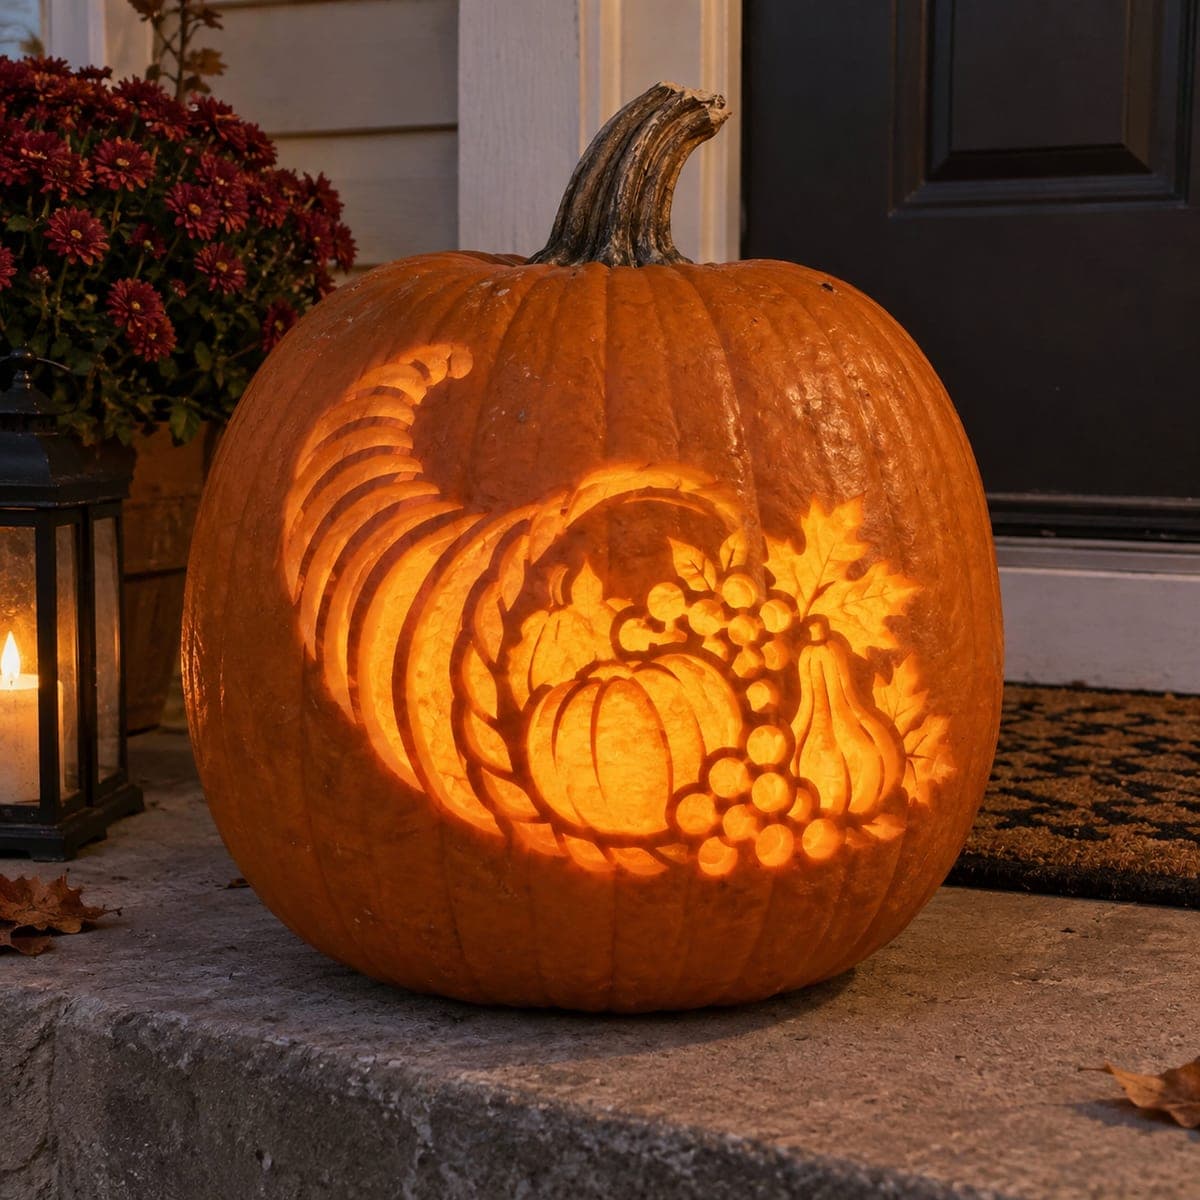
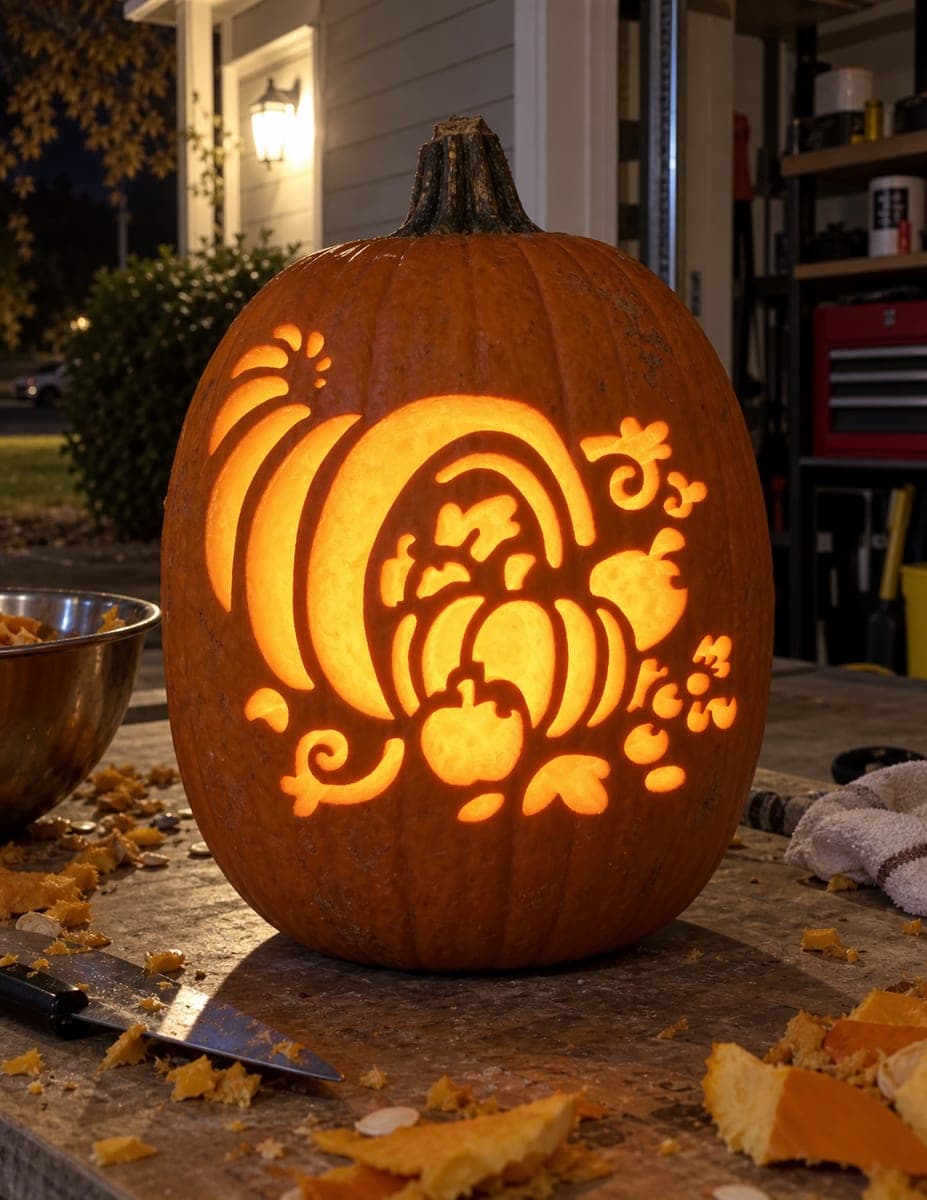
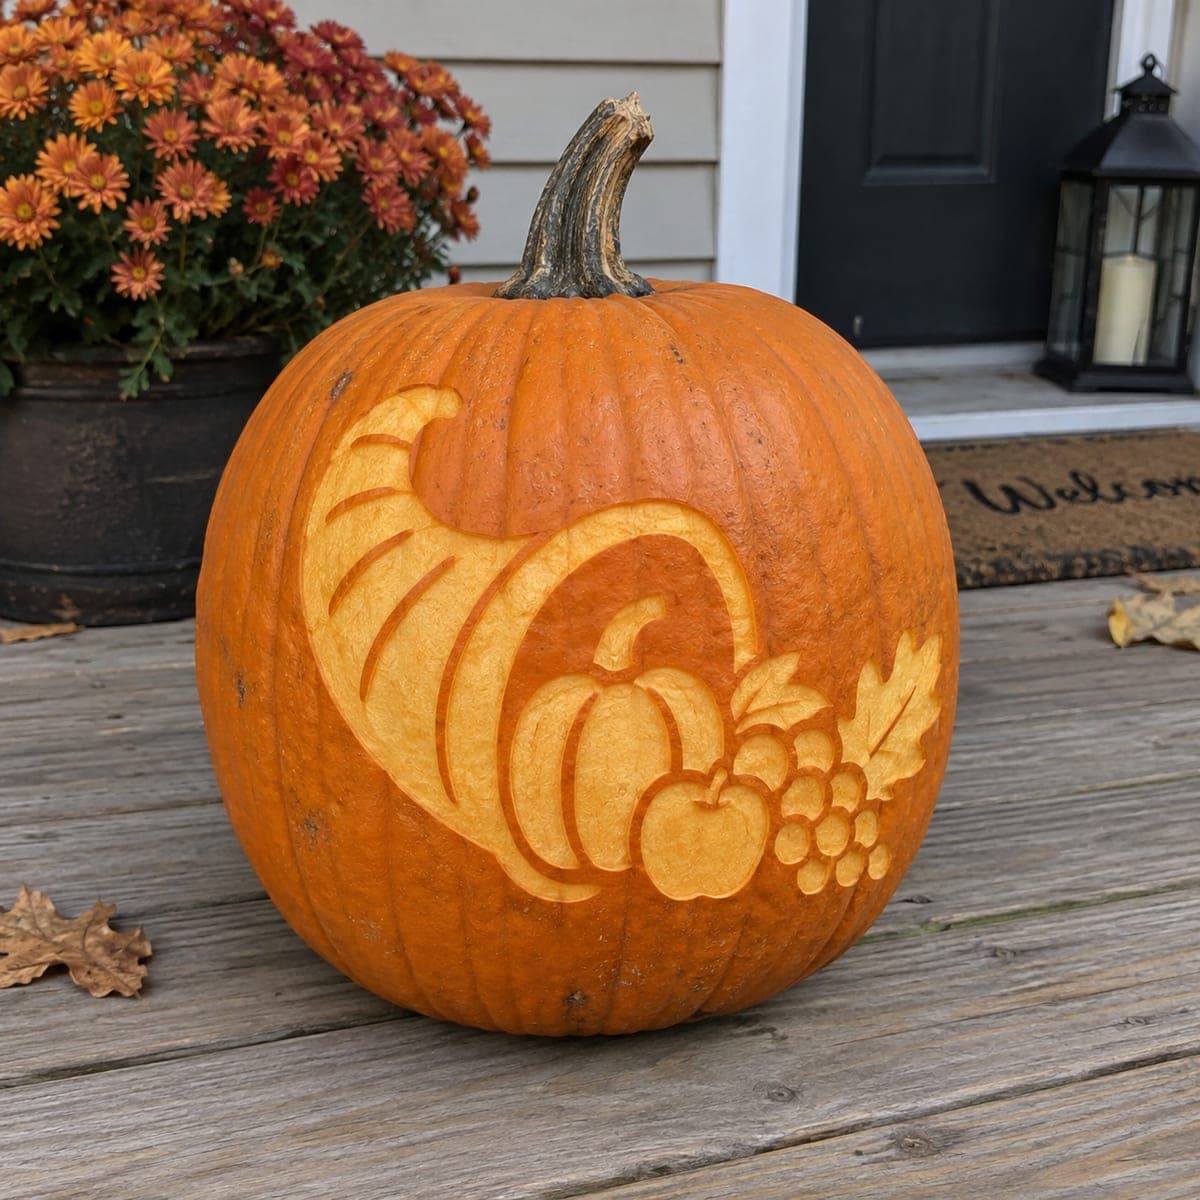
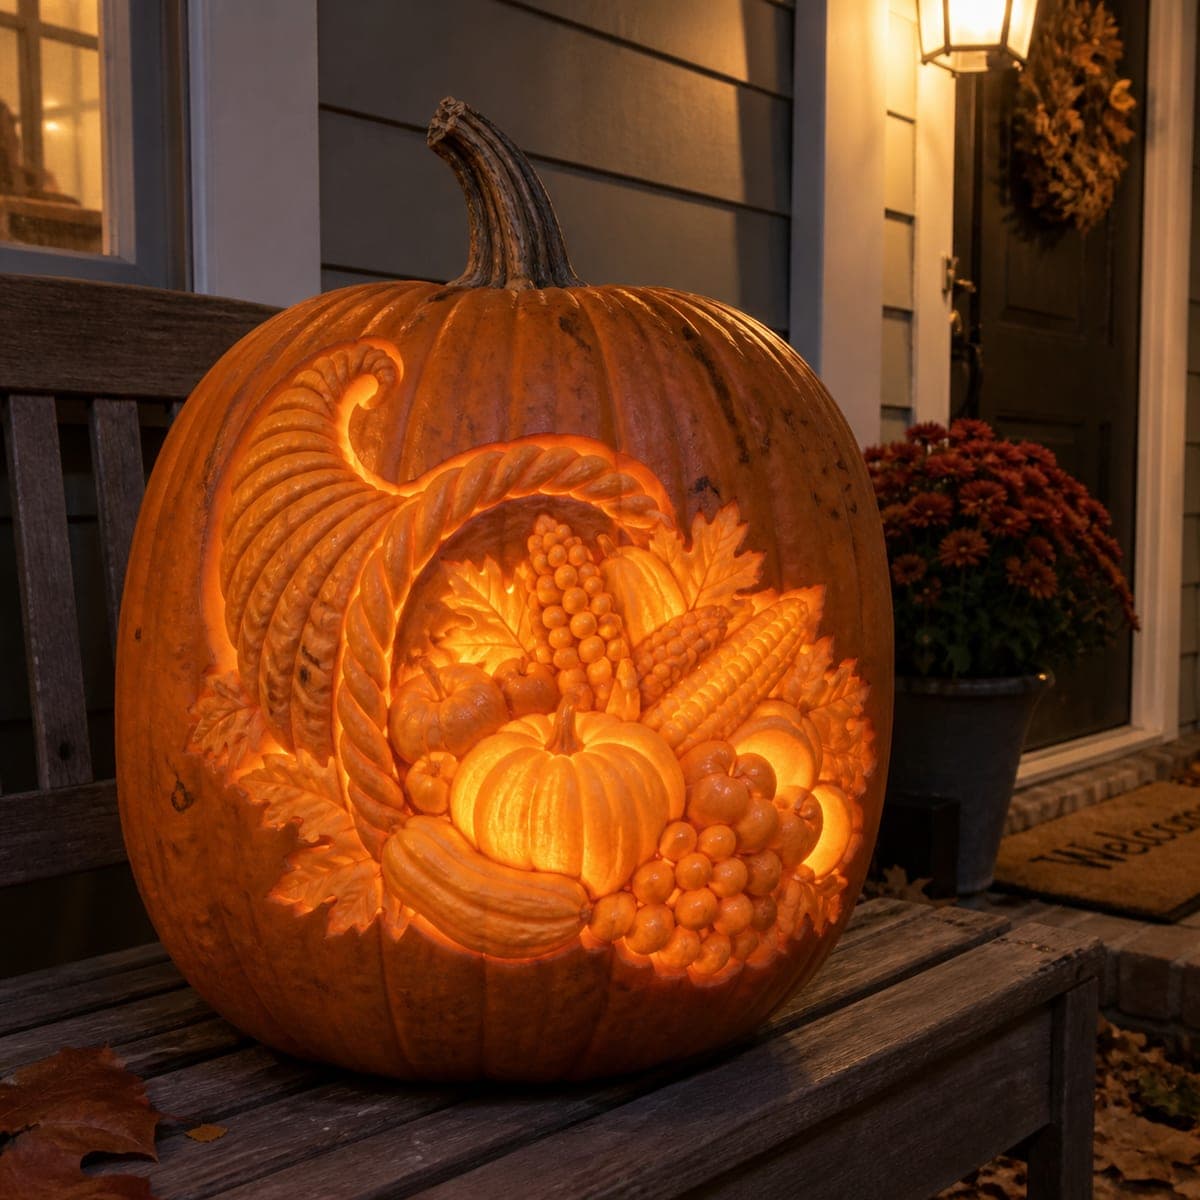
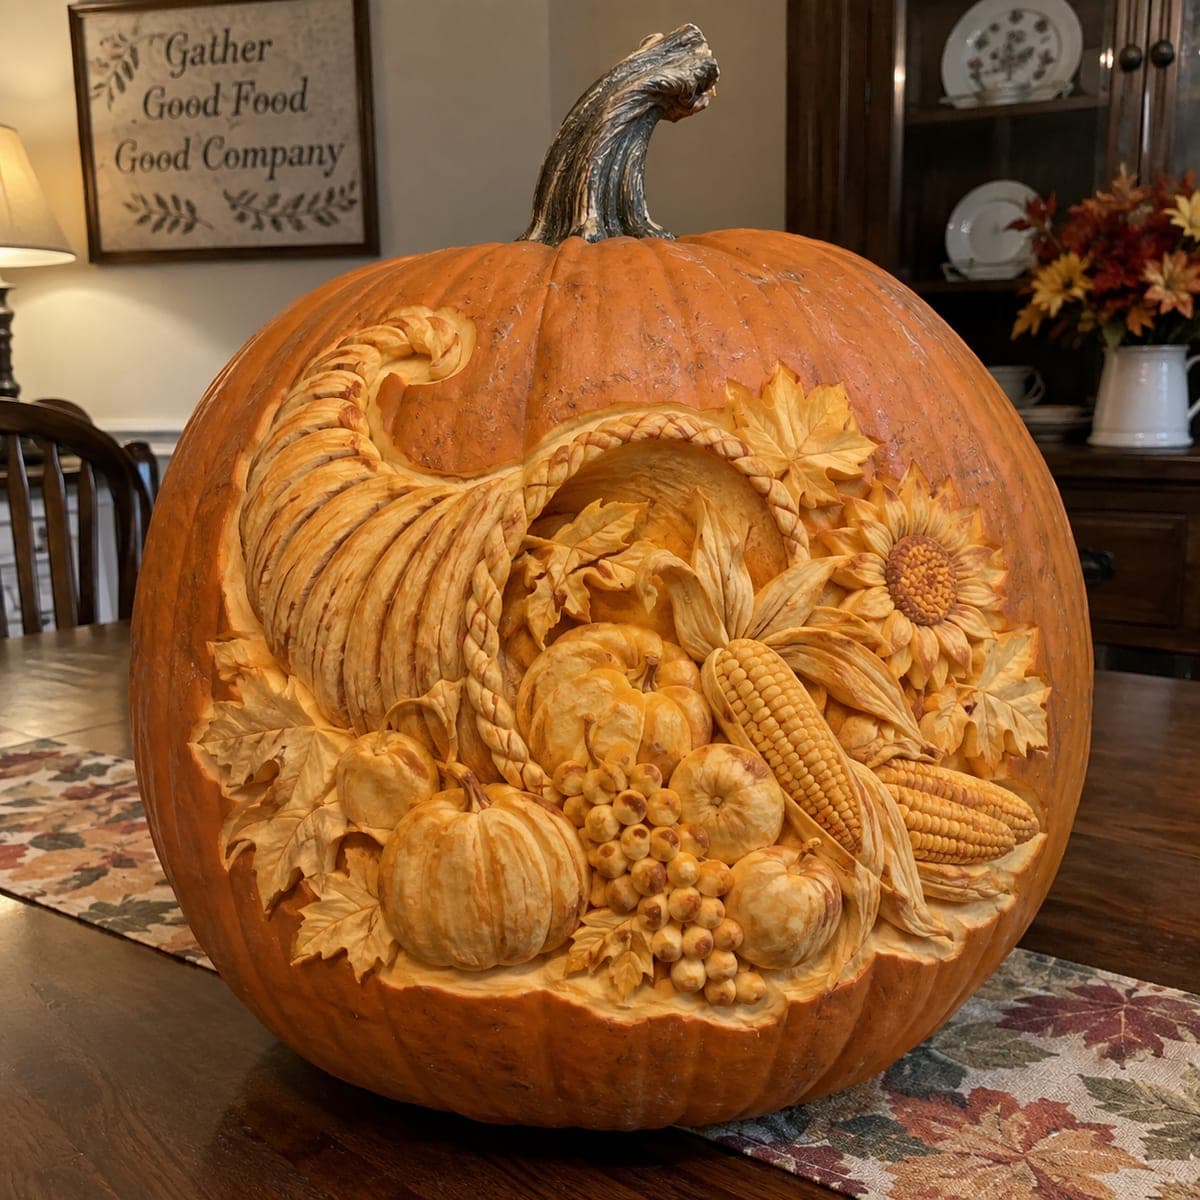
A woven cornucopia spills corn, grapes, a small pumpkin, and squash across this glowing harvest design, making it a rare carve that works from Halloween straight through Thanksgiving. The basket weave is etched in alternating ridges while the fruit is rounded in smooth relief. Rough in the big shapes before any detail, carve the grape cluster as overlapping circles, and use a warm bulb to flatter the golden tones.

This is an AI-generated concept image: a realistic, carvable design idea rather than a photo of a finished carve. AI concepts are always labeled and sit out the leaderboard and the contest.

No ratings yet · Sign in to rate
Comments (0)

  • No comments yet — be the first.

Save without an account. Sign in to like or comment.

Our tips for carving a similar design

The core trick here is relief carving, where you shave the skin to different depths so light glows through the thin spots instead of cutting all the way through. The woven horn stays mostly surface work with alternating ridges, while the corn, grapes, squash, and small pumpkin are rounded in smooth relief so they read as overlapping shapes. Rough in the big forms first, then add texture and depth last so nothing collapses.

Written by PumpkinCarvingIdeas.com, inspired by the image above. These are our suggestions, not instructions from the uploader. This approach to the AI concept has not been tested on a real pumpkin.

From pumpkin to porch

  1. Prep and transfer the layout

    Pick a large, evenly rounded pumpkin and cut an access hole in the bottom rather than the top, then scrape the front wall down to about one inch thick with a loop tool. A thinner wall makes relief shading glow more evenly. Tape your cornucopia stencil in place and poke the outlines with a transfer tool or awl. Mark which sections are the horn, the leaves, and each piece of fruit before you start.

  2. Rough in the big shapes

    Using a ribbon or loop tool, lightly define the outer edge of the cornucopia horn and the mound of fruit spilling out. Establish the overall depth order first: the front pumpkin and grapes sit highest, the corn and leaves fall behind them. Do not chase any detail yet. Getting the big shapes and their layering right is what sells the whole scene.

  3. Shade the fruit in smooth relief

    Peel the skin off each piece of fruit and shave it into a gentle dome so light glows softly through the thin areas. Round the small pumpkin and squash with shallow ridges, and carve the grape cluster as many overlapping circles, keeping the ones in front slightly shallower and brighter. Leave a thin channel of untouched skin between each grape so they stay separate. Work slowly and check the glow with your light as you go.

  4. Etch the basket weave

    On the horn of the cornucopia, cut alternating short ridges to suggest woven strands, angling them so they follow the curl of the horn. Keep these cuts shallow, just through the skin, so the weave reads as texture rather than open holes. Leave narrow bands of skin between strands to hold the pattern together. This etched area stays dimmer than the fruit, which helps the produce pop forward.

  5. Open the brightest accents

    Save any full cut-throughs for last, once the surrounding relief is done. A few small openings behind the front pumpkin and among the corn kernels let bright light spill out and anchor the glow. Keep these cuts modest so the wall stays strong. Clean up all edges with a detail knife for crisp lines.

  6. Light it and photograph

    Set a warm-toned LED puck or bulb inside through the bottom hole, never a candle, since it flatters the golden orange tones. Raise the pumpkin slightly or shim the light so it fills the relief evenly. Take your photo at dusk on a porch or bench for the coziest harvest feel. A light coat of petroleum jelly on cut edges slows drying if you want it to last.

Gather your supplies

Check things off as you get ready.

Work on a stable surface, keep your free hand out of the cutting path, and have an adult handle sharp tools.

Three levels of light

  • Leave intact

    The outer pumpkin skin and the thin dividers between grapes stay dark to frame the scene.

  • Peel & shade

    The woven horn, leaves, corn, squash, and rounded fruit are skin-peeled for a soft mid glow.

  • Cut through

    A few small openings behind the front pumpkin and among the corn kernels give the brightest pops of light.

Learn the carving basics

Before you start cutting

This is shown as a concept image. Can a design this detailed actually be carved?

Yes, though it belongs in the expert range. The look comes almost entirely from relief shading rather than cut-throughs, so keep most of the fruit and weave as peeled skin and reserve only a few small openings for bright accents. Thin the front wall to about an inch first so the glow reads through the shaded areas.

How do I keep the grape cluster from looking like a blob?

Carve it as many overlapping circles rather than one shape, and leave a thin ridge of skin between each grape so they stay distinct. Shave the front grapes a touch thinner so they glow brighter and appear closer. Vary the size slightly for a natural cluster.

What is the best way to fake a woven basket texture?

Cut short alternating ridges along the horn, angling them to follow its curl, and keep them shallow so they read as texture instead of holes. Leave narrow skin bands between strands to hold everything together. Keeping the weave dimmer than the fruit makes the produce stand forward.

Your take belongs here, too.

Changed a detail? Made it simpler? Share a photo of your version and tell the community what worked.

Share your pumpkin

More pumpkins like this

You've reached the end · 8 pumpkins
The Patch Report

Fresh pumpkins, in your inbox.

The best new carvings, ideas worth stealing, and how-tos for carving season. Short, seasonal, and gone by November.

A short email during carving season. Unsubscribe anytime. See our privacy policy.