Halloween Pumpkin Carving Contest · Starts October 1st · $500 in prizes
← Back to ideas
@ai_concepts
Jul 10, 2026
Thanksgiving Turkey Relief Carved PumpkinAI
0

Thanksgiving Turkey Relief Carved Pumpkin

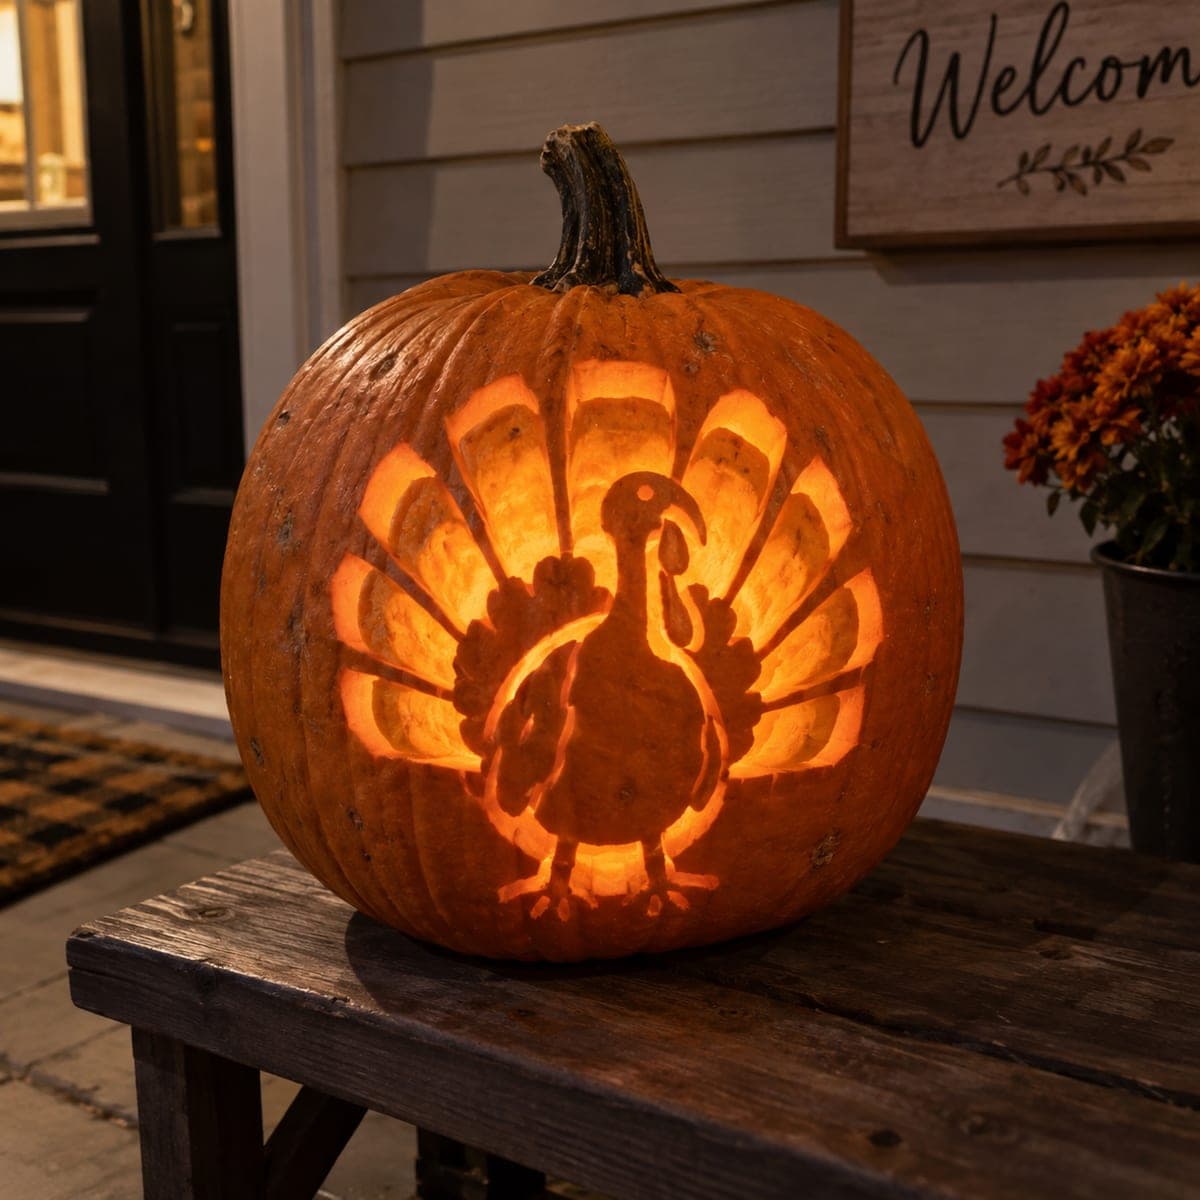
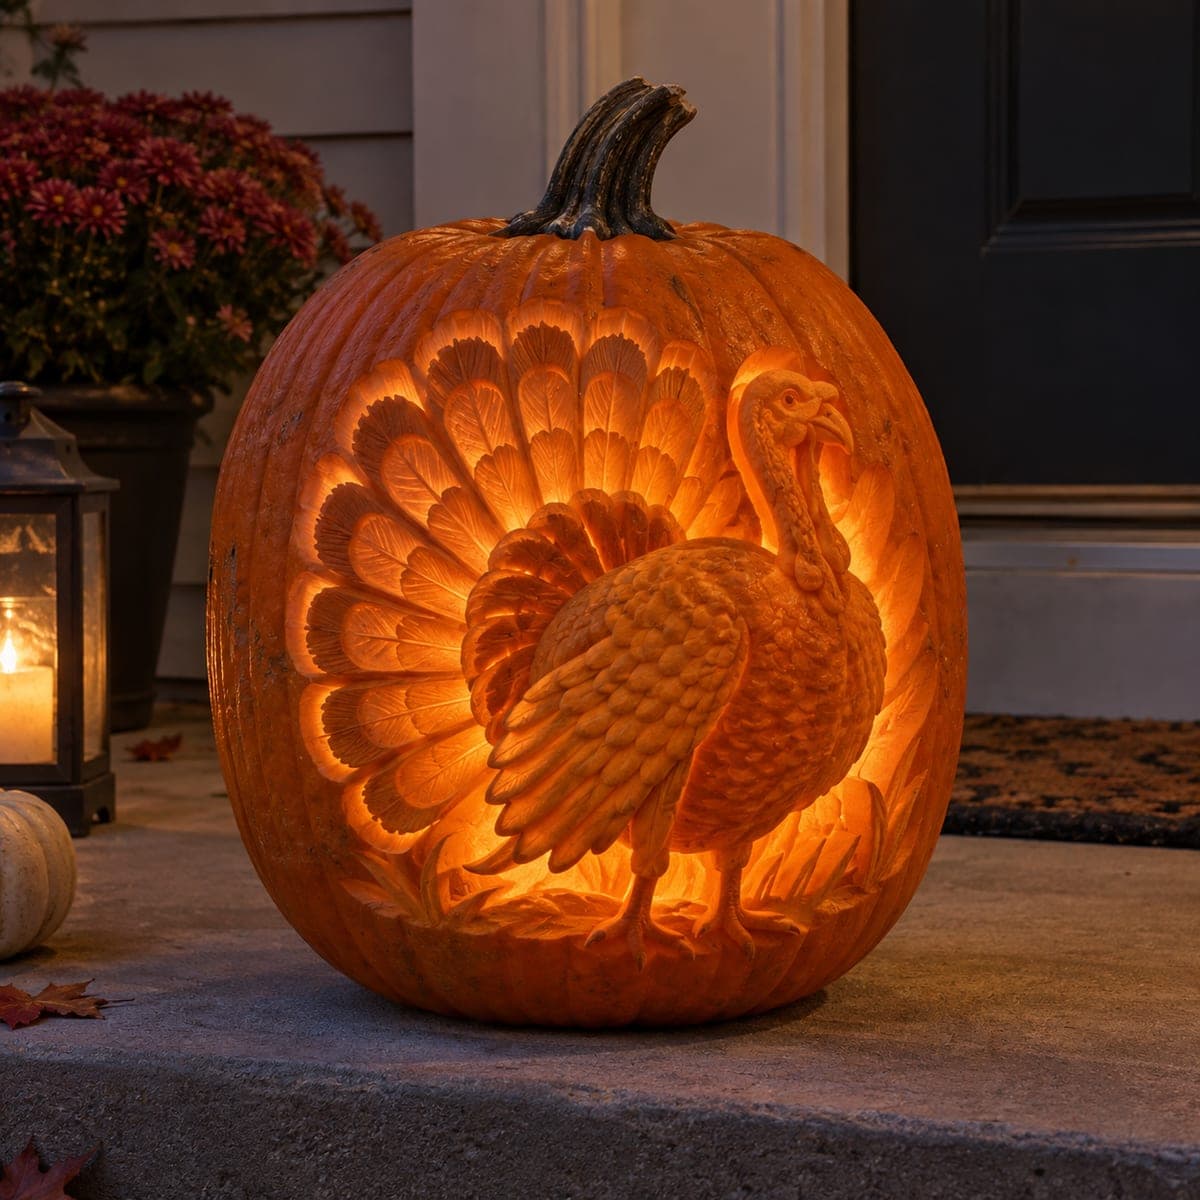
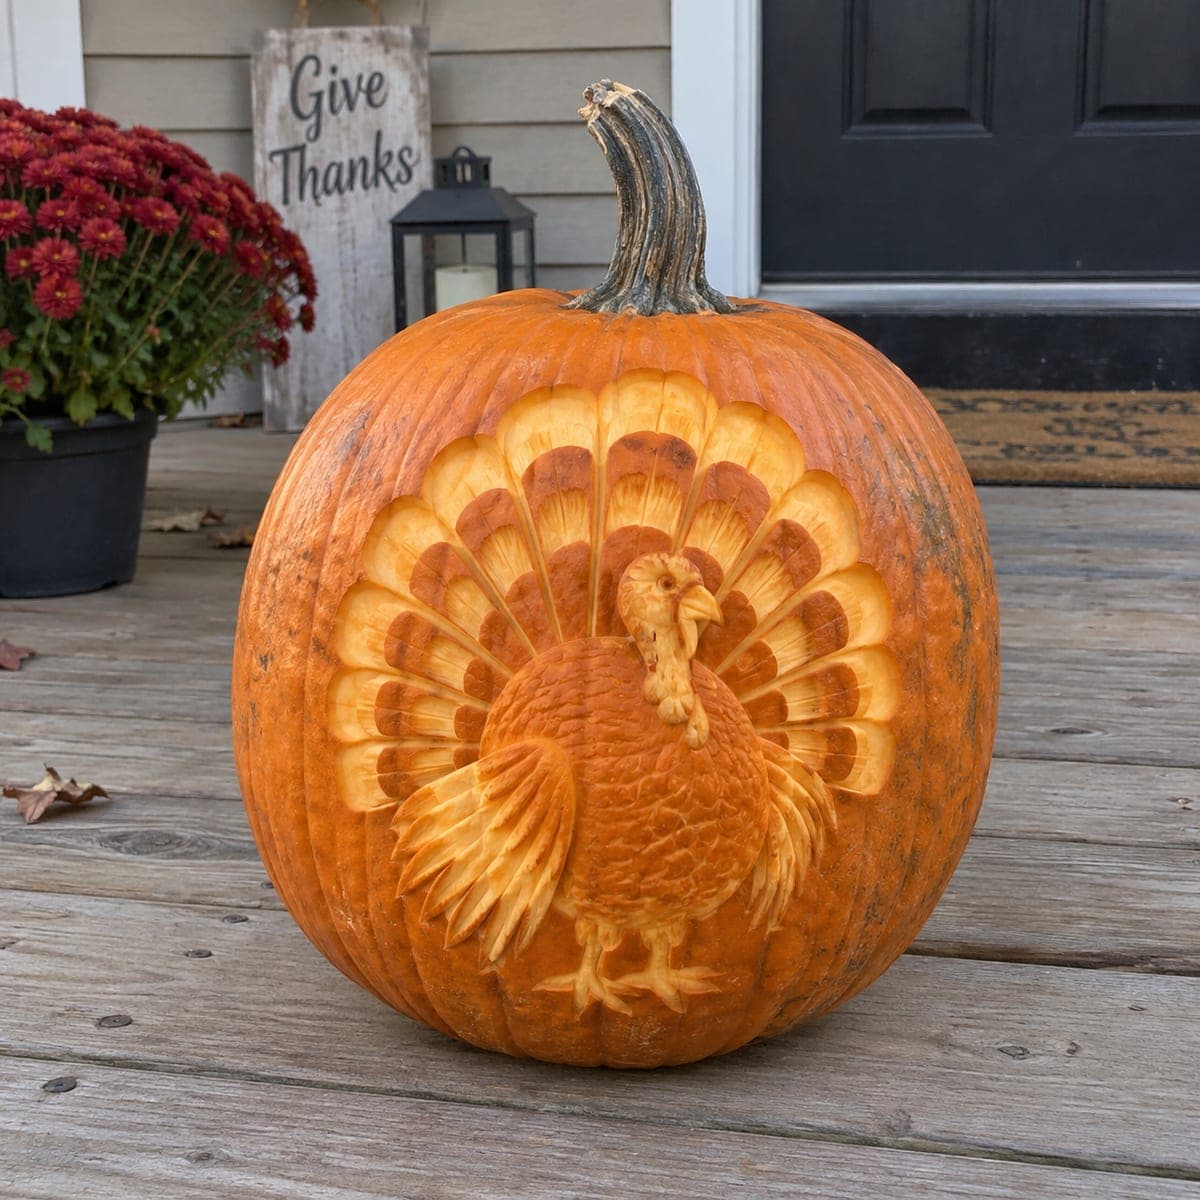
A tom turkey in full strut fills this pumpkin, his fanned tail feathers carved in scalloped rows of relief that catch the daylight. Each feather is outlined with a V-gouge and then shaved to a different depth, so the design reads clearly even unlit. This is a great pumpkin carving idea that bridges Halloween and Thanksgiving, and it holds up on a covered porch well into November.

This is an AI-generated concept image: a realistic, carvable design idea rather than a photo of a finished carve. AI concepts are always labeled and sit out the leaderboard and the contest.

No ratings yet · Sign in to rate
Comments (0)

  • No comments yet — be the first.

Save without an account. Sign in to like or comment.

Our tips for carving a similar design

The core trick here is relief carving, where you never cut all the way through the pumpkin and instead shave the skin to different depths so the turkey reads by light and shadow alone. The plan is to map the whole scene first, outline every feather and body edge with a V-gouge, then shave each layer to a slightly different depth so the fanned tail steps back row by row. Work from the center bird outward and save the brightest scooped areas for last.

Written by PumpkinCarvingIdeas.com, inspired by the image above. These are our suggestions, not instructions from the uploader. This approach to the AI concept has not been tested on a real pumpkin.

From pumpkin to porch

  1. Pick a big canvas and transfer the design

    Choose a large, round pumpkin with a smooth, blemish-free front so the relief has room to breathe. Tape your turkey stencil flat and poke the main outlines through with a pin, or trace them with a washable marker. Mark the body, the head and neck, the two wings, and each row of tail feathers. Getting the map right now saves you from guessing once the skin comes off.

  2. Cut a discreet back or bottom access hole

    Since this is a relief carving with no front cutouts, plan an opening on the back or the bottom for your LED light and for cleaning. If you use the bottom, cut a wide hole and set the pumpkin down over the light like a shade. Scrape the inside wall behind the turkey thinner, down to about an inch, so a dim glow can pass through later. Keep the front wall thick for now so you have material to carve into.

  3. Outline everything with a V-gouge

    Trace all your marked lines with a small V-gouge, cutting a shallow, even channel about an eighth of an inch deep. These channels separate each feather, the wings, and the body so the shapes stay crisp. Take your time on the tail, where dozens of feathers meet, and keep a narrow ridge of skin between neighbors so nothing blurs together. Adults should handle the gouge, and always cut with the blade moving away from your holding hand.

  4. Shave the tail feathers in stepped rows

    Now build depth. Peel the skin off the outer tips of each feather so they glow lighter, then leave a band of darker skin near the base of each one to suggest the color change. Shave the inner rows slightly deeper than the outer rows so the fan appears to layer back toward the head. Vary your depth on purpose, because the different tones are what make the feathers pop even before you add light.

  5. Model the body, wings, and head

    Lightly scallop the chest and wing feathers with a loop tool, overlapping short curved strokes like shingles. Round the body so it sits proudly in front of the tail, keeping it the highest, least-carved area so it stays warm orange. Carve the head and wattle with fine detail but keep any thin parts, like the beak and the dangling snood, thick enough to stay attached. Add the legs and feet as shallow shaved lines rather than open cuts so they do not weaken the shell.

  6. Light it, seal it, and photograph

    Slip a warm white LED puck inside and check the glow from a few feet back in a dim room. Skip candles, since the closed relief traps heat and the flame will scorch the inside. Rub cut edges with petroleum jelly to slow drying, and keep the finished pumpkin on a shaded, covered porch out of direct sun. Shoot your photo at dusk when a little daylight still shows the relief and the LED warms the thin spots.

Gather your supplies

Check things off as you get ready.

Work on a stable surface, keep your free hand out of the cutting path, and have an adult handle sharp tools.

Three levels of light

  • Leave intact

    The turkey's rounded body and the darker feather bands stay as untouched skin for deep orange shadow.

  • Peel & shade

    The tail feather tips and the scalloped wing edges are skin-peeled to glow a soft mid orange.

  • Cut through

    Keep true cutouts minimal on the front; reserve any full cut for a hidden back or bottom access hole.

Learn the carving basics

Before you start cutting

Do I cut all the way through anywhere on the front?

No, this is a relief design, so the front stays intact and every shape is made by shaving skin to different depths. All light comes from thinning the wall from behind, not from open holes. That is what lets the turkey read clearly even in daylight.

How do I keep dozens of tail feathers from blurring together?

Outline each feather with a V-gouge first and leave a thin raised ridge of skin between neighbors. Those ridges act as clean dividers that hold their edge as you shave. Work one row at a time and step each row slightly deeper so the fan layers back.

Since no real pumpkin exists in the concept image, how do I keep the thin bits realistic?

Carve the beak, snood, and legs as shallow shaved lines rather than free-standing cutouts so they cannot snap. Keep the tail ridges attached at both ends and never undercut them into fragile flaps. A relief approach naturally keeps the shell strong because you are removing surface rather than punching through.

Your take belongs here, too.

Changed a detail? Made it simpler? Share a photo of your version and tell the community what worked.

Share your pumpkin

More pumpkins like this

You've reached the end · 8 pumpkins
The Patch Report

Fresh pumpkins, in your inbox.

The best new carvings, ideas worth stealing, and how-tos for carving season. Short, seasonal, and gone by November.

A short email during carving season. Unsubscribe anytime. See our privacy policy.