@veiledvine
Sep 5, 2026
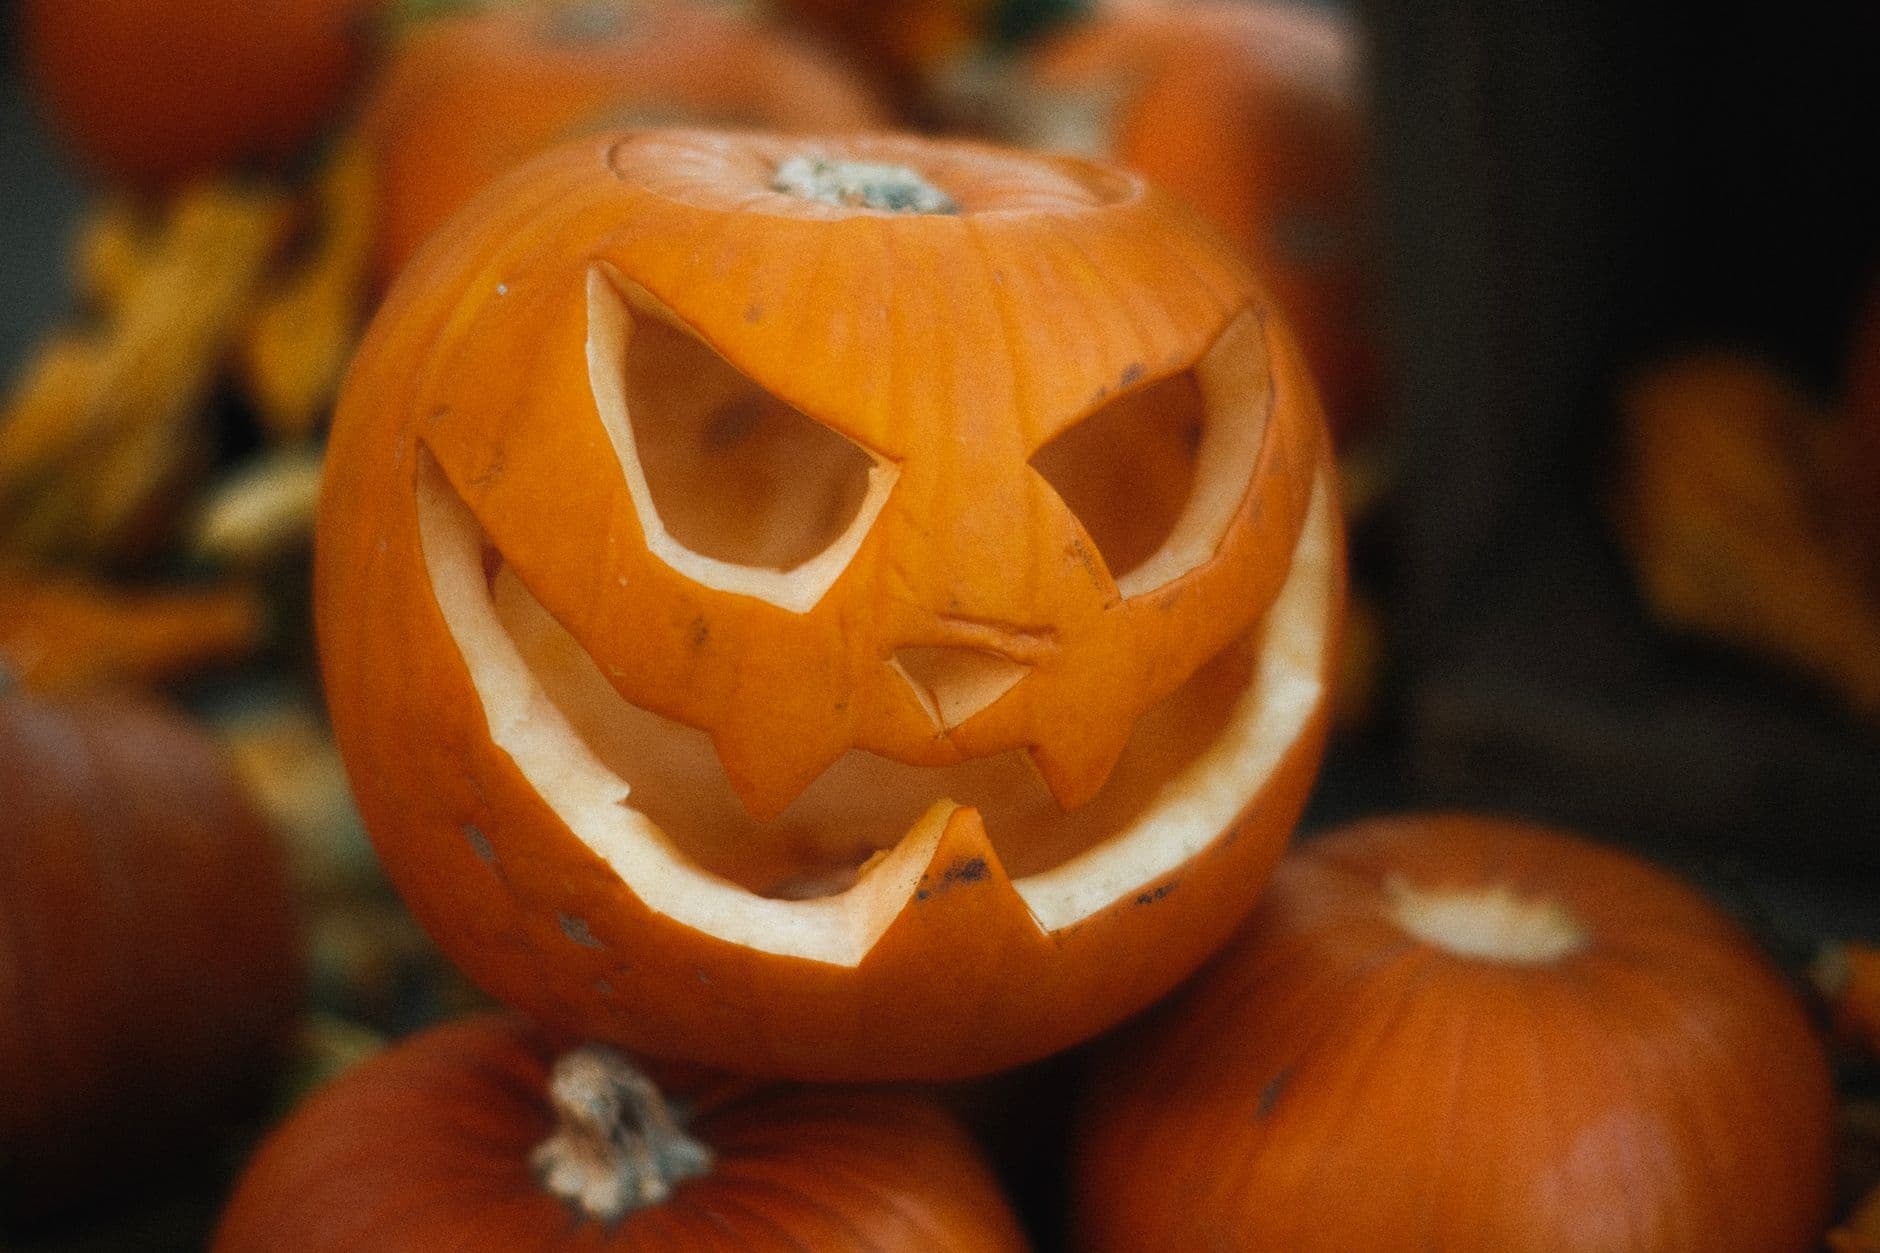
Evil eye
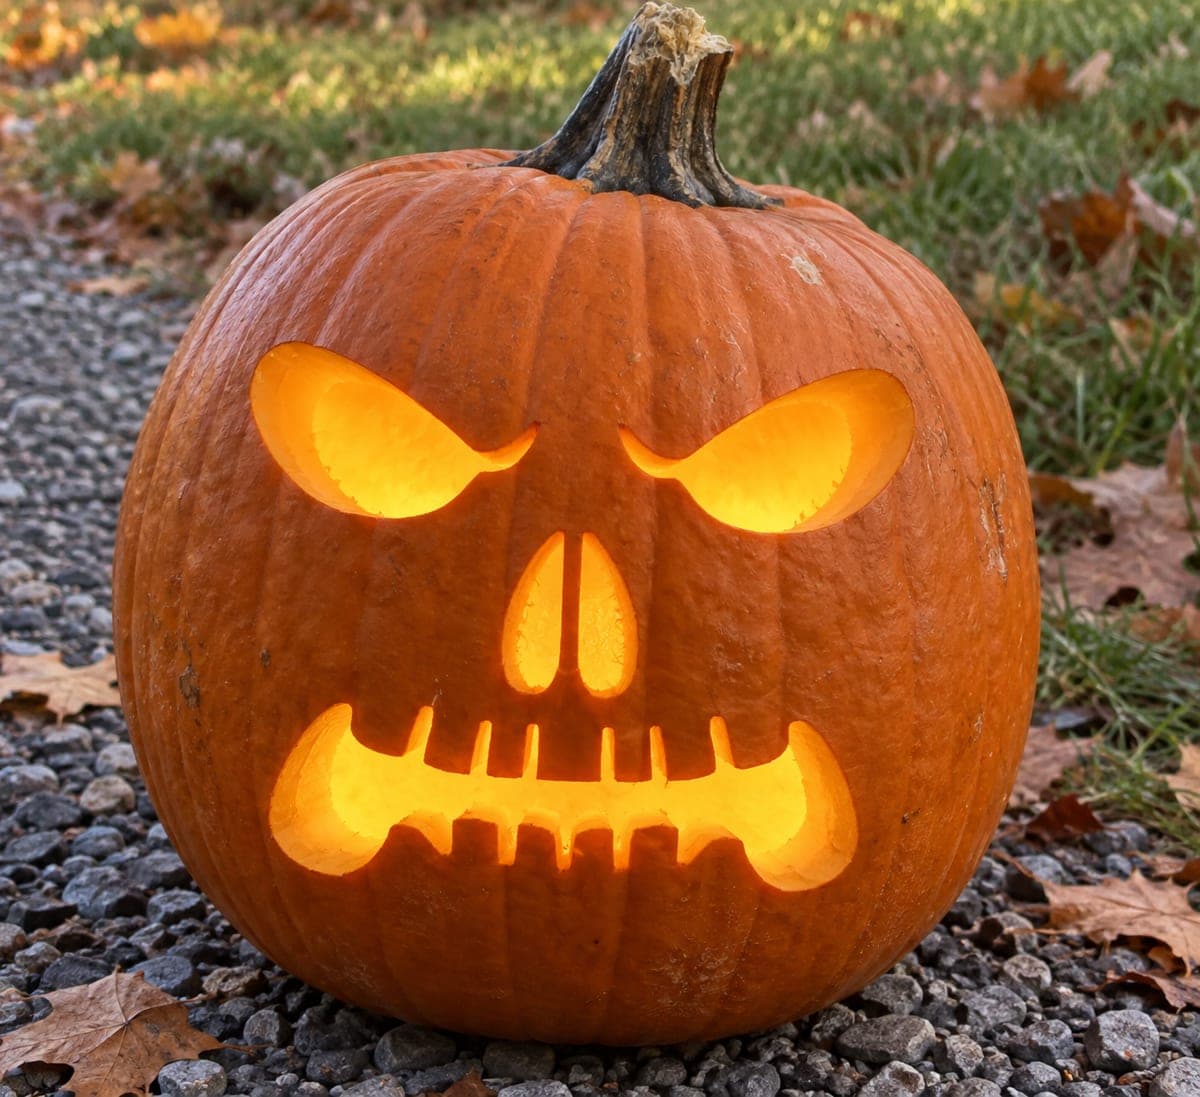
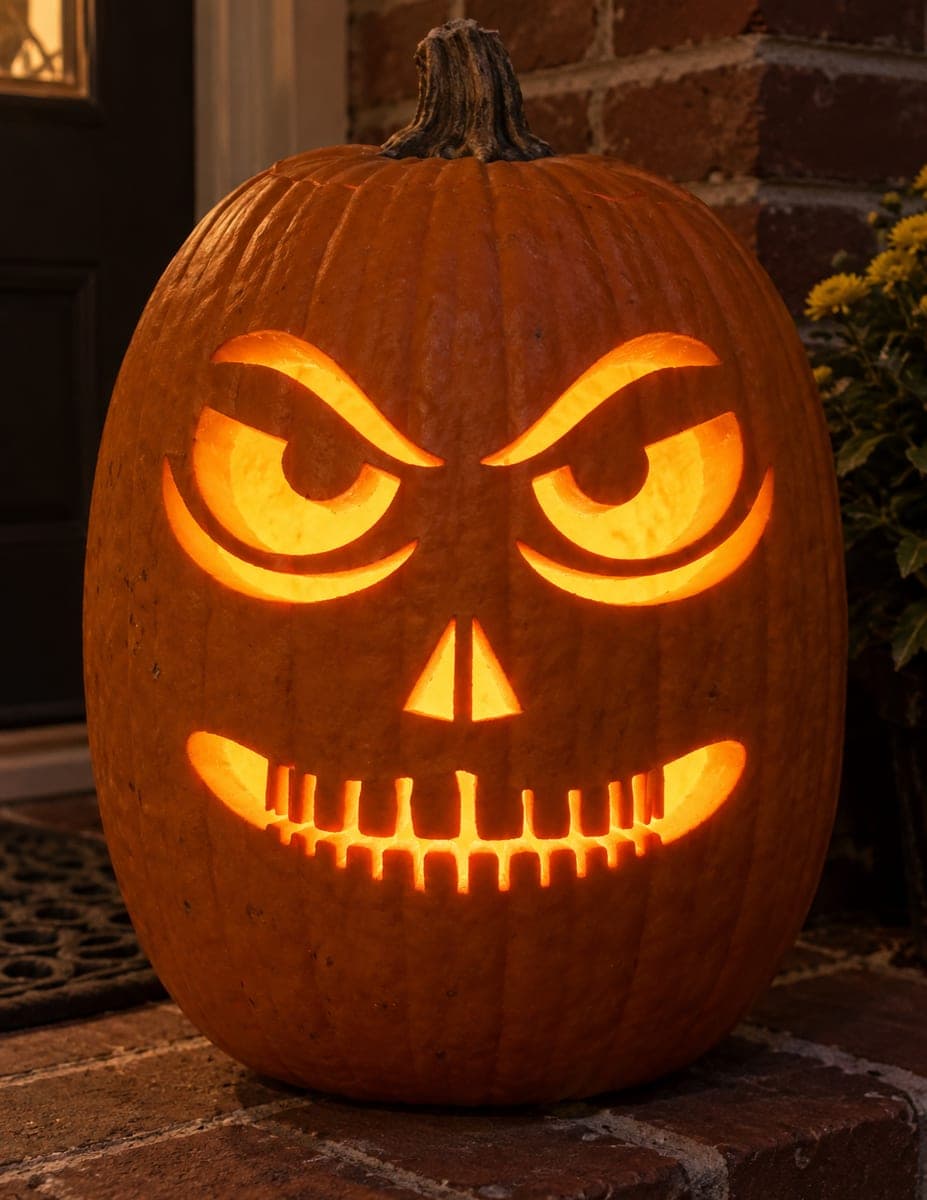
Angular slit eyes and a curling fanged sneer, carved on a small pumpkin at the top of the market pile.
No ratings yet · Sign in to rate
Angular slit eyes and a curling fanged sneer, carved on a small pumpkin at the top of the market pile.
The core trick here is the tension between sharp, angular slit eyes and a wide sneering mouth with a couple of pointed fangs. Everything is a full cutout, so the whole face reads as bright light against dark skin. Plan your angles first, then cut small openings before the big mouth so the pumpkin stays sturdy while you work.
Written by PumpkinCarvingIdeas.com, inspired by @veiledvine's photo above. These are our suggestions, not instructions from the uploader, and this approach hasn't been tested on their exact carve.
Choose a small, round pumpkin with a smooth face like the one pictured. Cut the lid at an angle so it can't fall in, and make a small notch at the back so you can line it up again later. Scoop out the seeds and pulp, then thin the front wall to about one inch. A thinner wall makes the angular cuts much easier and lets more light through.
Sketch the two slanted slit eyes, the small triangle nose, and the curling toothy grin with a washable marker. Keep the eyes as sharp wedges angled down toward the nose to get that mean look. Map out where the fangs sit so you leave solid pumpkin between the mouth openings to form each tooth. Step back and check the whole layout before any blade touches the skin.
Start with the smallest shapes, the two eyes and the little nose triangle. Use a small serrated carving saw and let the tool do the work with gentle strokes, keeping your free hand clear of the blade. Push each cut piece out from the inside so the edges stay clean. Doing these first keeps the pumpkin strong for the larger mouth.
Work the grin in sections rather than one long slot. Cut the open gaps and leave the pointed fang shapes attached top and bottom so they stay strong. Angle the mouth up at one corner for that sly curling sneer. Take your time at the tips of the fangs, since thin points are where a pumpkin cracks most easily.
Go back and trim any ragged cuts so the angles look crisp and intentional. You can bevel the inside edge of the eyes slightly so more light spills out. Wipe the face with a damp cloth and pat it dry. A little petroleum jelly on the cut edges helps slow drying and keeps the fangs from shriveling.
Drop in a battery LED tea light or a small LED puck, never a candle. Set it toward the back so the whole face glows evenly and the fangs cast a little shadow. If you're staging it on a pile of pumpkins like the photo, place it up top where the light isn't blocked. Shoot in low light so the cutouts really pop.
Check things off as you get ready.
Work on a stable surface, keep your free hand out of the cutting path, and have an adult handle sharp tools.
The full orange face and cheeks stay untouched and dark, framing the glowing features.
Optional: lightly shave the inner edges of the eyes for a soft dim halo around the brightest cuts.
The slit eyes, triangle nose, and toothy grin are cut clean through for the brightest light.
Leave each fang attached at both the top and bottom of the mouth rather than making it a free-standing point. Carve the gaps around the teeth in small sections and go slow at the tips. A thin wall of about one inch also helps because you're cutting less material with less force.
The angle is everything. Slant the top edge of each eye down toward the nose so the shapes point inward like a frown. Sharp corners and narrow wedges read as mean, while rounder eyes look friendly.
Do the eyes and nose first. The mouth is the largest opening, so cutting it last keeps the pumpkin rigid while you handle the smaller, more detailed shapes. Always cut your biggest holes near the end.
Changed a detail? Made it simpler? Share a photo of your version and tell the community what worked.
The best new carvings, ideas worth stealing, and how-tos for carving season. Short, seasonal, and gone by November.



Comments (0)