Halloween Pumpkin Carving Contest · Starts October 1st · $500 in prizes
← Back to ideas
@ai_concepts
Sep 25, 2026
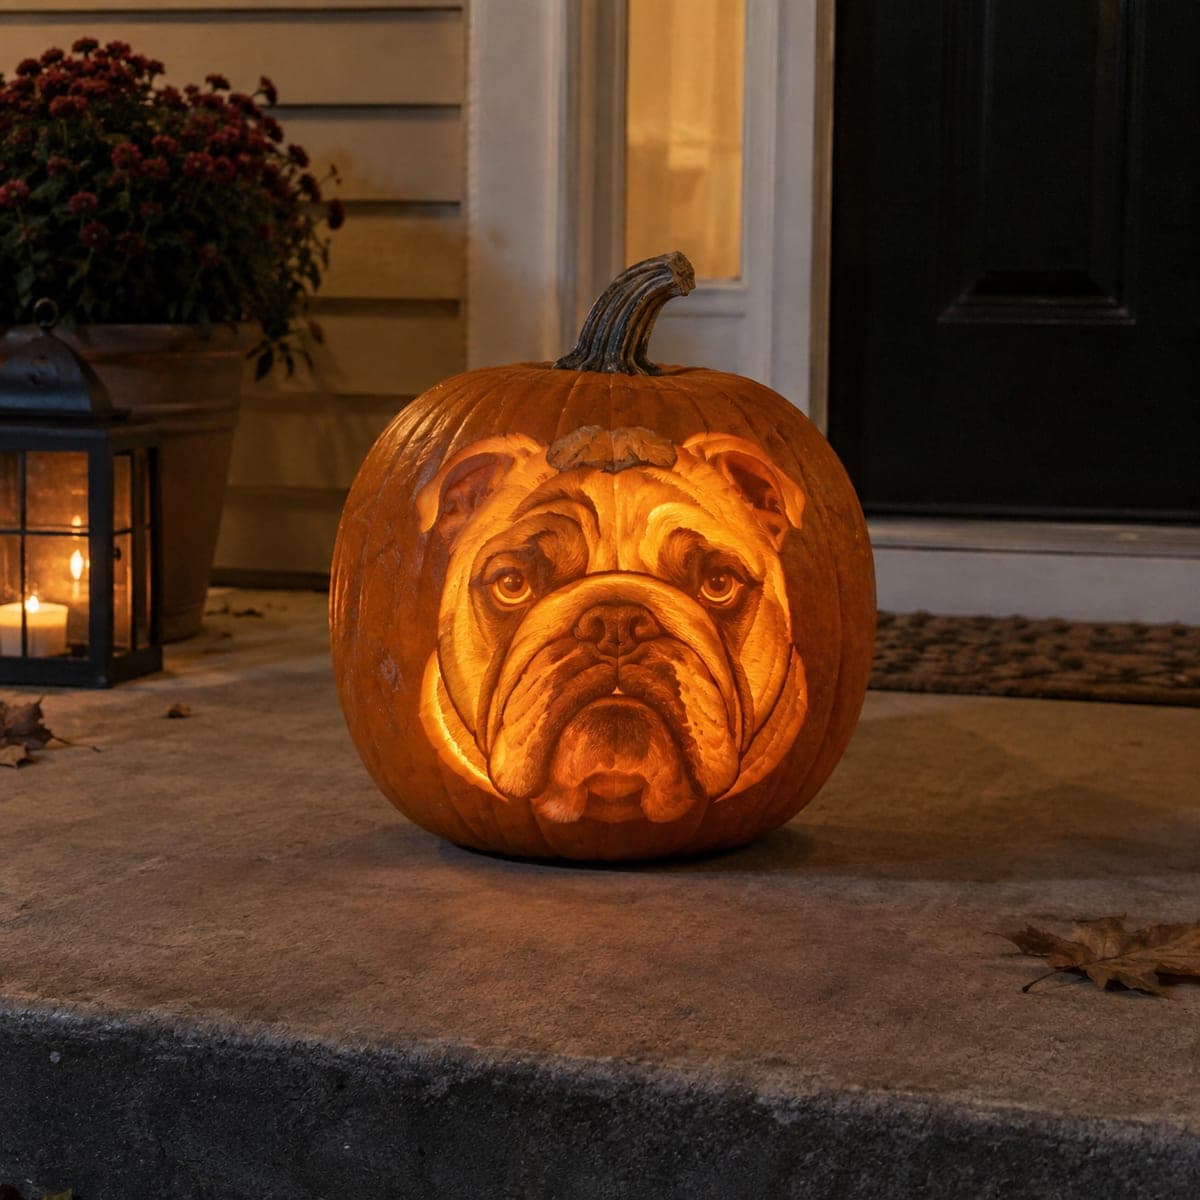
Expert English Bulldog Jack-O-Lantern with Neck AperturesAI
0

Report this carving

Tell us what is wrong. Reports are private.

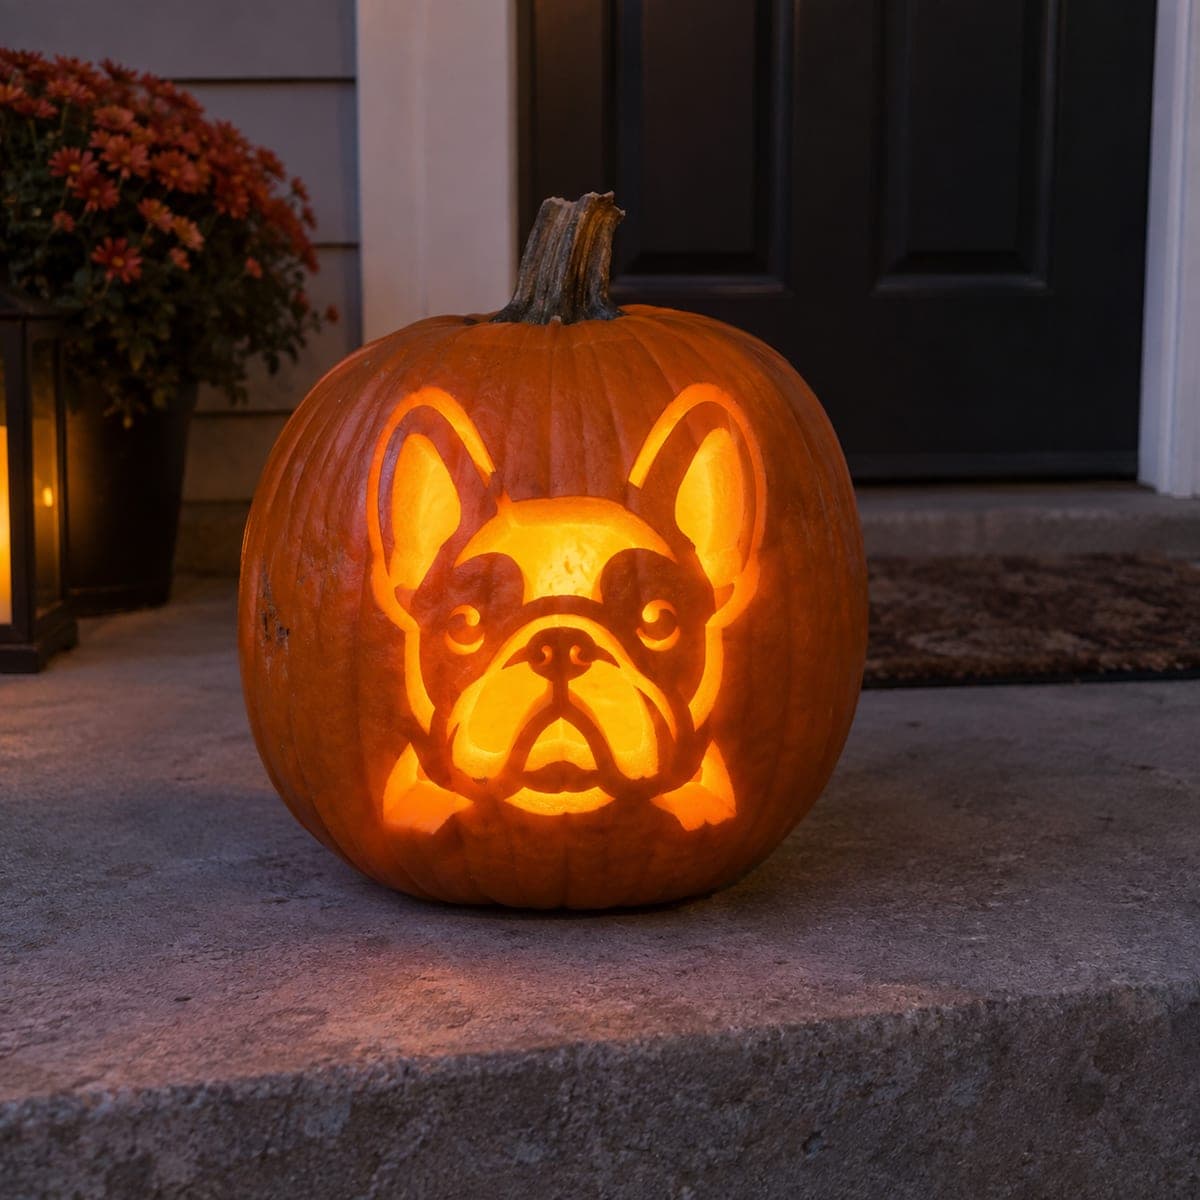
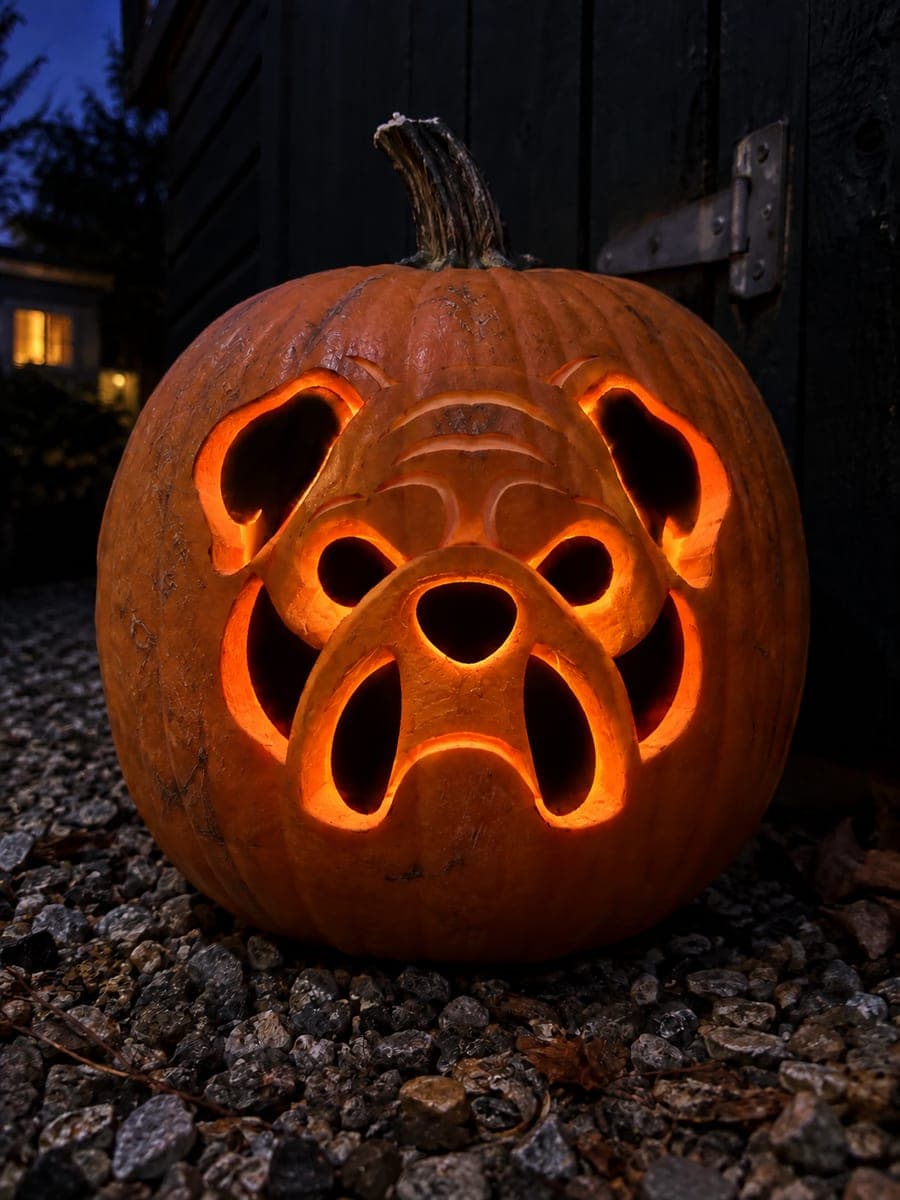
Expert English Bulldog Jack-O-Lantern with Neck Apertures

This expert english bulldog jack-o-lantern adds neck apertures and widened muzzle bridges to an already complex face, with open ear, eye, nose, and jowl windows connected by broad facial bridges throughout. Shallow backed forehead wrinkles and removed pupils add realism without creating fragile floating pieces. Print and tape the stencil, pin-transfer every line, then cut the widest bridge sections last to keep the design rigid while you work. A bright LED candle maximizes the dramatic layered glow.

No ratings yet · Sign in to rate
Comments (0)

  • No comments yet — be the first.

Save without an account. Sign in to like or comment.

Our tips for carving a similar design

Neck apertures and widened muzzle bridges extend the previous tier's design, turning a face carving into a full-neck portrait with light glowing through every structural zone. Shallow backed forehead wrinkles and removed pupils add realism while the broad connected facial bridges keep everything anchored. Stencil accuracy is critical at this level because every bridge must be planned before the first cut.

From pumpkin to porch

  1. Choose and prepare the pumpkin carefully

    Use the largest, roundest pumpkin available so the neck apertures have room below the face without competing for structural rind. Hollow to a consistent half-inch wall and note any thin spots on the outer surface before starting. Thin spots become structural weaknesses once surrounded by apertures.

  2. Transfer and verify the stencil

    Pin-transfer the stencil and verify that the widened muzzle bridges are reflected in your marked lines. Mark through-cut areas in one color, backed wrinkle lines in a second, and pupil removal zones in a third. Confirm that every aperture has at least a half-inch bridge on all sides before cutting.

  3. Cut the widest structural apertures first

    Begin with the widest cheek and neck apertures that define the outer skeleton. These cuts remove the most peripheral rind and set the proportions for every subsequent shape. Work slowly and check bridge widths after each cut.

  4. Open the facial apertures

    Move to the inner ear, eye, nose, and jowl apertures in order of size, largest first. Remove pupils within the retained eye areas using a small drill or punch tool rather than a saw. The widened muzzle bridge should remain completely uncut throughout this step.

  5. Carve backed wrinkles and refine bridges

    Add shallow backed forehead wrinkle lines with a narrow gouge, following the natural brow direction. Widen the muzzle bridge slightly with a careful detail-knife pass if it looks visually narrow, but never reduce it below the structural minimum. Sand any rough aperture edges smooth.

  6. Light and photograph

    Insert a bright flameless LED candle and view in complete darkness. The neck apertures should glow with the same intensity as the face openings, unifying the design vertically. Take photographs from slightly below face level to capture the full neck-to-crown glow.

Written with AI to match this design

Gather your supplies

Check things off as you get ready.

Work on a stable surface, keep your free hand out of the cutting path, and have an adult handle sharp tools.

Three levels of light

  • Leave intact

    The widened central muzzle bridge and the main facial rind bands connecting all aperture groups

  • Peel & shade

    Forehead wrinkle lines at shallow backed depth

  • Cut through

    Ear, eye (with pupils removed), nose, jowl, and neck apertures all glowing fully

Learn the carving basics

Before you start cutting

What does widening the muzzle bridge actually mean in practice?

It means intentionally leaving more solid rind across the muzzle than a purely naturalistic portrait would have, so the structural span is wider than the design strictly requires. In cutting terms, stop your eye and cheek cuts farther from the center than you might otherwise, leaving a broader band of intact rind horizontally across the mid-face.

How do I remove pupils without cracking the retained eye piece?

Use a small paddle drill bit or a sharp punch tool rather than a saw. Place the pumpkin on a firm surface and press straight through with controlled downward pressure. Avoid lateral sawing near the pupil, as it creates vibration that can crack the thin retained eye ring.

How much longer does an expert carving take than an easy one?

Allow two to three hours for an expert-level multi-aperture design versus 30 to 45 minutes for a simple cutout. Much of the extra time is planning and checking bridges rather than actual cutting. Do not rush the bridge-checking steps as they are what prevent a collapse mid-project.

Your take belongs here, too.

Changed a detail? Made it simpler? Share a photo of your version and tell the community what worked.

Share your pumpkin

More pumpkins like this

You've reached the end · 8 pumpkins
The Patch Report

Fresh pumpkins, in your inbox.

The best new carvings, ideas worth stealing, and how-tos for carving season. Short, seasonal, and gone by November.

A short email during carving season. Unsubscribe anytime. See our privacy policy.